SVL Photo Collection
Click on the small photos to open an enlarged copy of the same photo.
Scenery Area 1
The first set of photos presented here are of scenes in the 39+ square feet of scenery that I prepared for judging for the NMRA
Achievment Program Scenery certificate. Some of the photos were taken during the scenery development process.
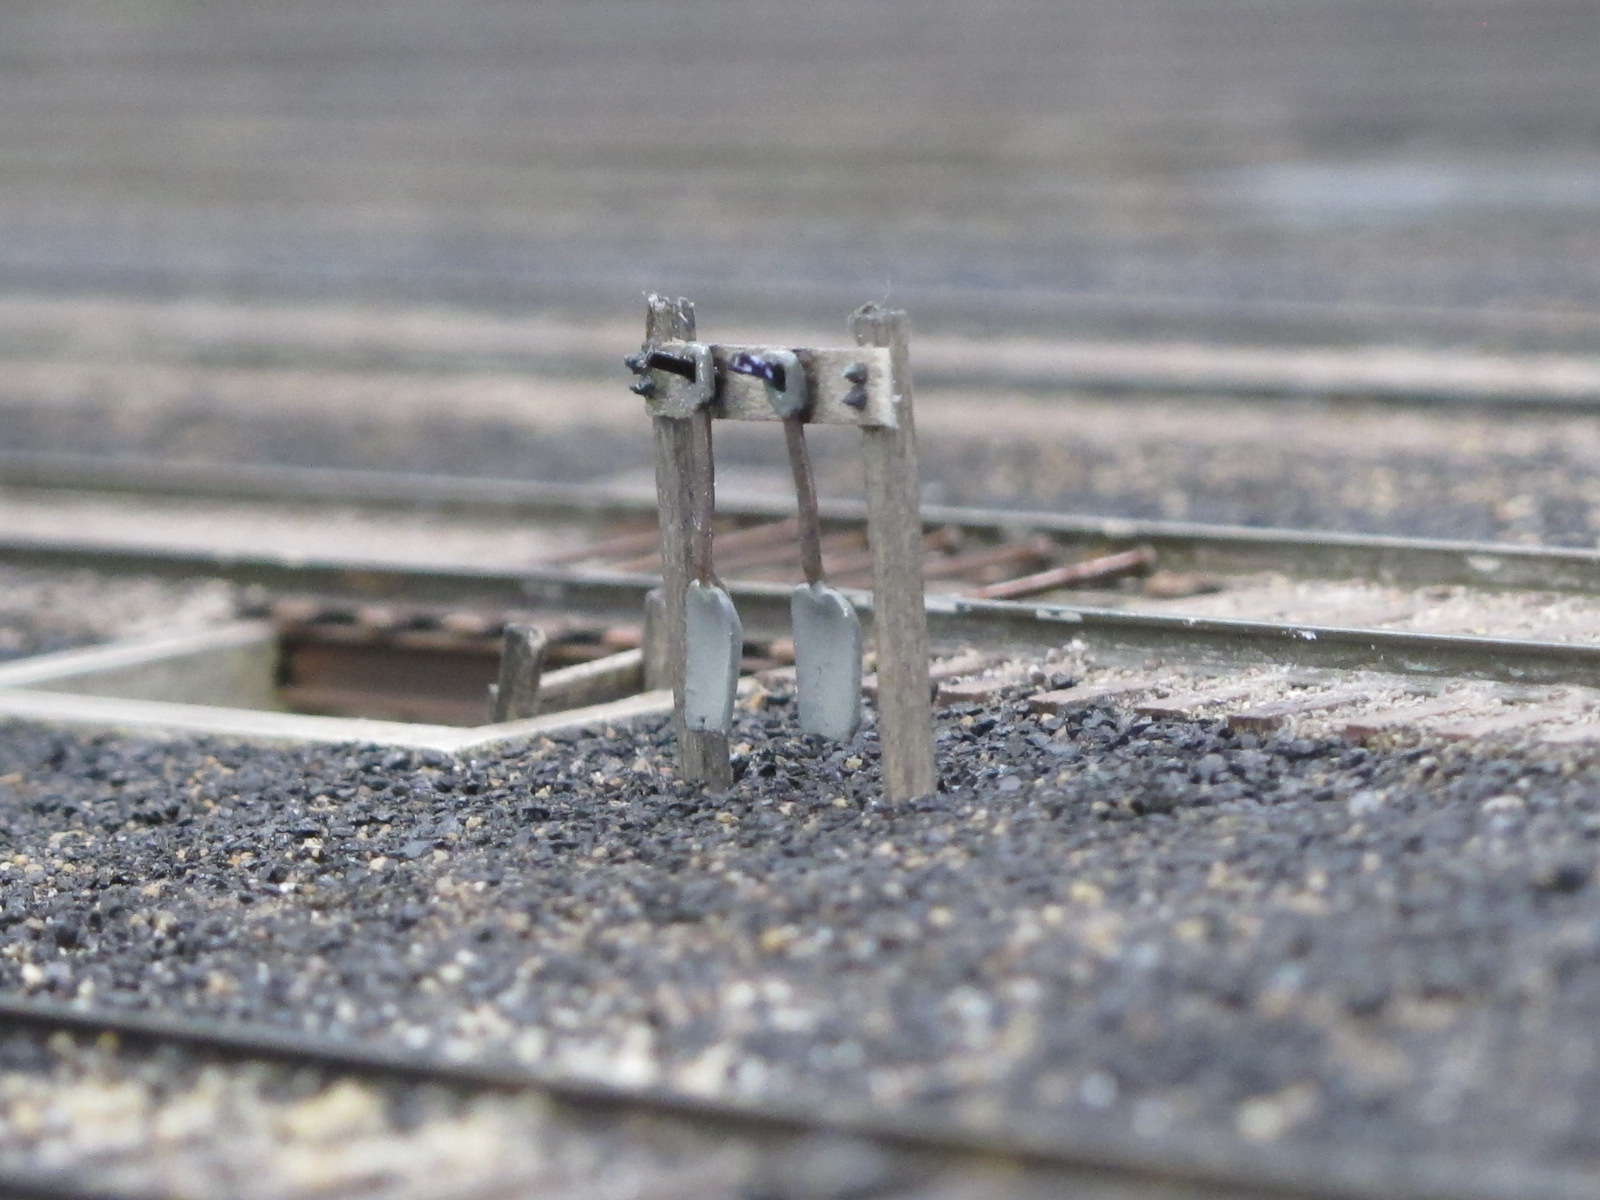
Shovels on rack next to
ash pit |
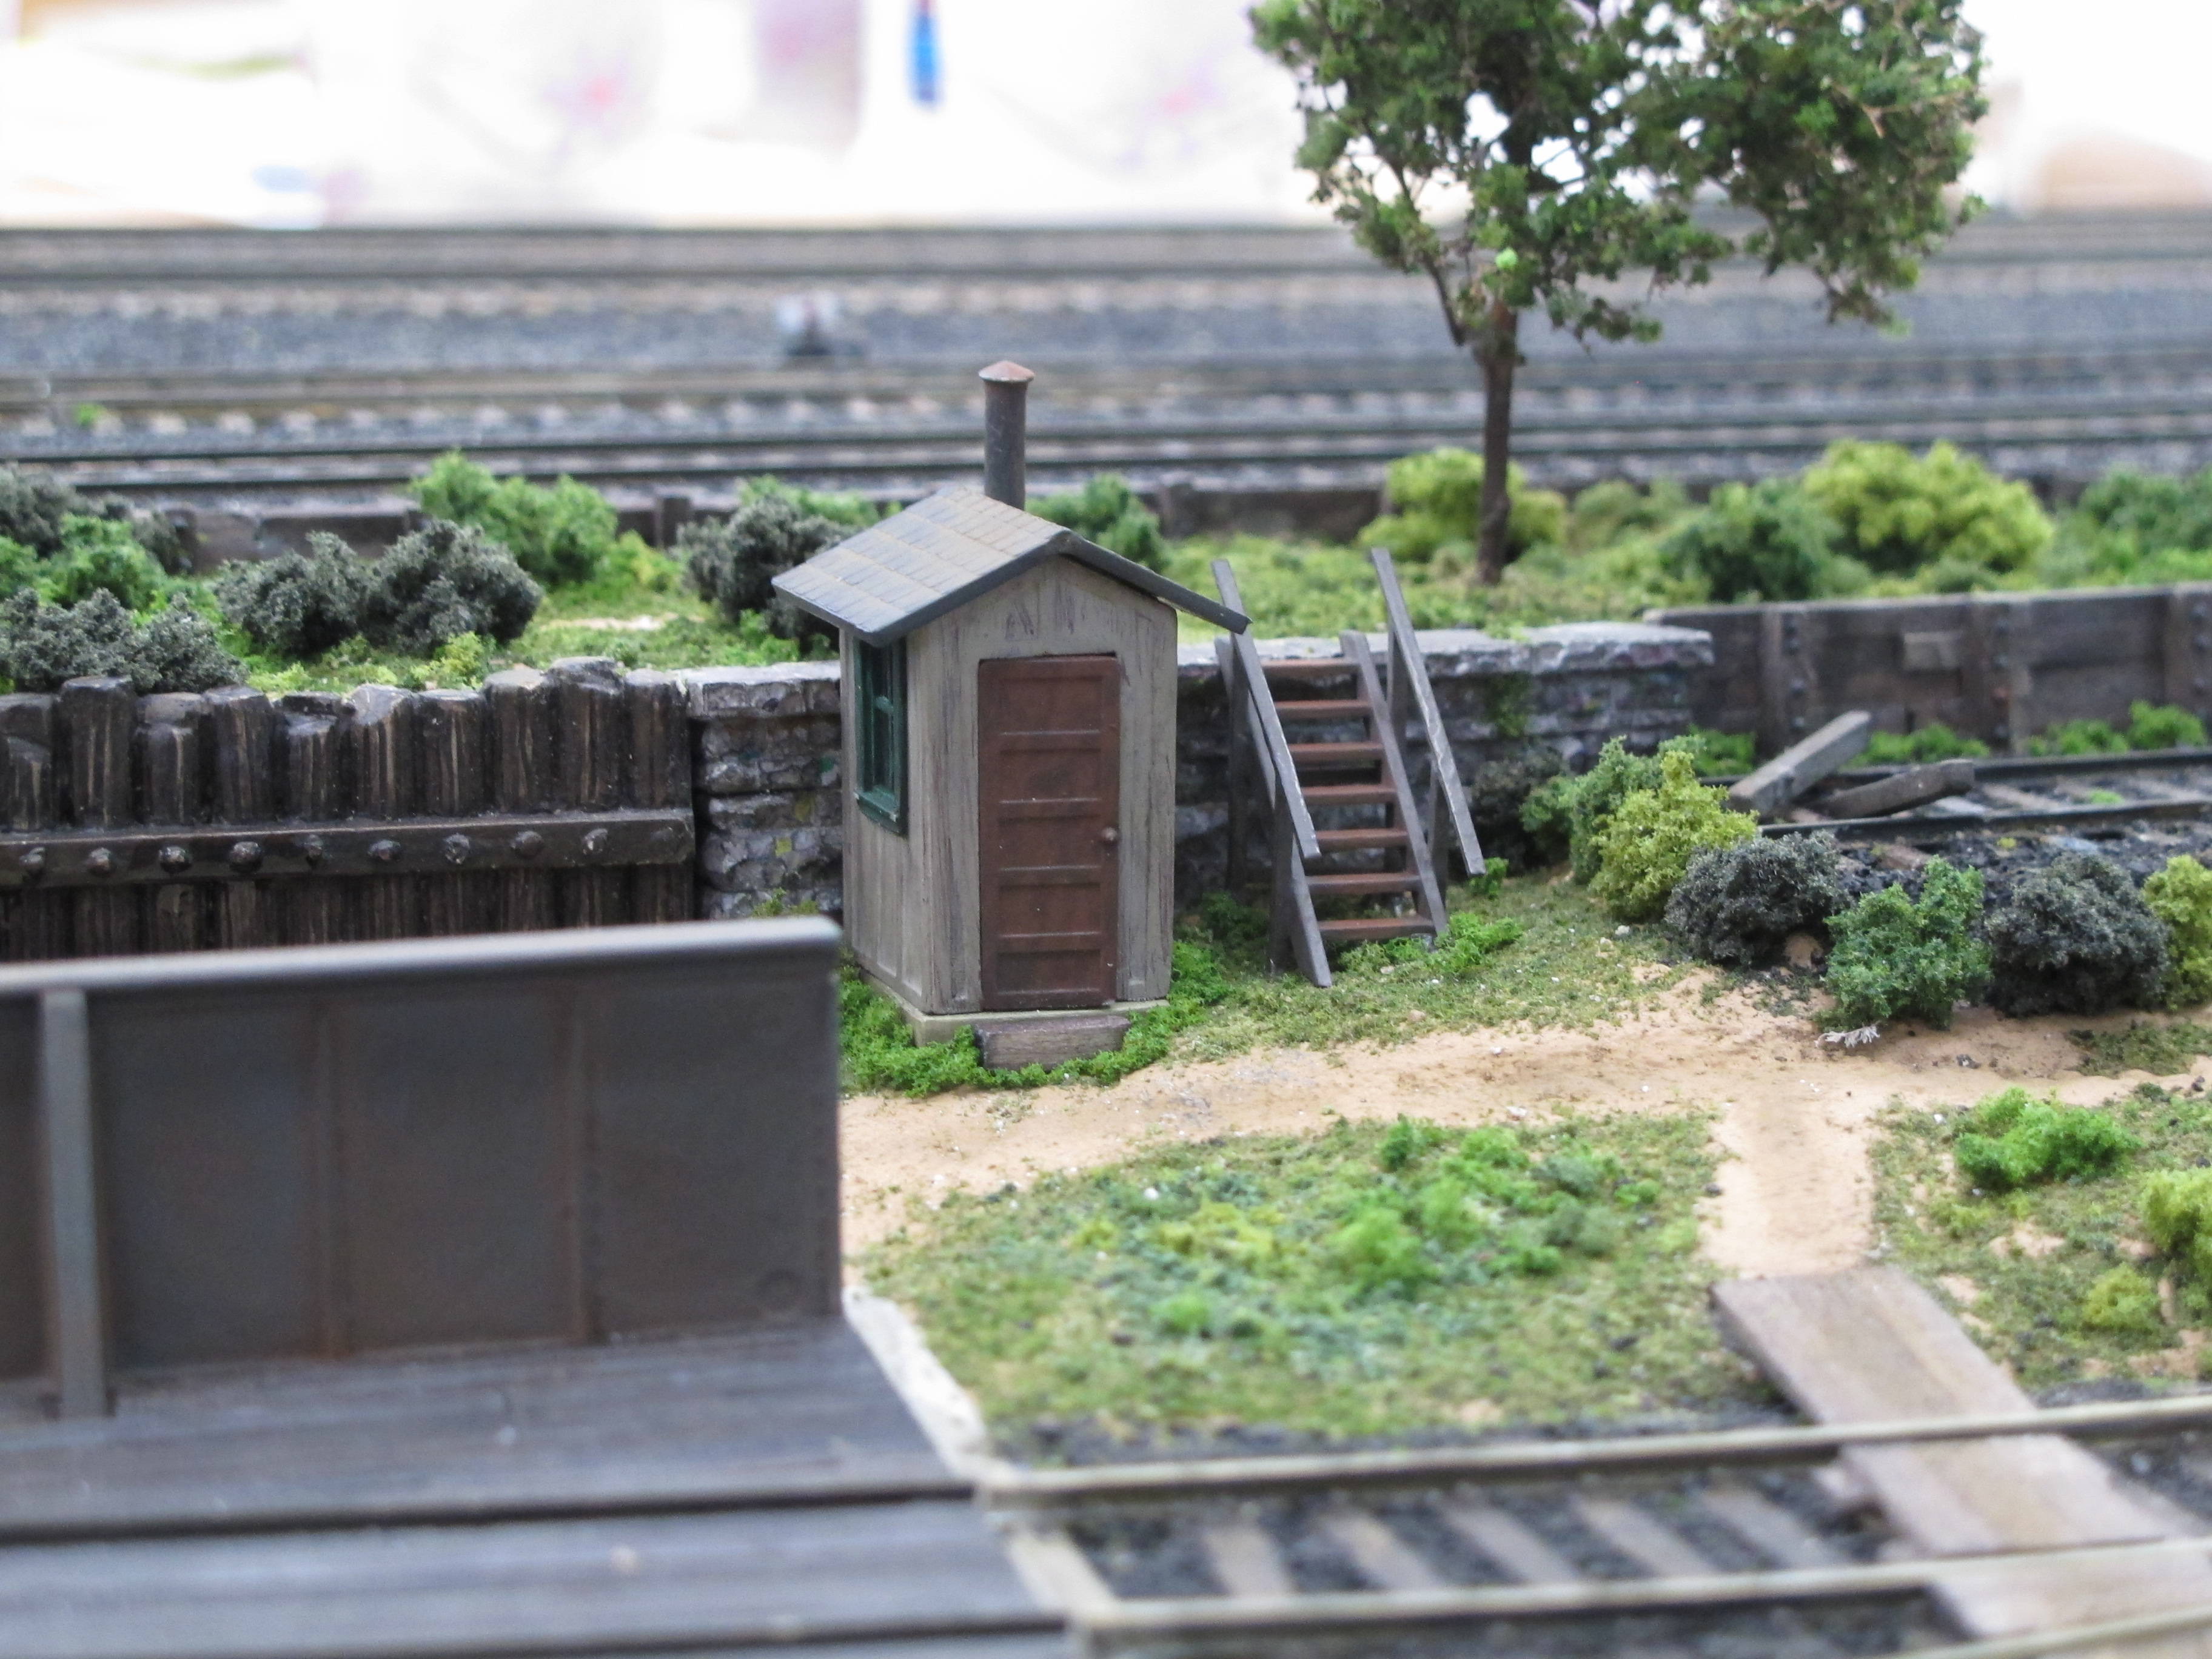
Stevedore warming shed |
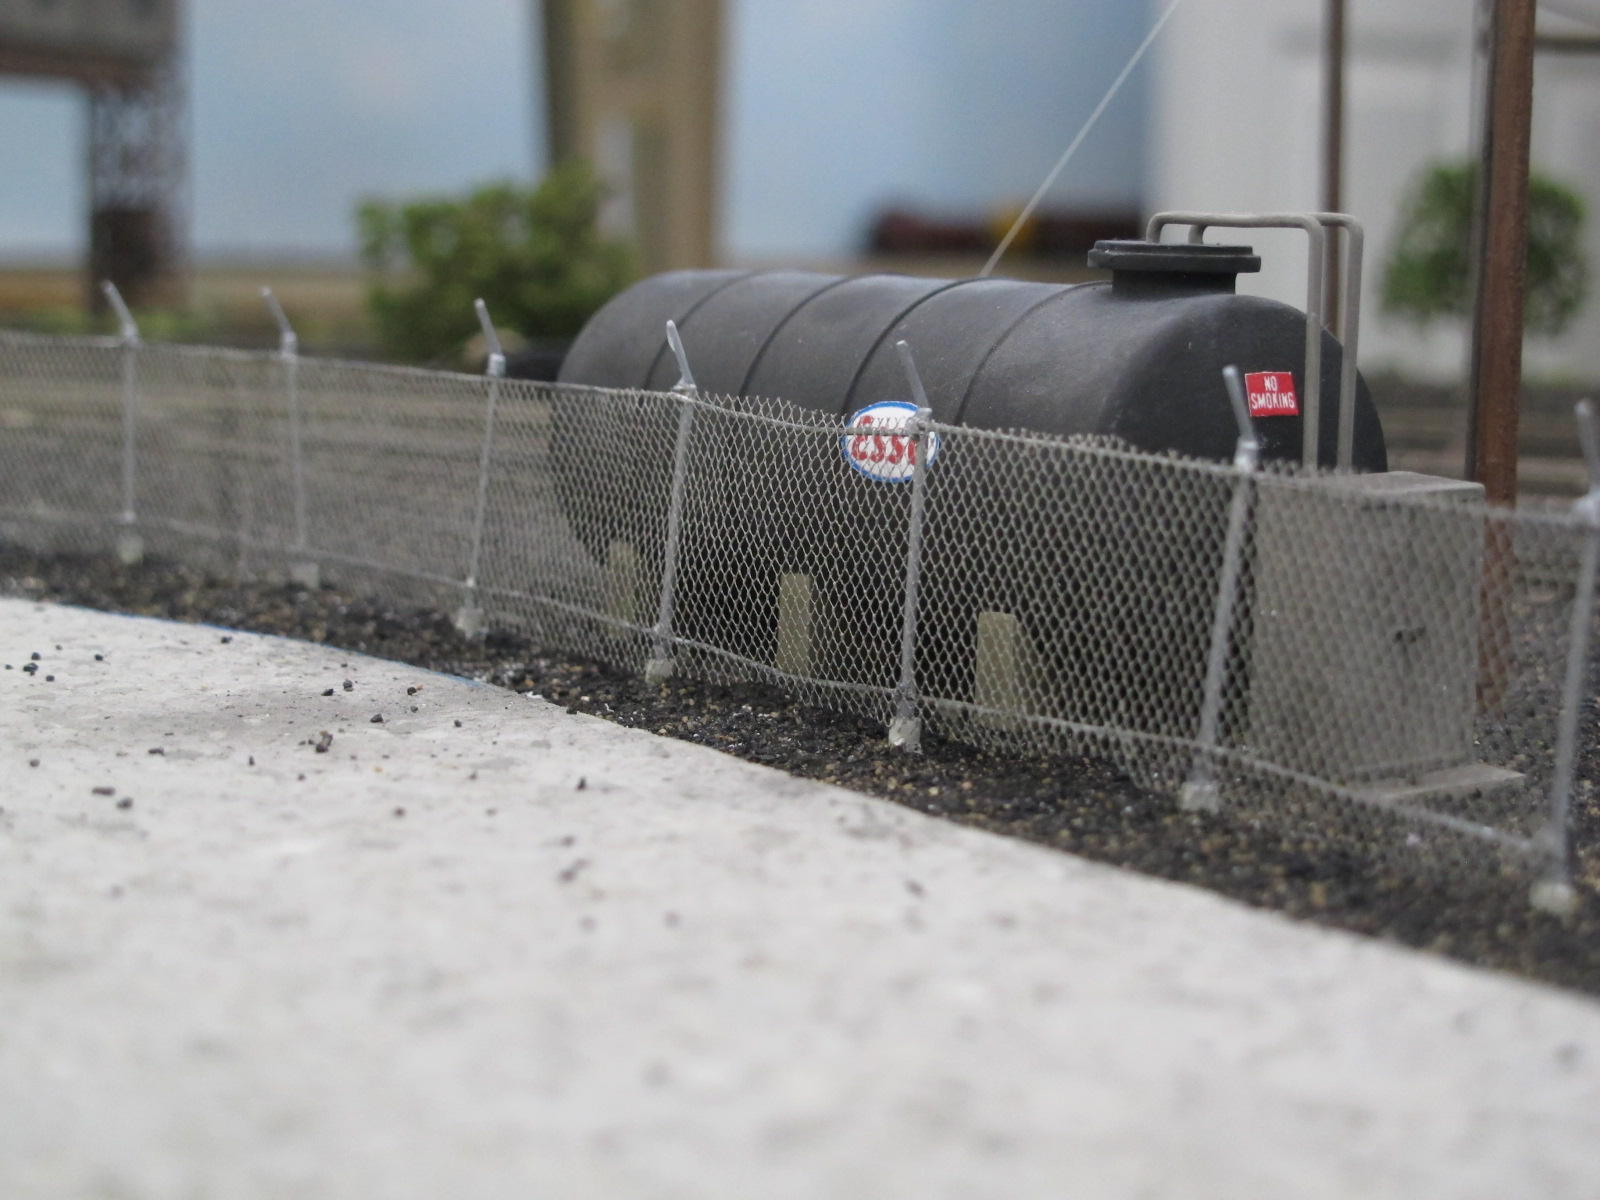
Fence |
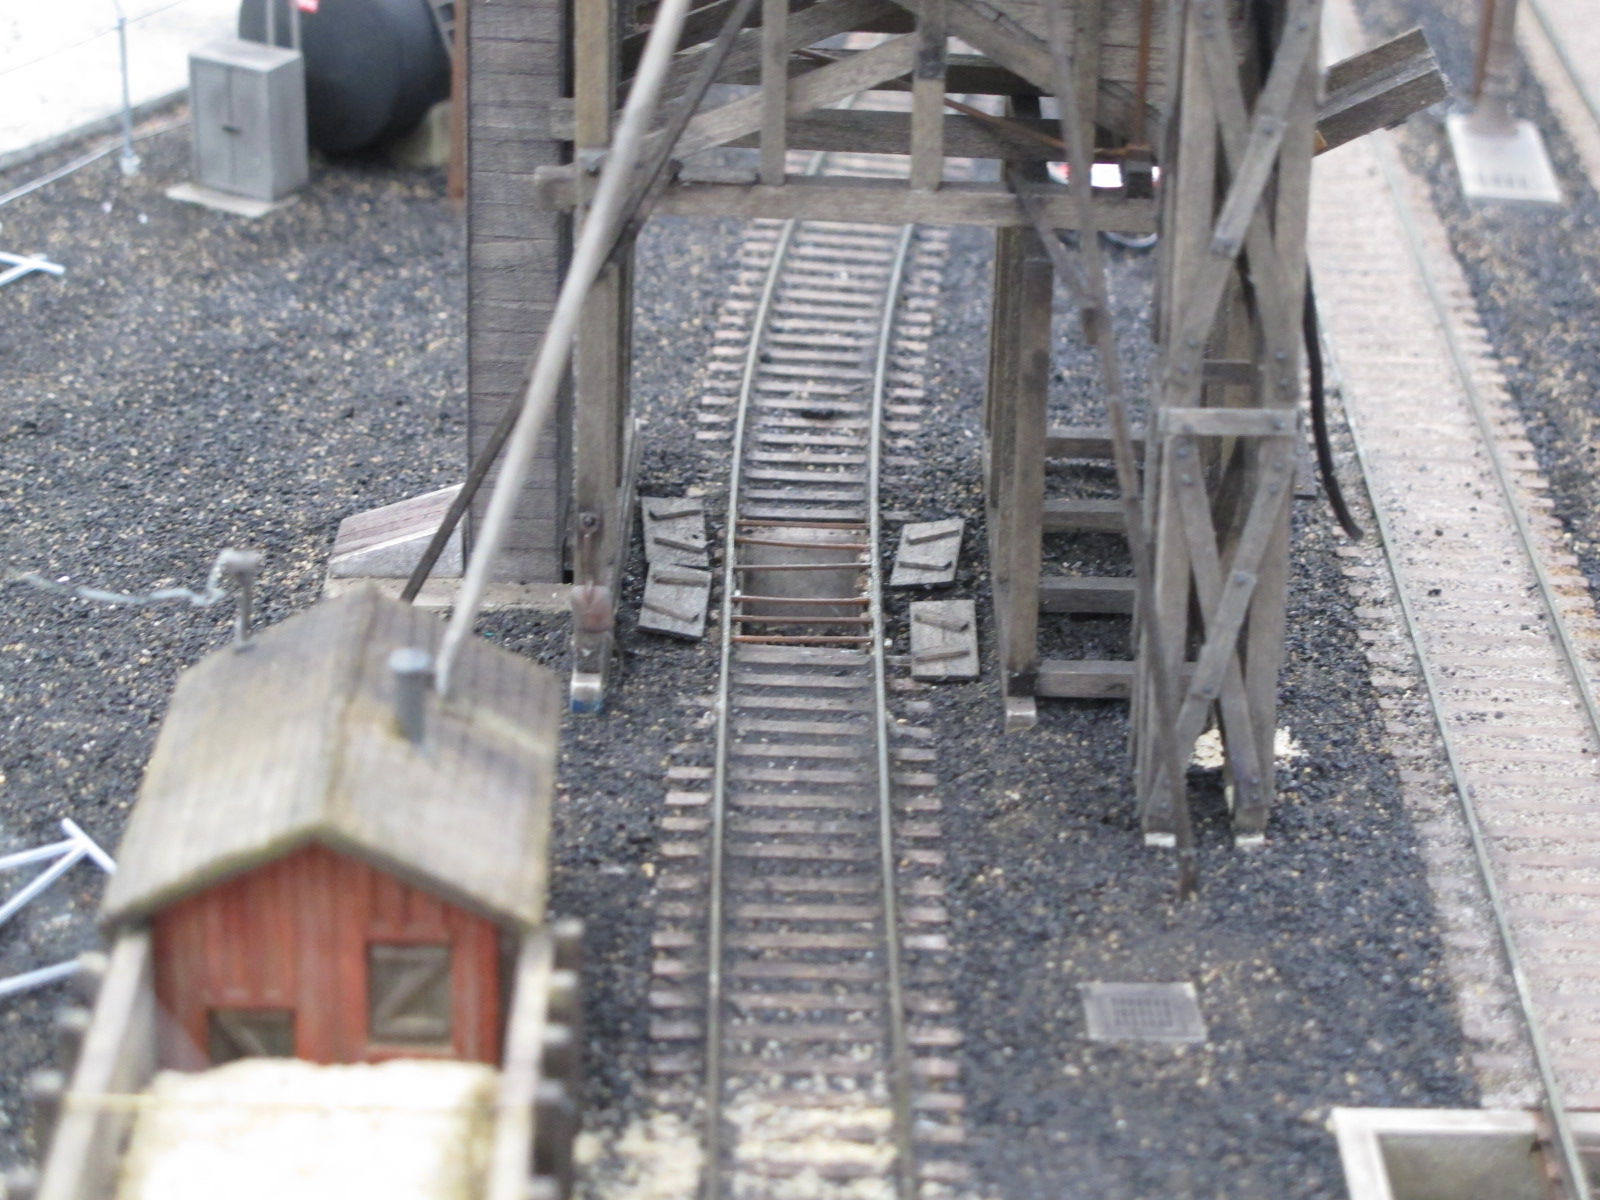
Coal pit doors under
coal tipple |
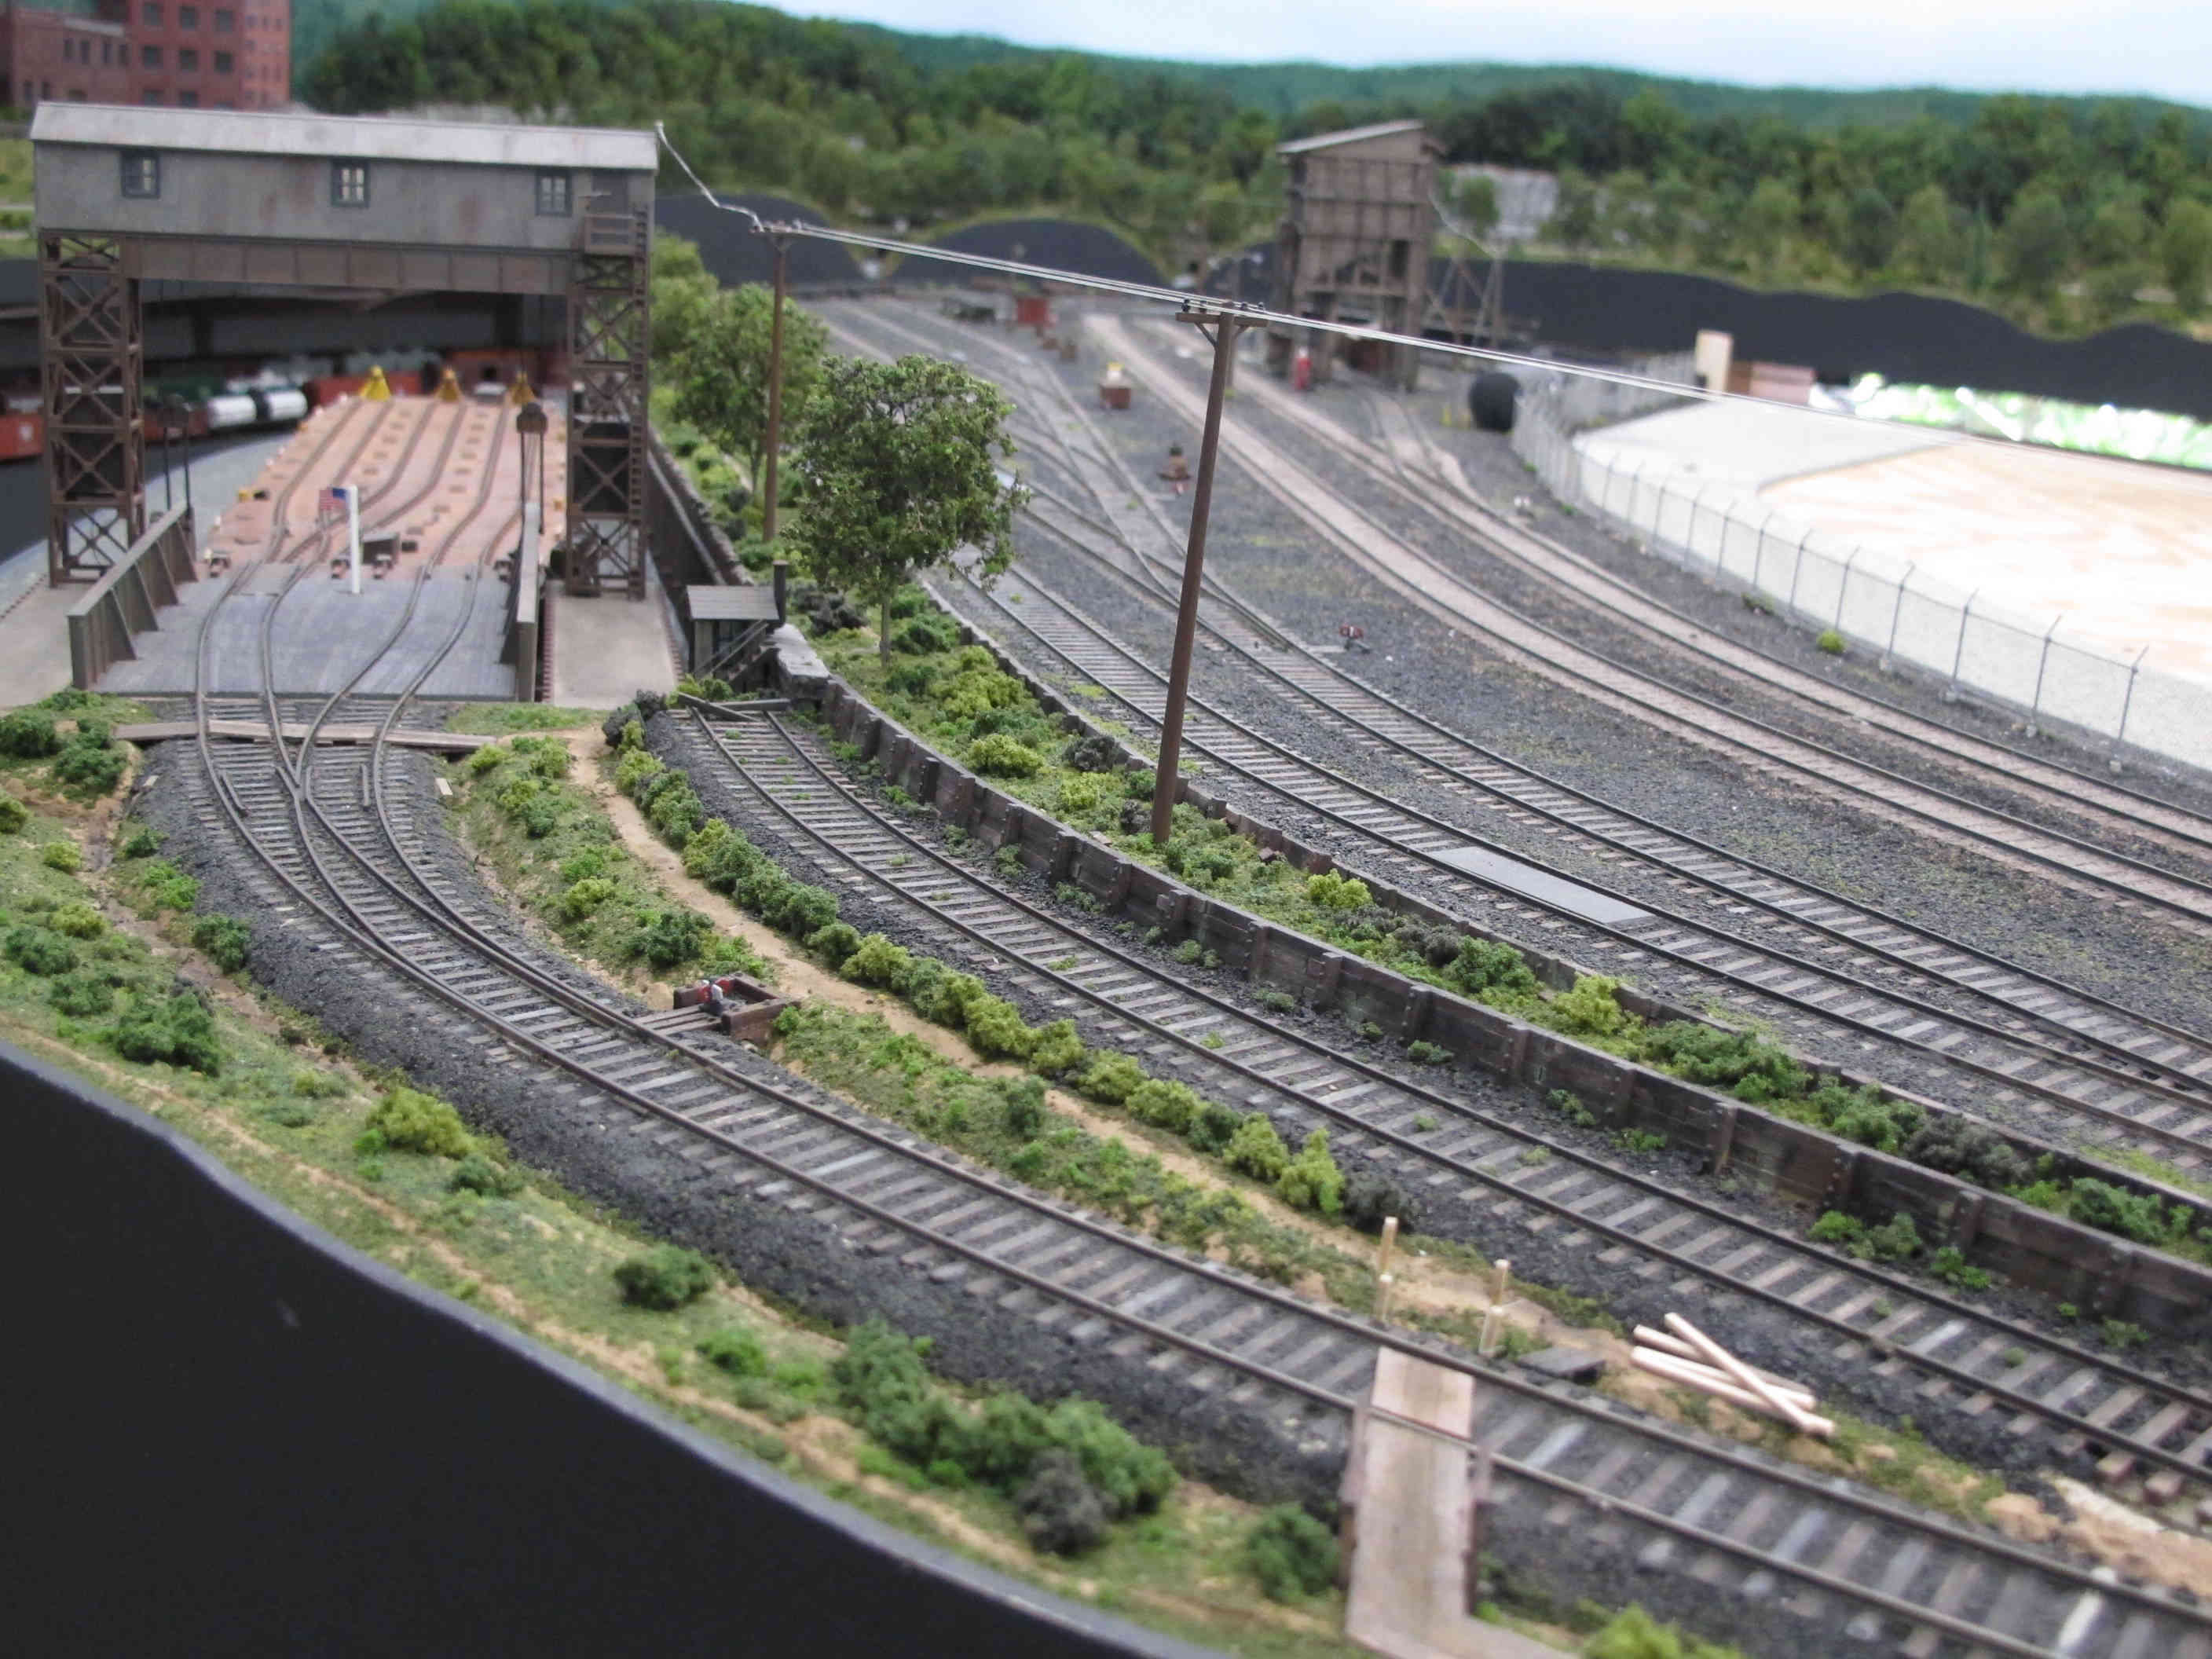
Pier retaining wall and dolphin |
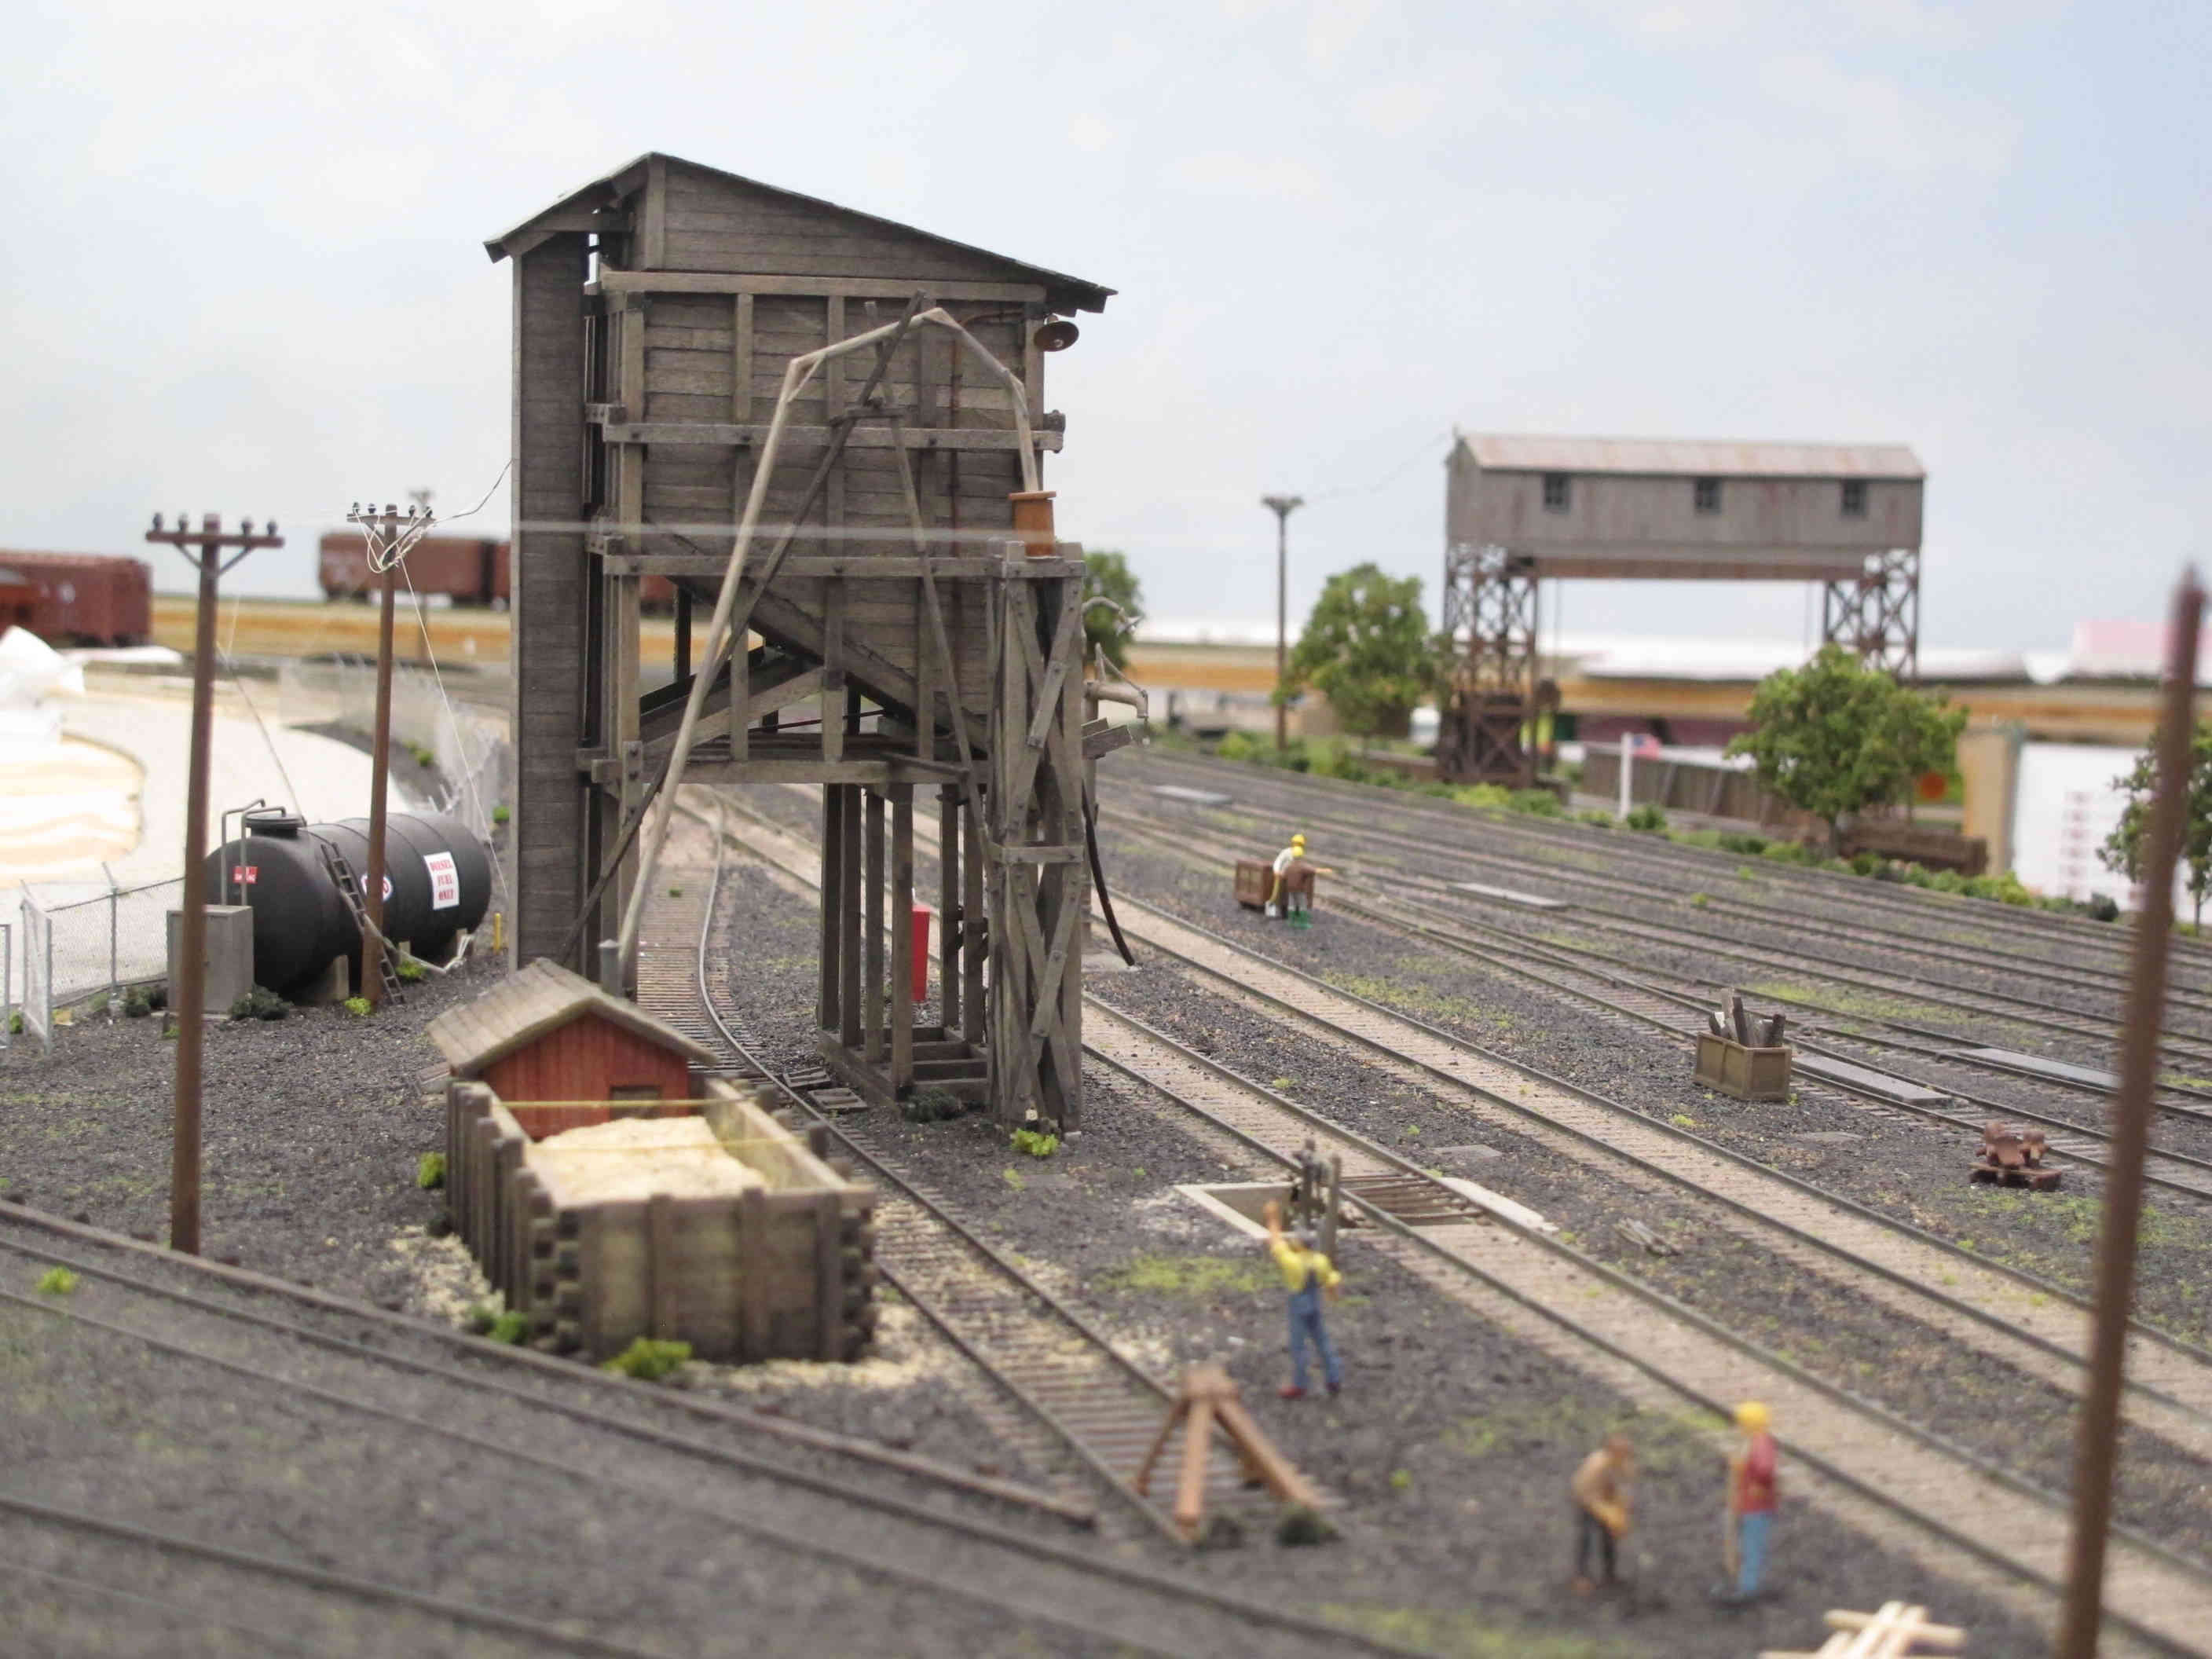
Coal tipple |
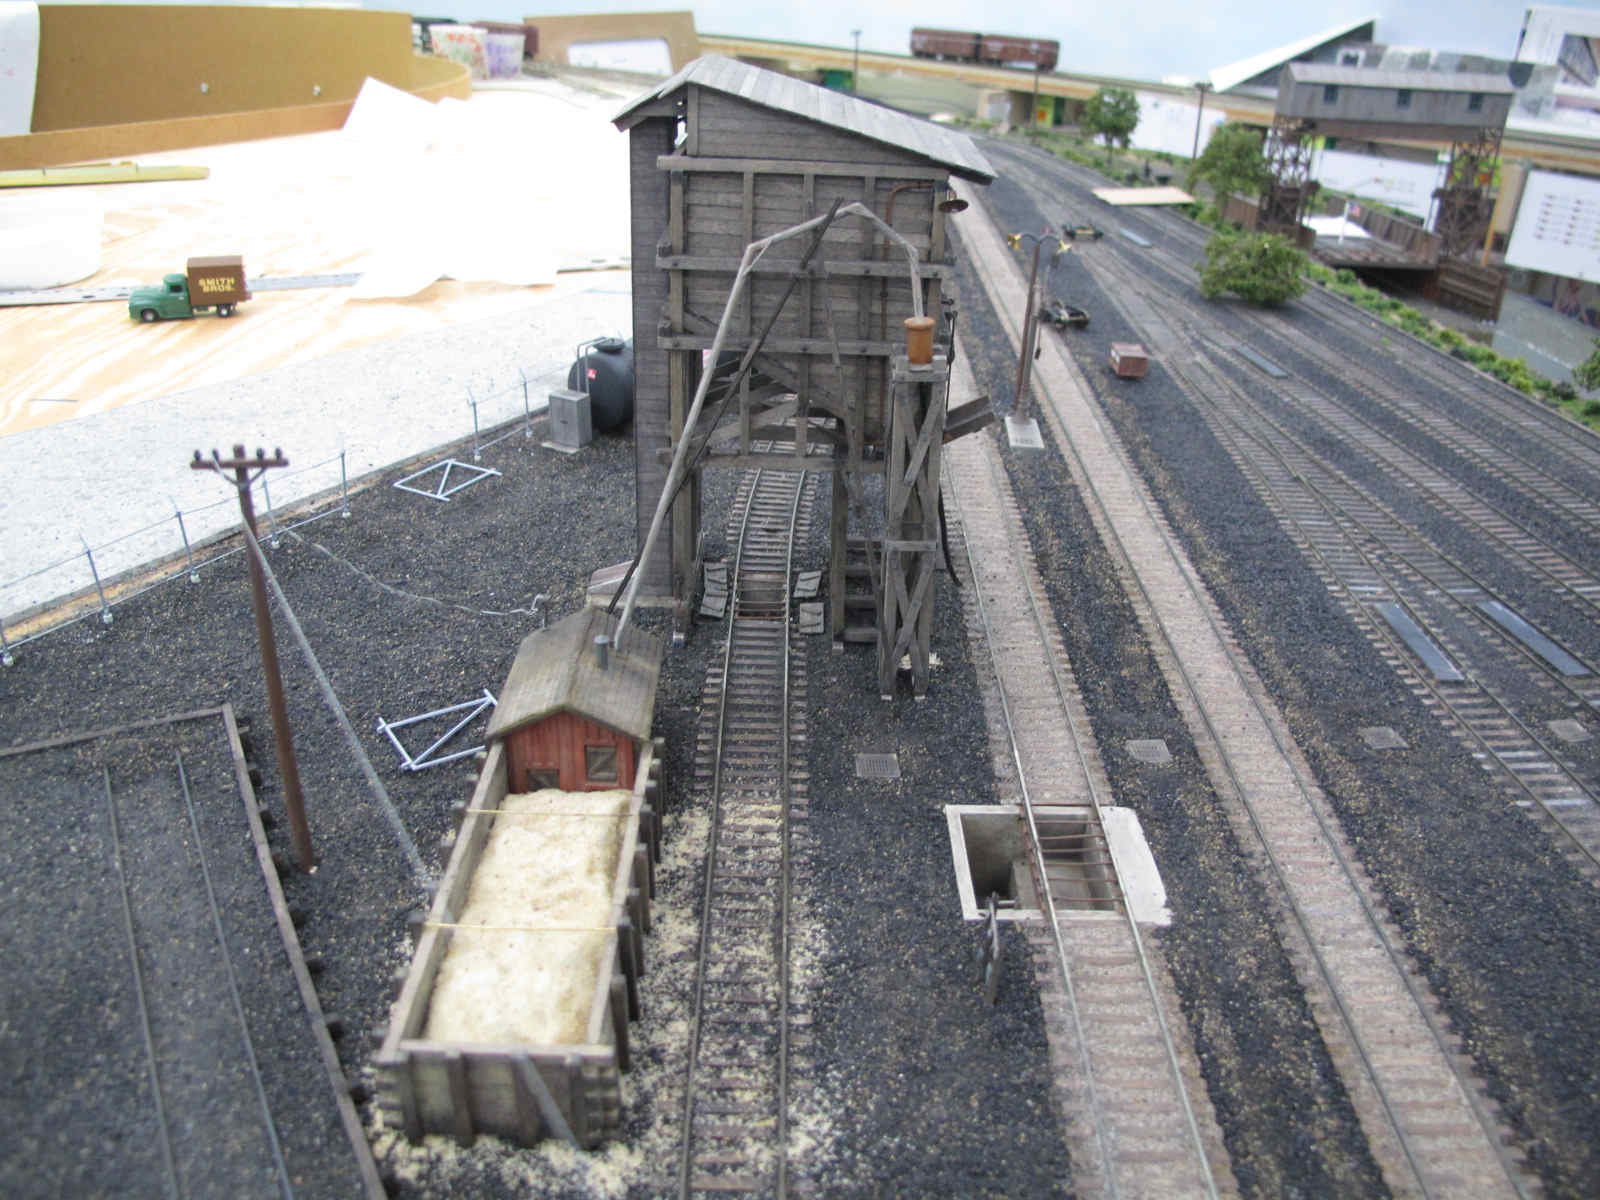
Sand bin and sand tower |
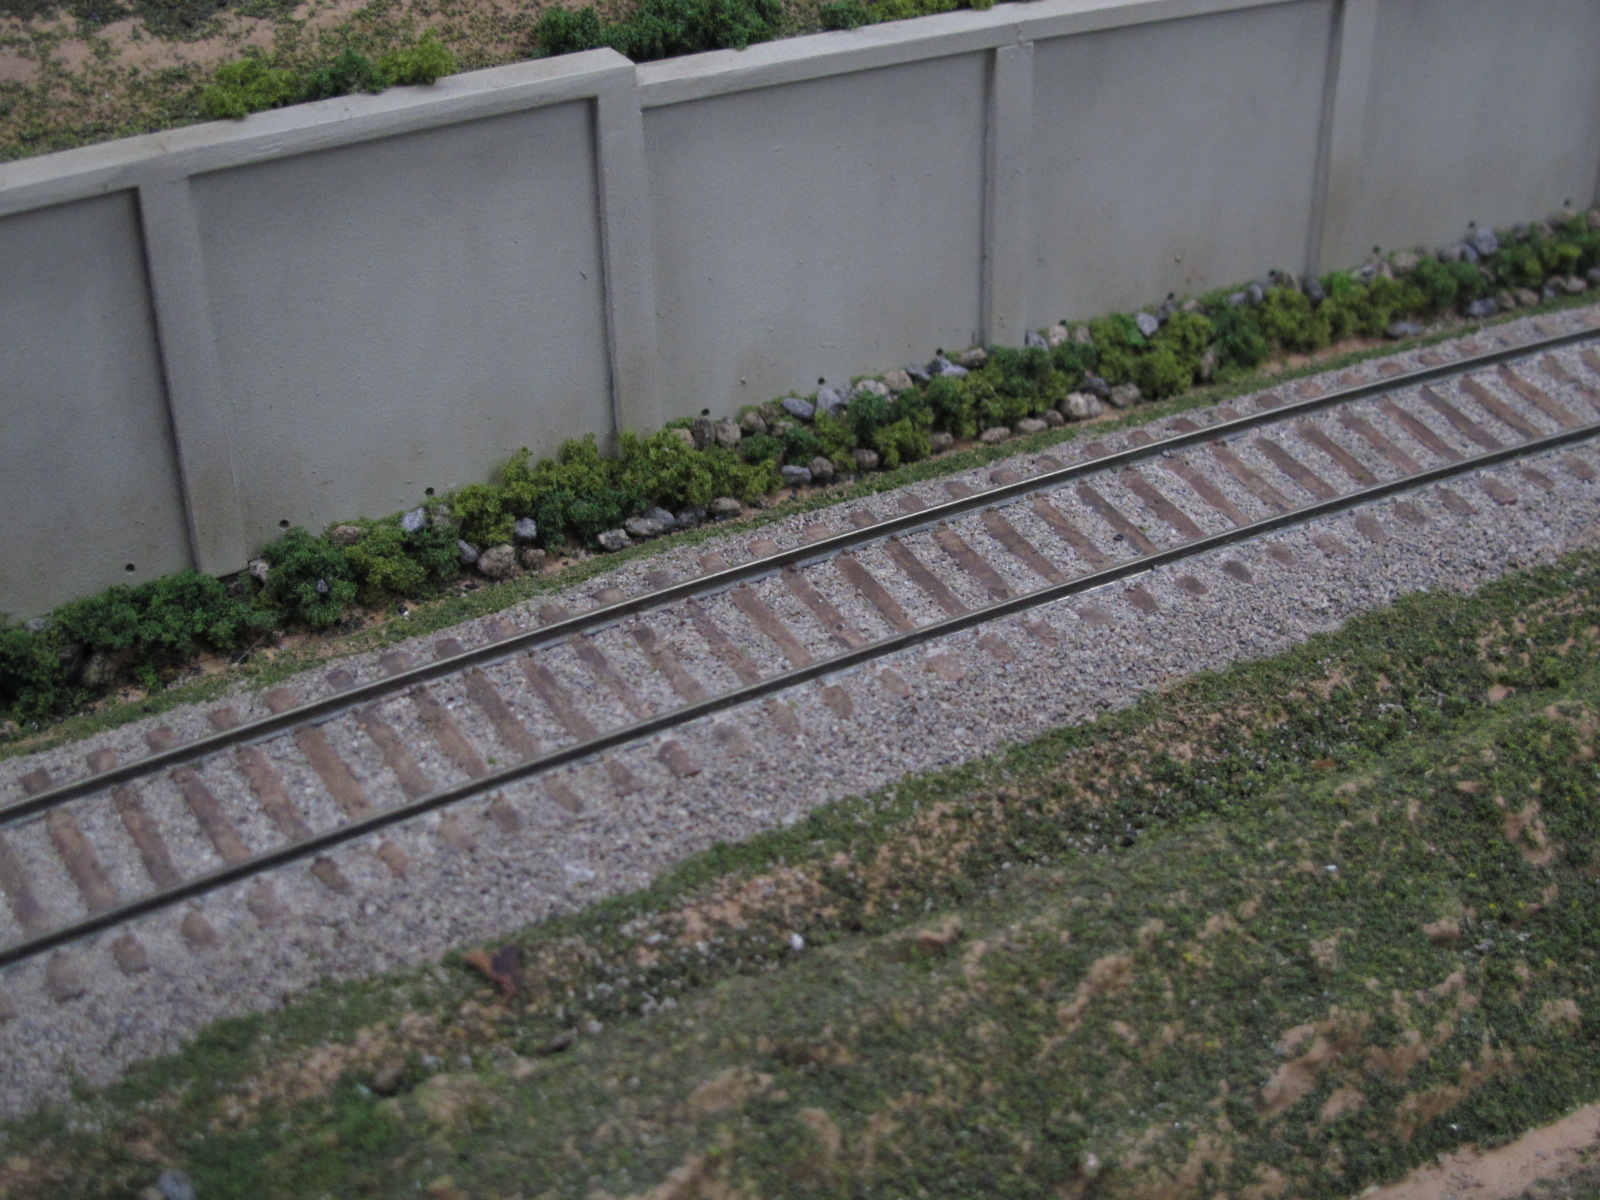
Lower concrete wall |
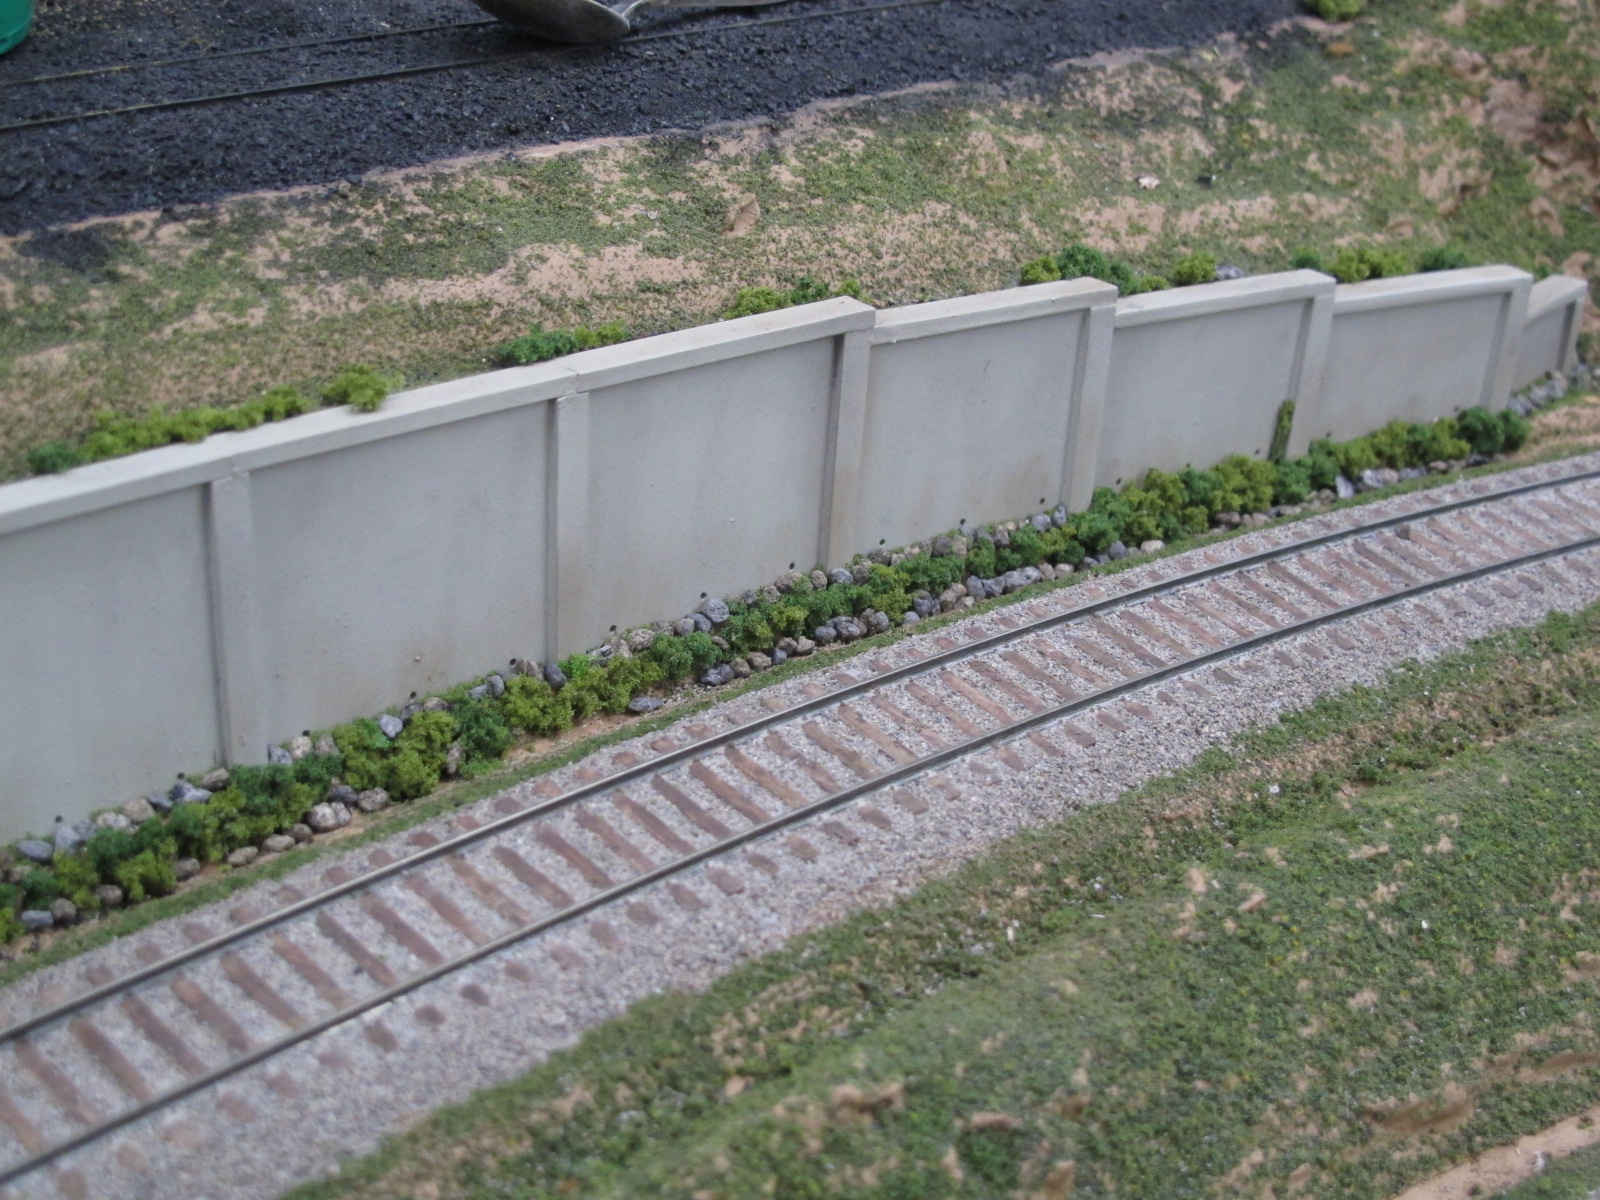
Upper concrete wall |
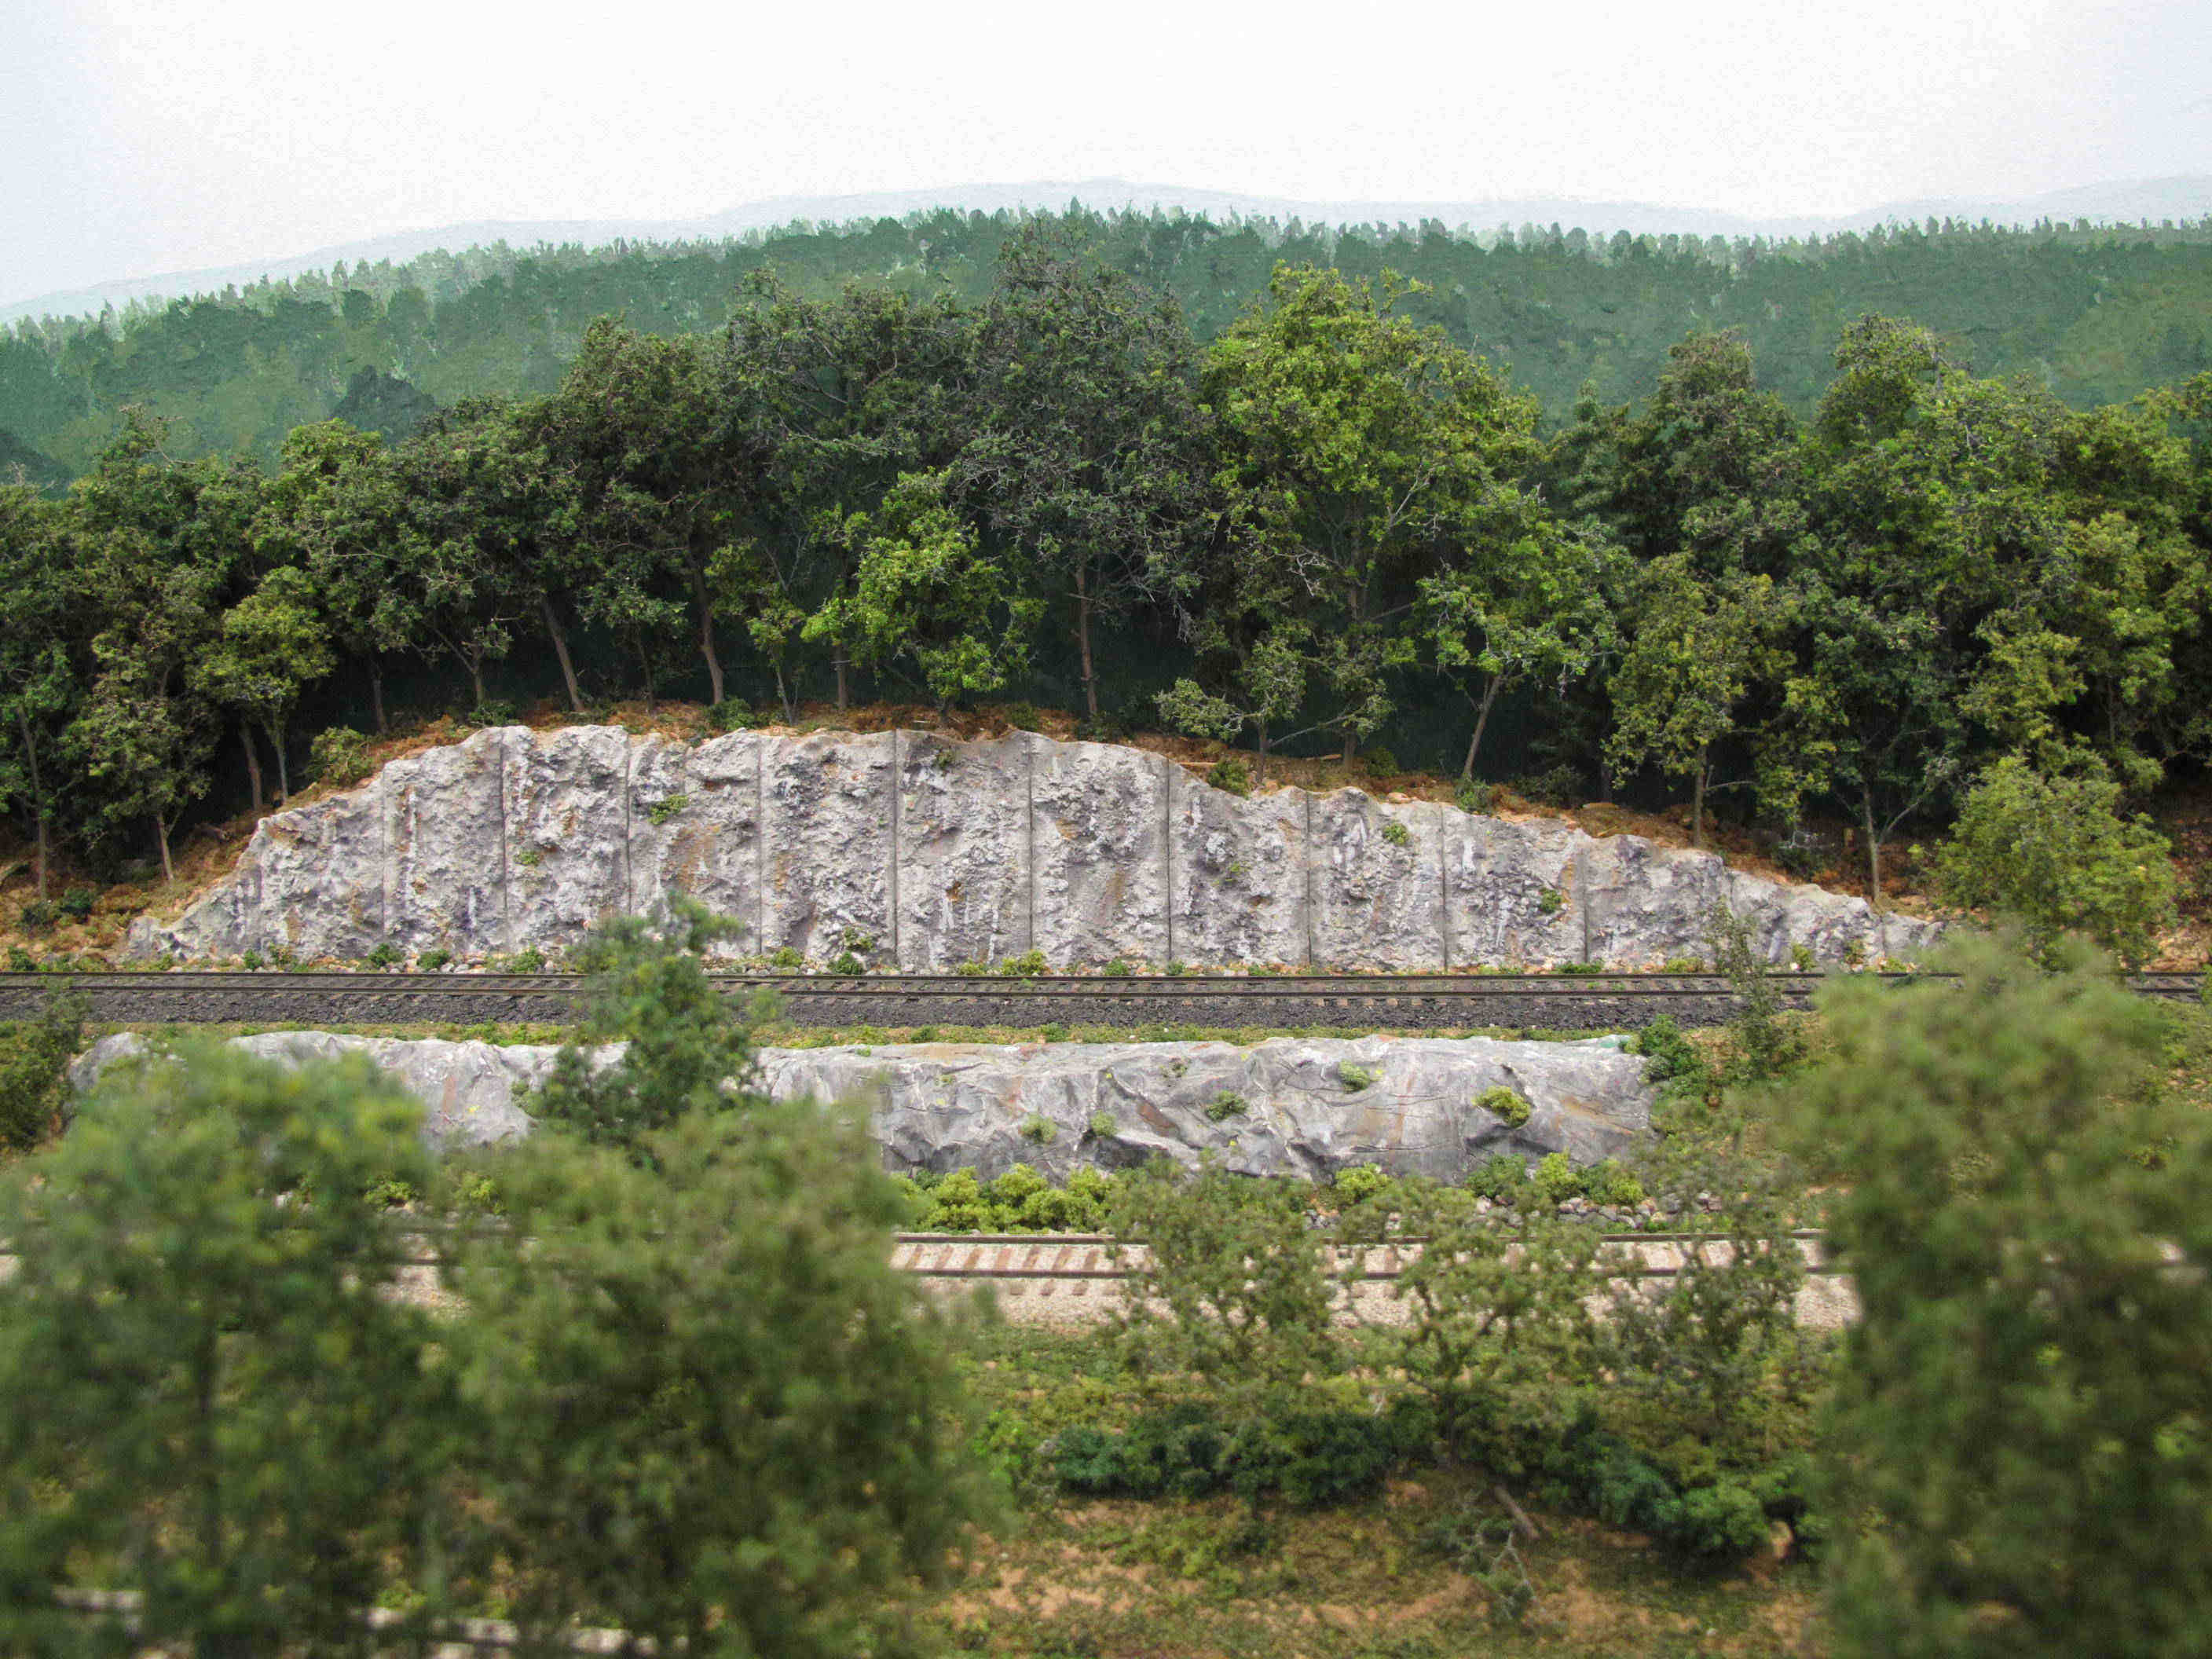
Dynamited mountainside |
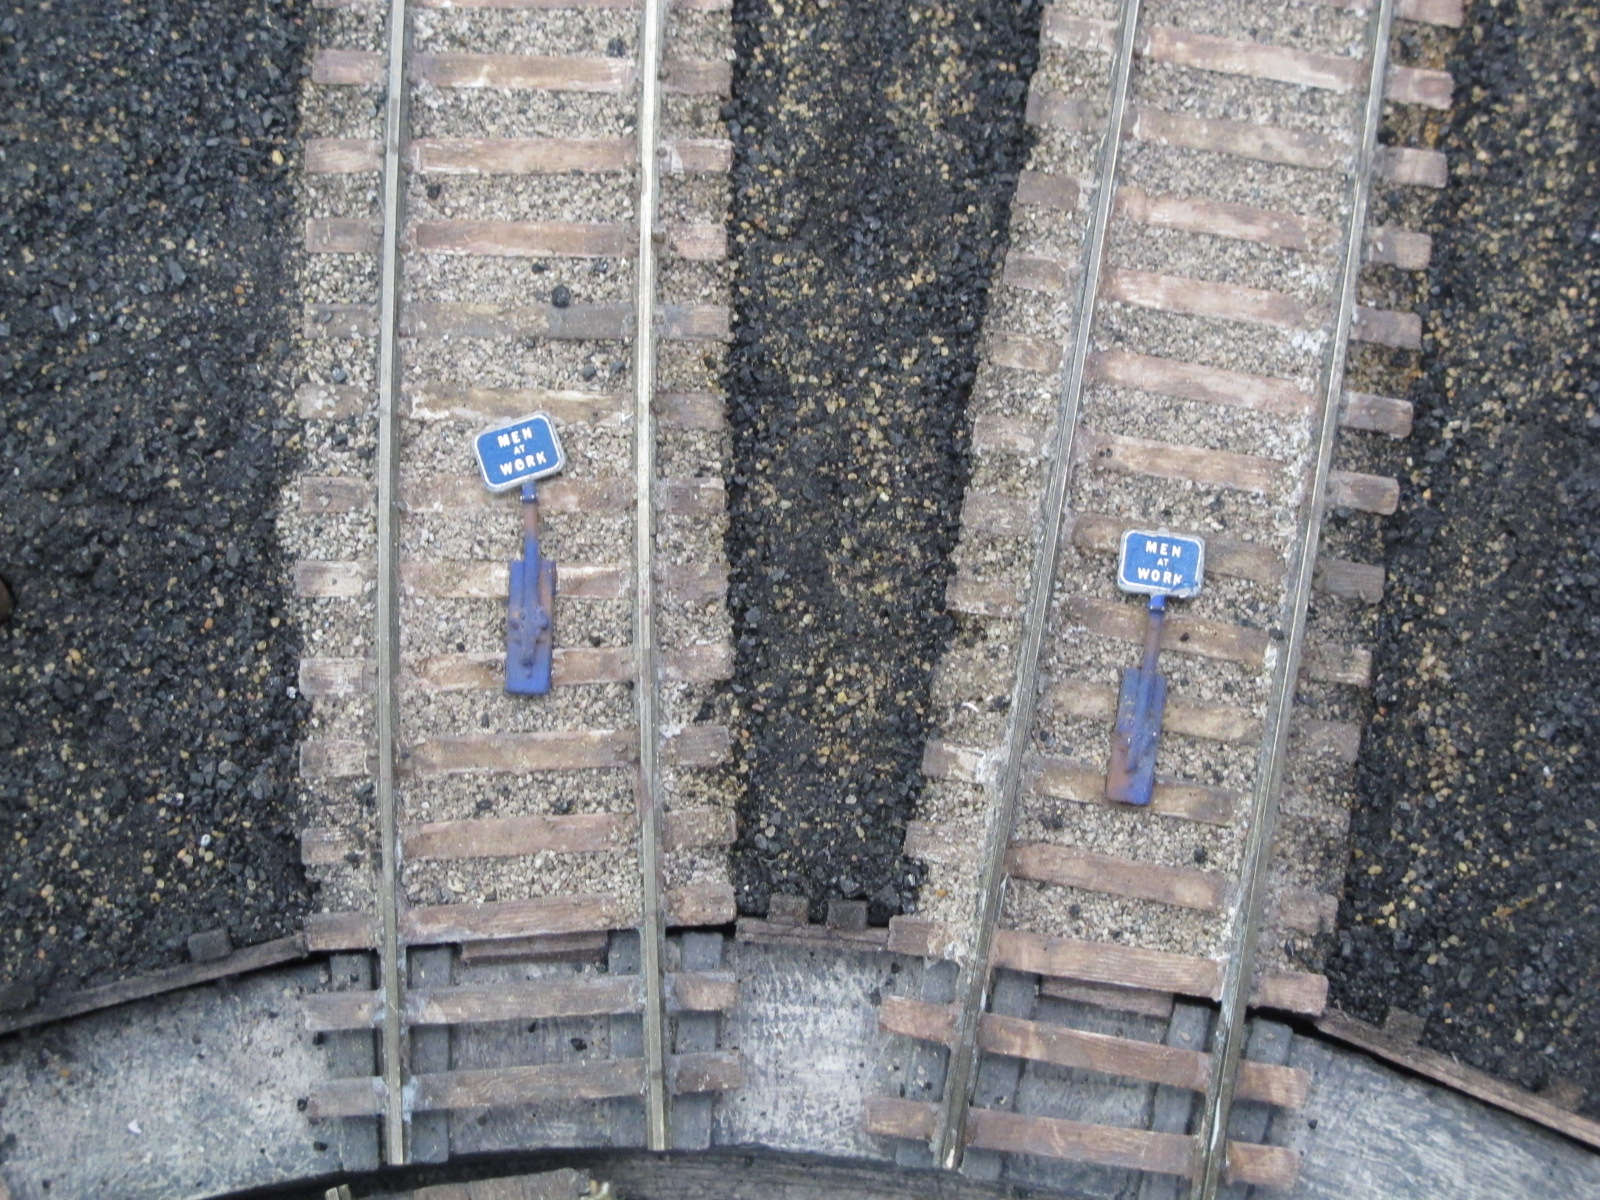
Men at work signs on ends
of A and D tracks |
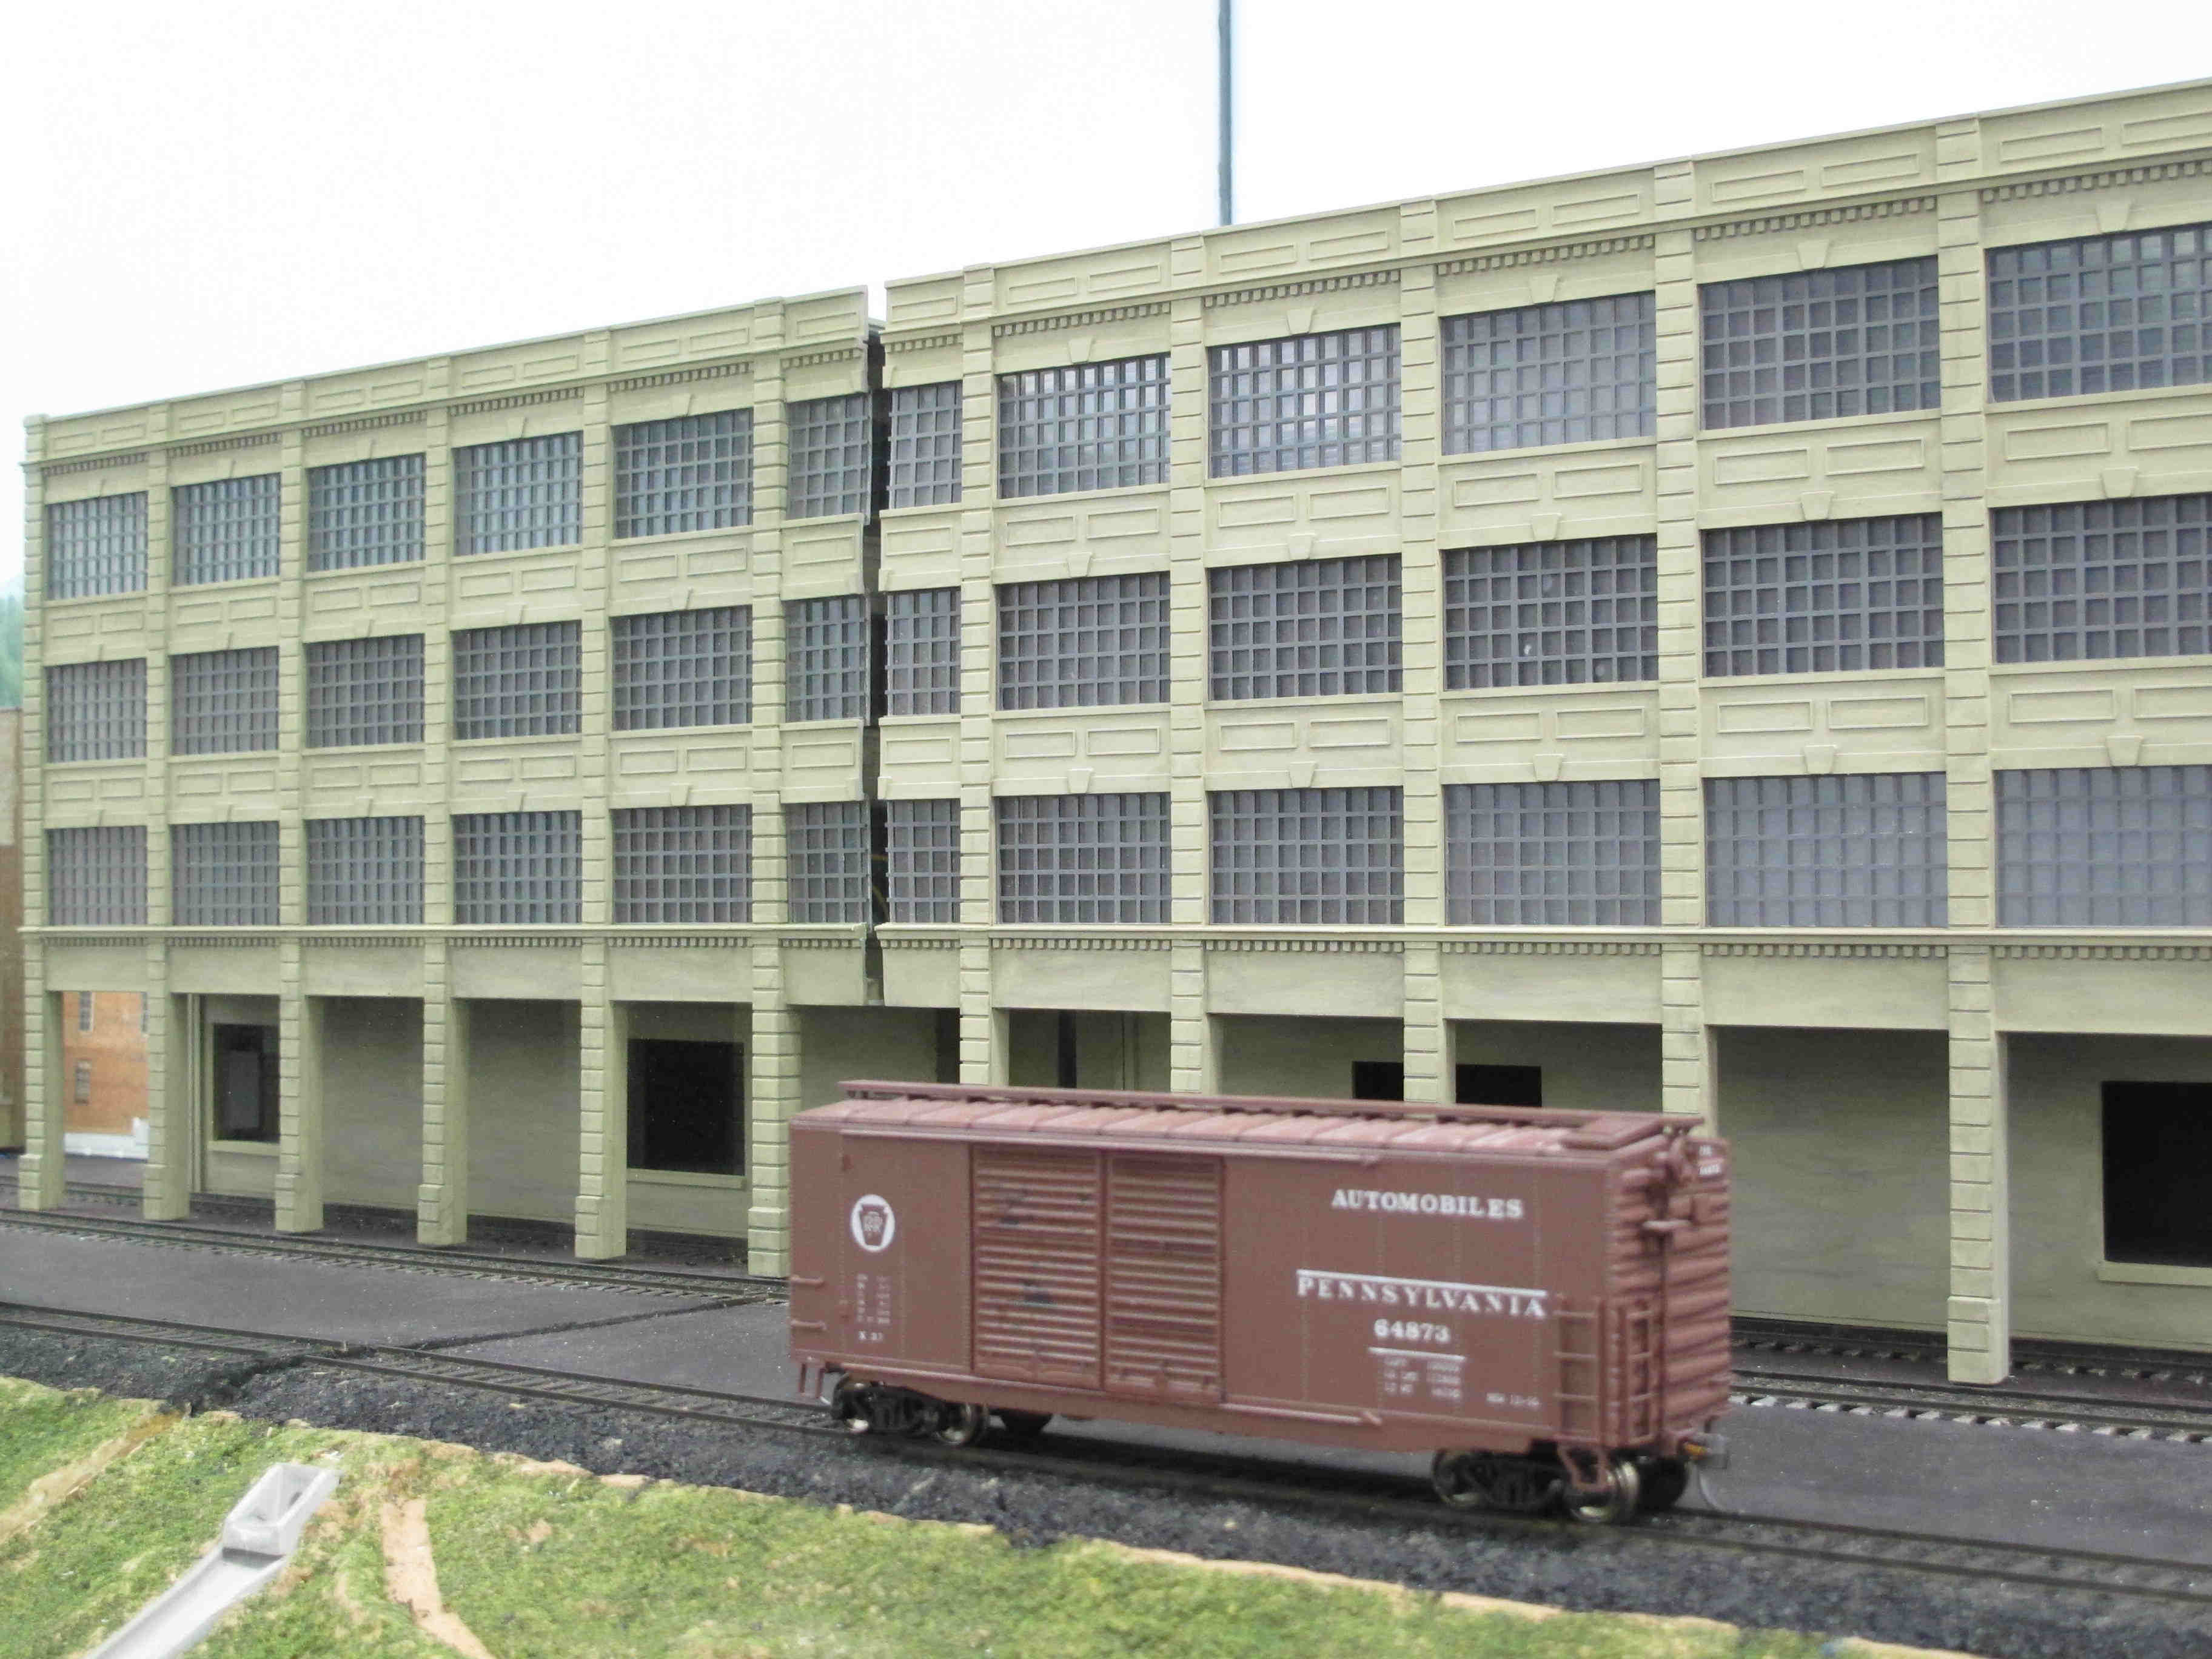
CA Reed building abbutted
to mirror-UGLY gap |
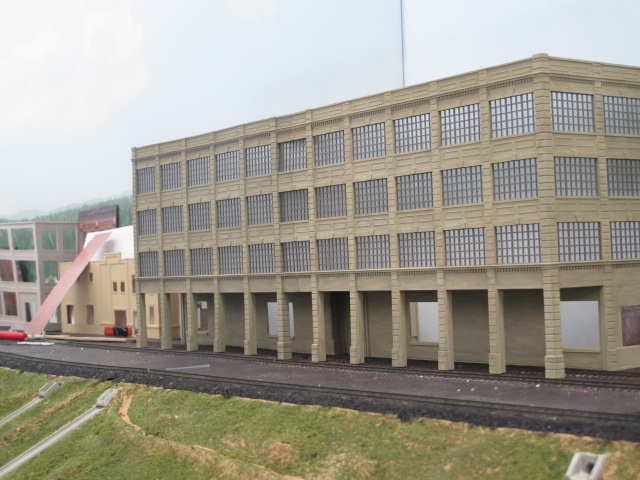
CA Reed building abbutted
to piece of 5mm Graphix™
mylar-NO gap |
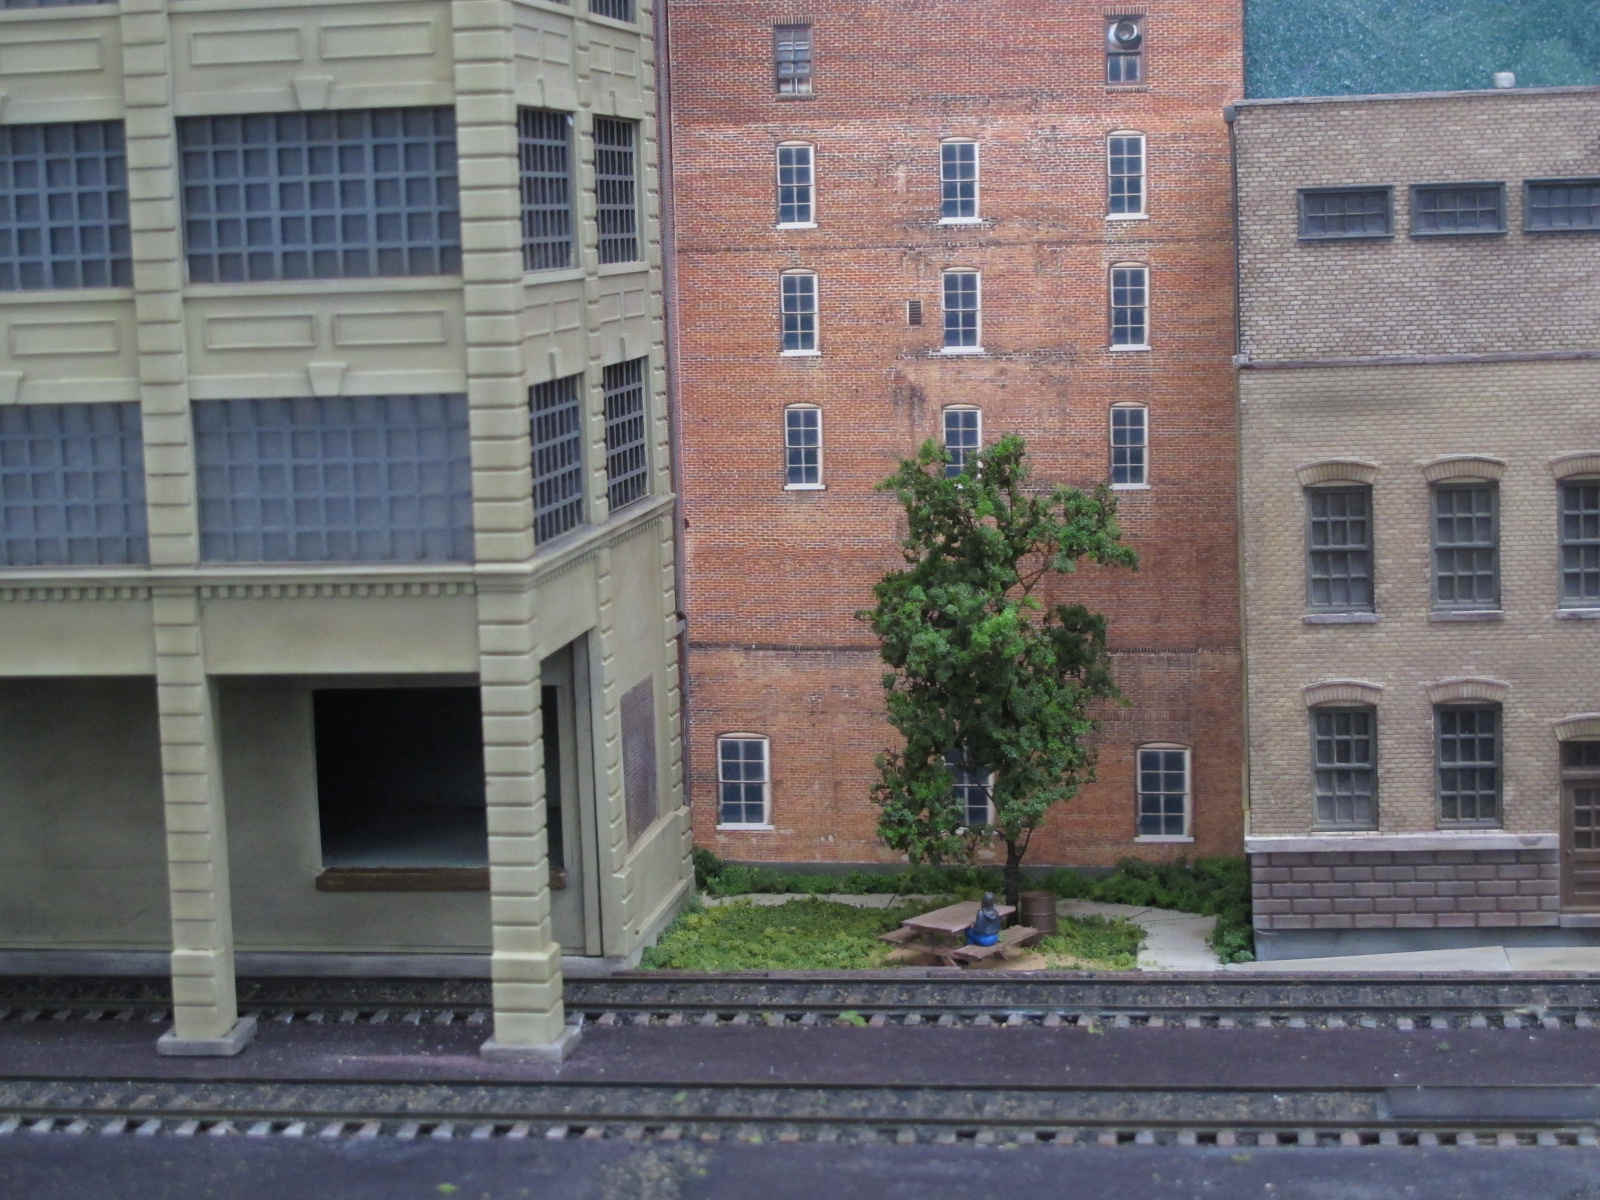
Lady on picnic bench |
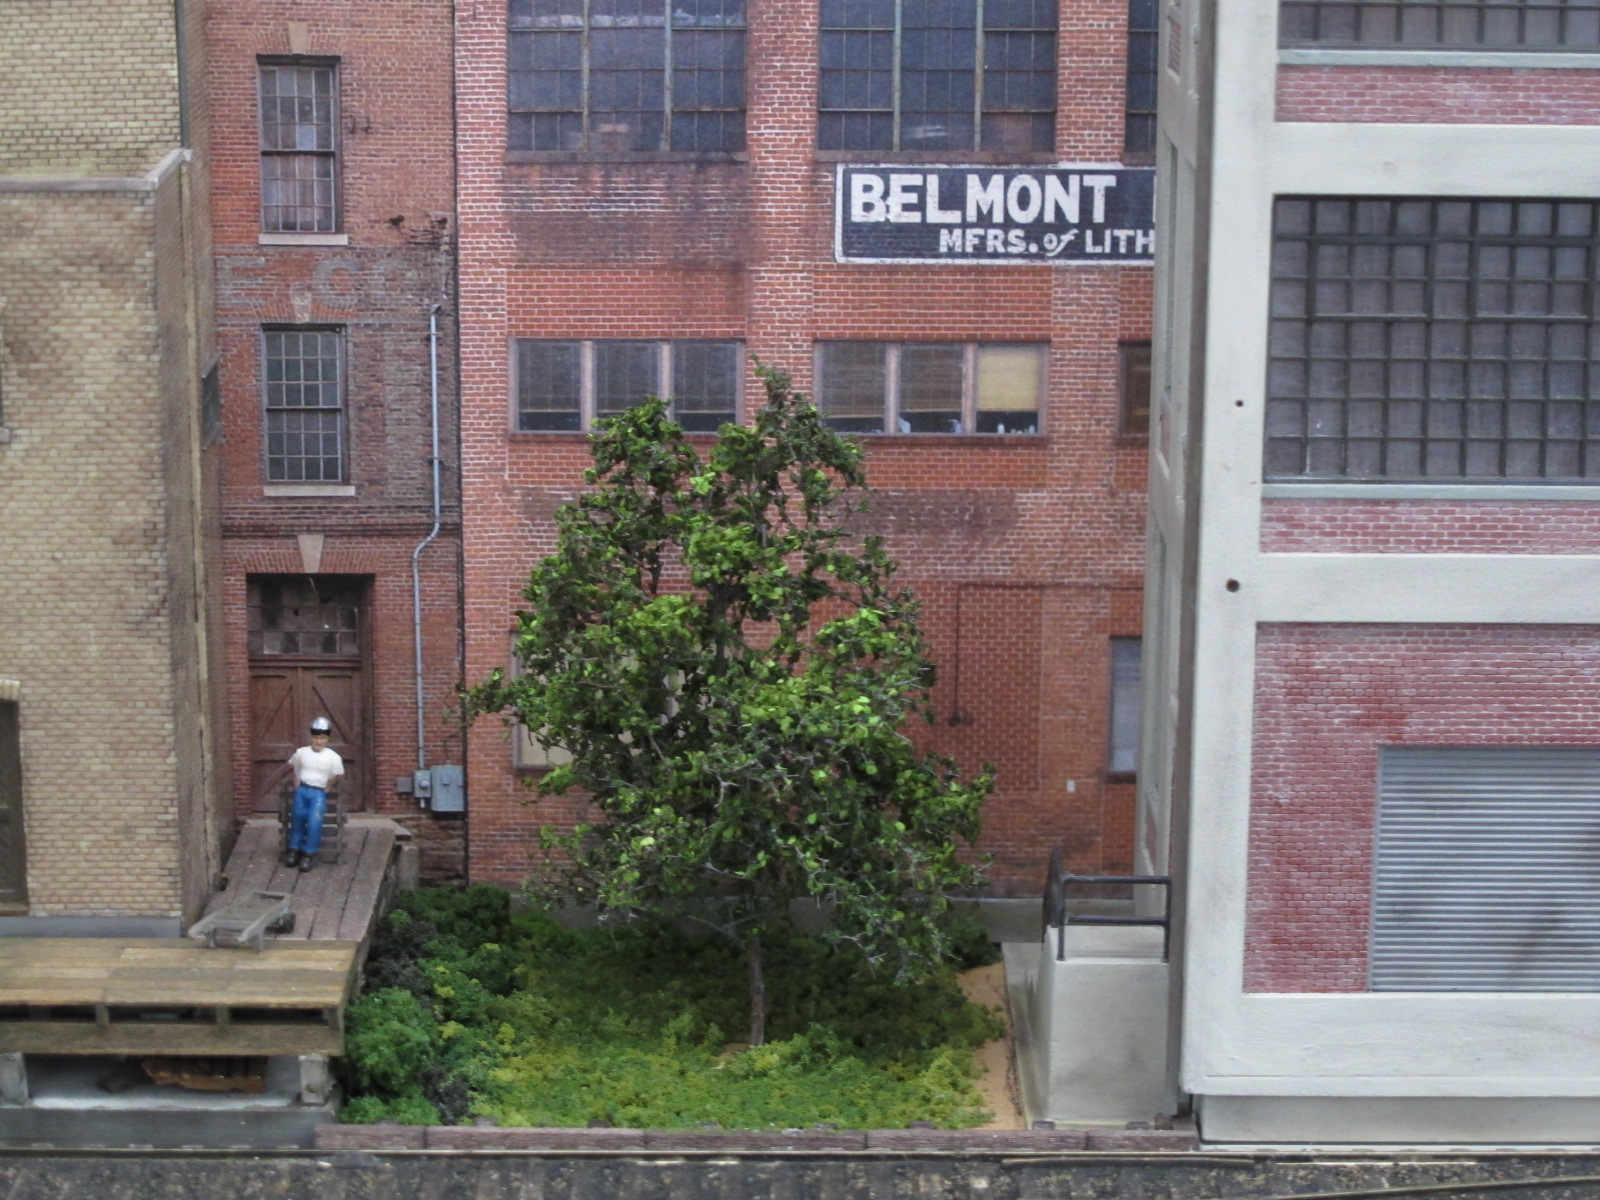
Worker exiting digital
print building |
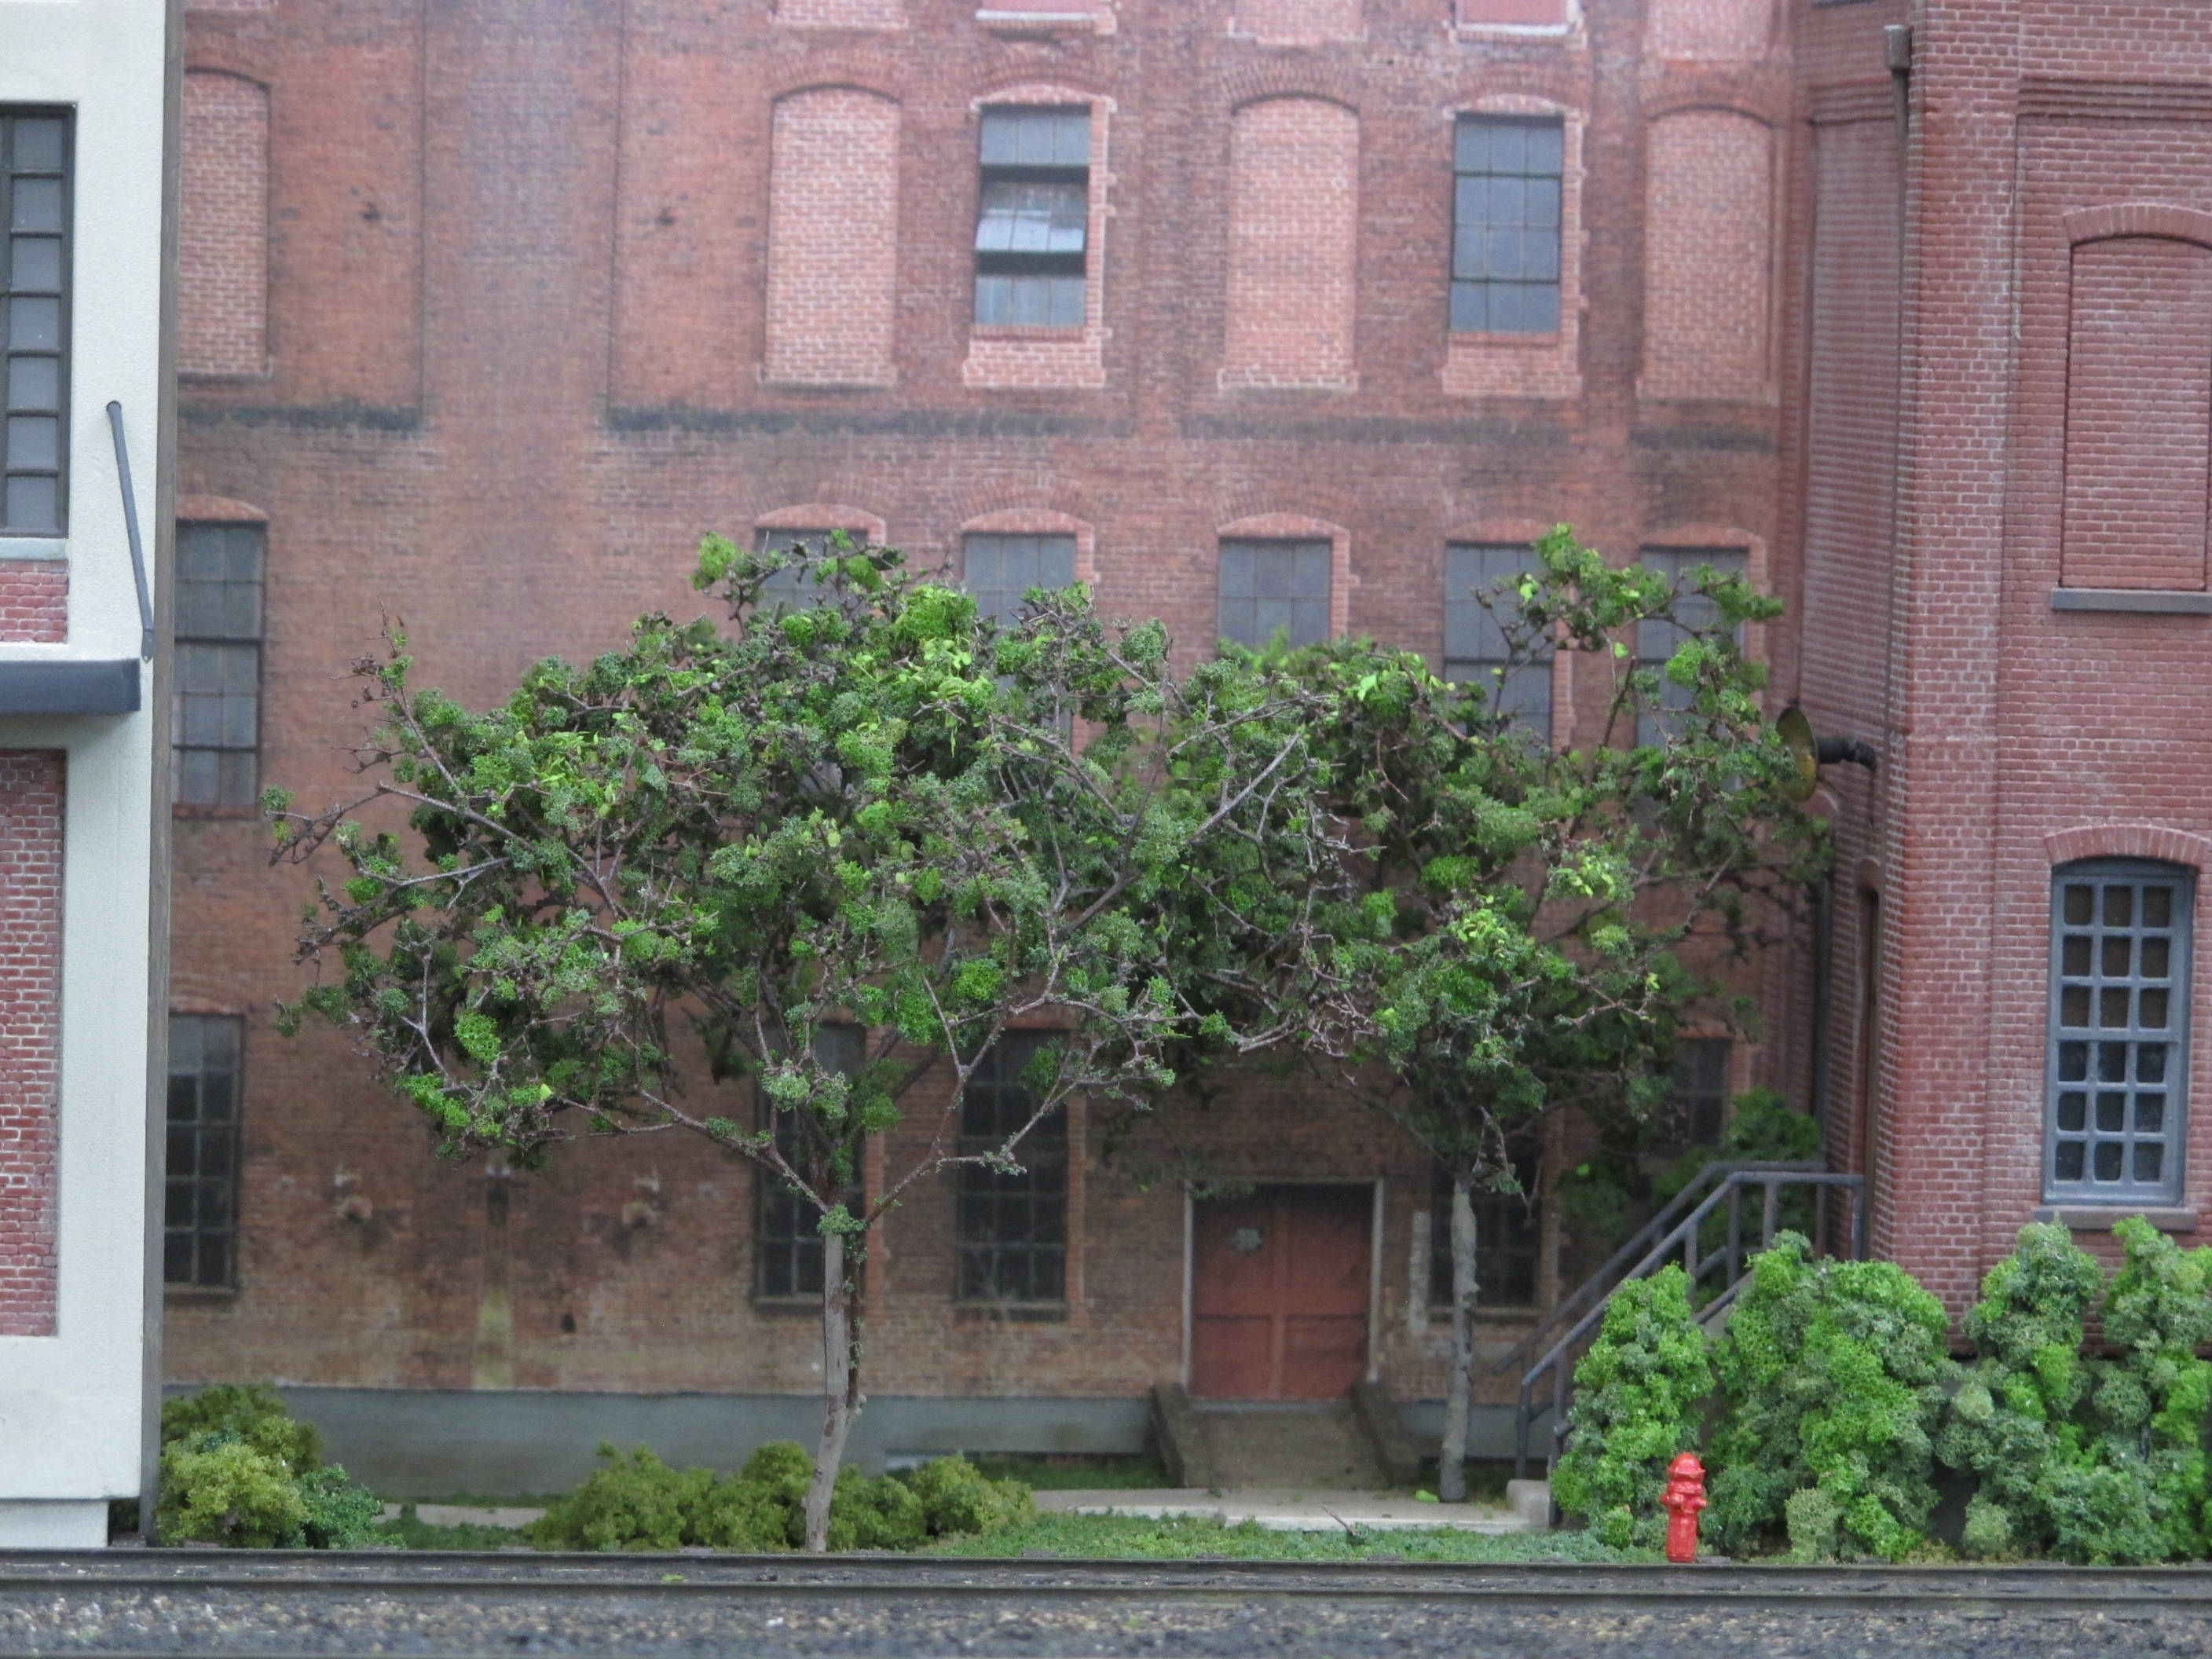
Fireplug |
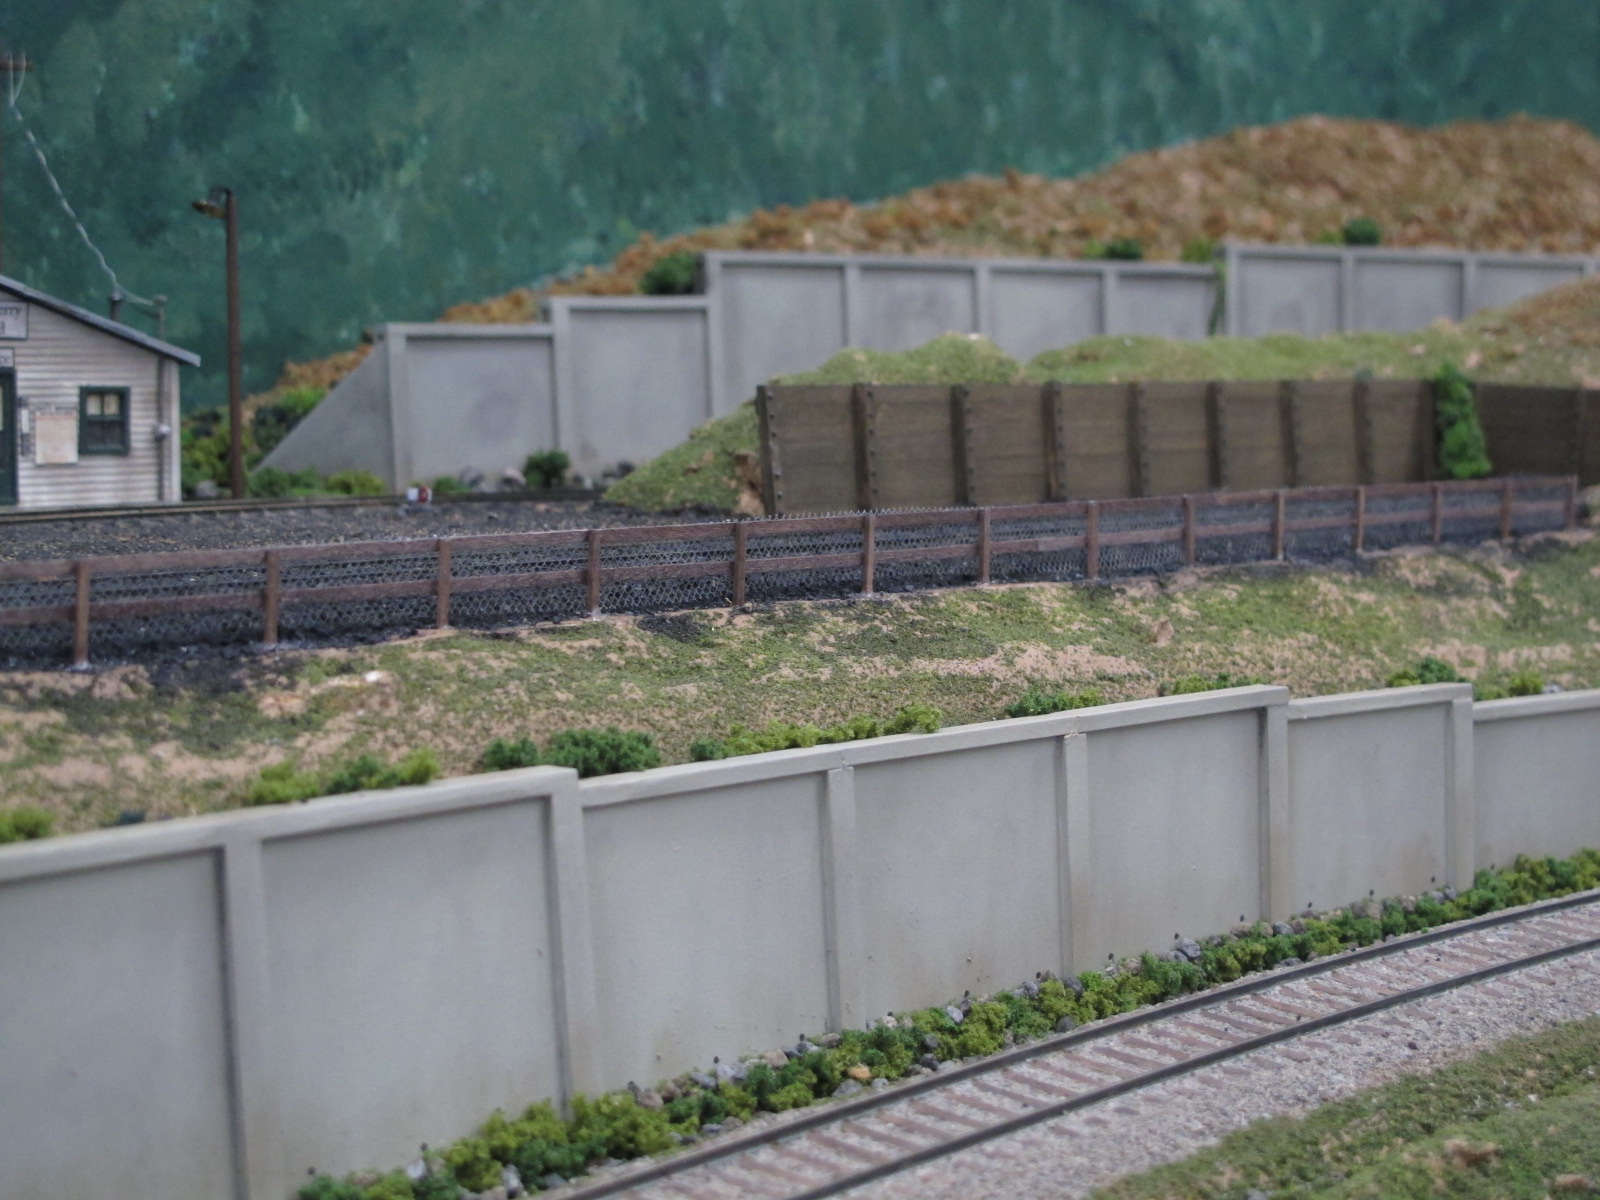
Fence along clean out track |
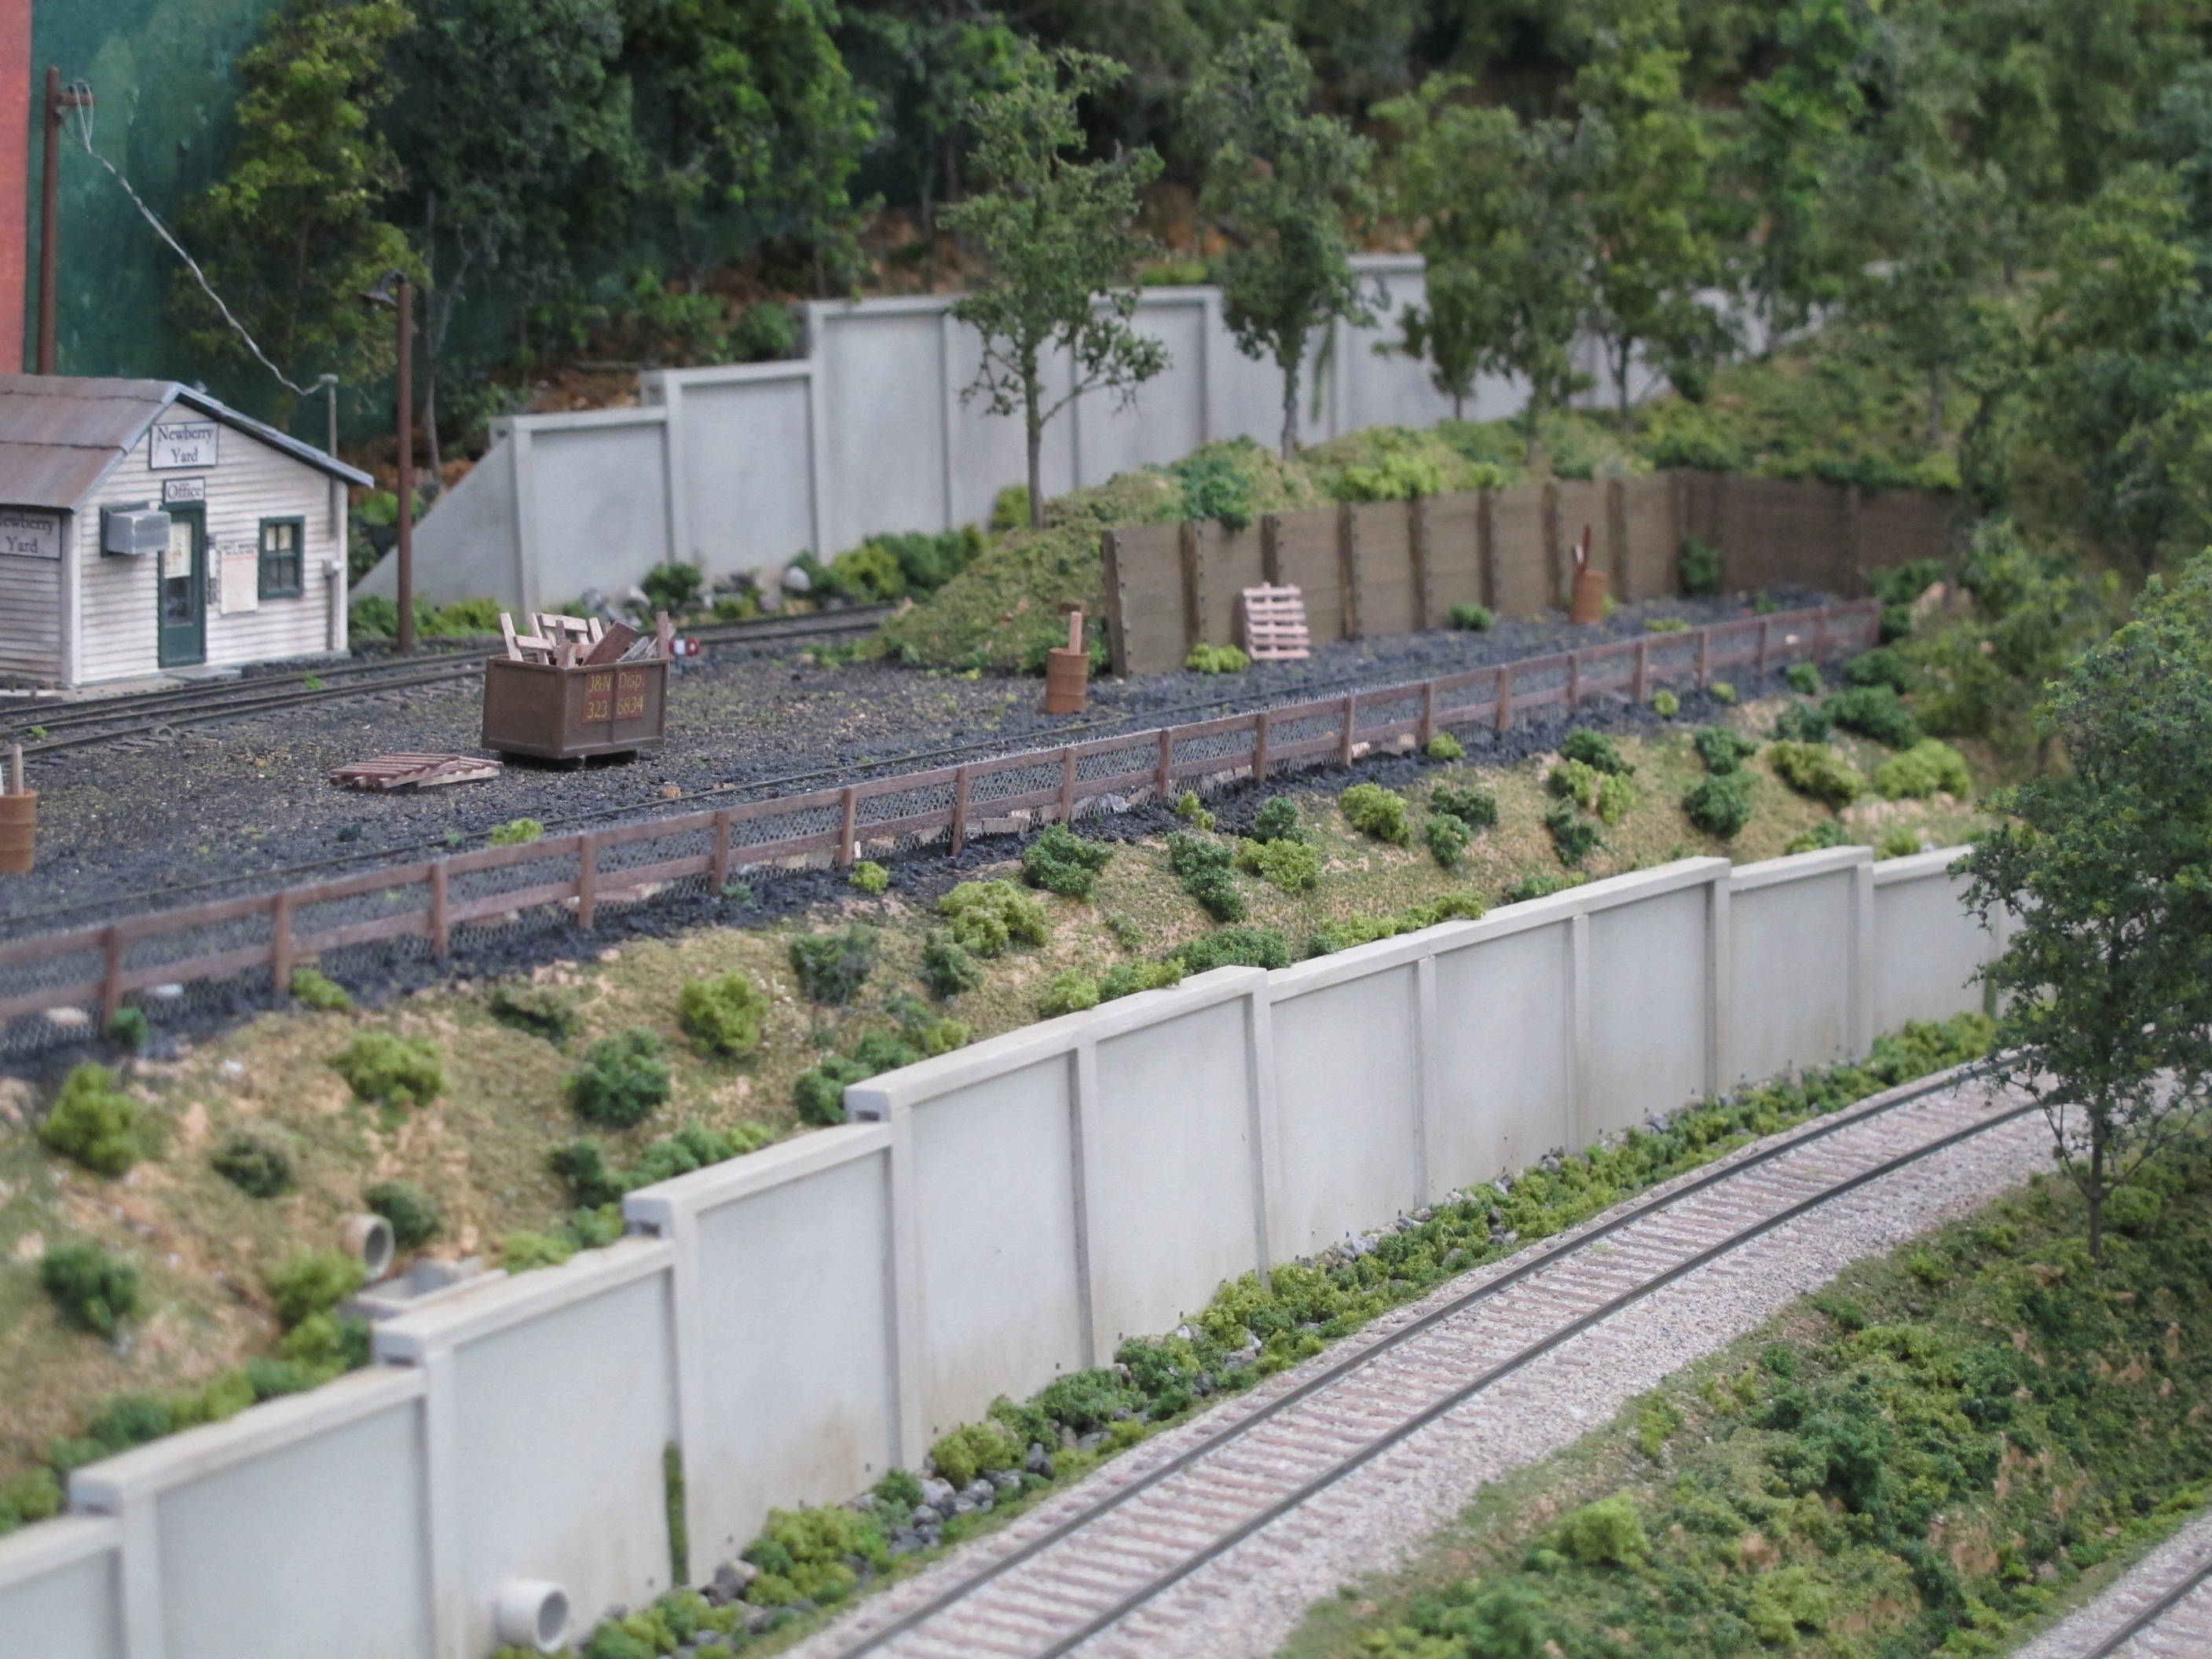
Clean out track |
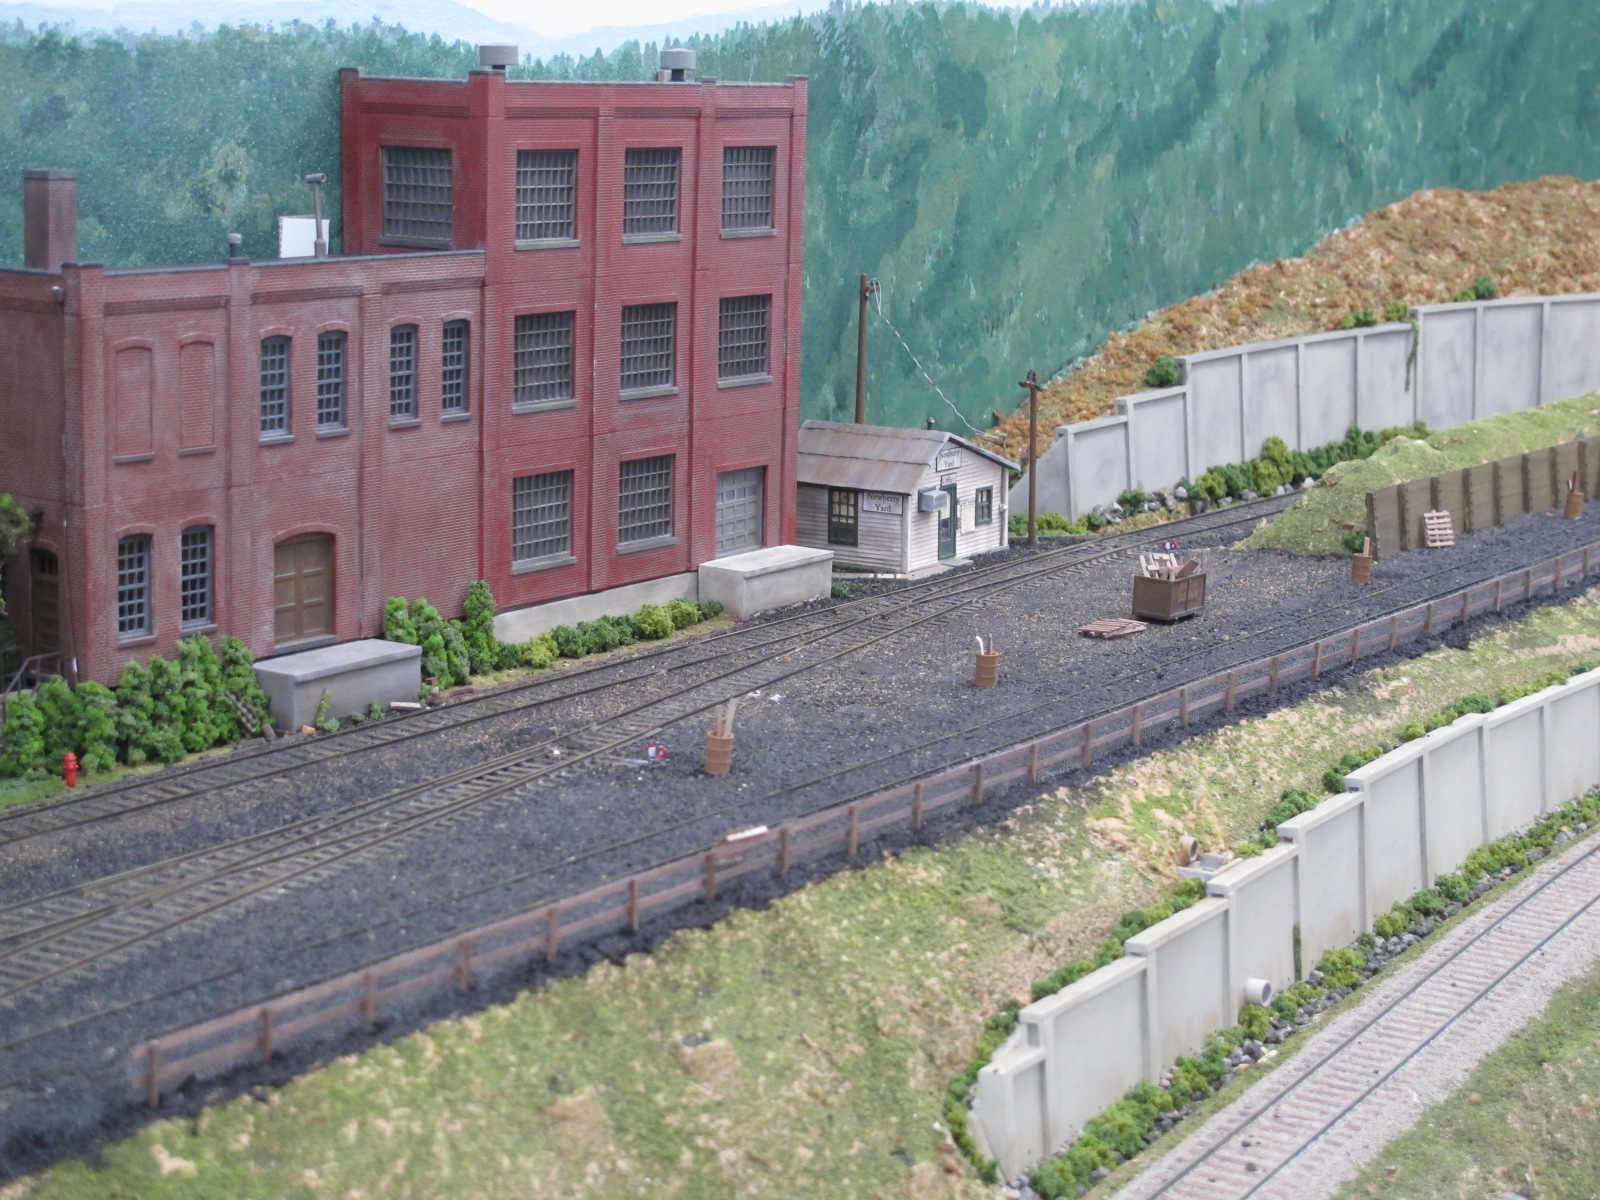
Aerial view of cleanout track |
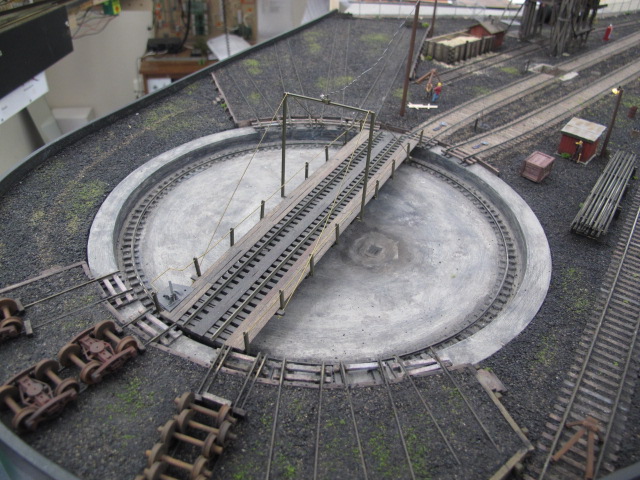
Turntable |
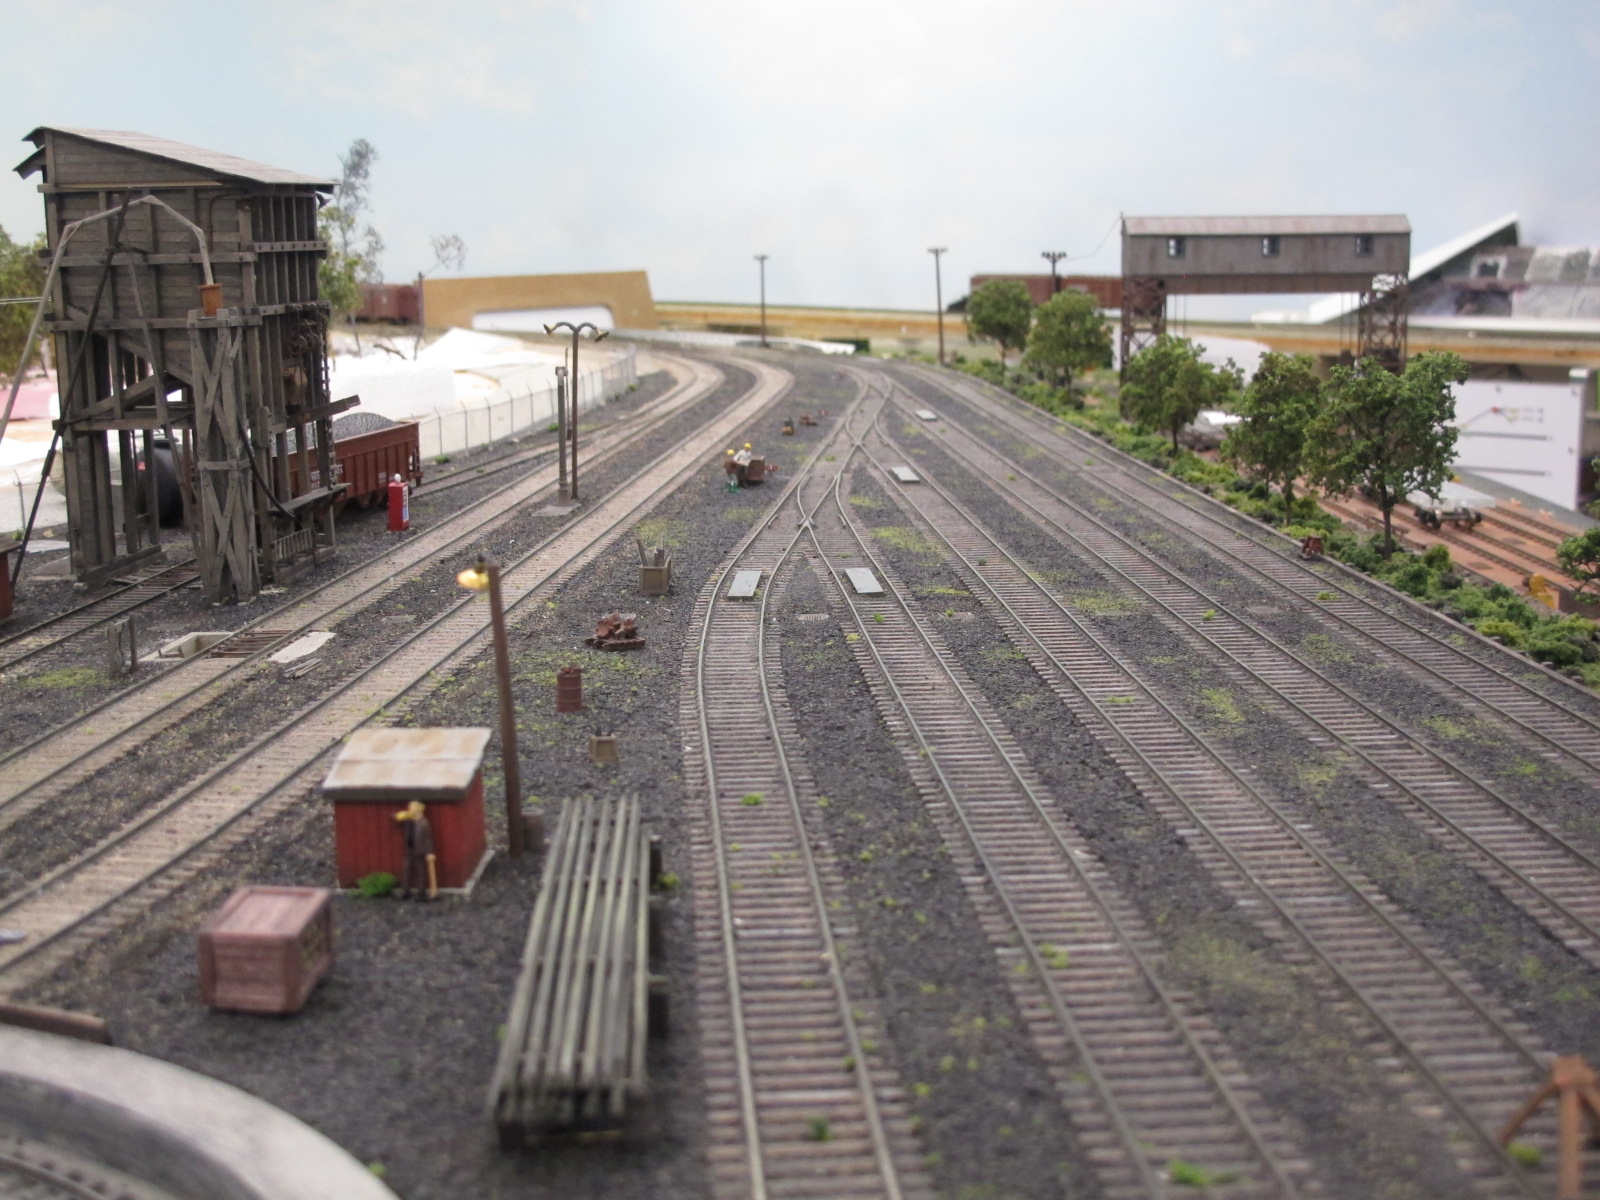
Riverside Yard
|
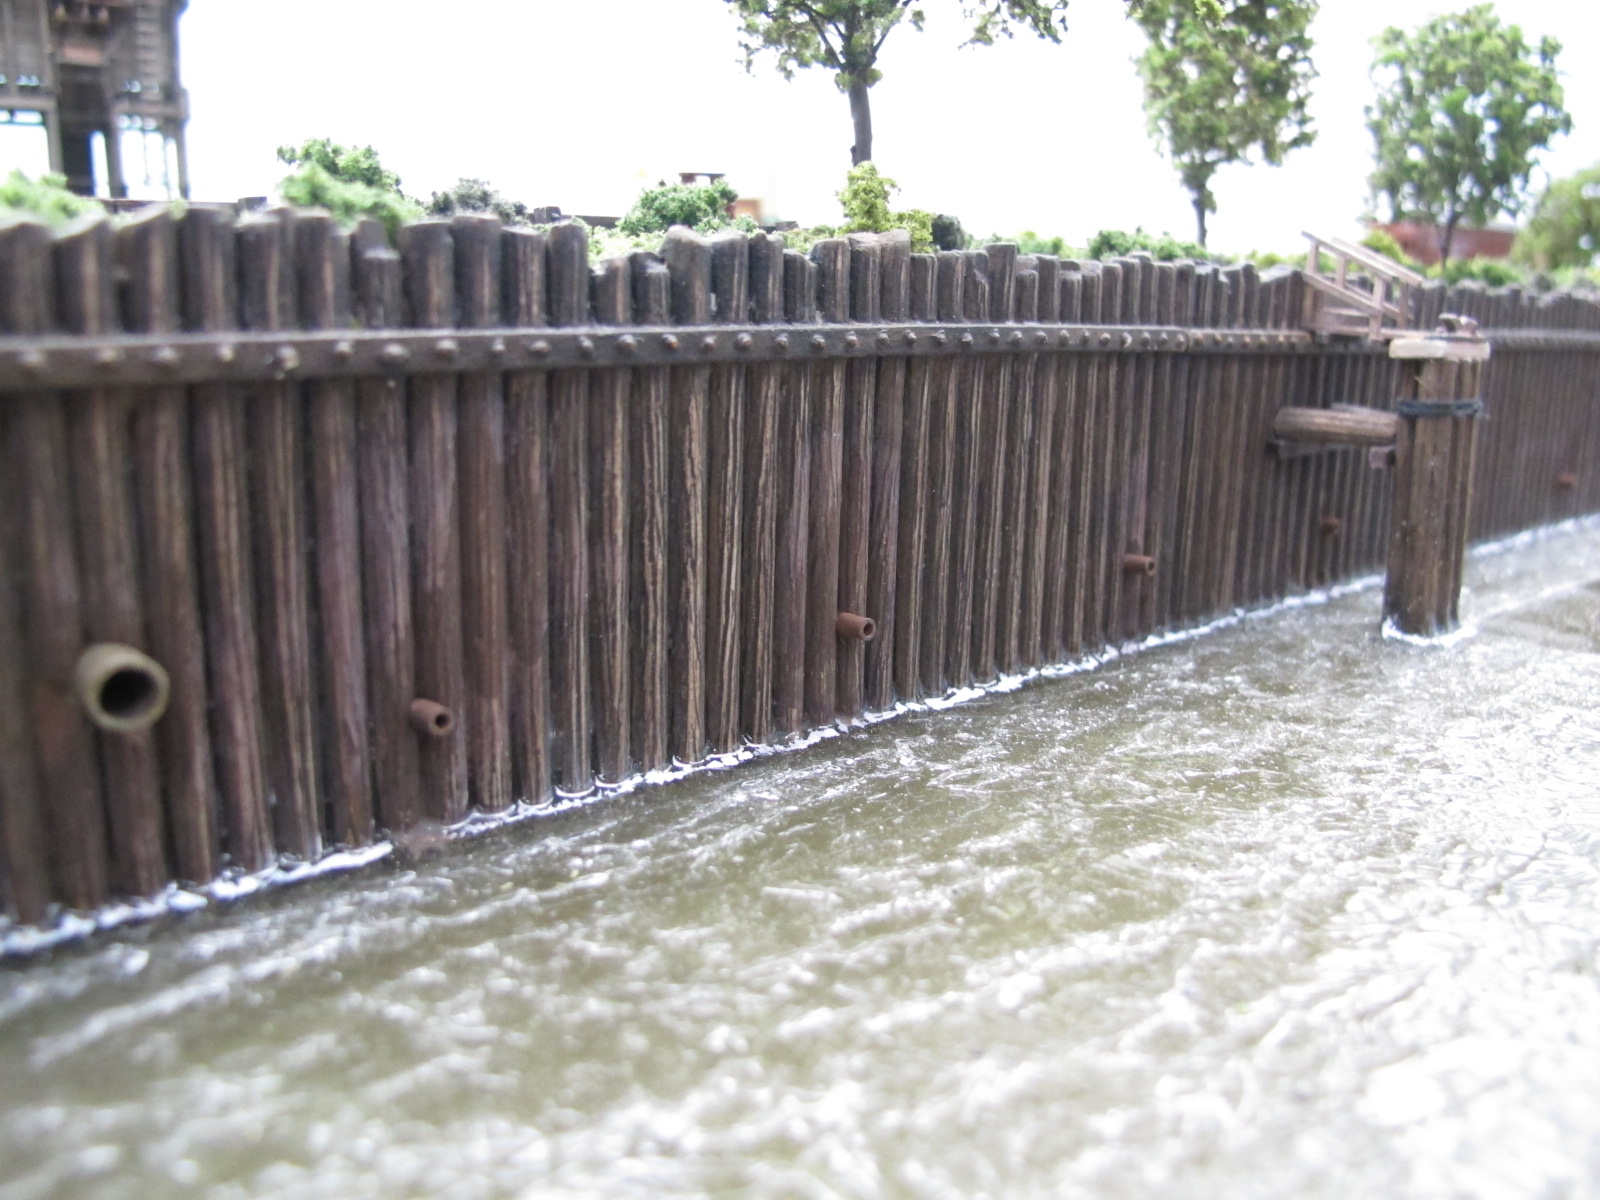
Pier retaining wall |
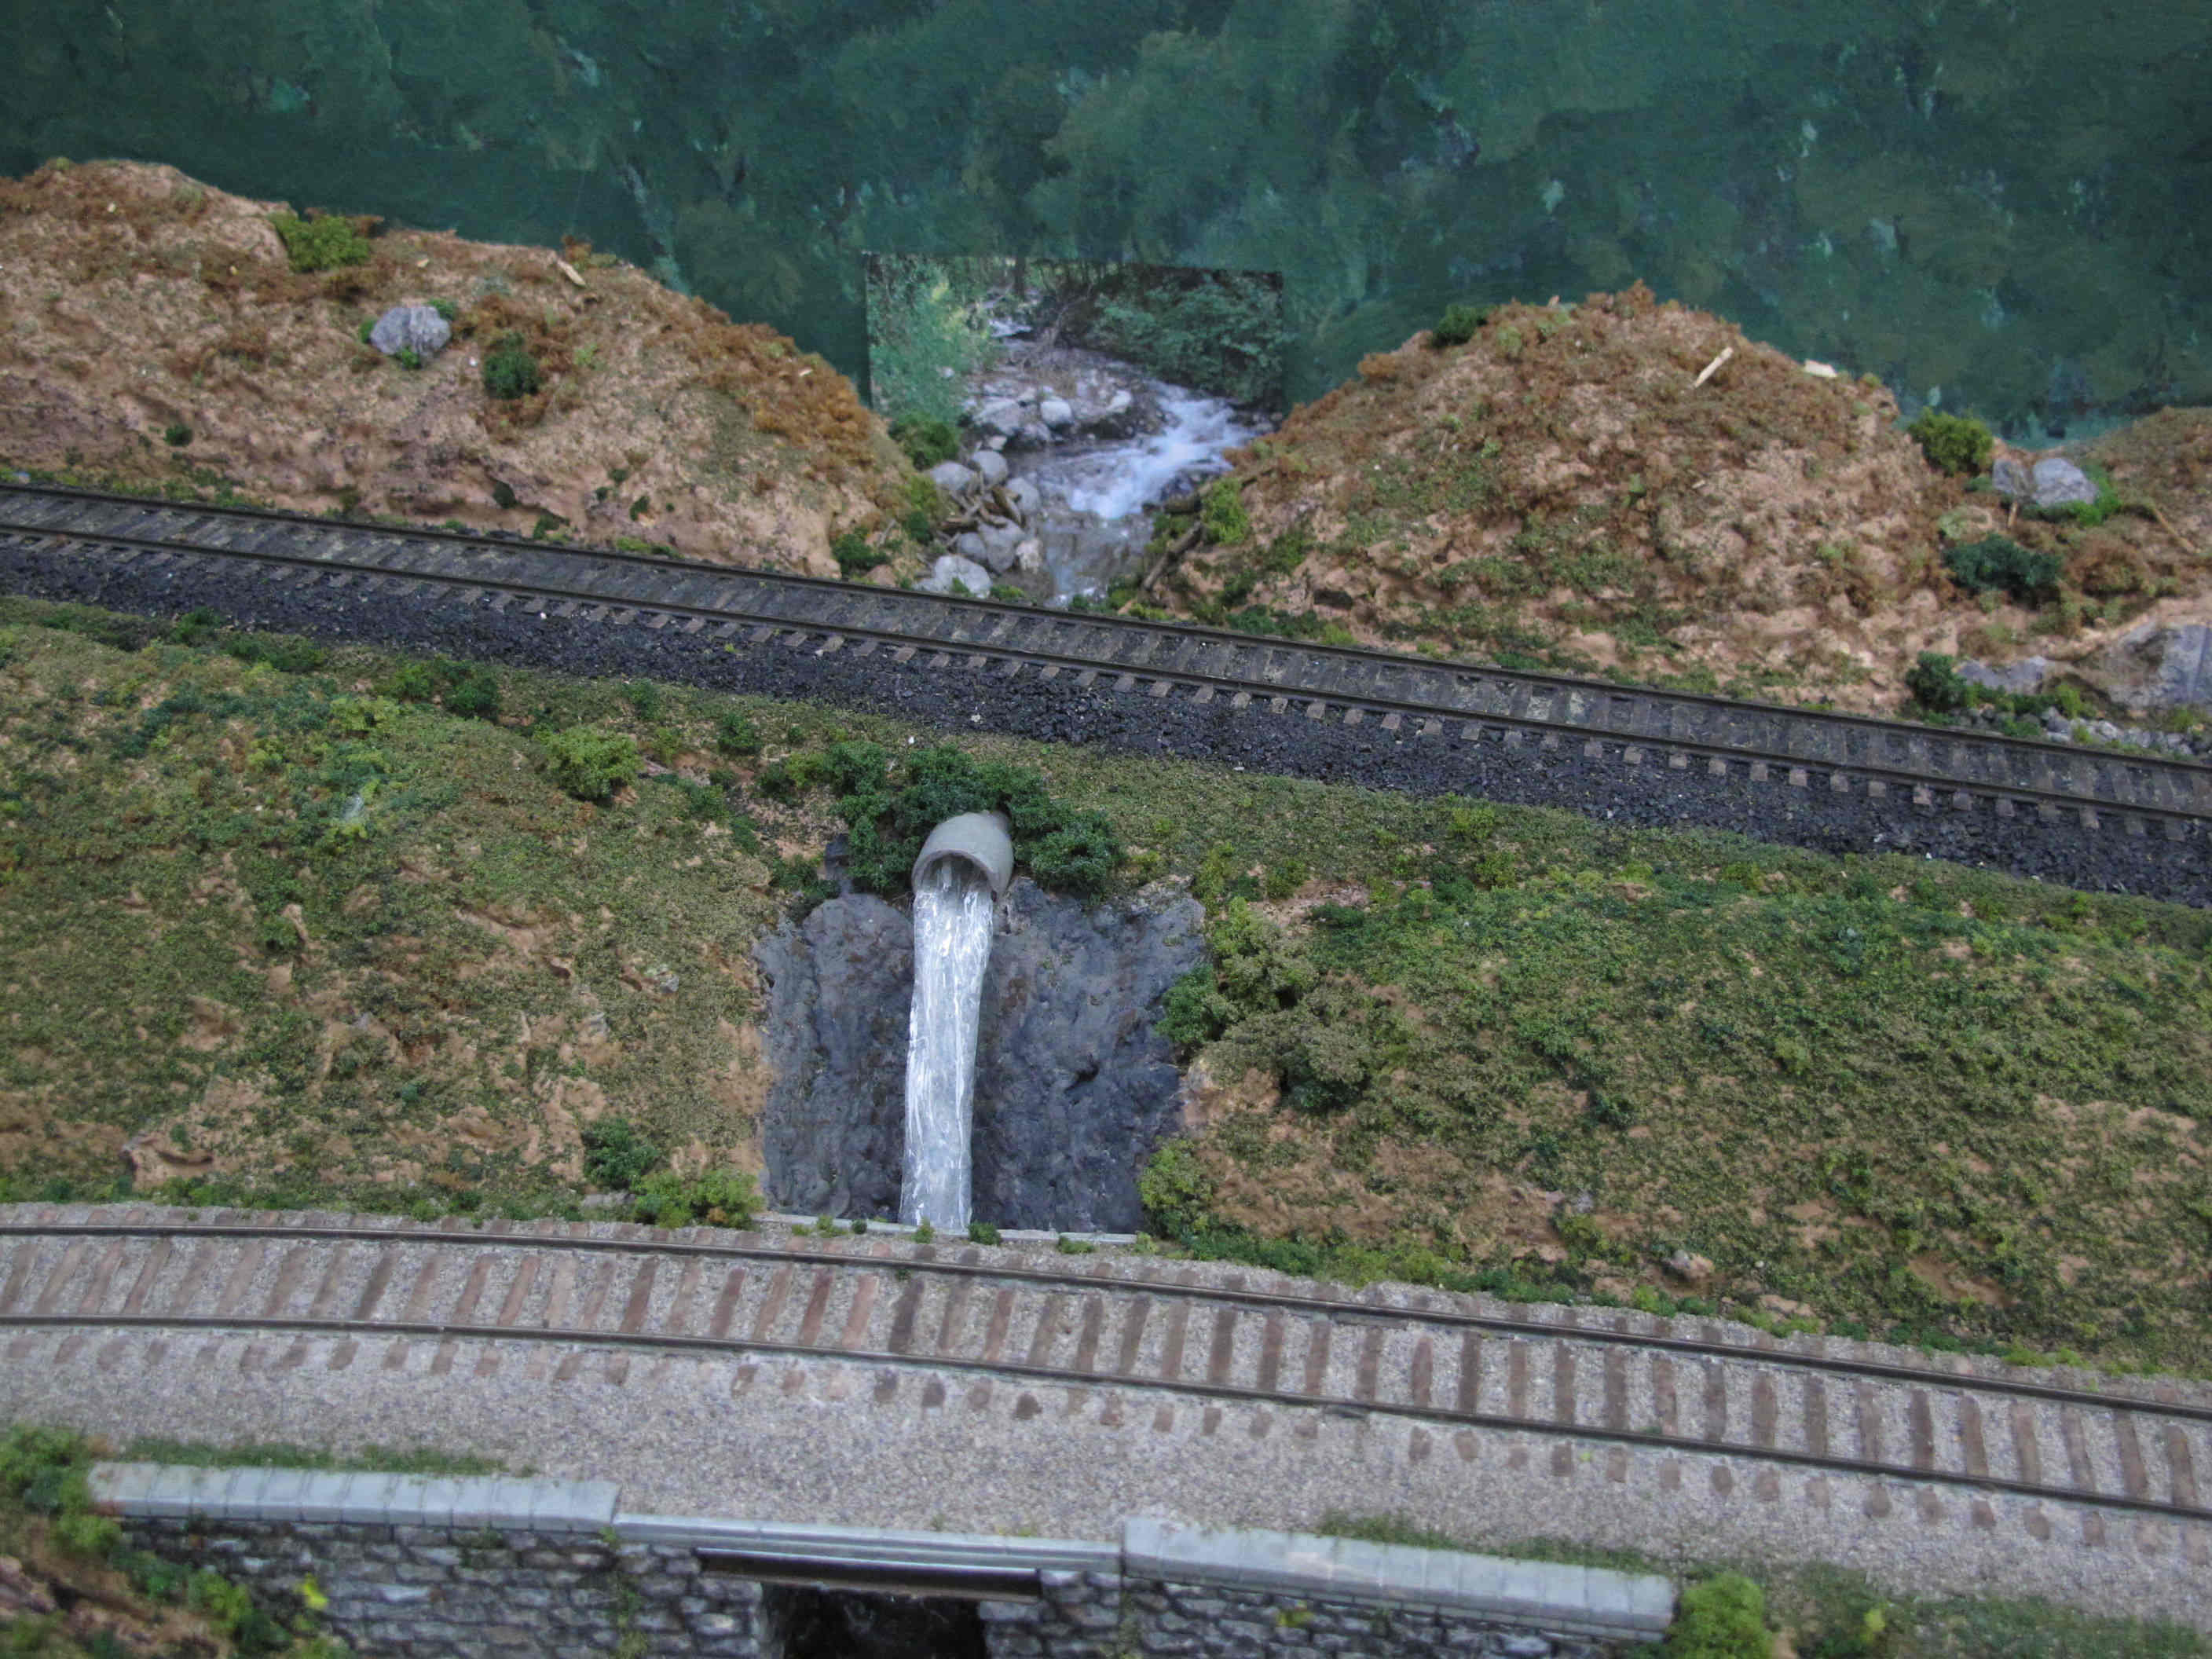
Stream photo attached
to backdrop to extend
stream back into the hills |
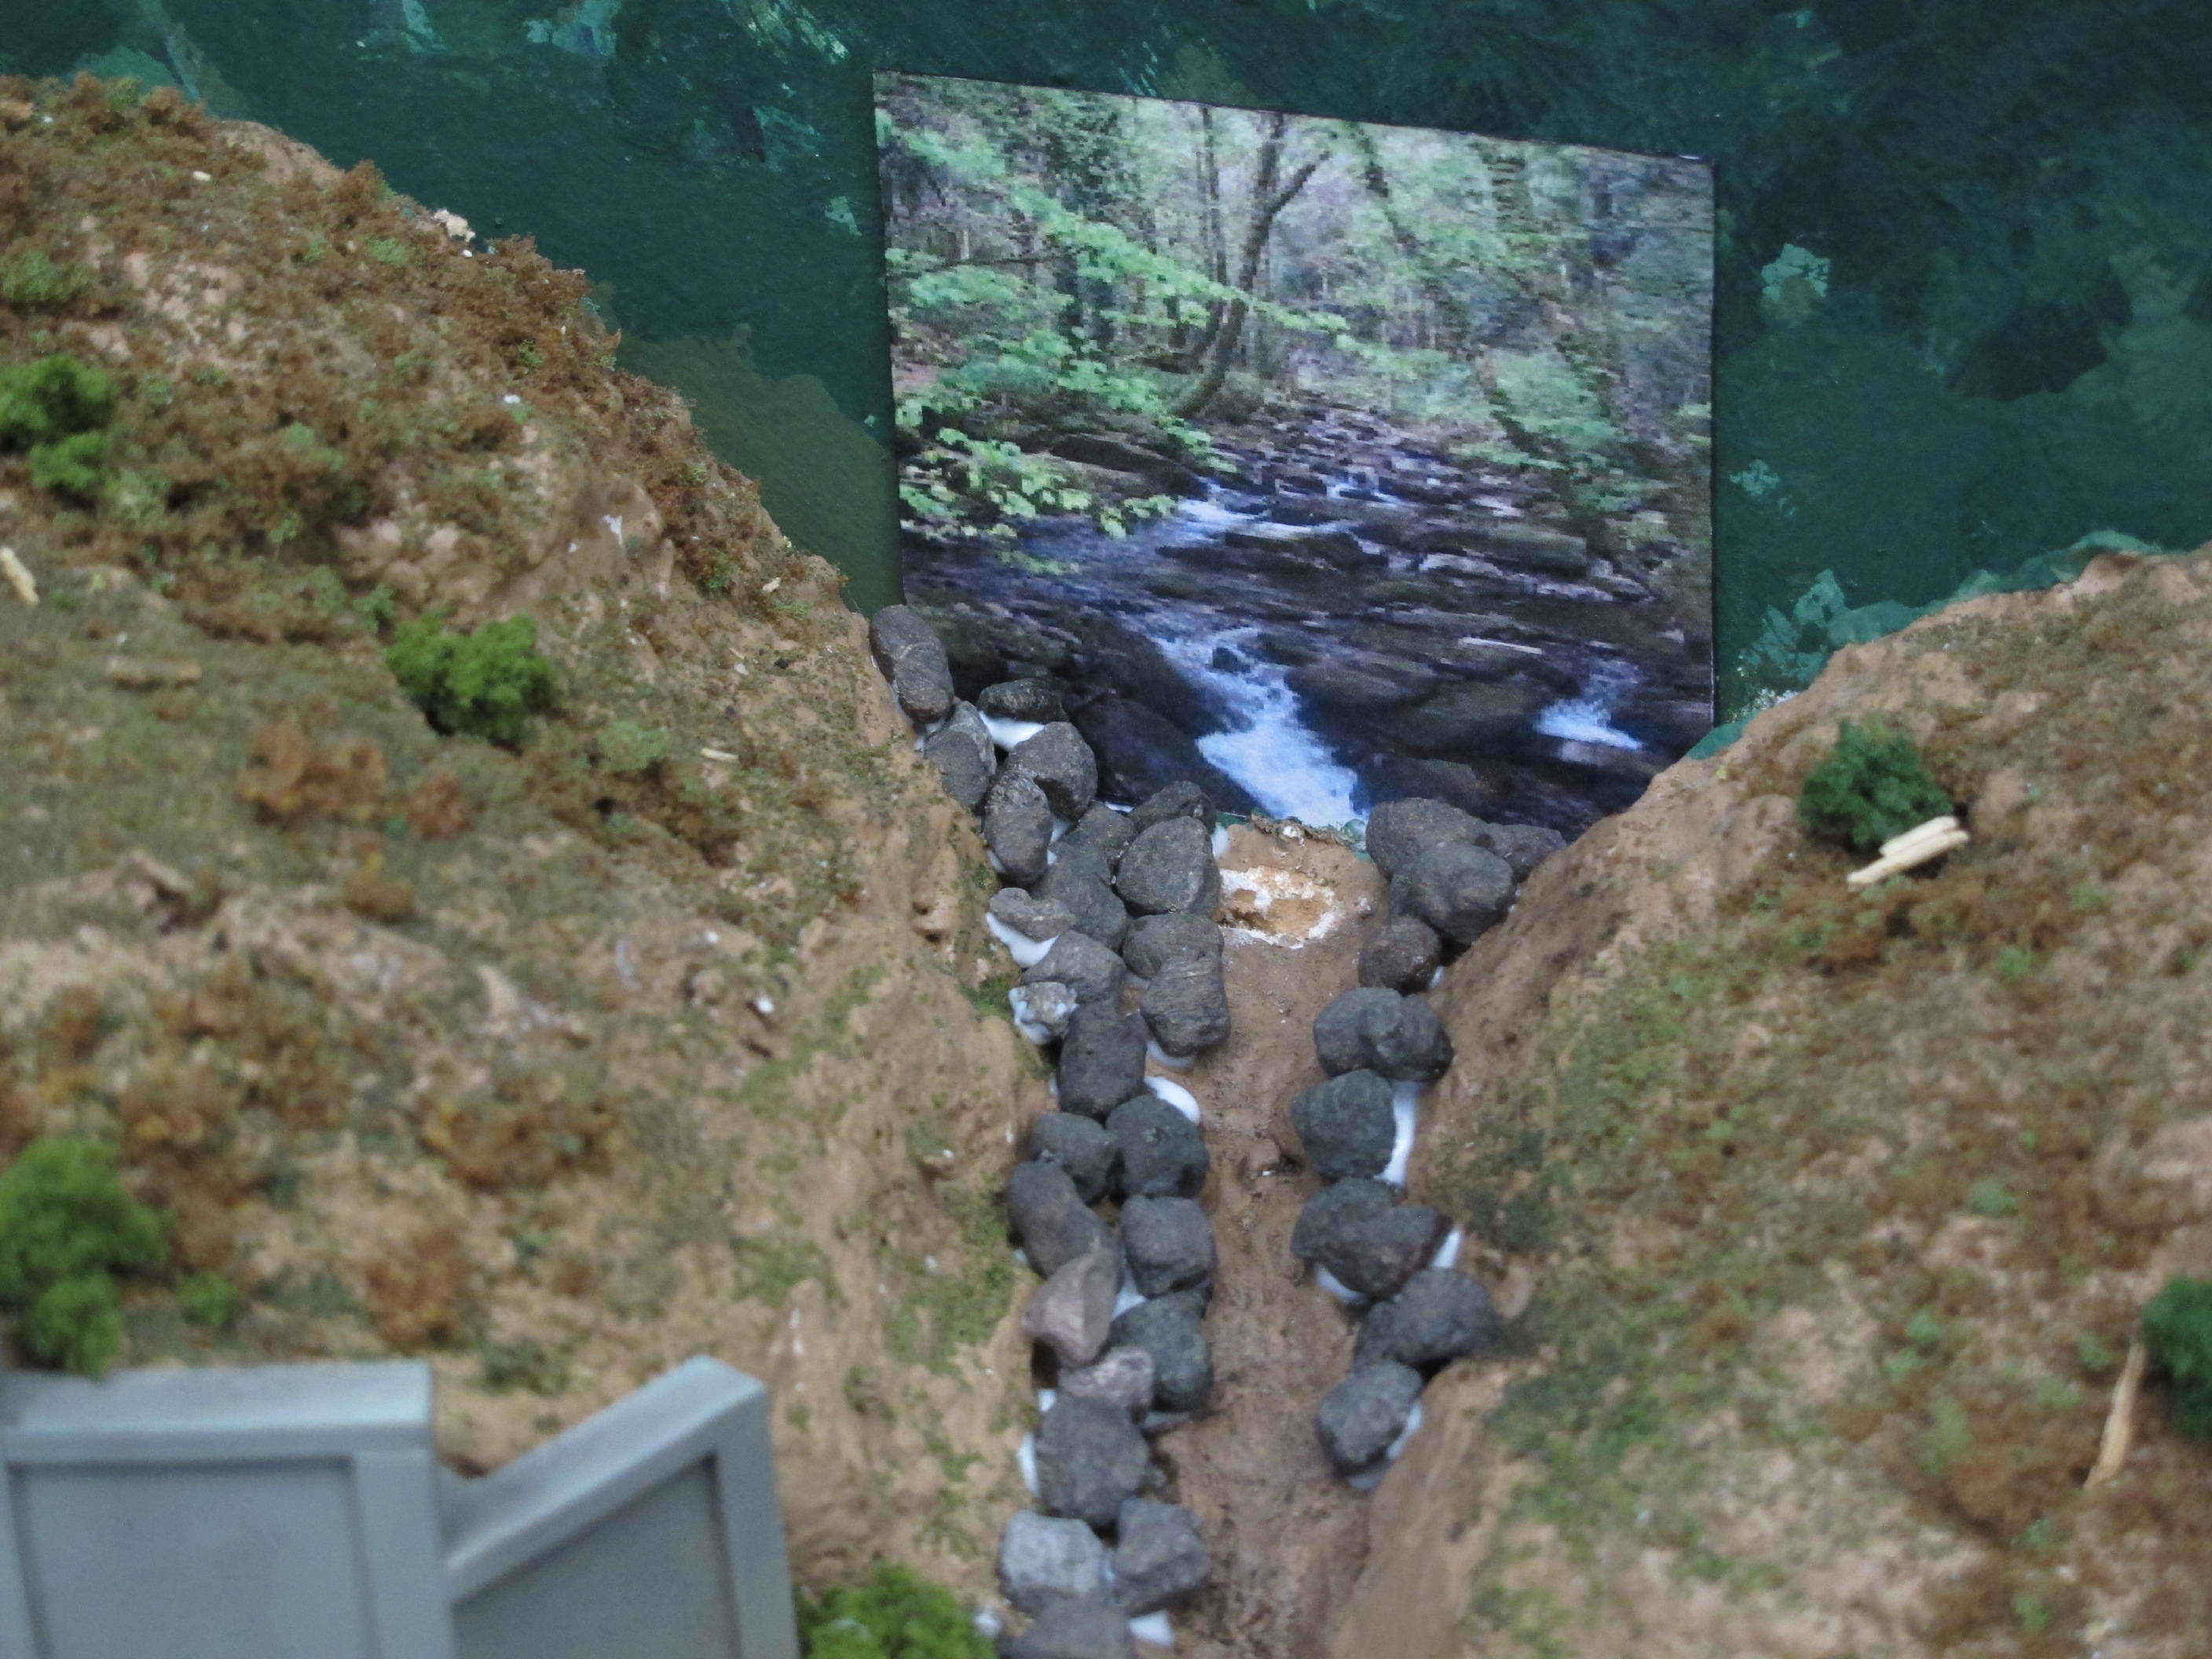
Stream photo attached
to backdrop to extend
stream back into the hills |
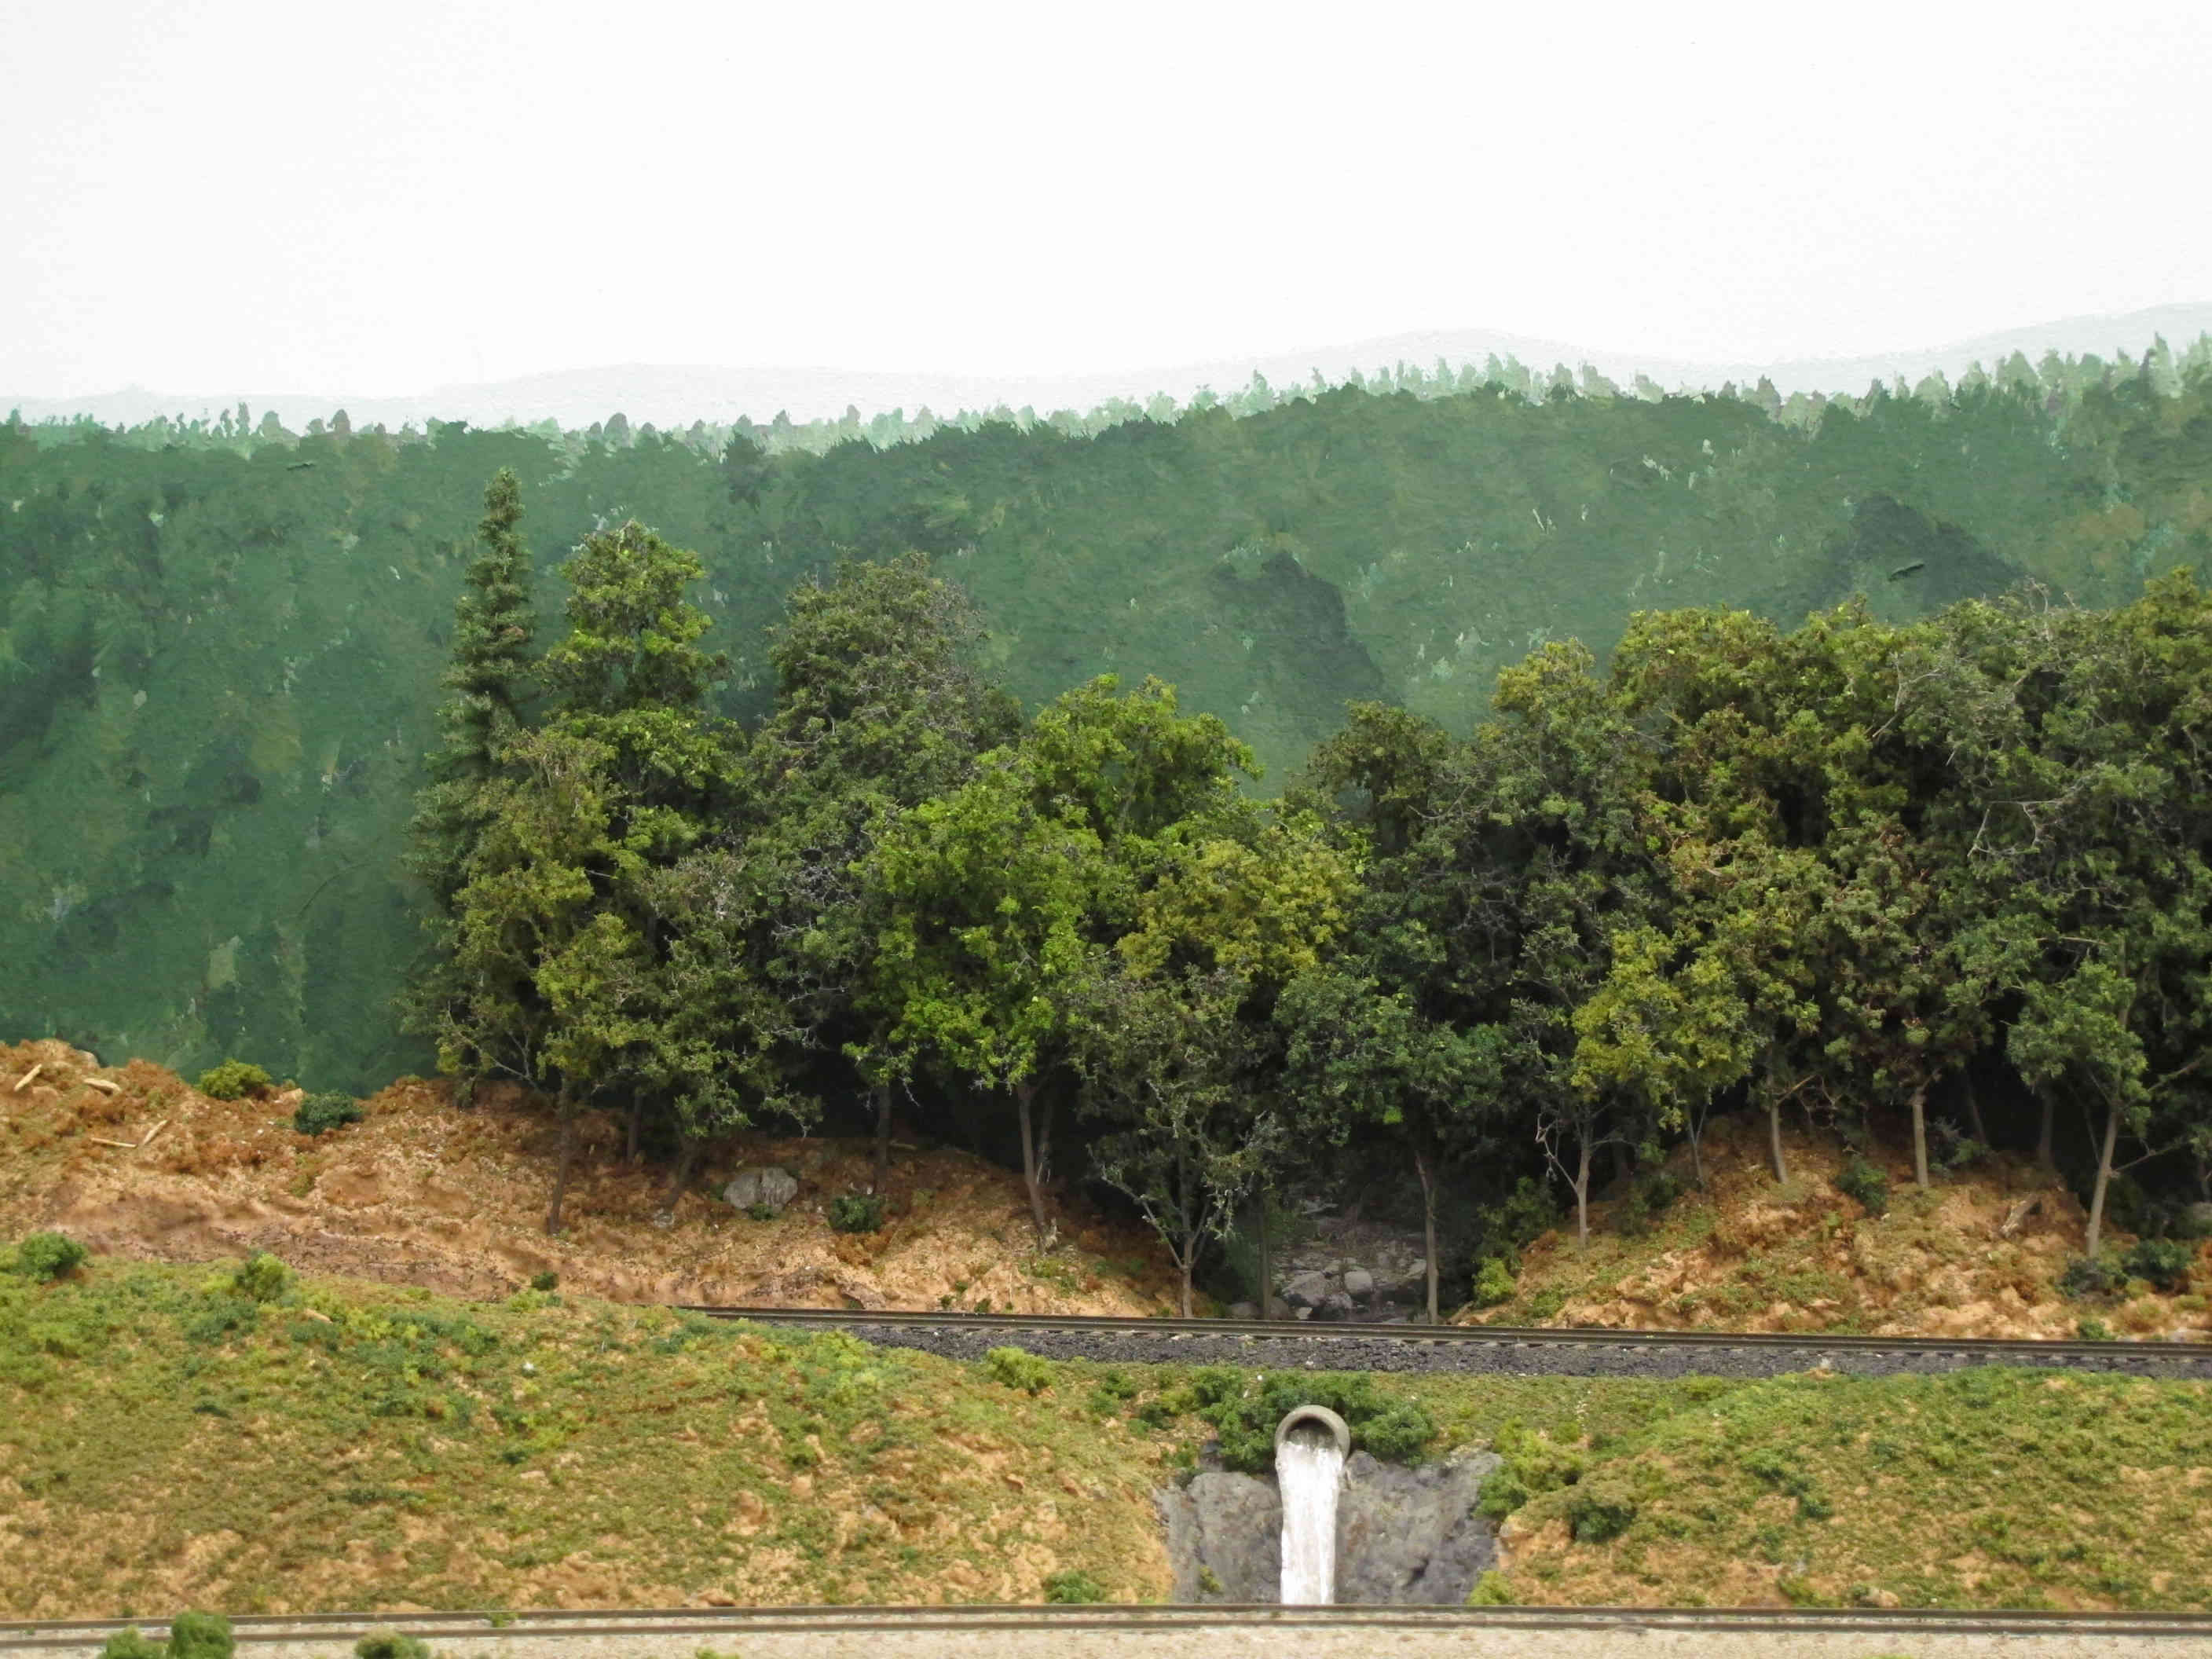
Trees used to mask edges
of photo |
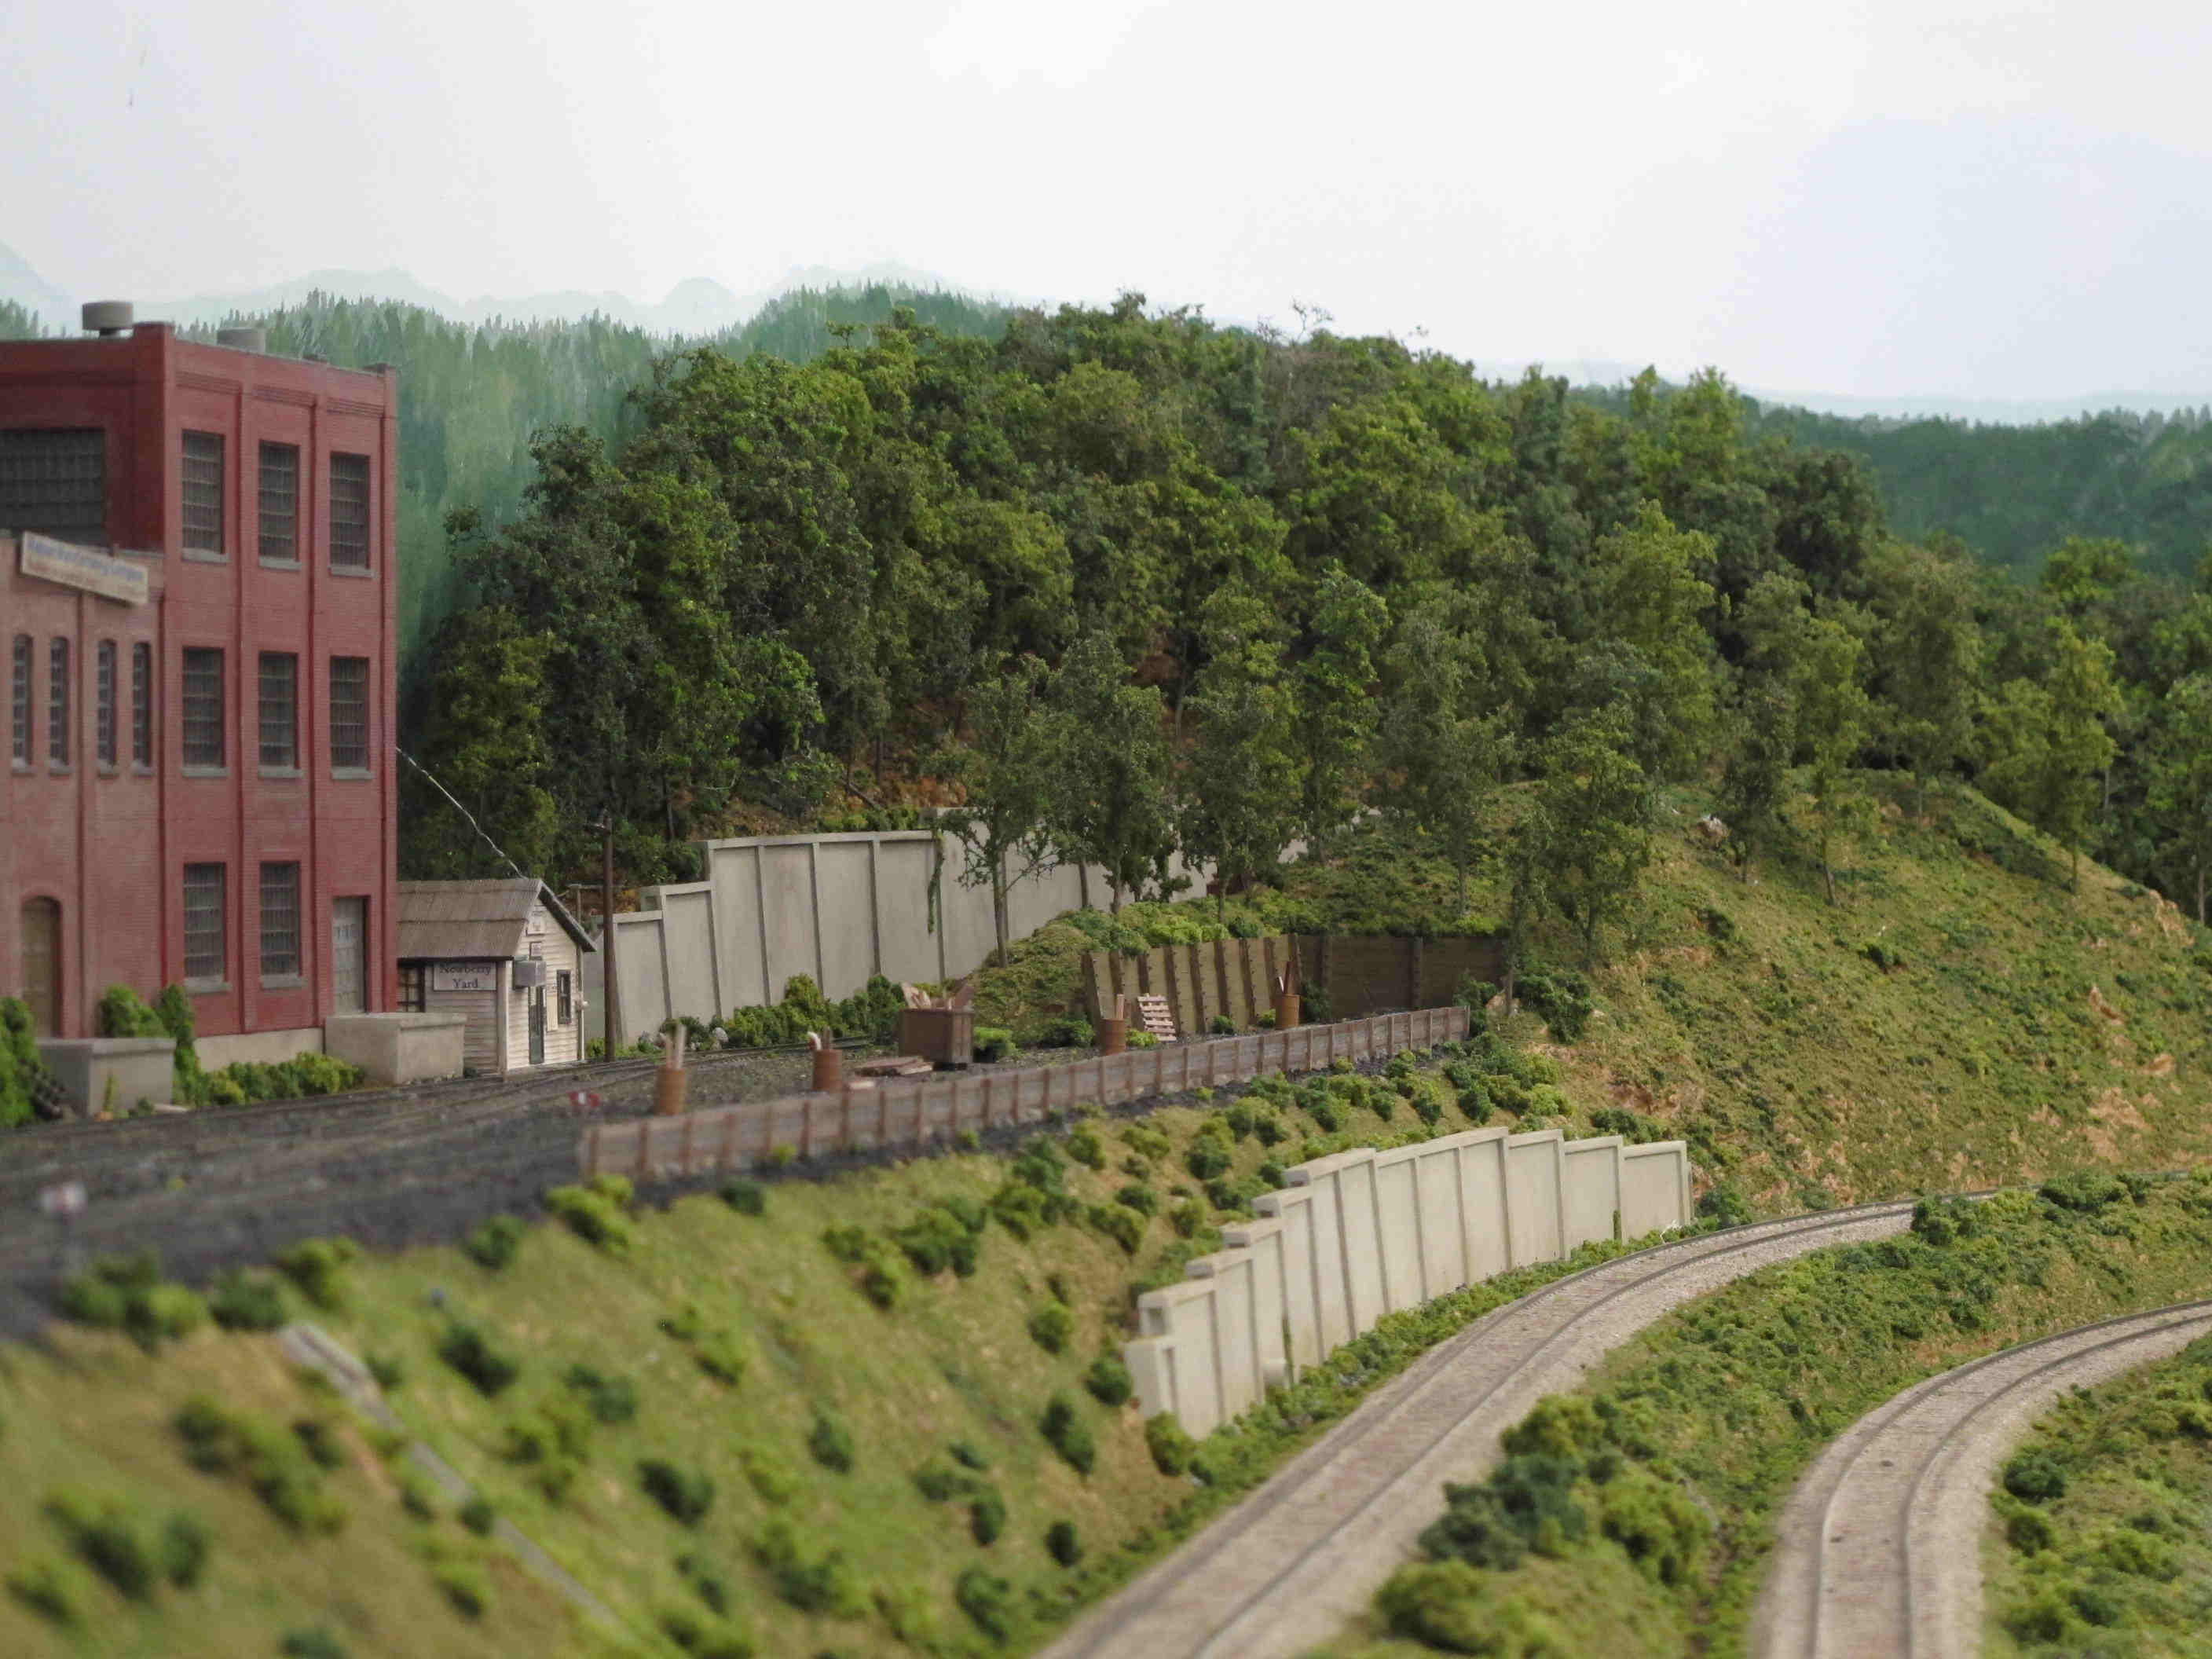
Trees above end of
clean out track |
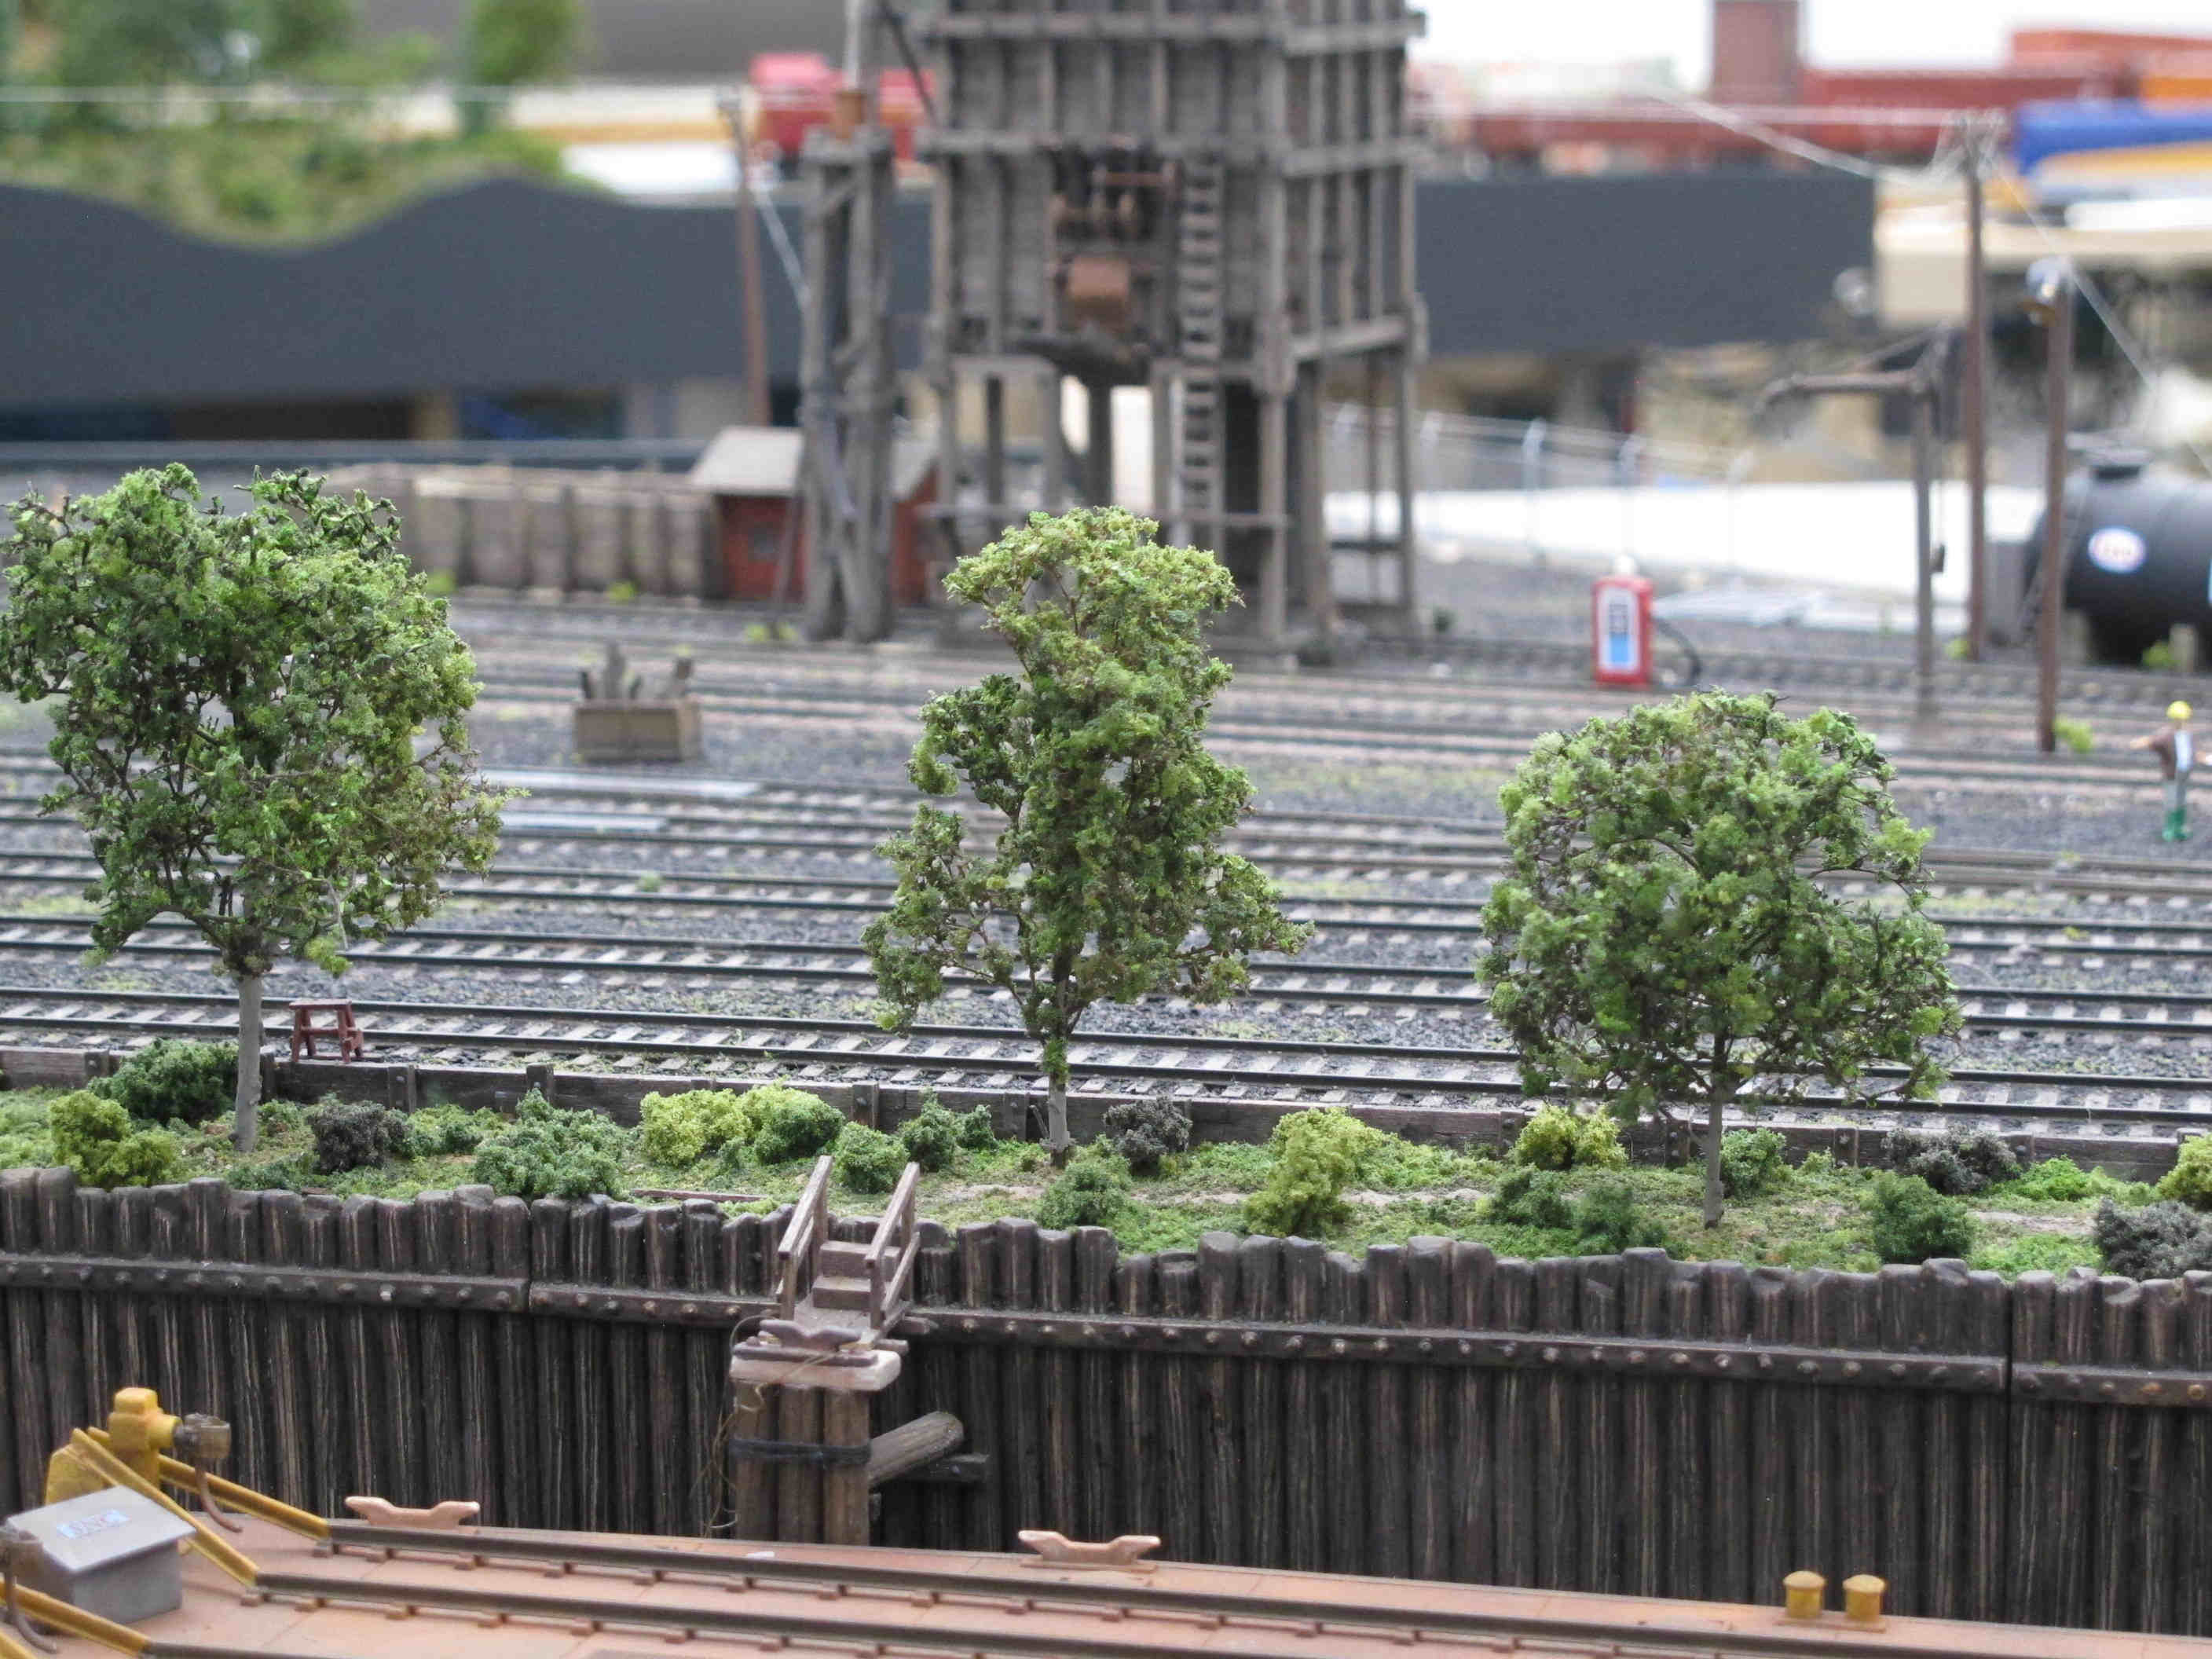
Dolphin near end of car float |
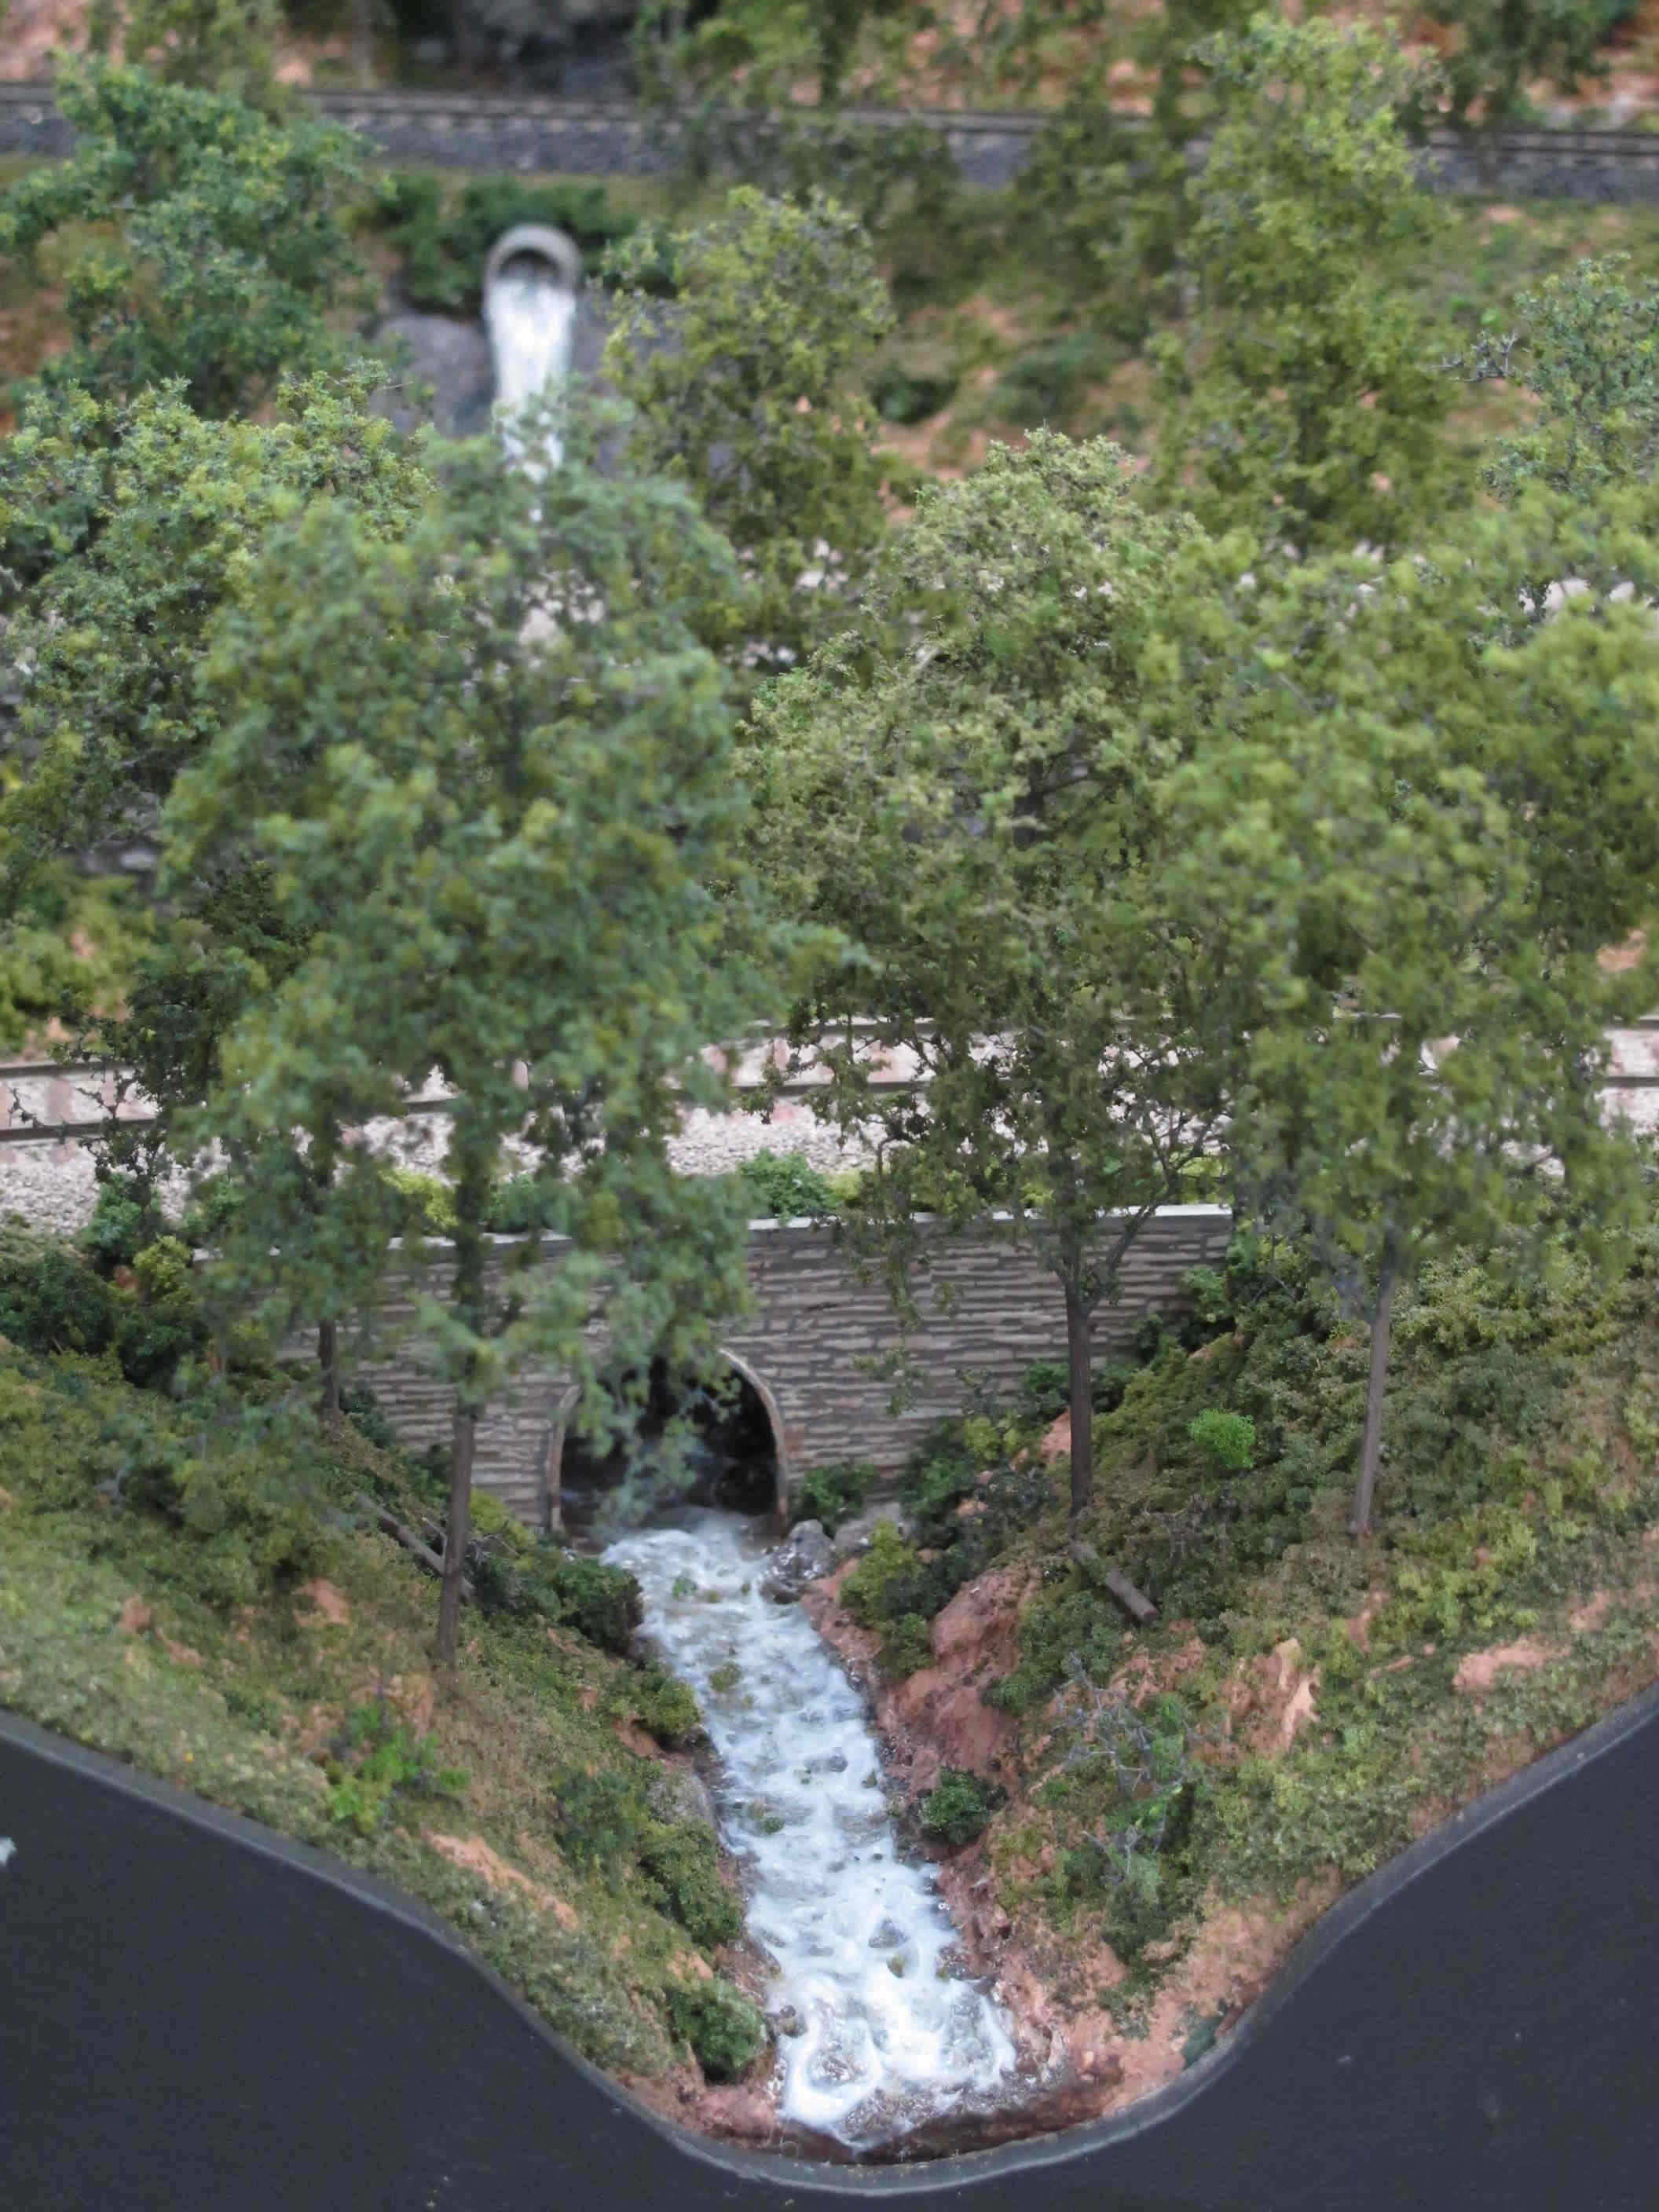
Stream |
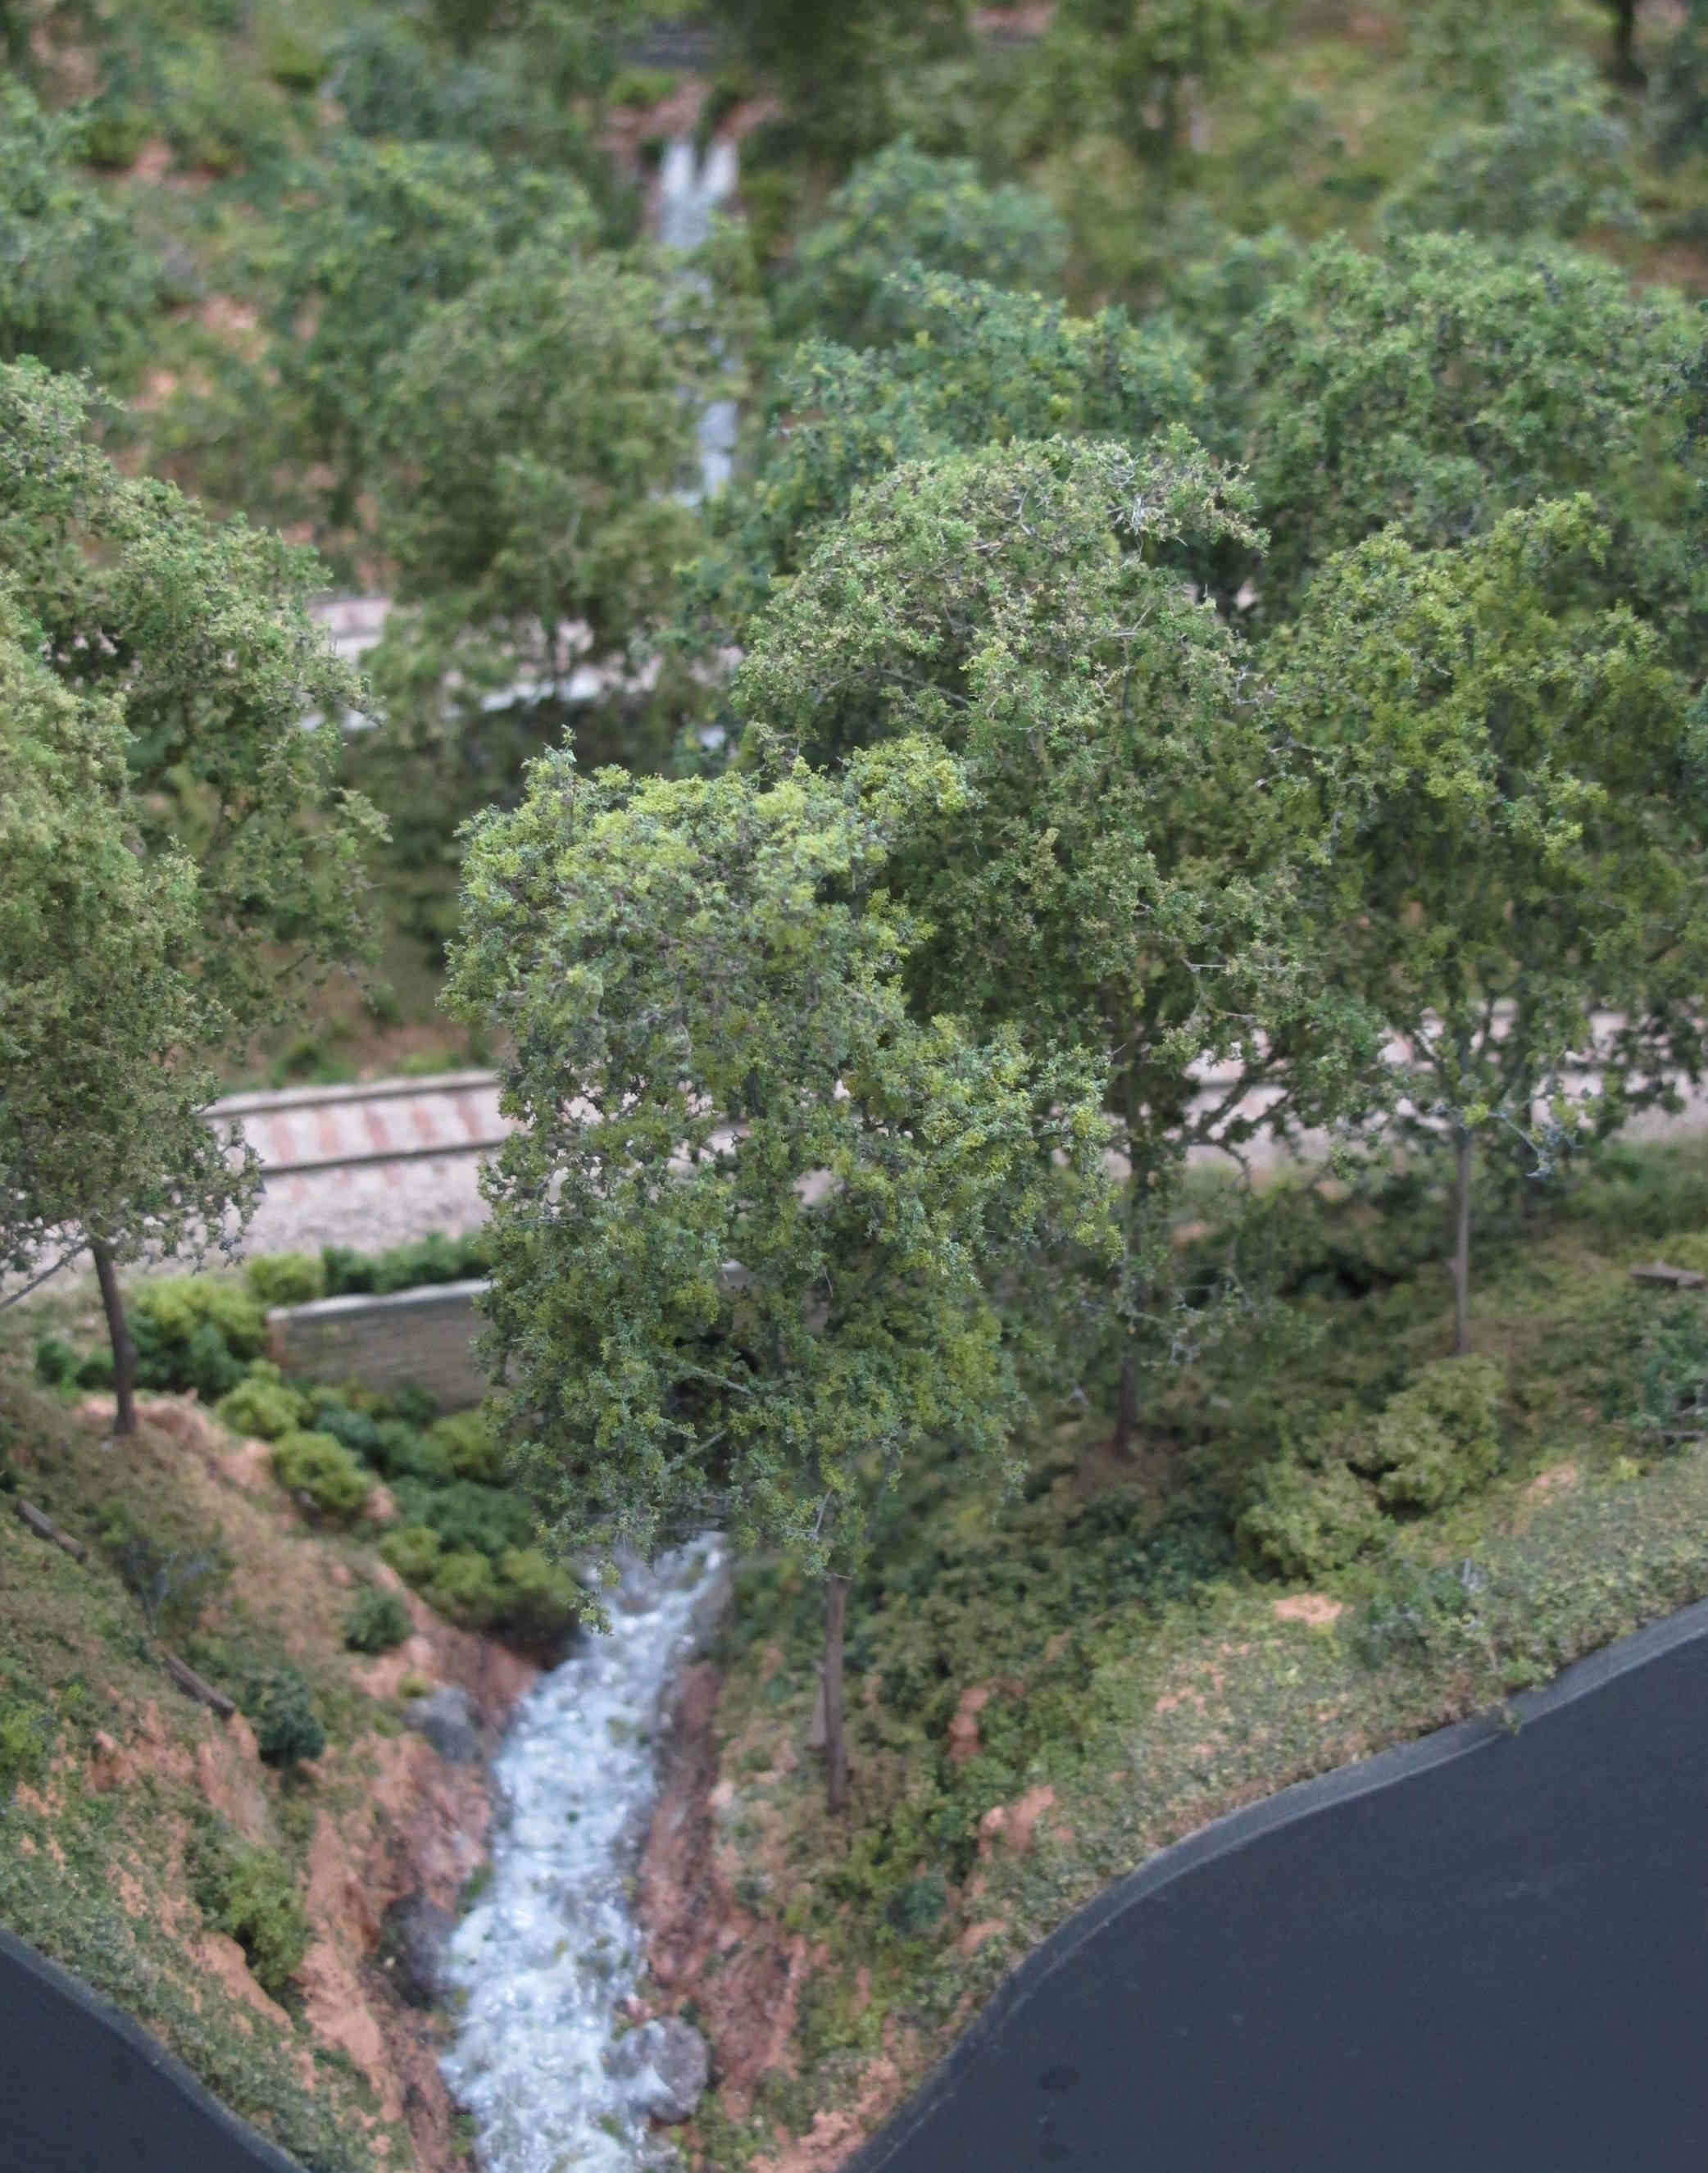
Stream |
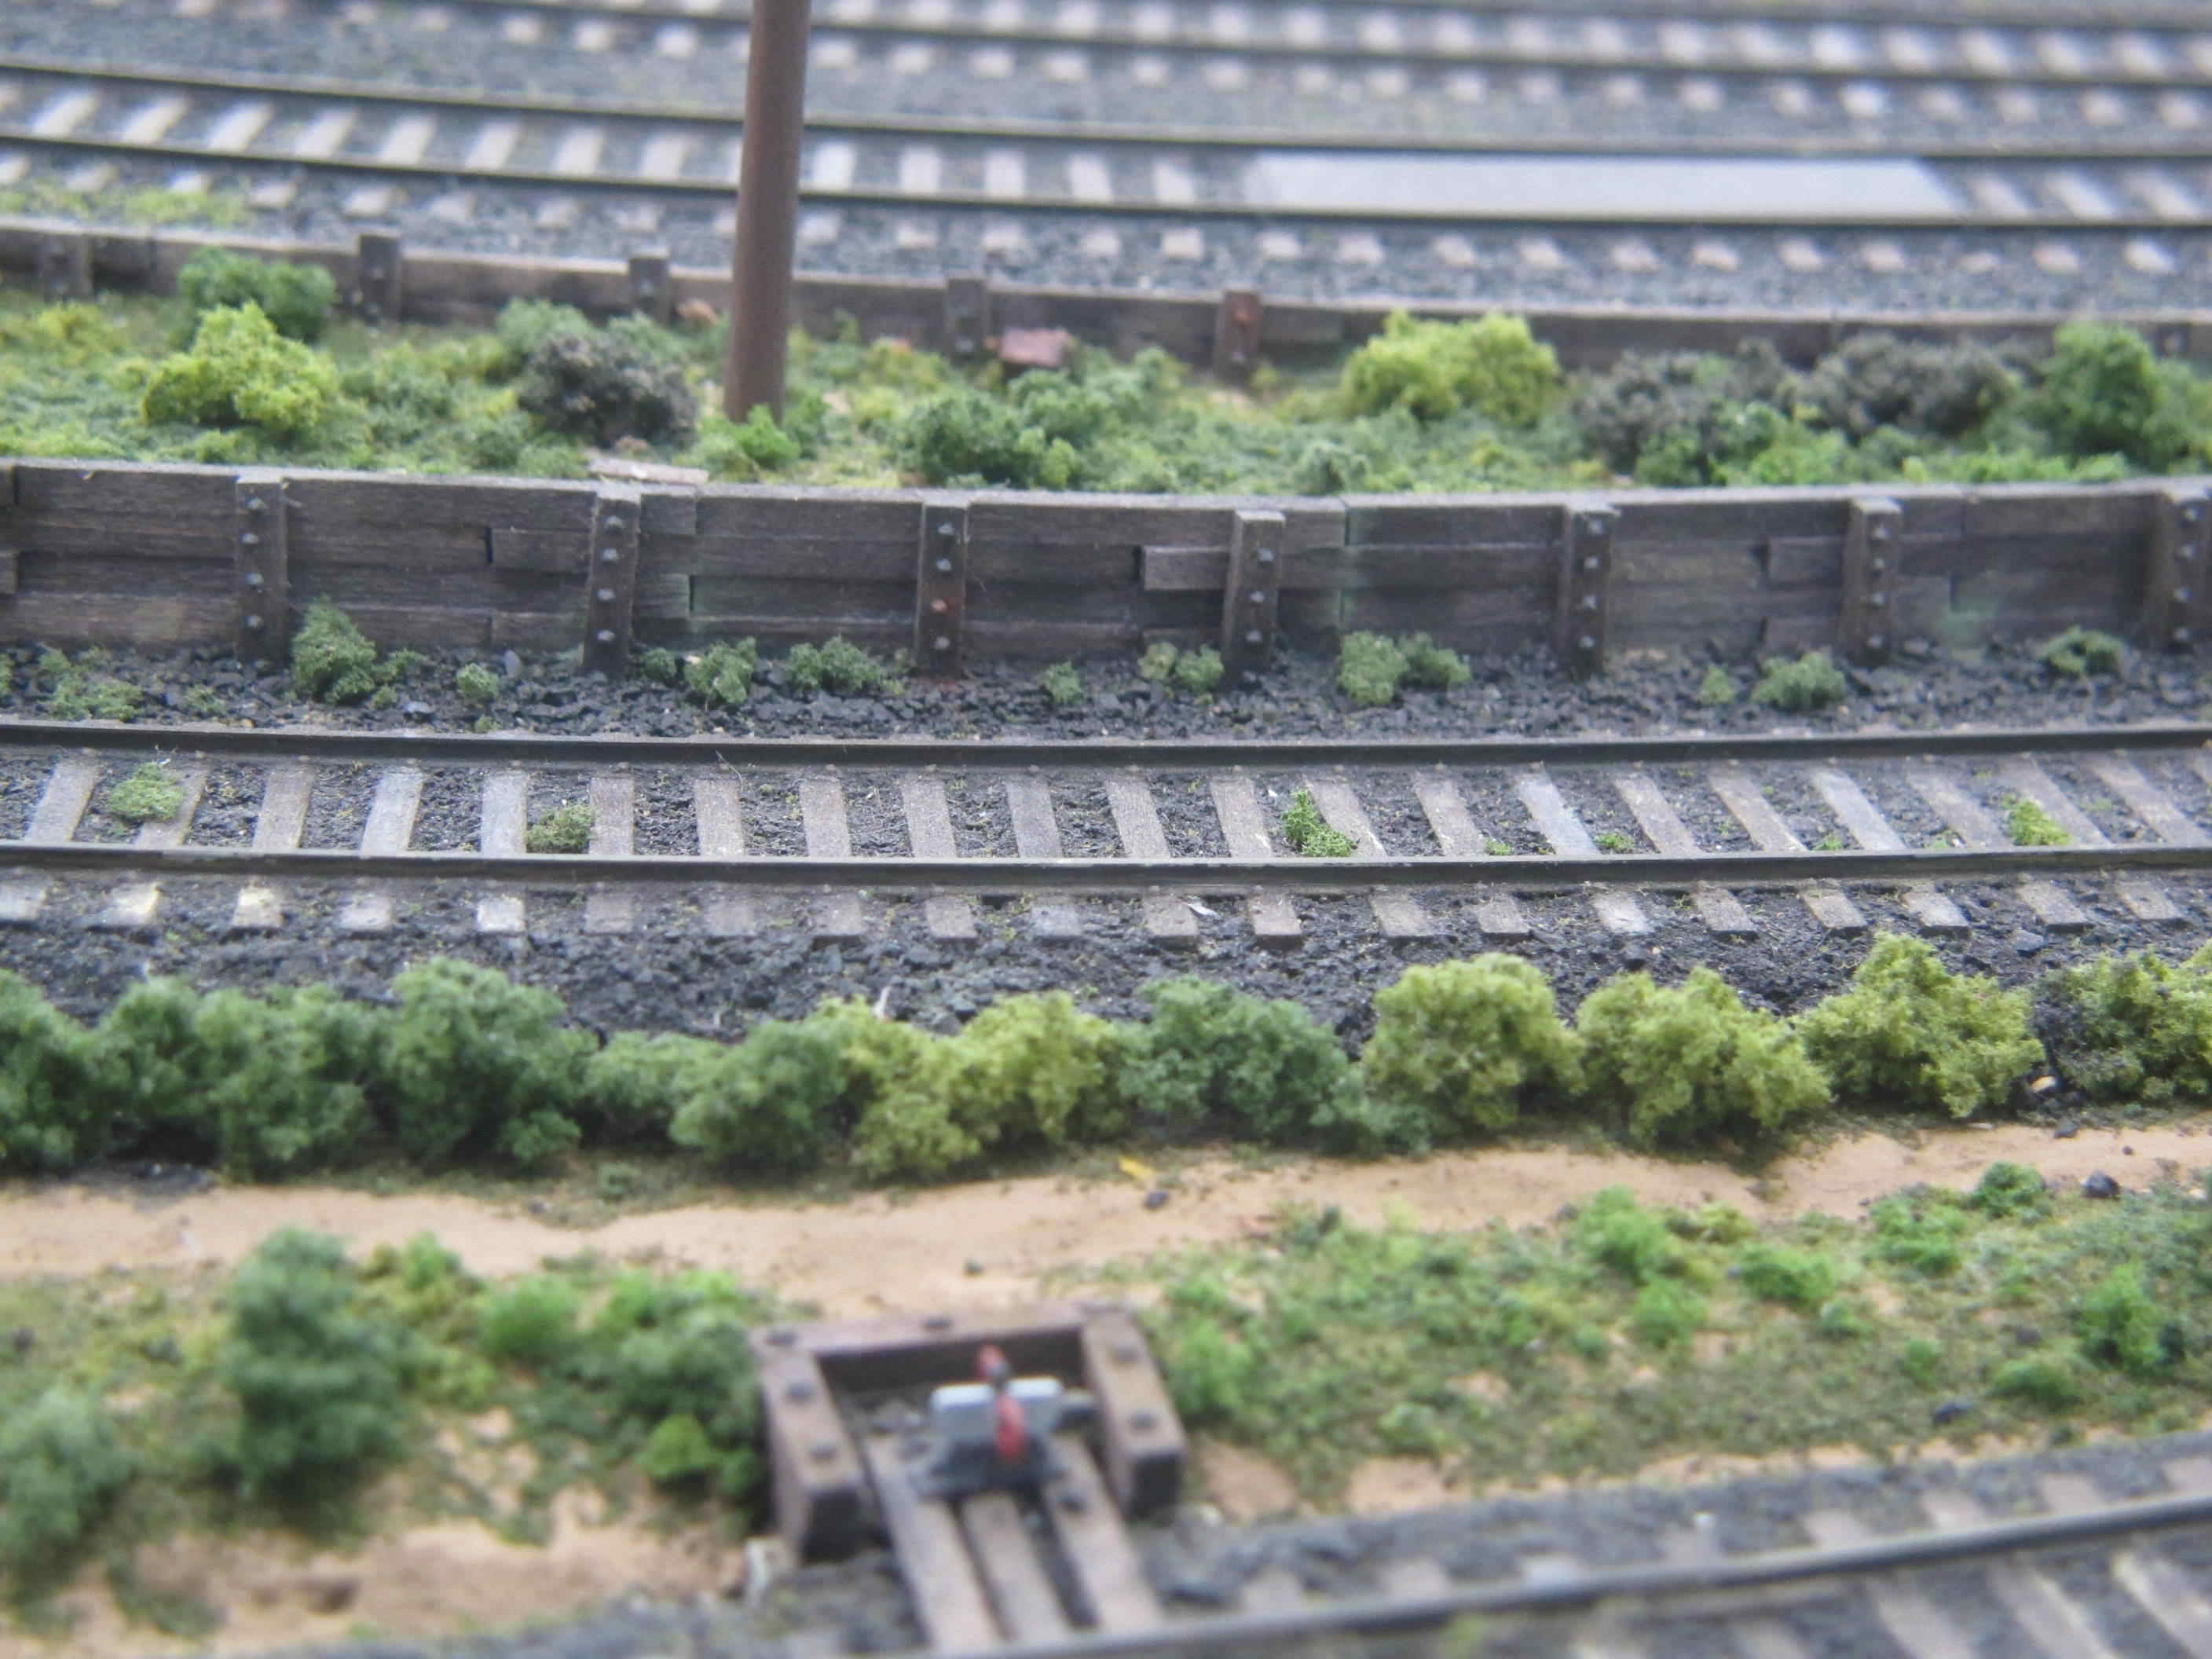
Wooden retaining wall |
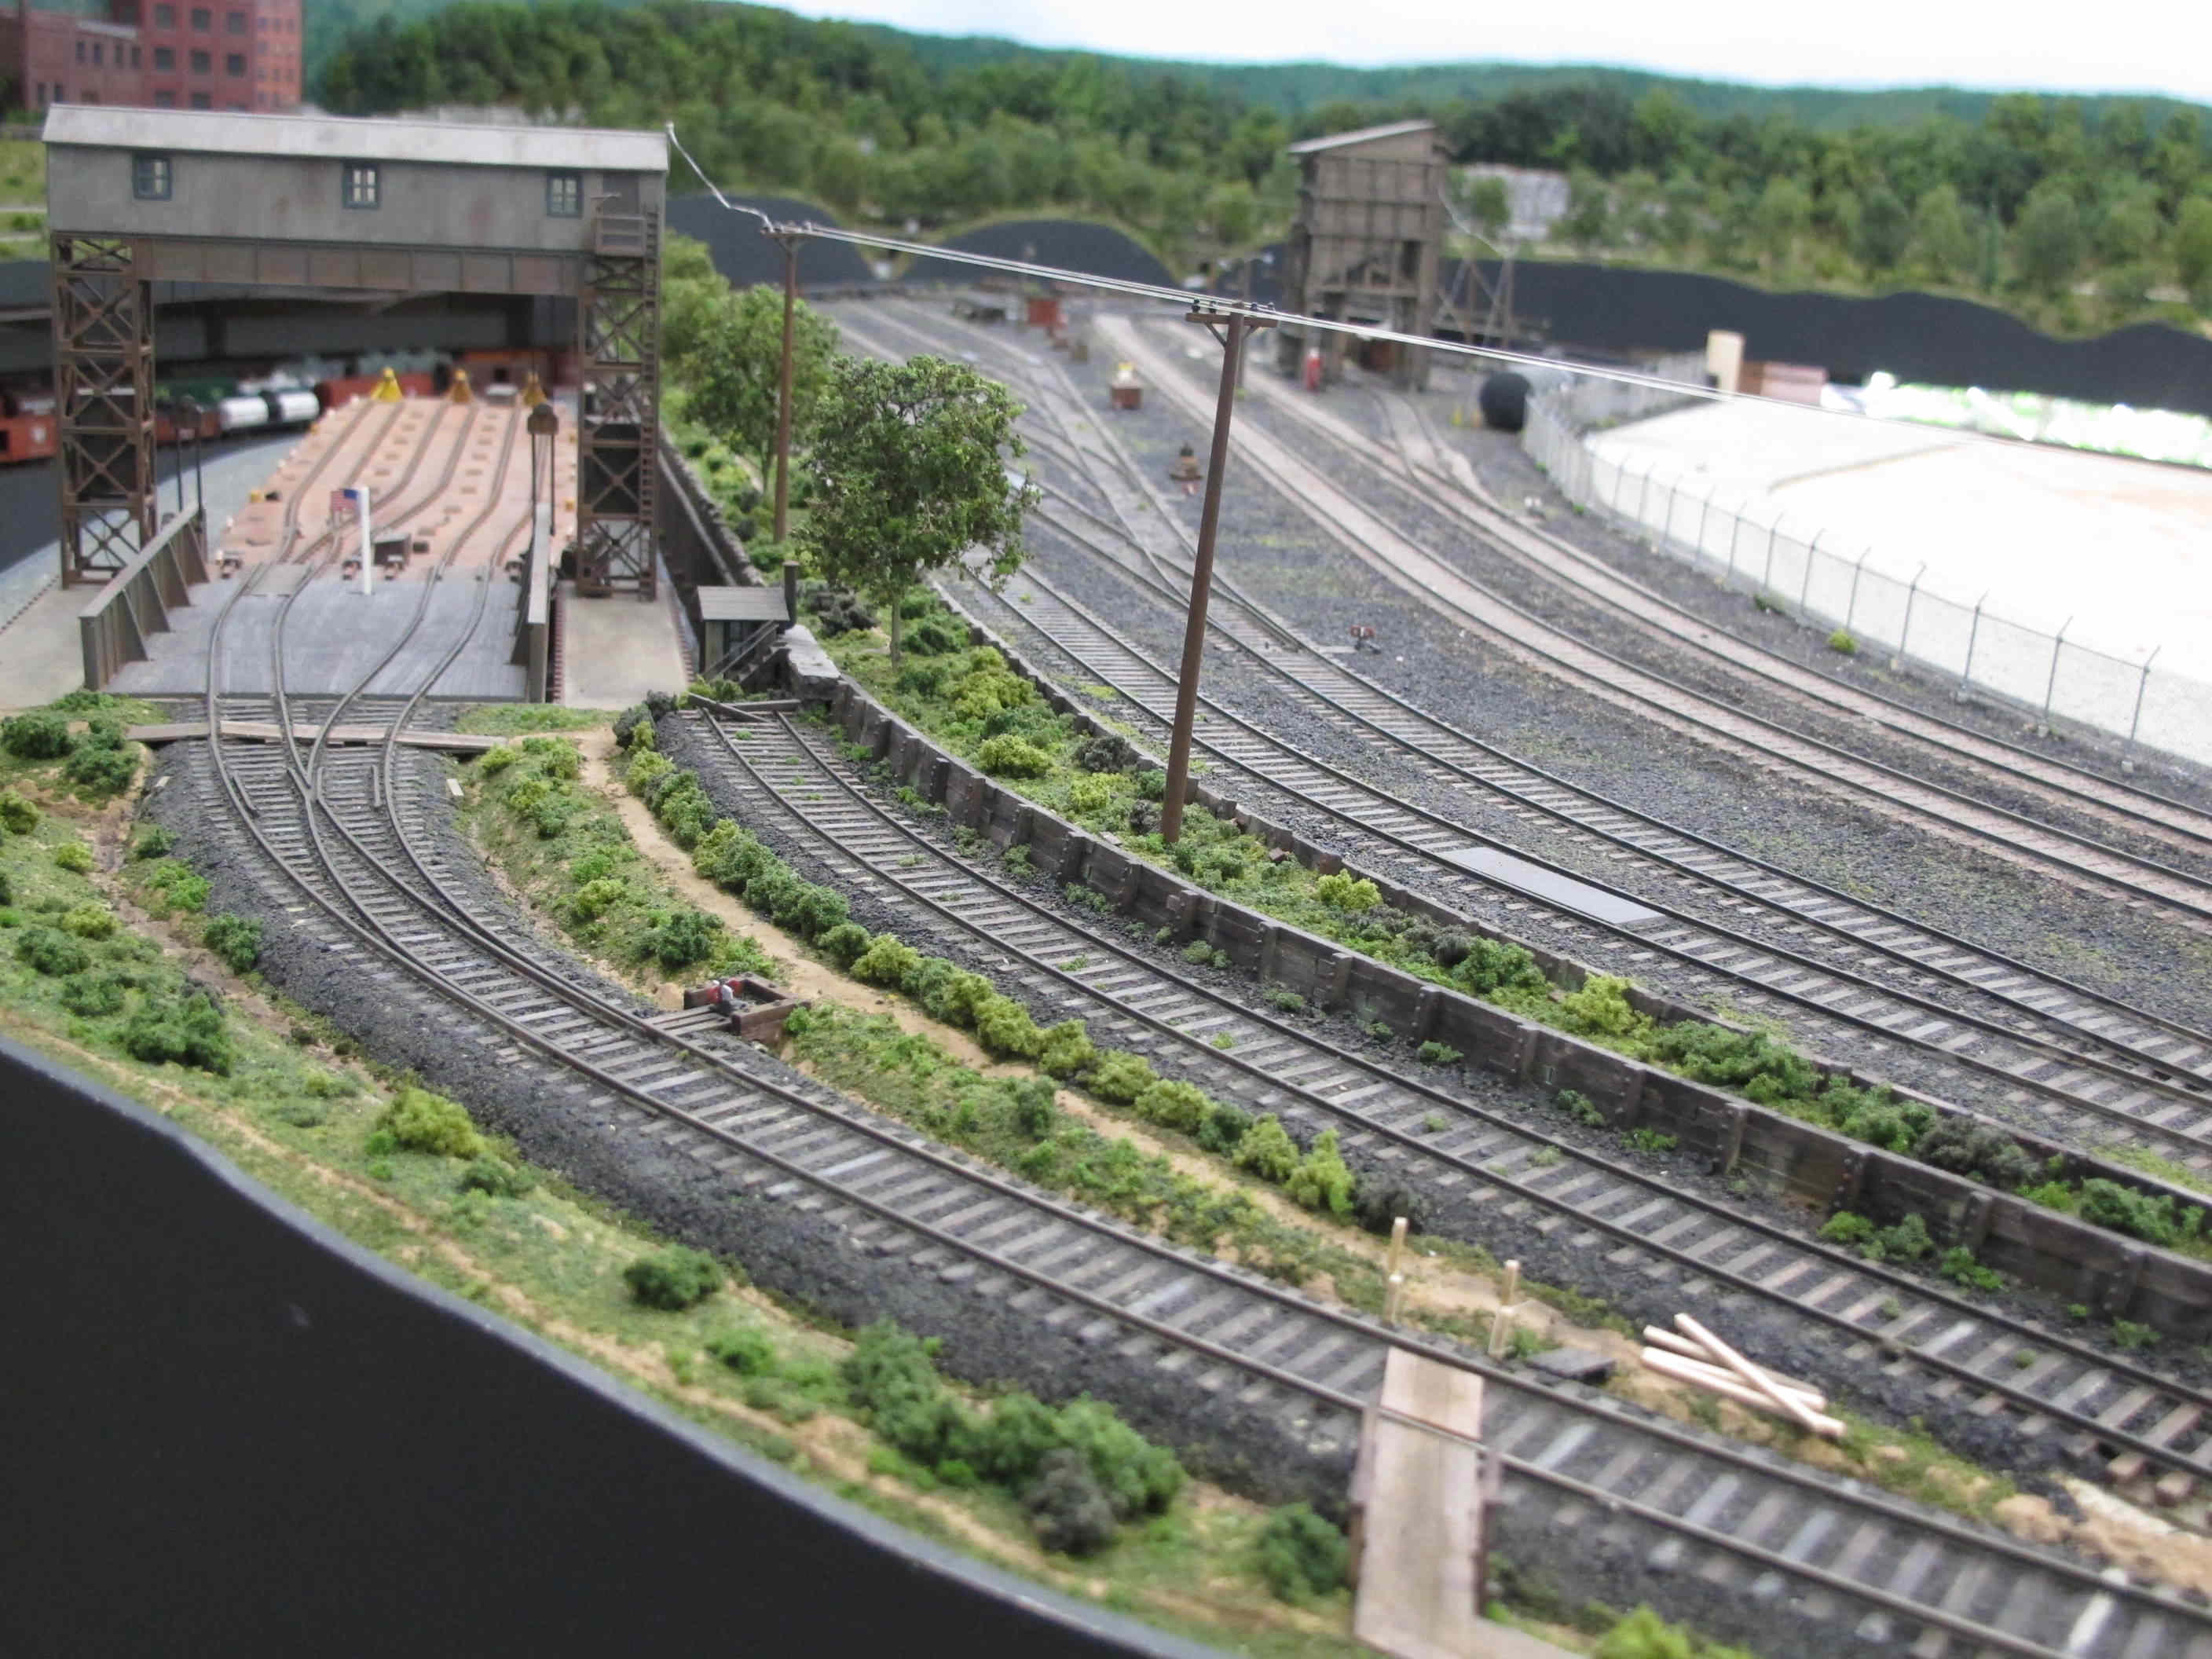
Approach and reacher tracks
in front of car float apron |
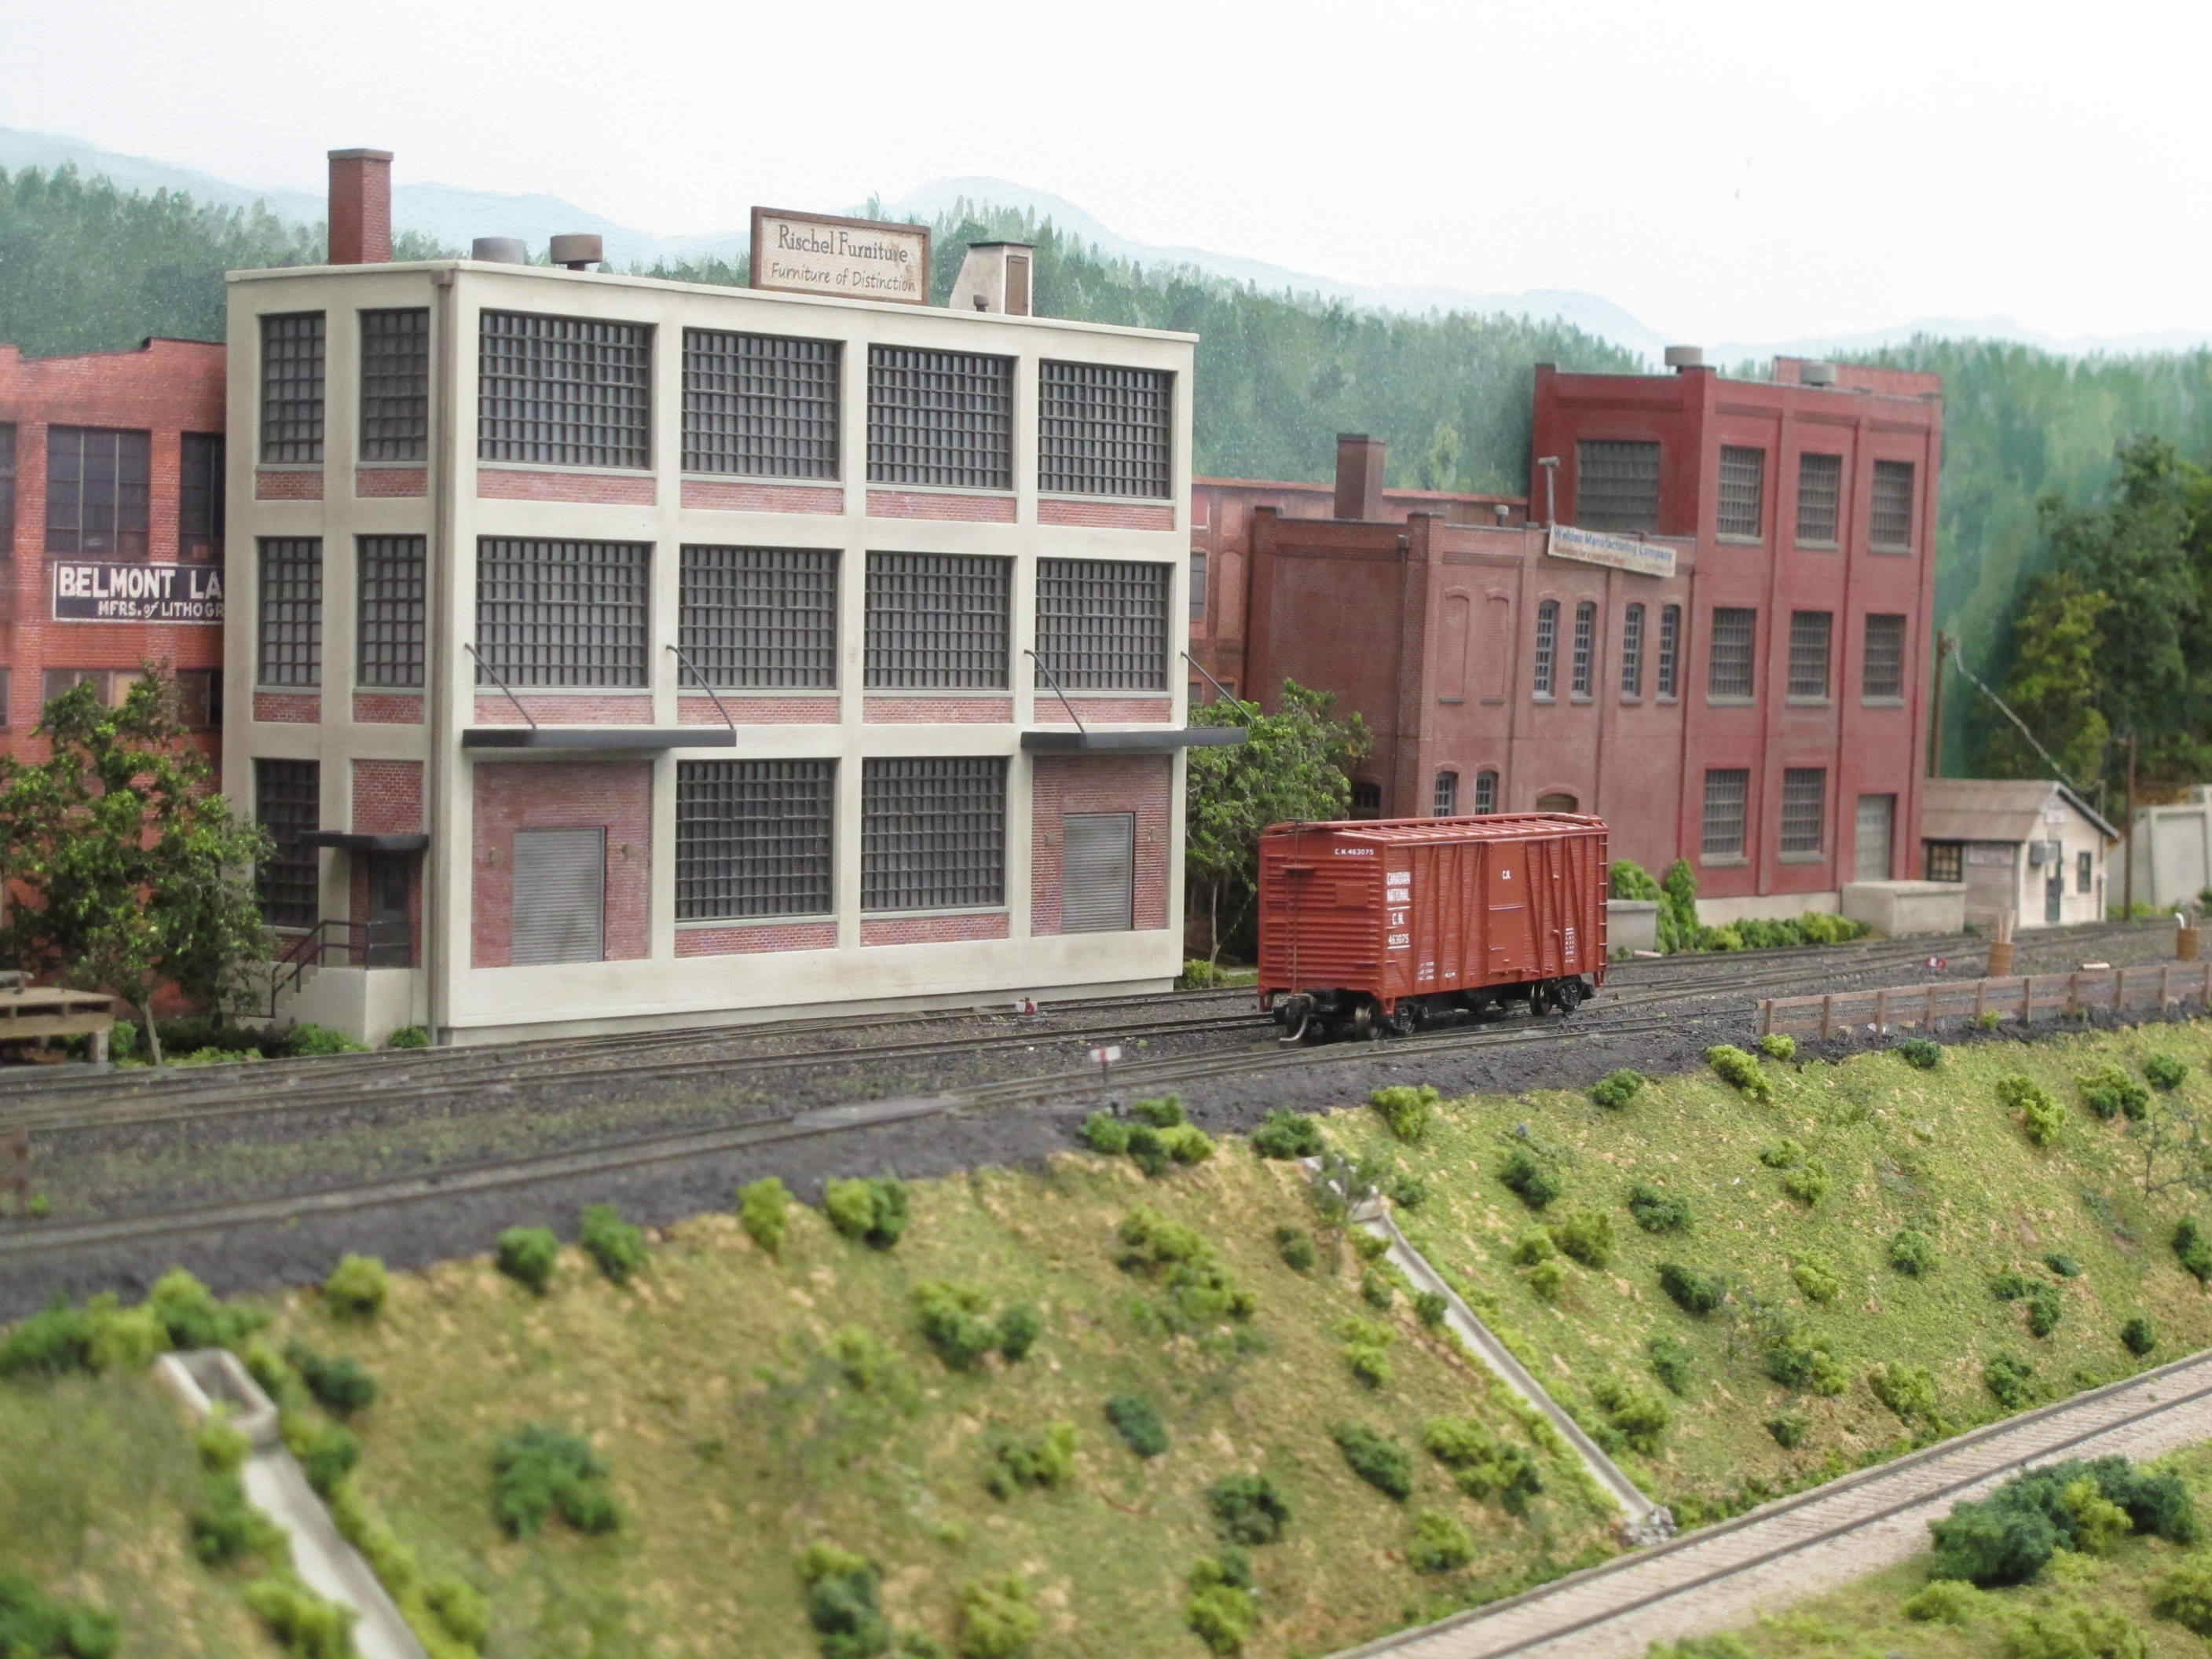
Rischel Furniture building in
Newberry Industrial Area |
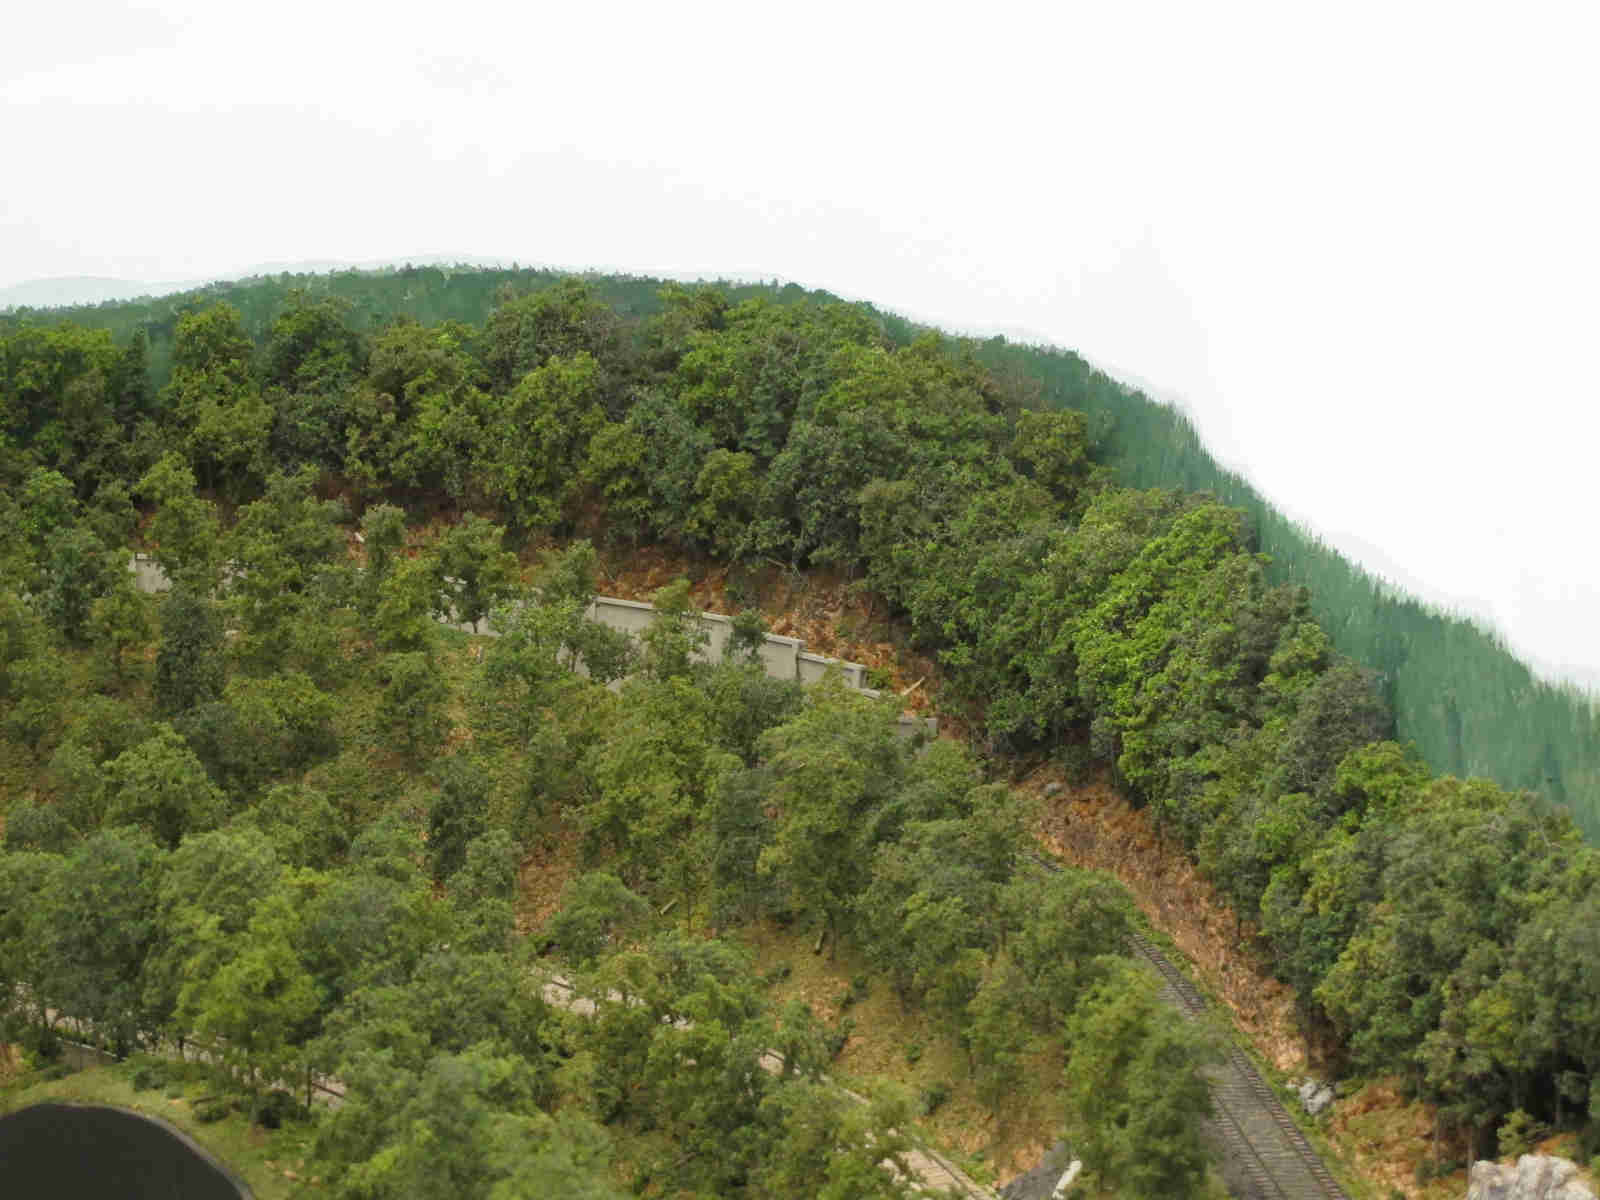
Mountain with branch line
and two main line tracks |
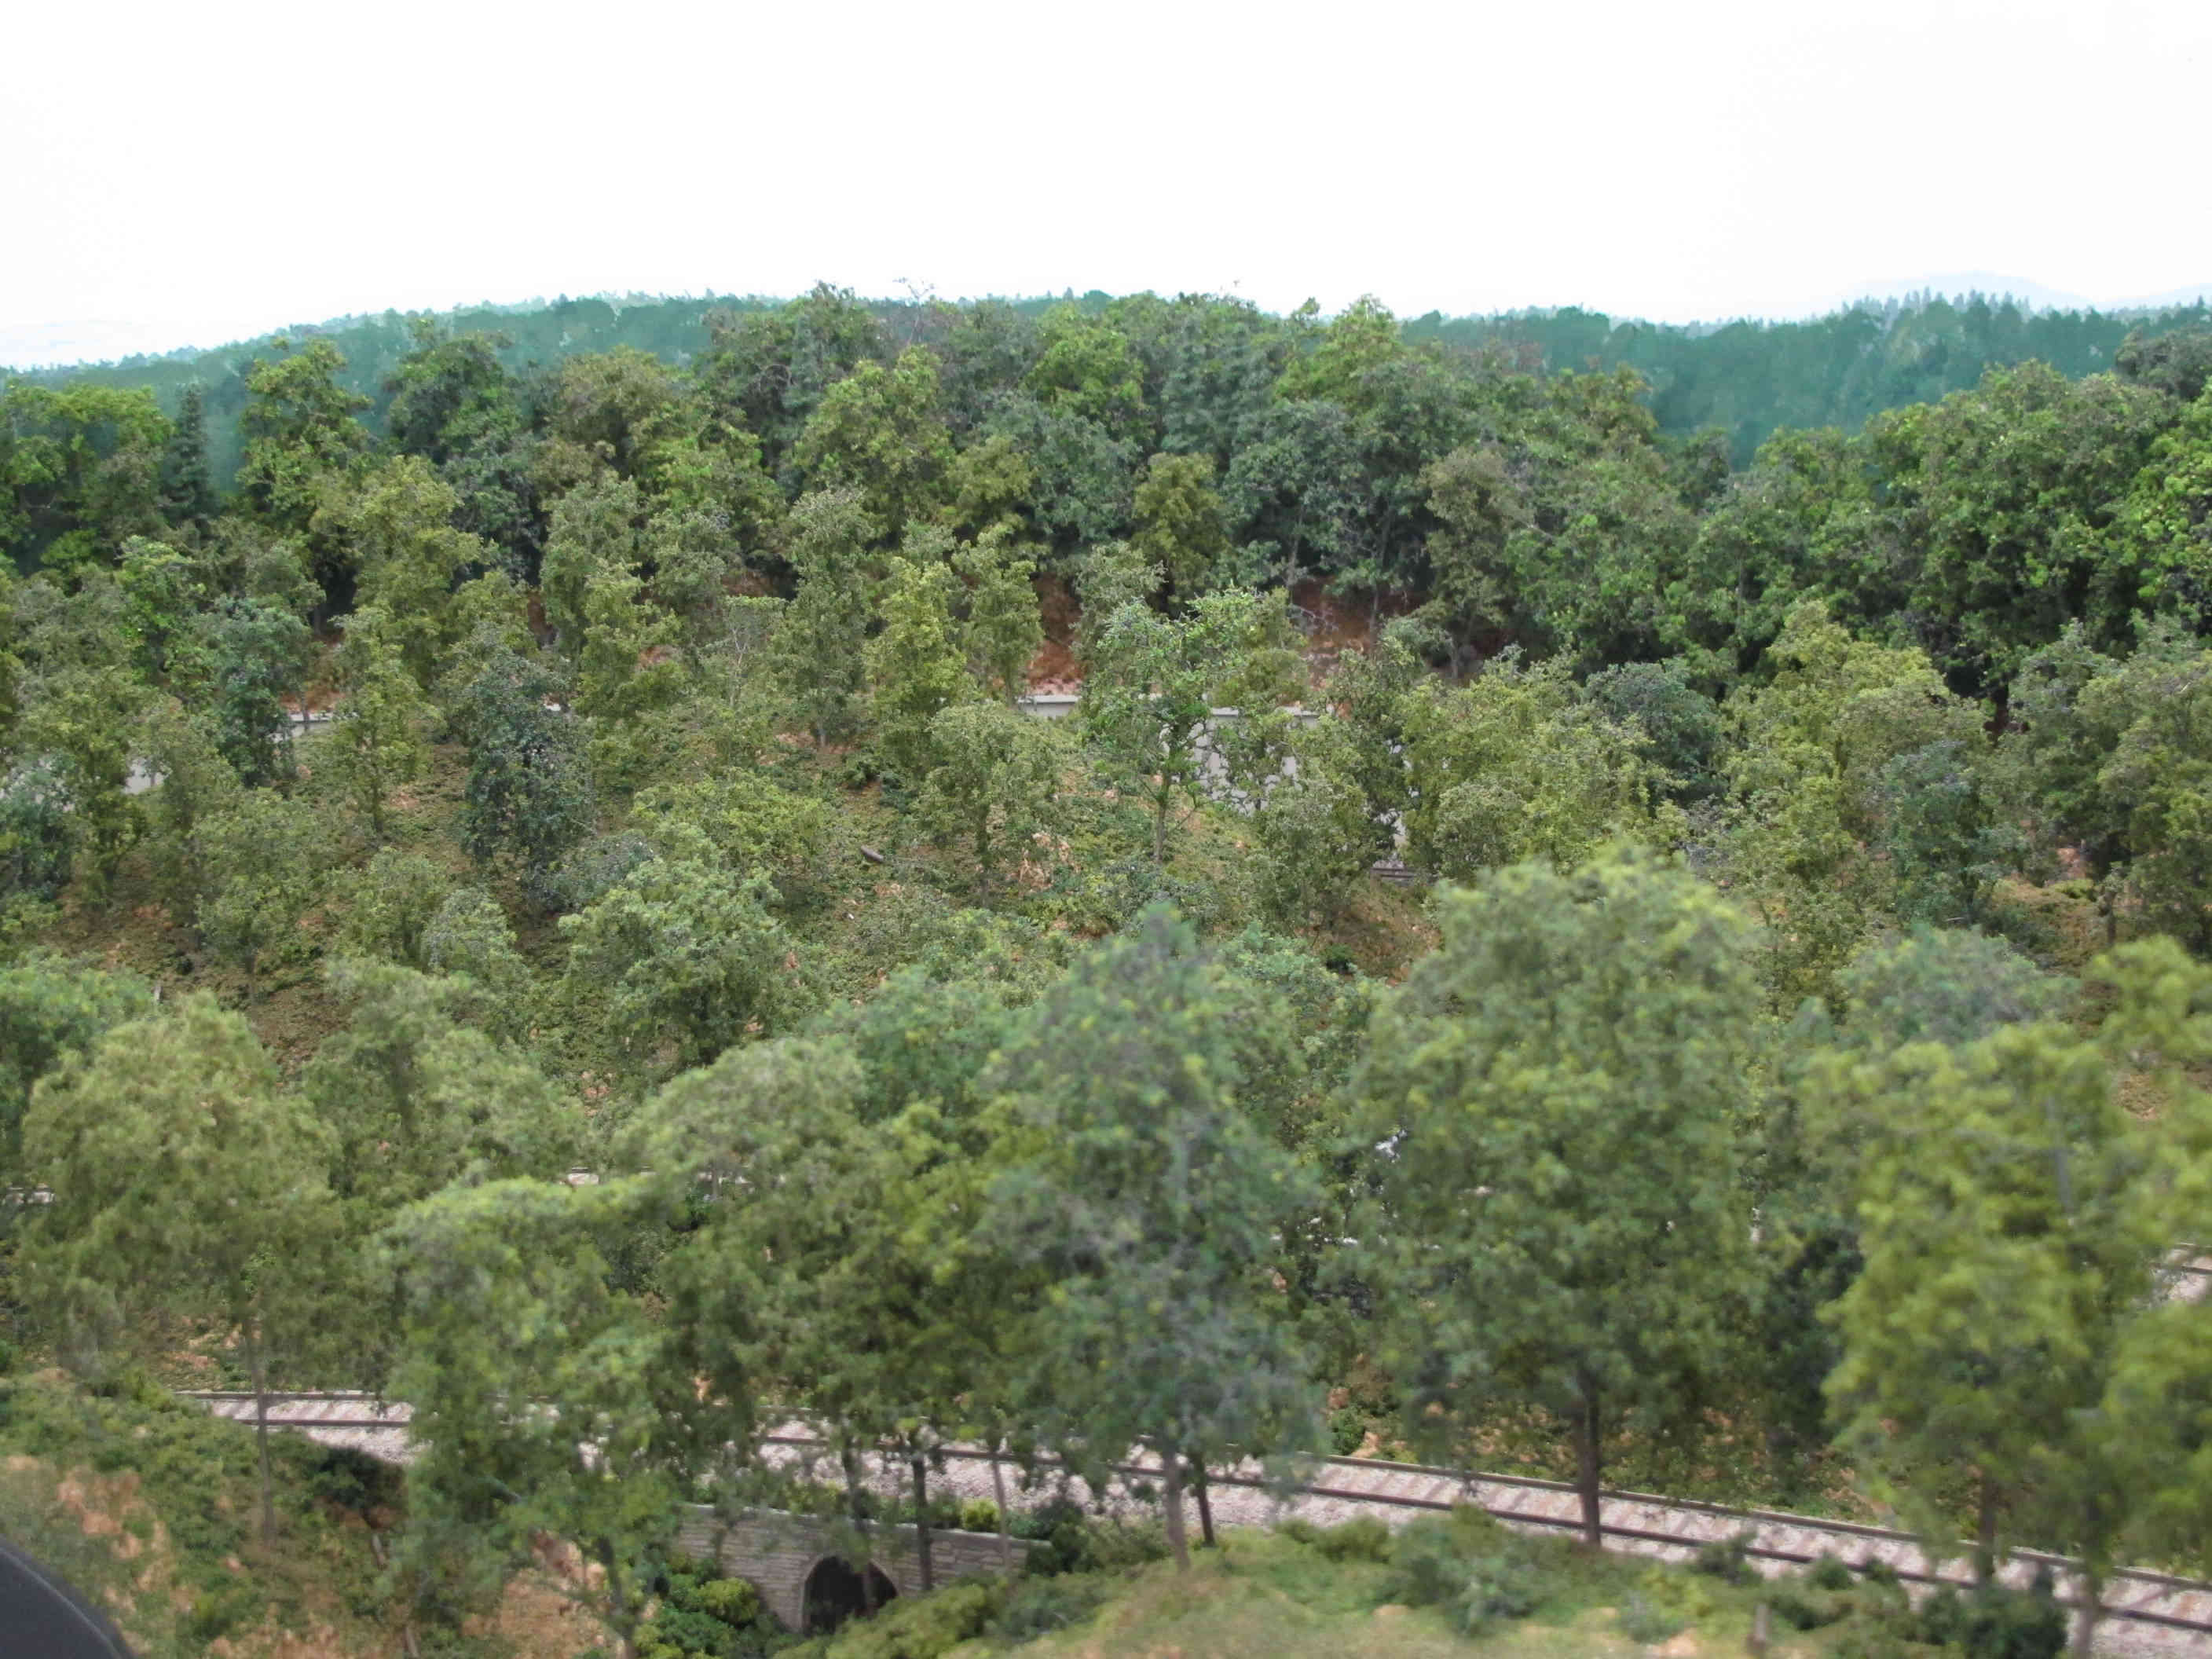
Trees |
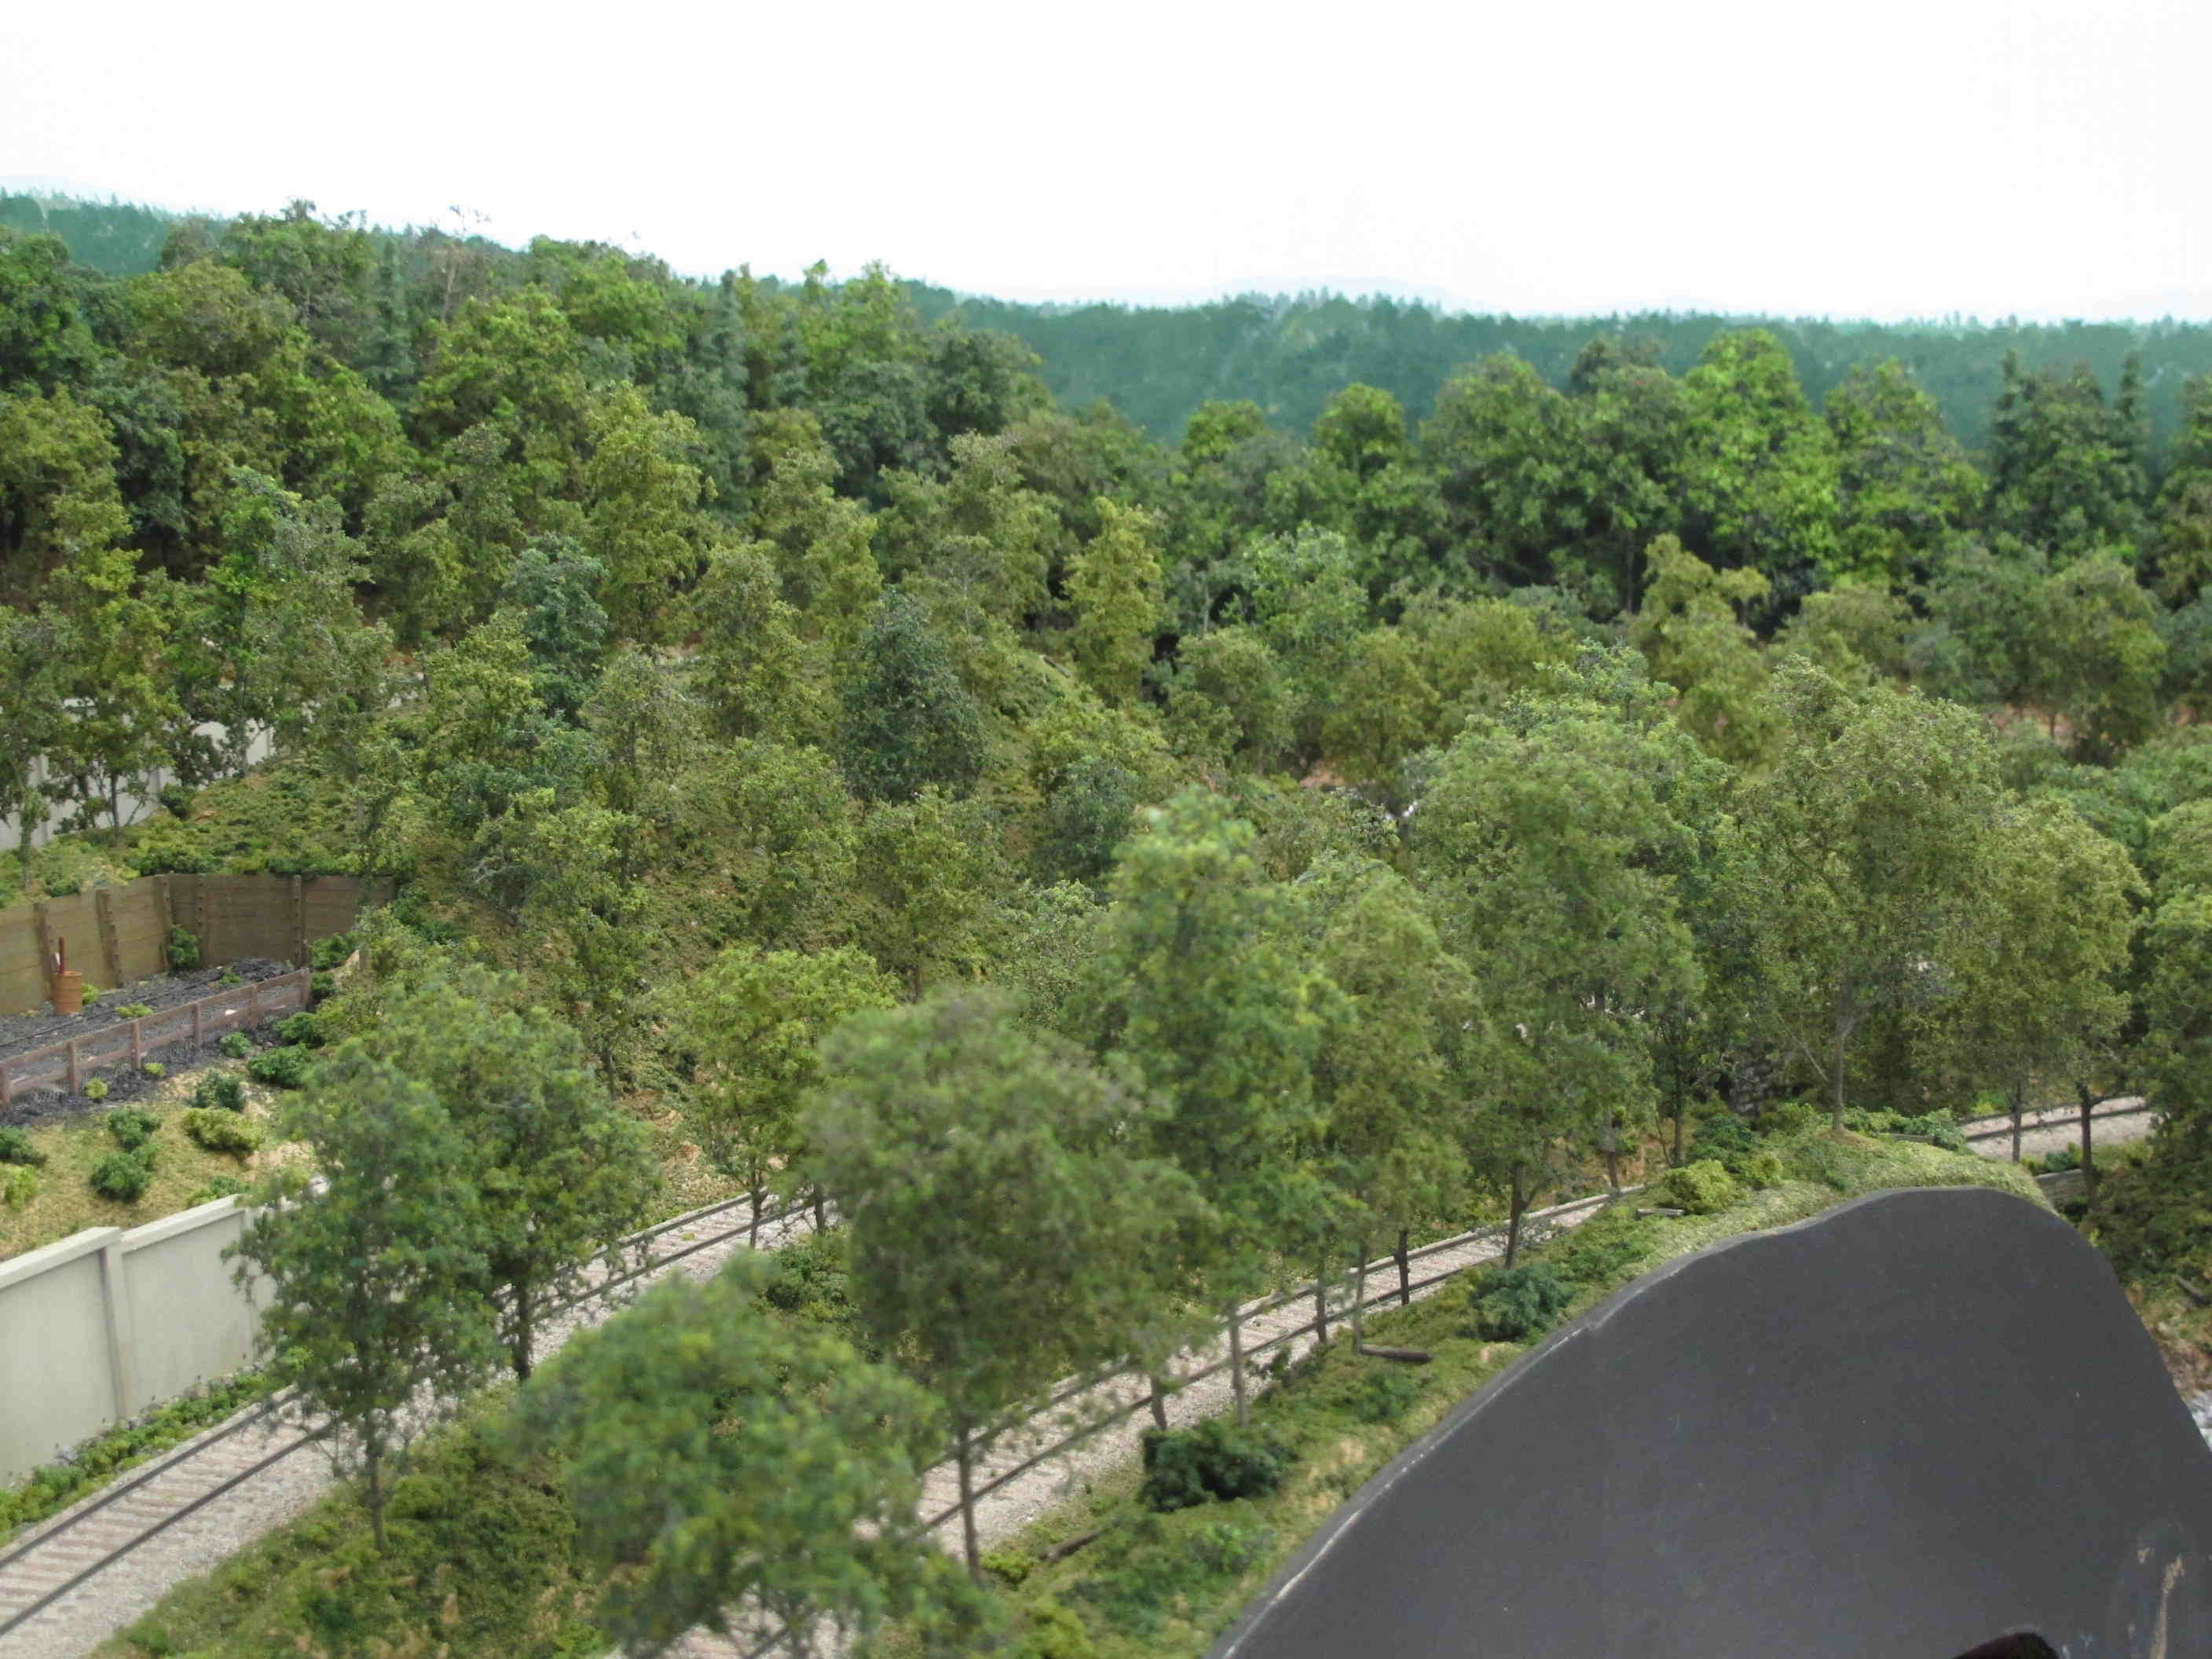
Trees |
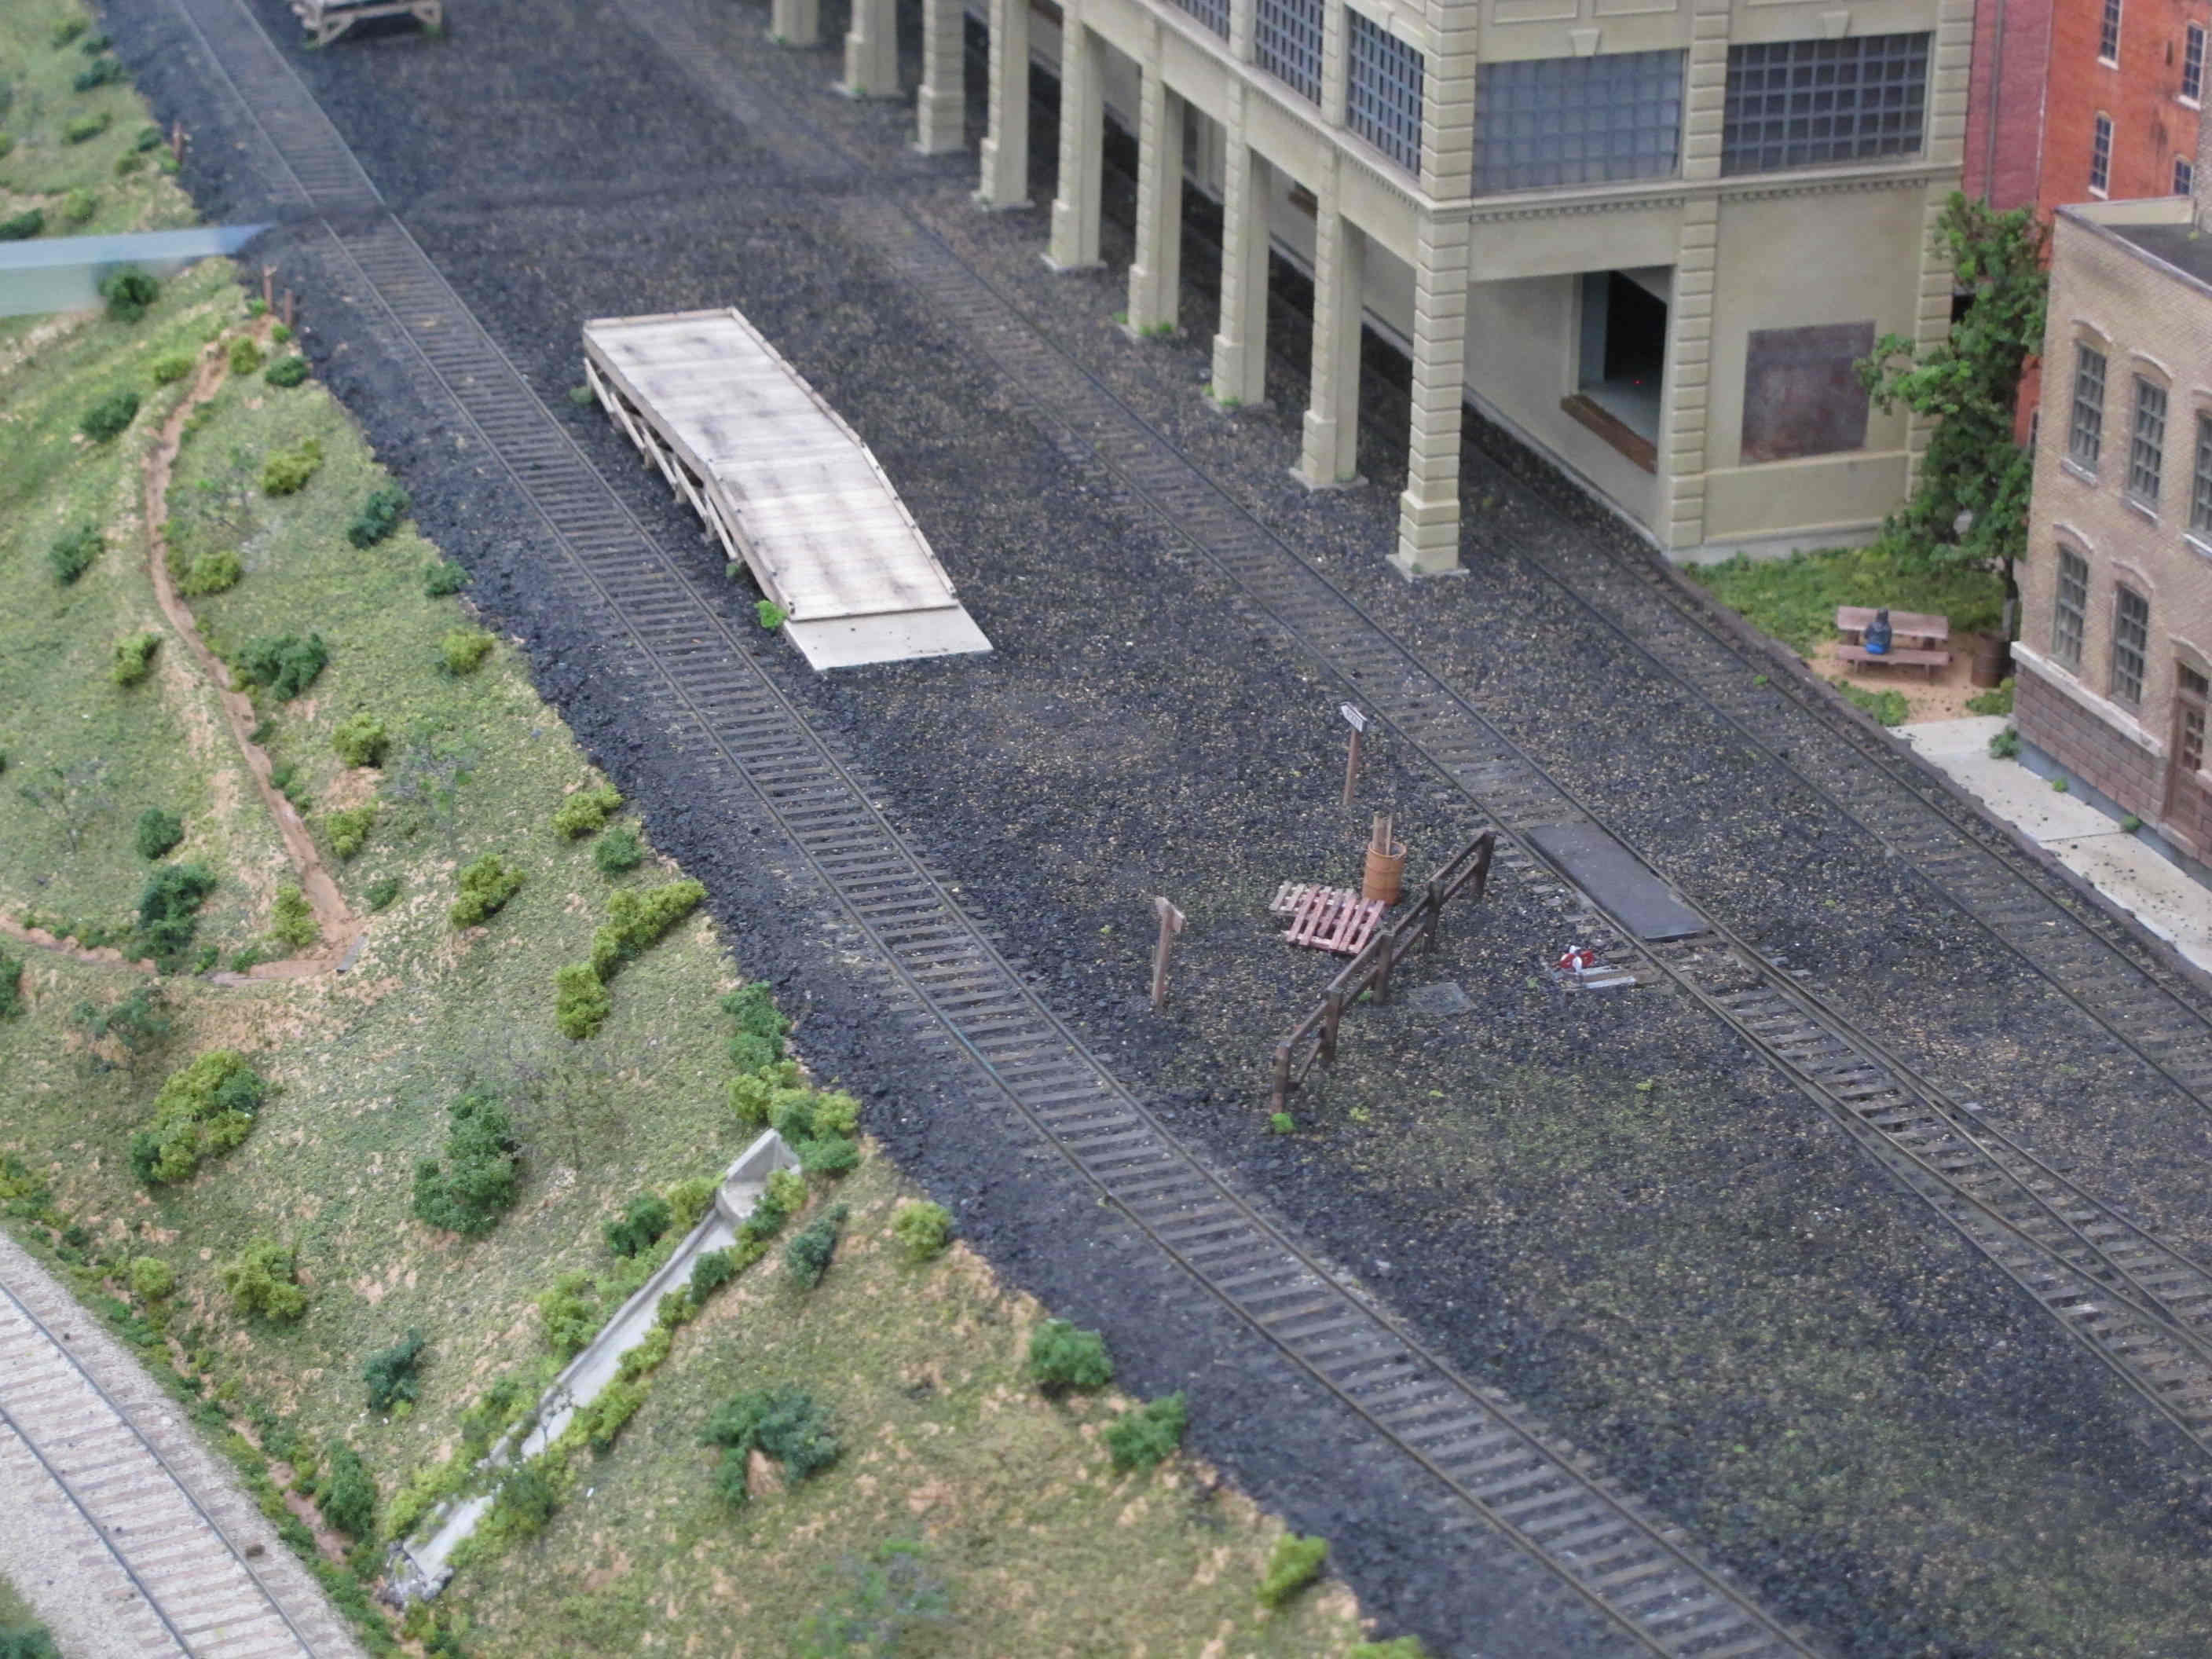
Loading dock along team
track in Newberry Industrial
Area |
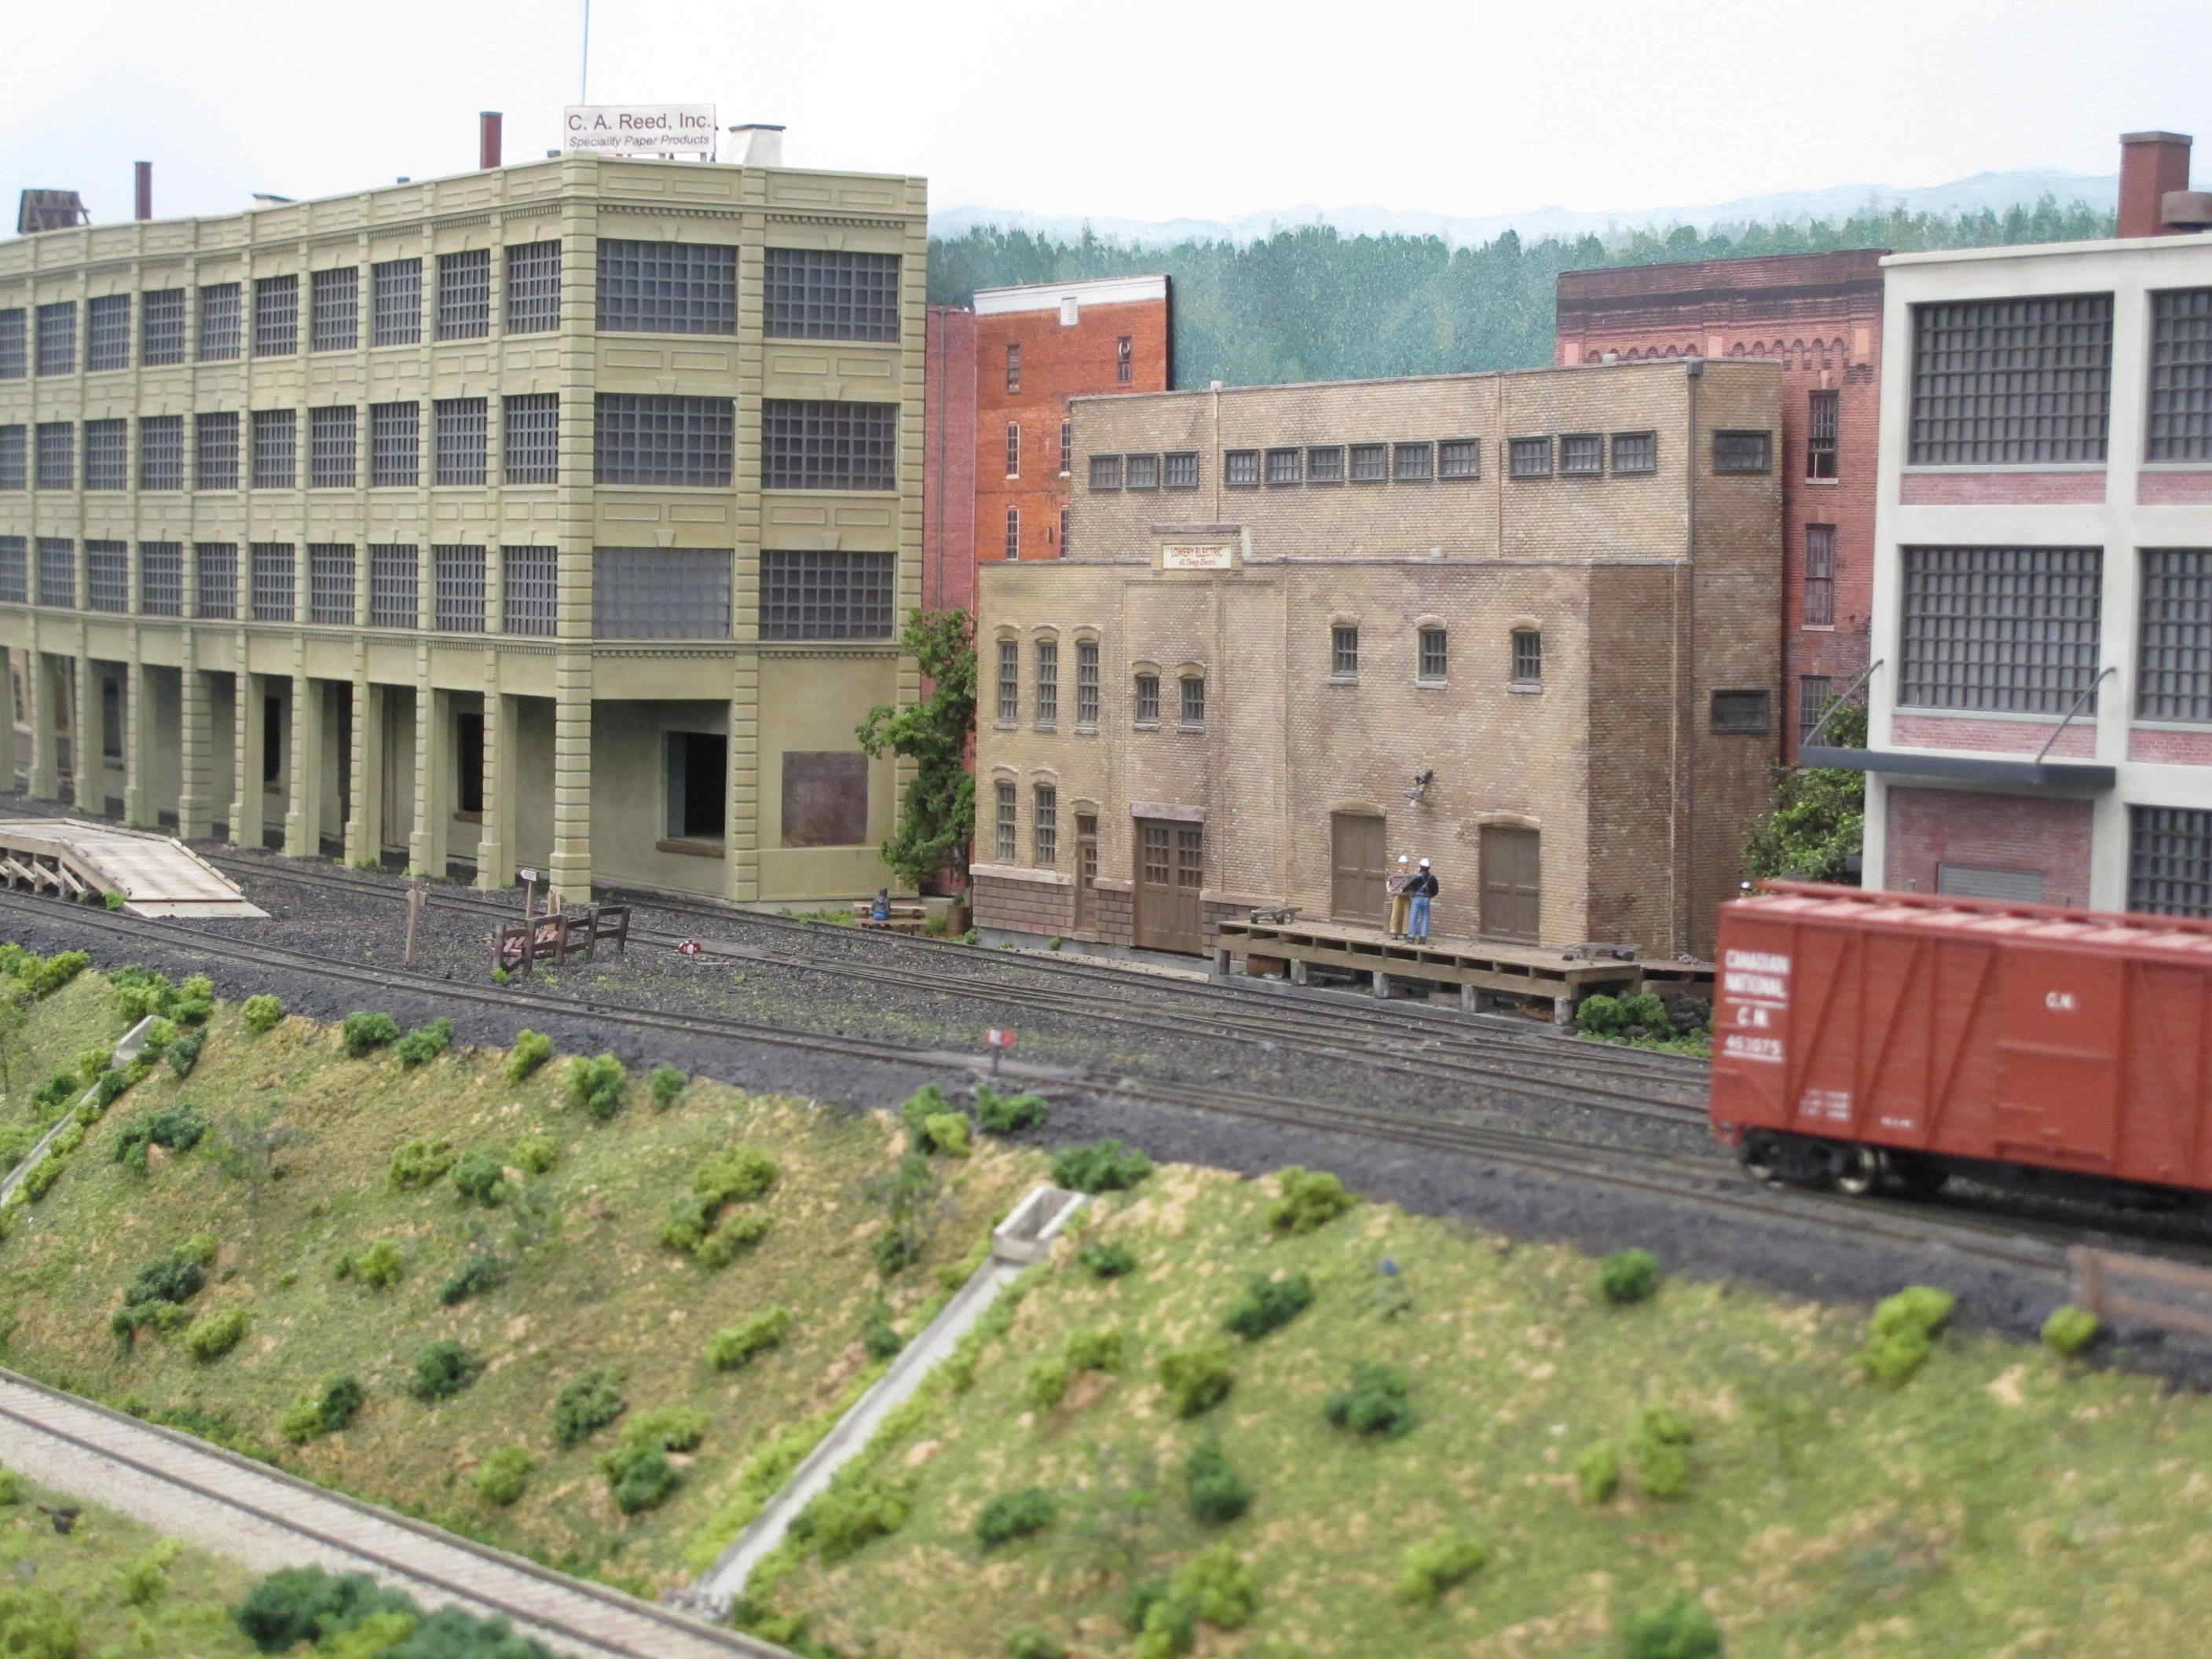
CA Reed and Lowery Electric
buildings in Newberry
Industrial Area |
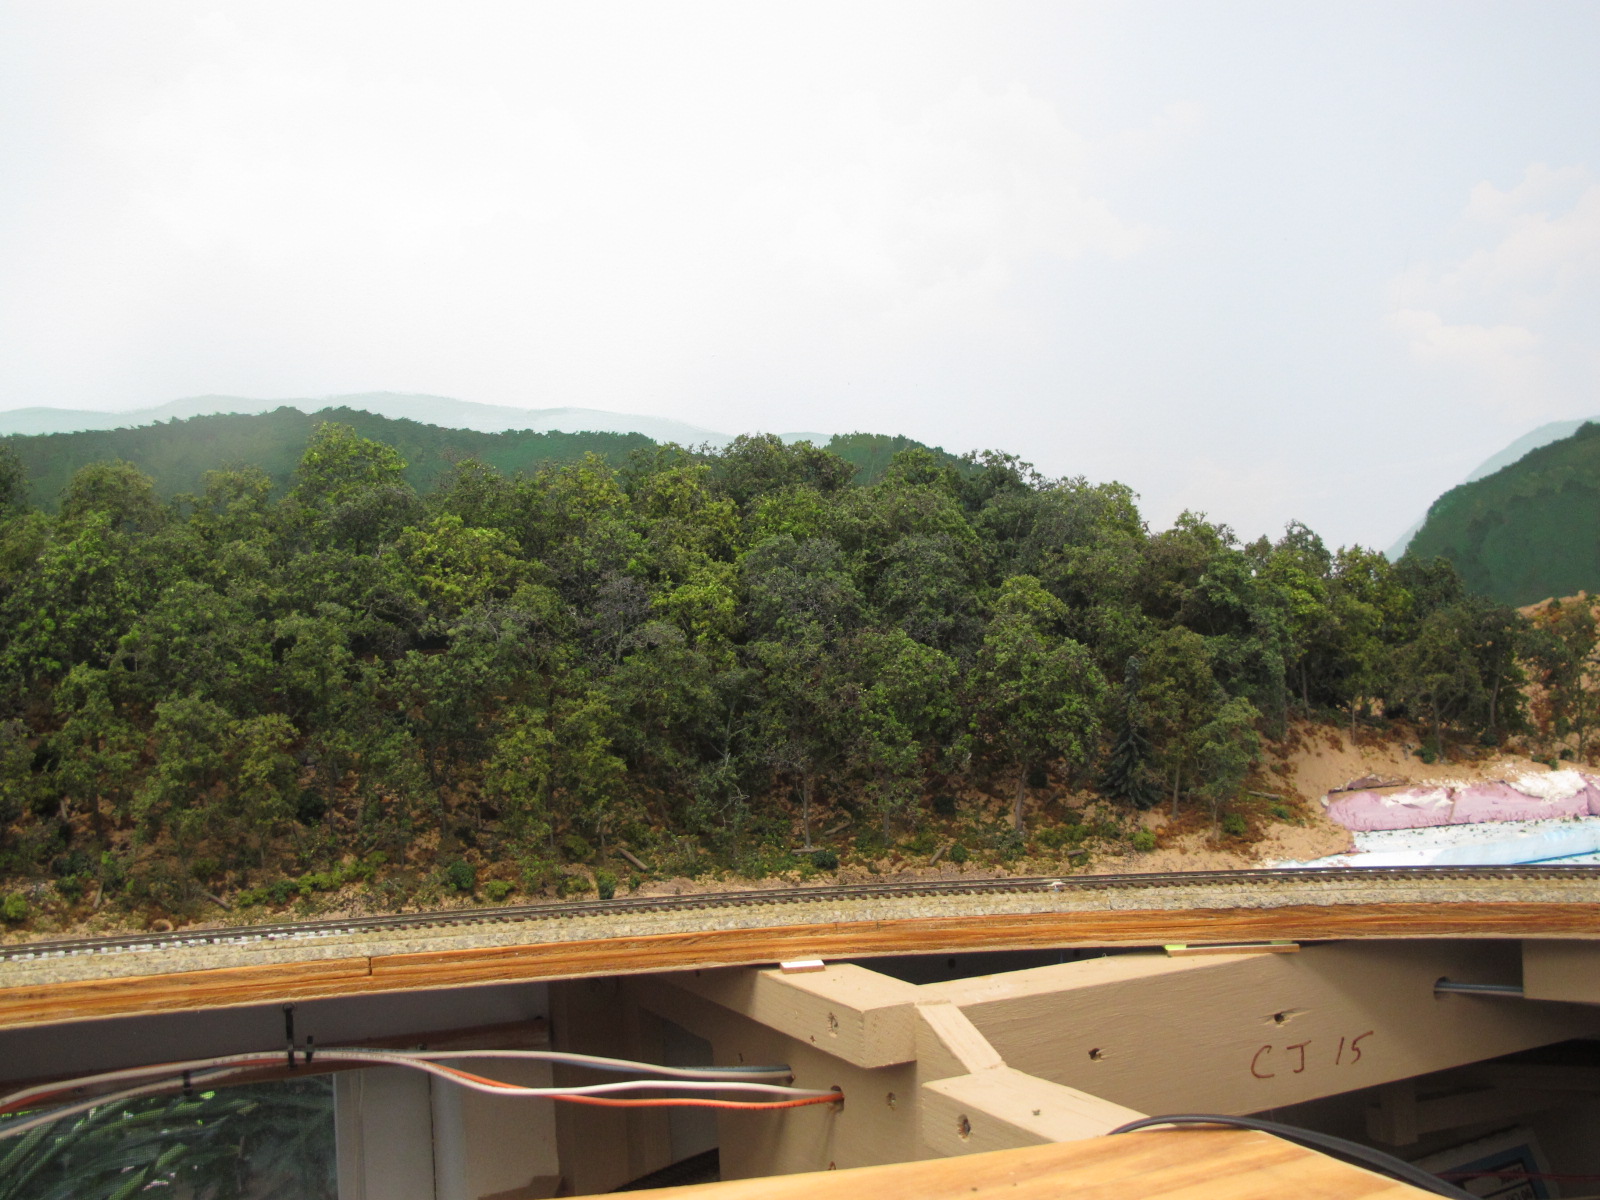
Mountains |
Scenery Area 2
Scenery Area 2 is a composite of three smaller scenery areas and stretches along the south wall of the layout room. This area connects on the left end with Scenery Area 1
(my NMRA AP Scenery certificate area)
Section A
Section A is located along the double track main line of the SVL layout and encompasses the Pine Street Industrial Area. In this industrial area are two major industries each having direct access to sidings. The Lehman Freight building also has a truck loading dock. The second building the Raub Supply Company has a long loading dock with an extension to the west. The tree between the two buildings is where William Penn signed the paperwork to create the state of Pennsylvania (i.e. Penn's woods)
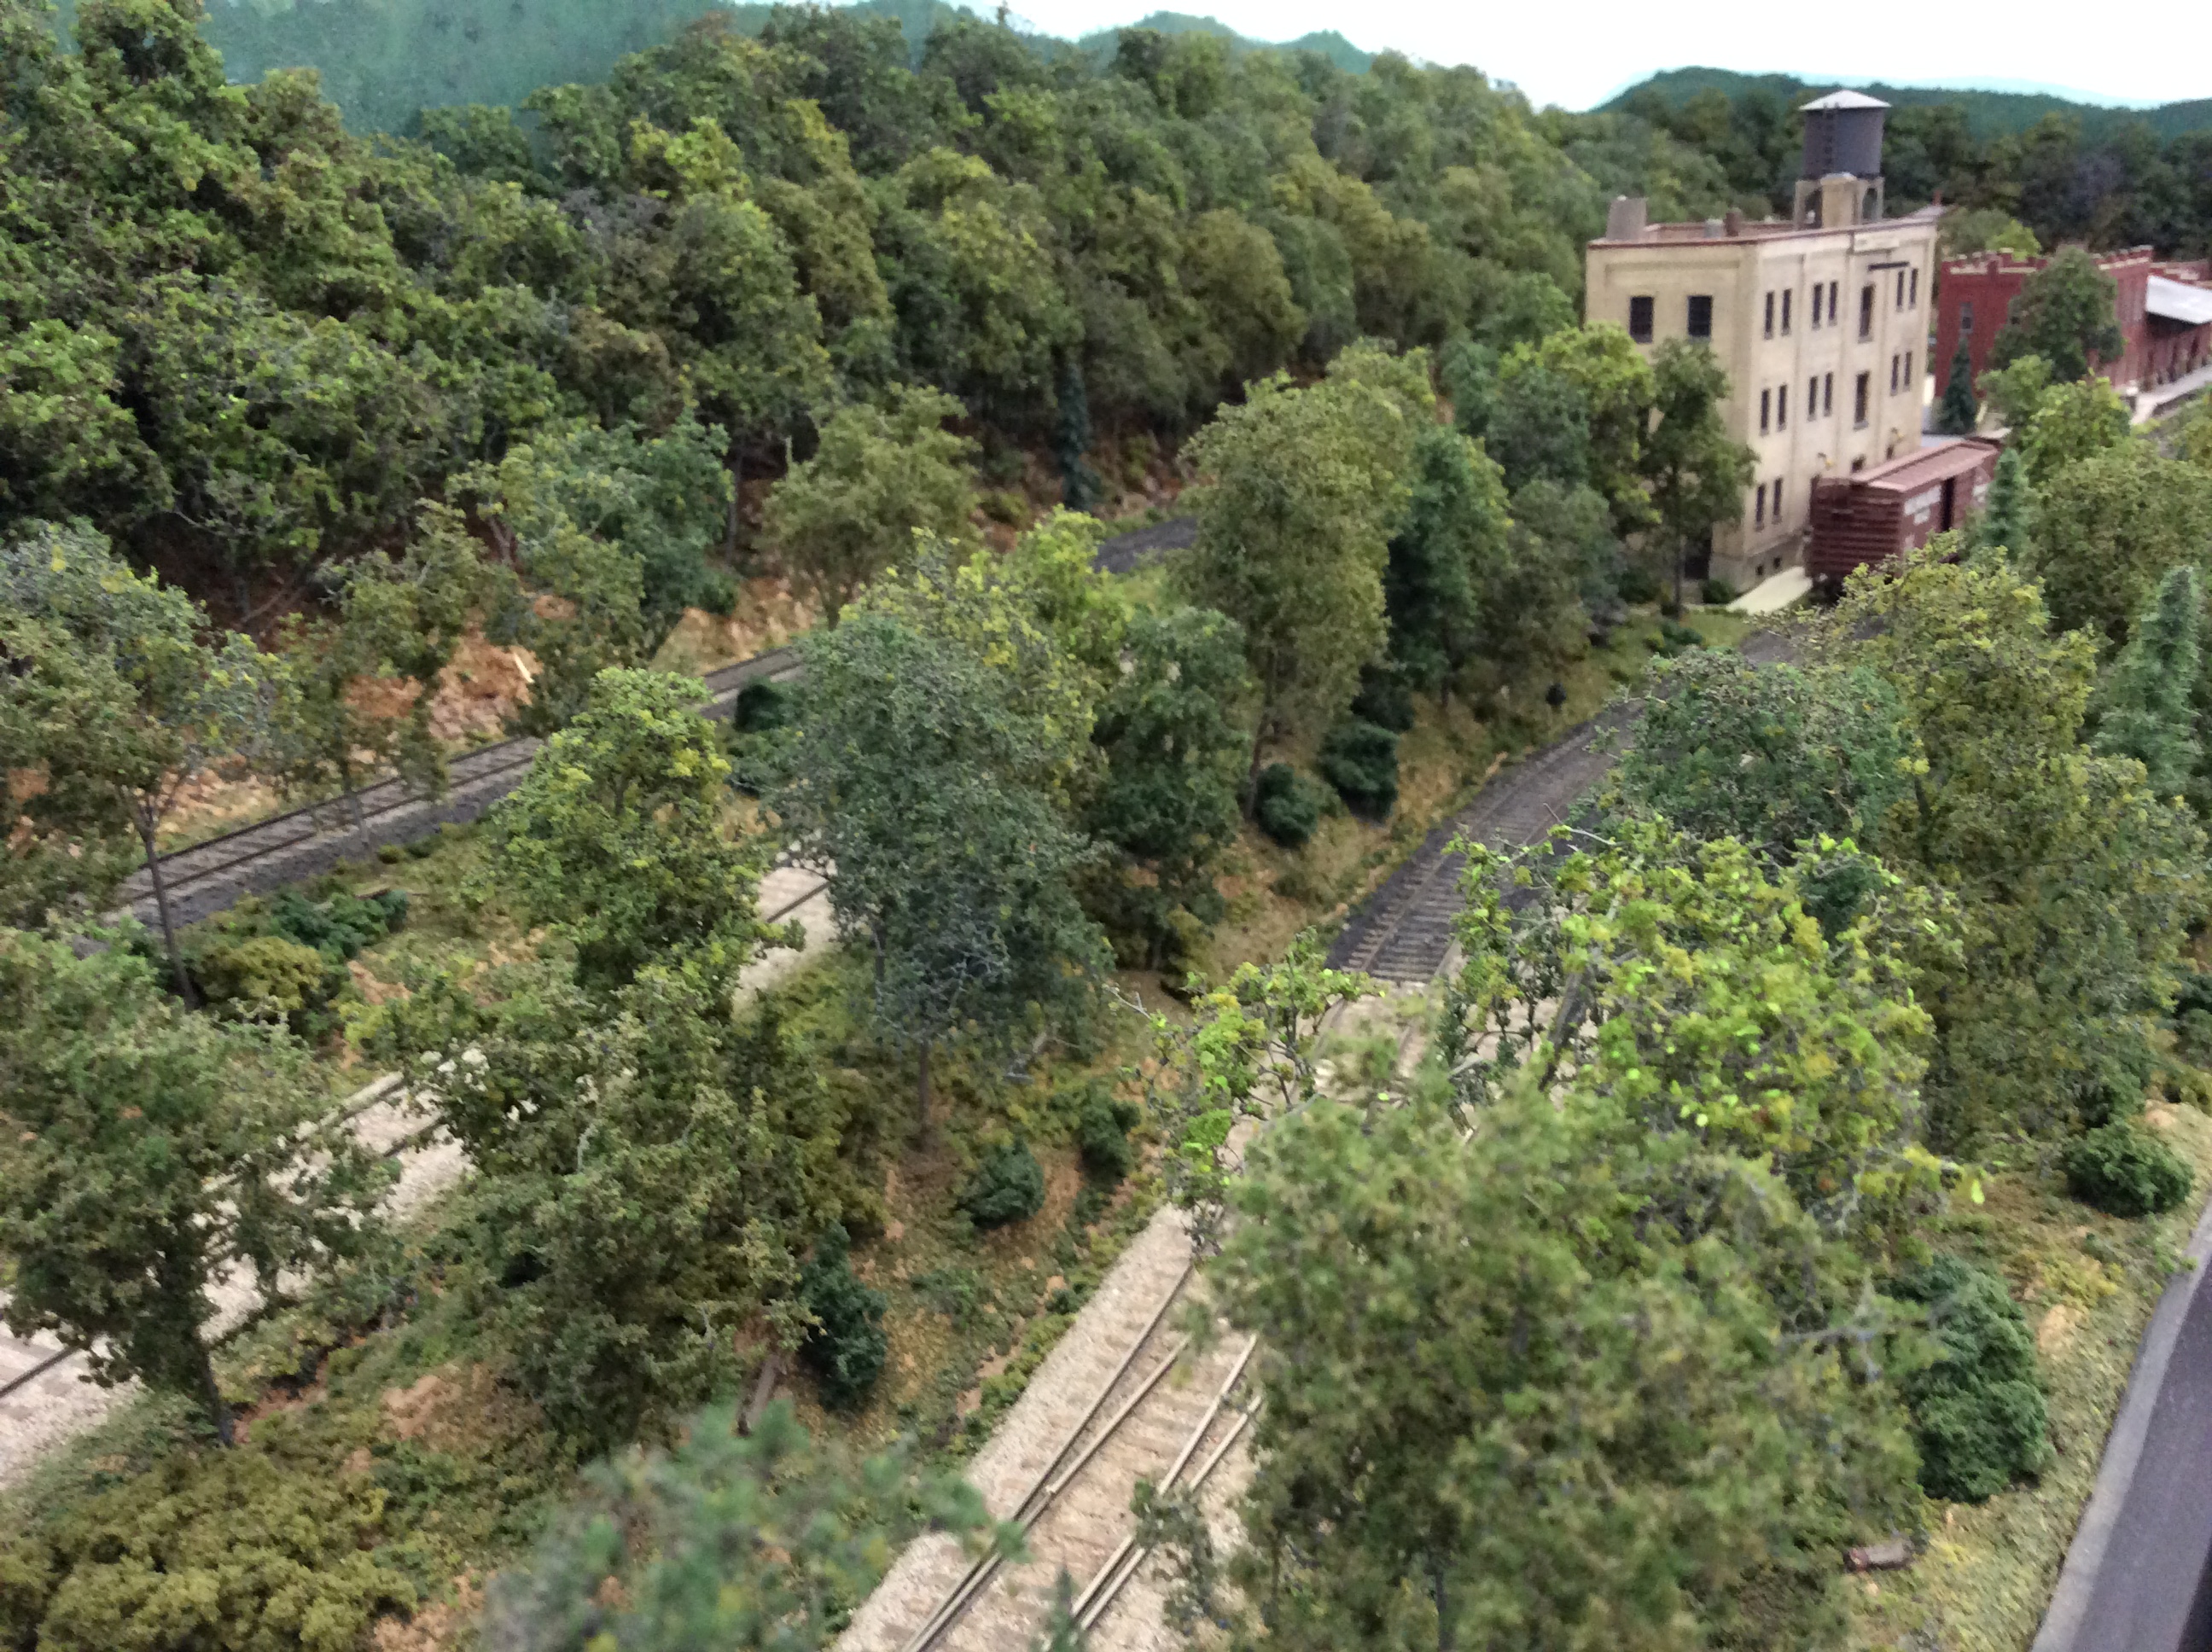
Looking along Section 2 at
Lehman Freight in the
distance |
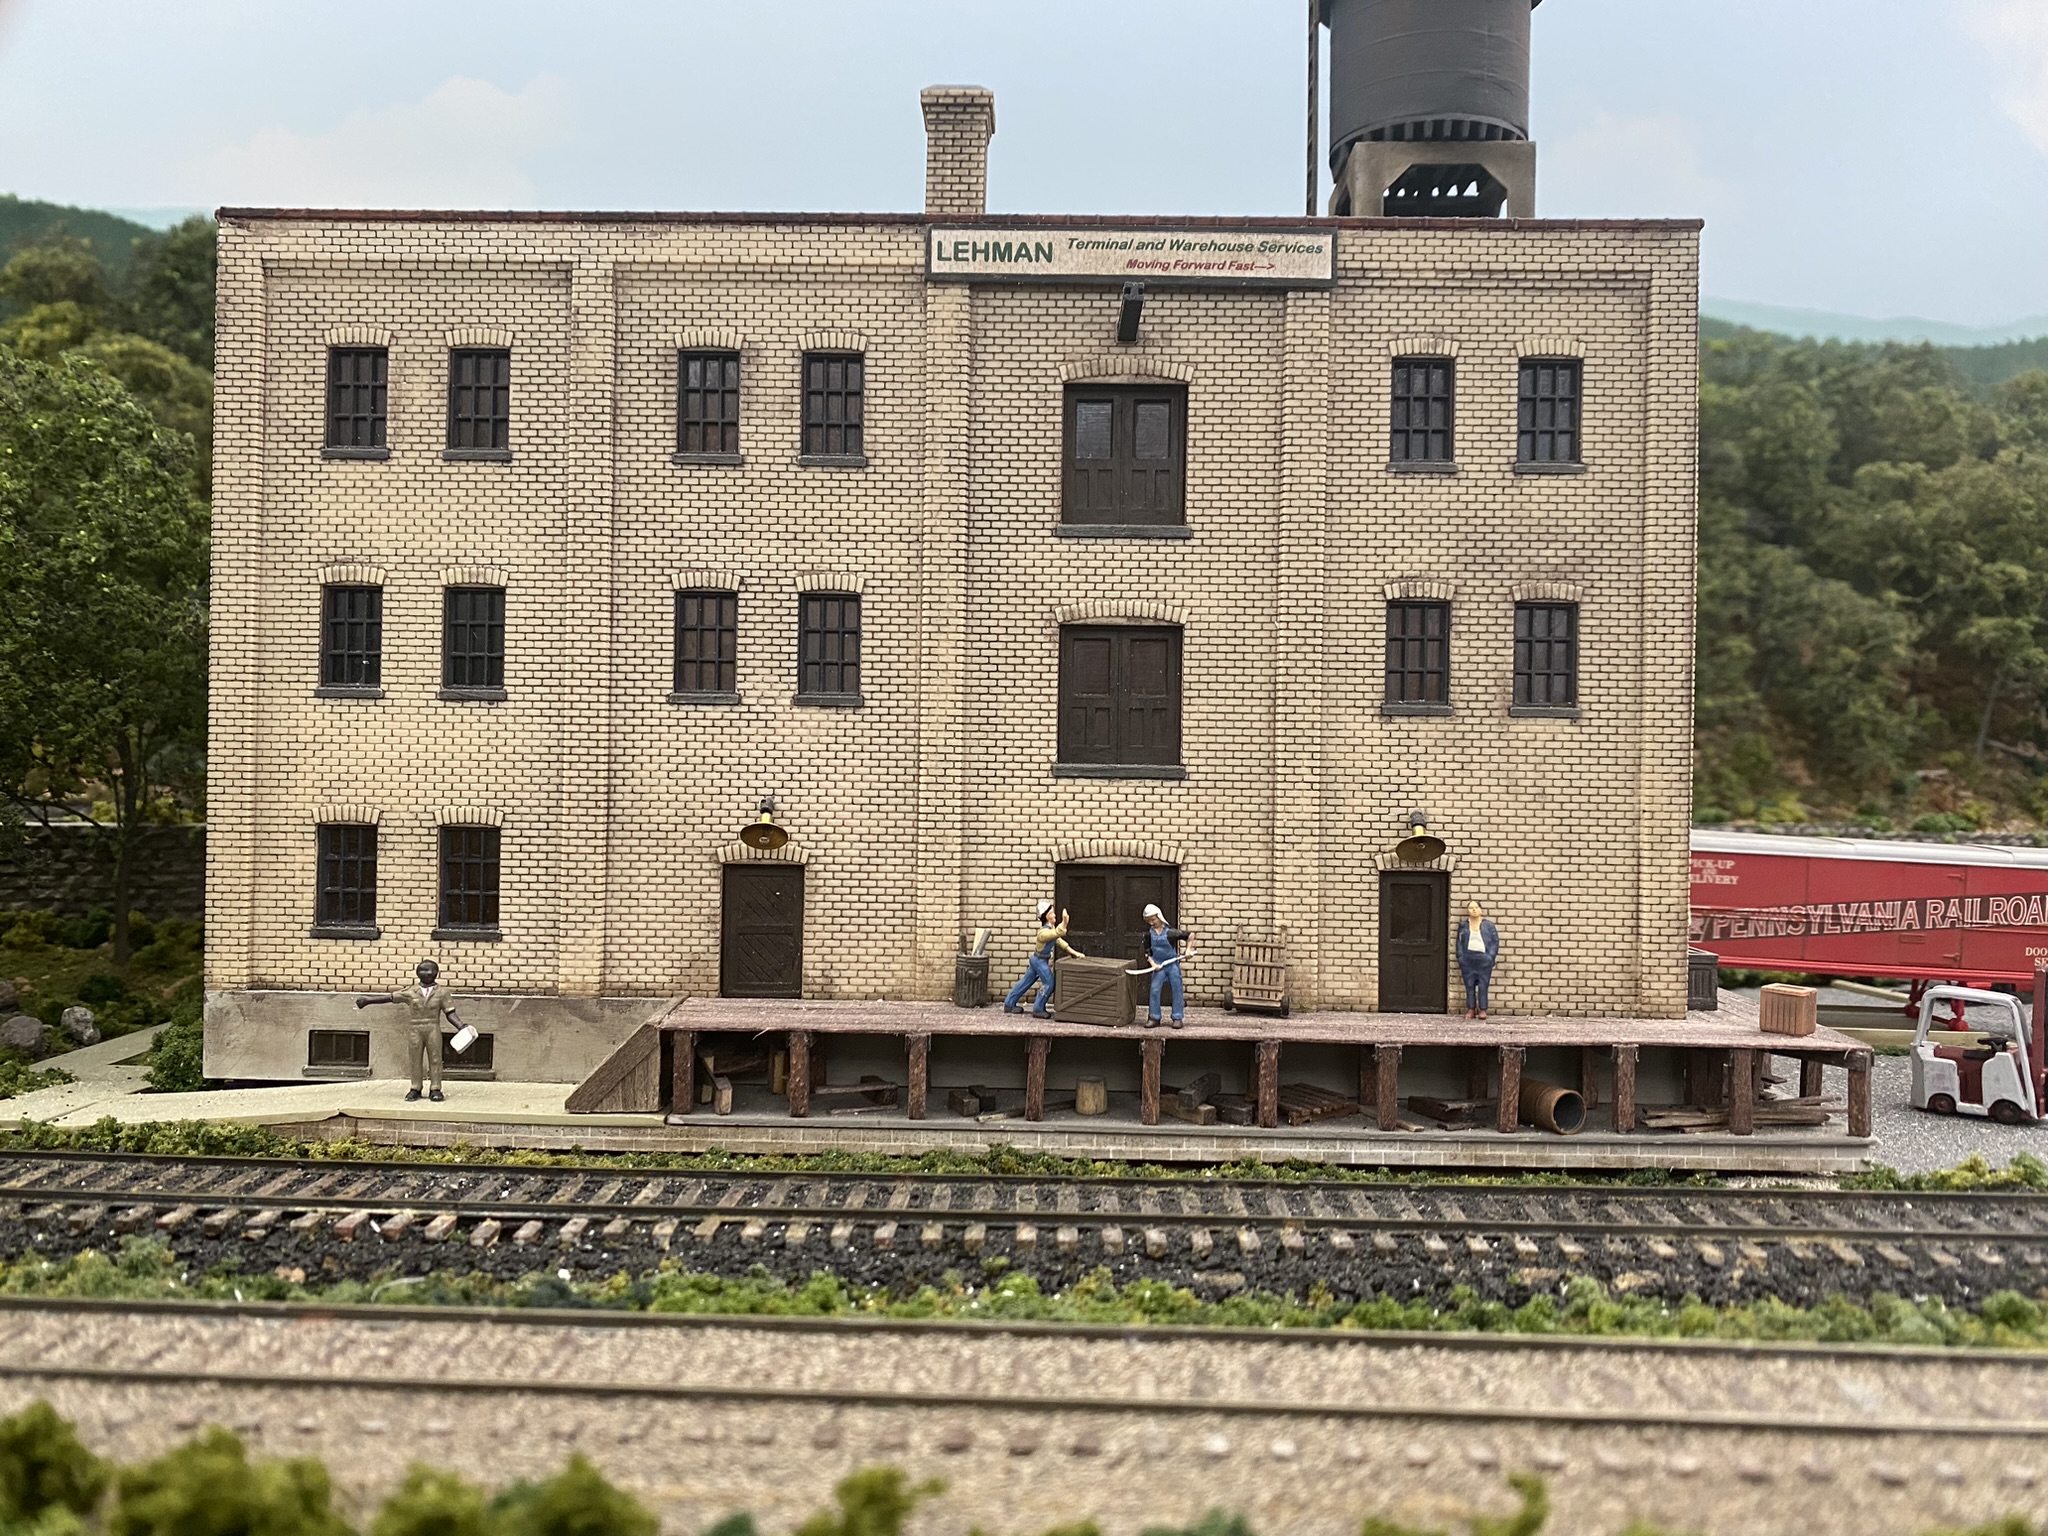
Lehman Freight Building |
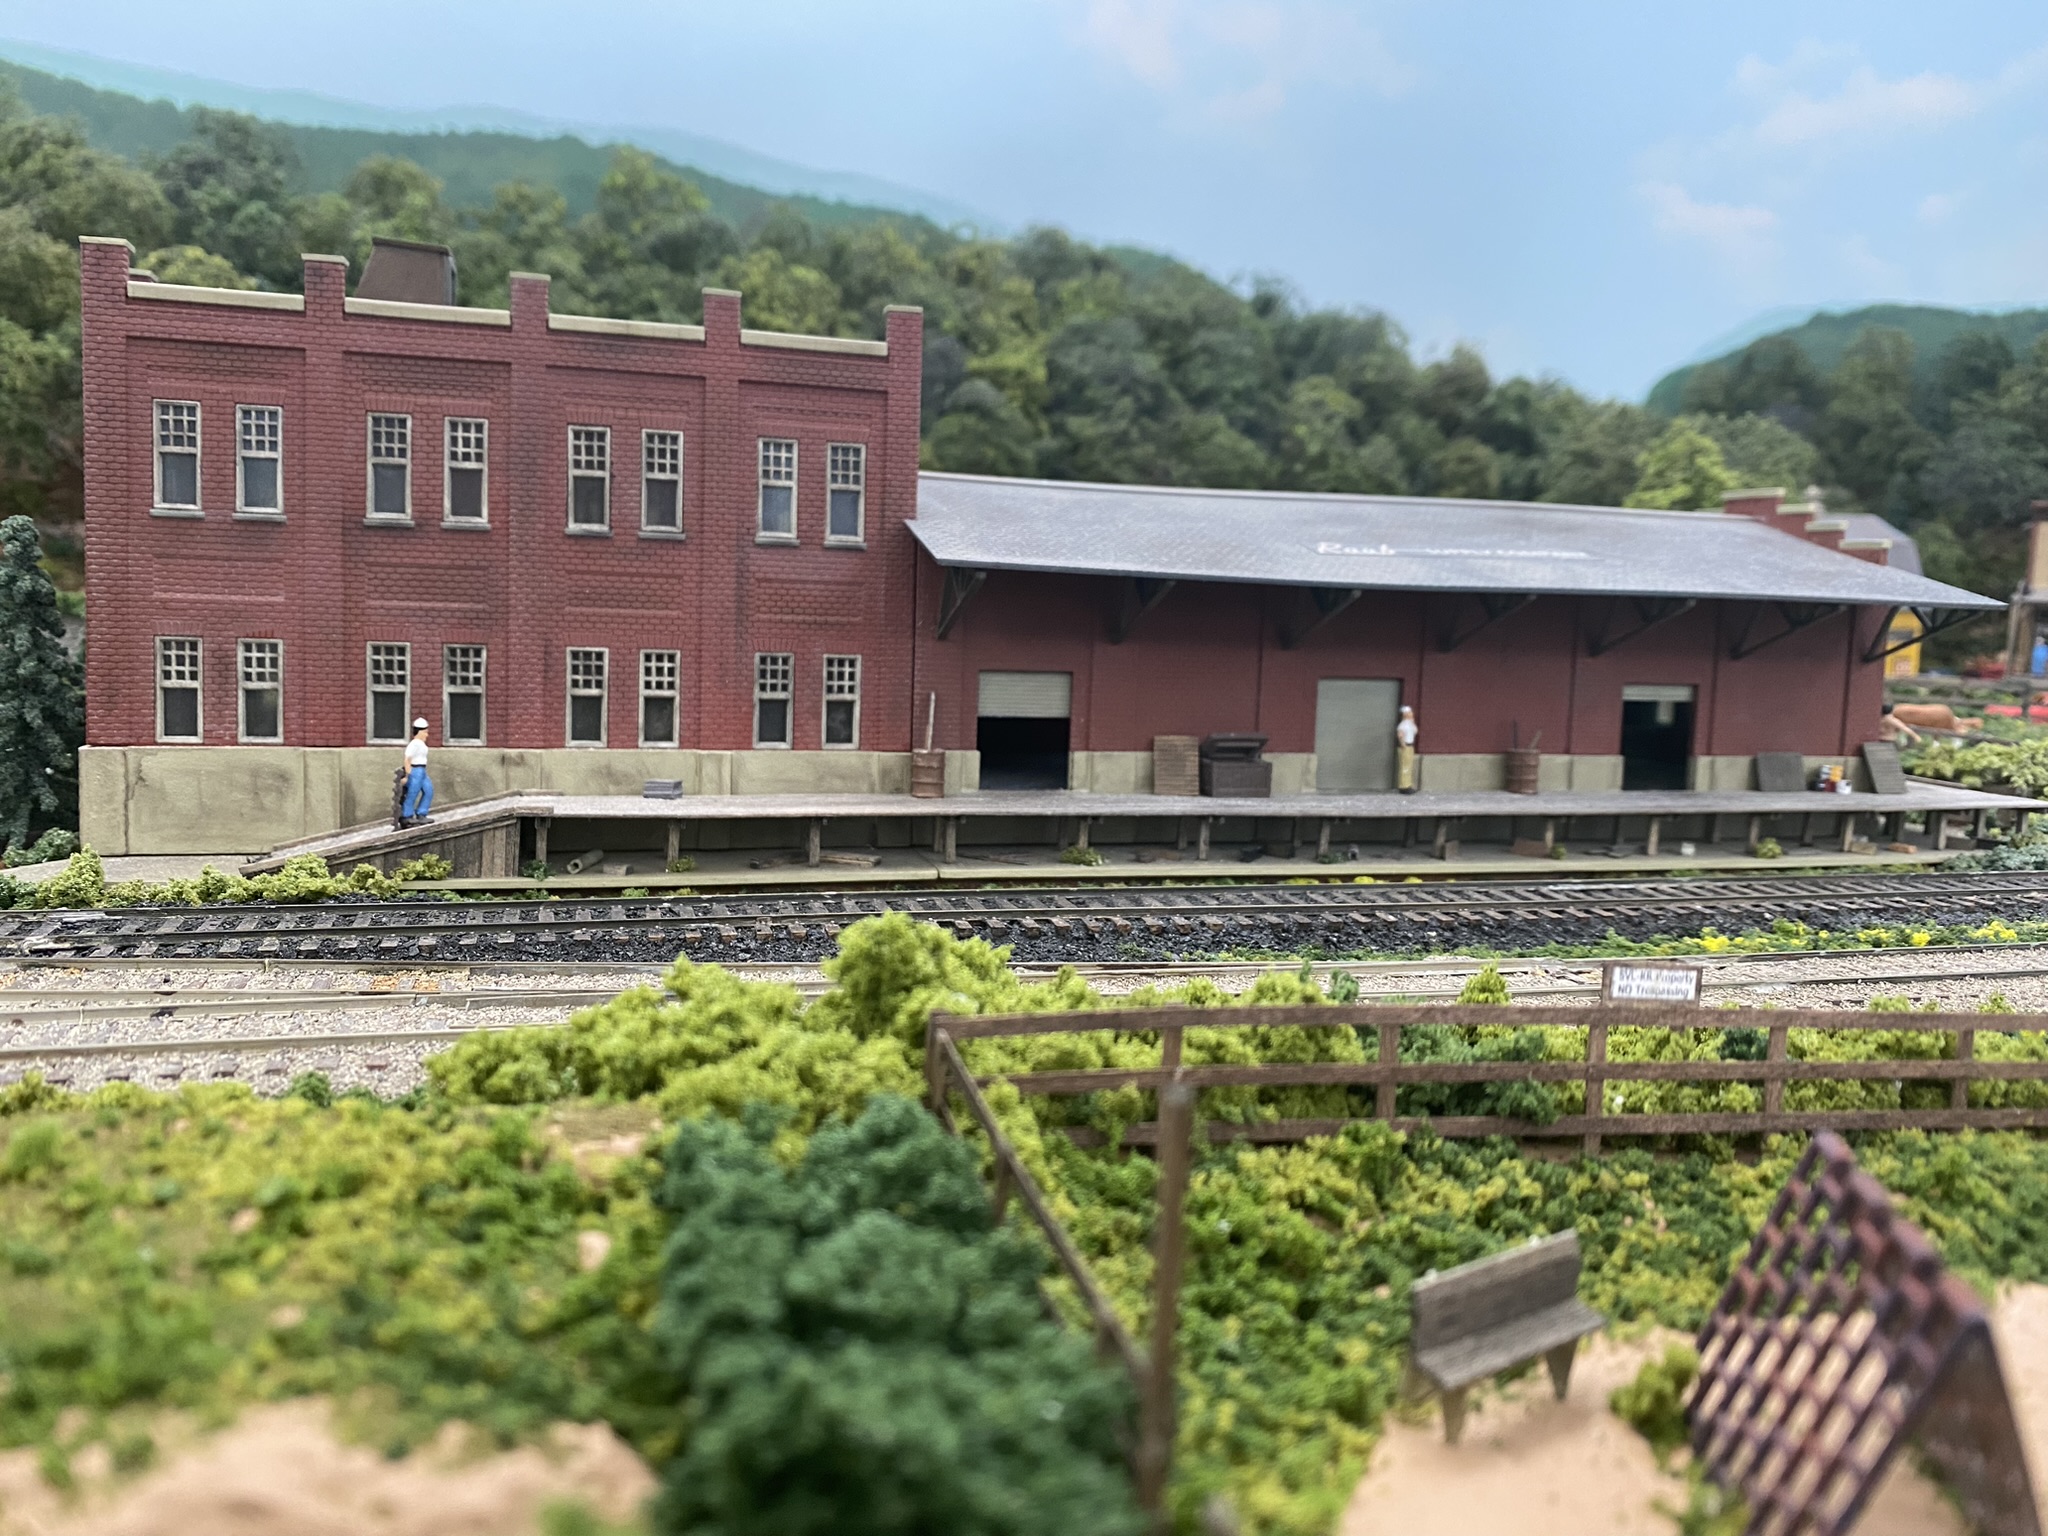
Raub Supply Building |
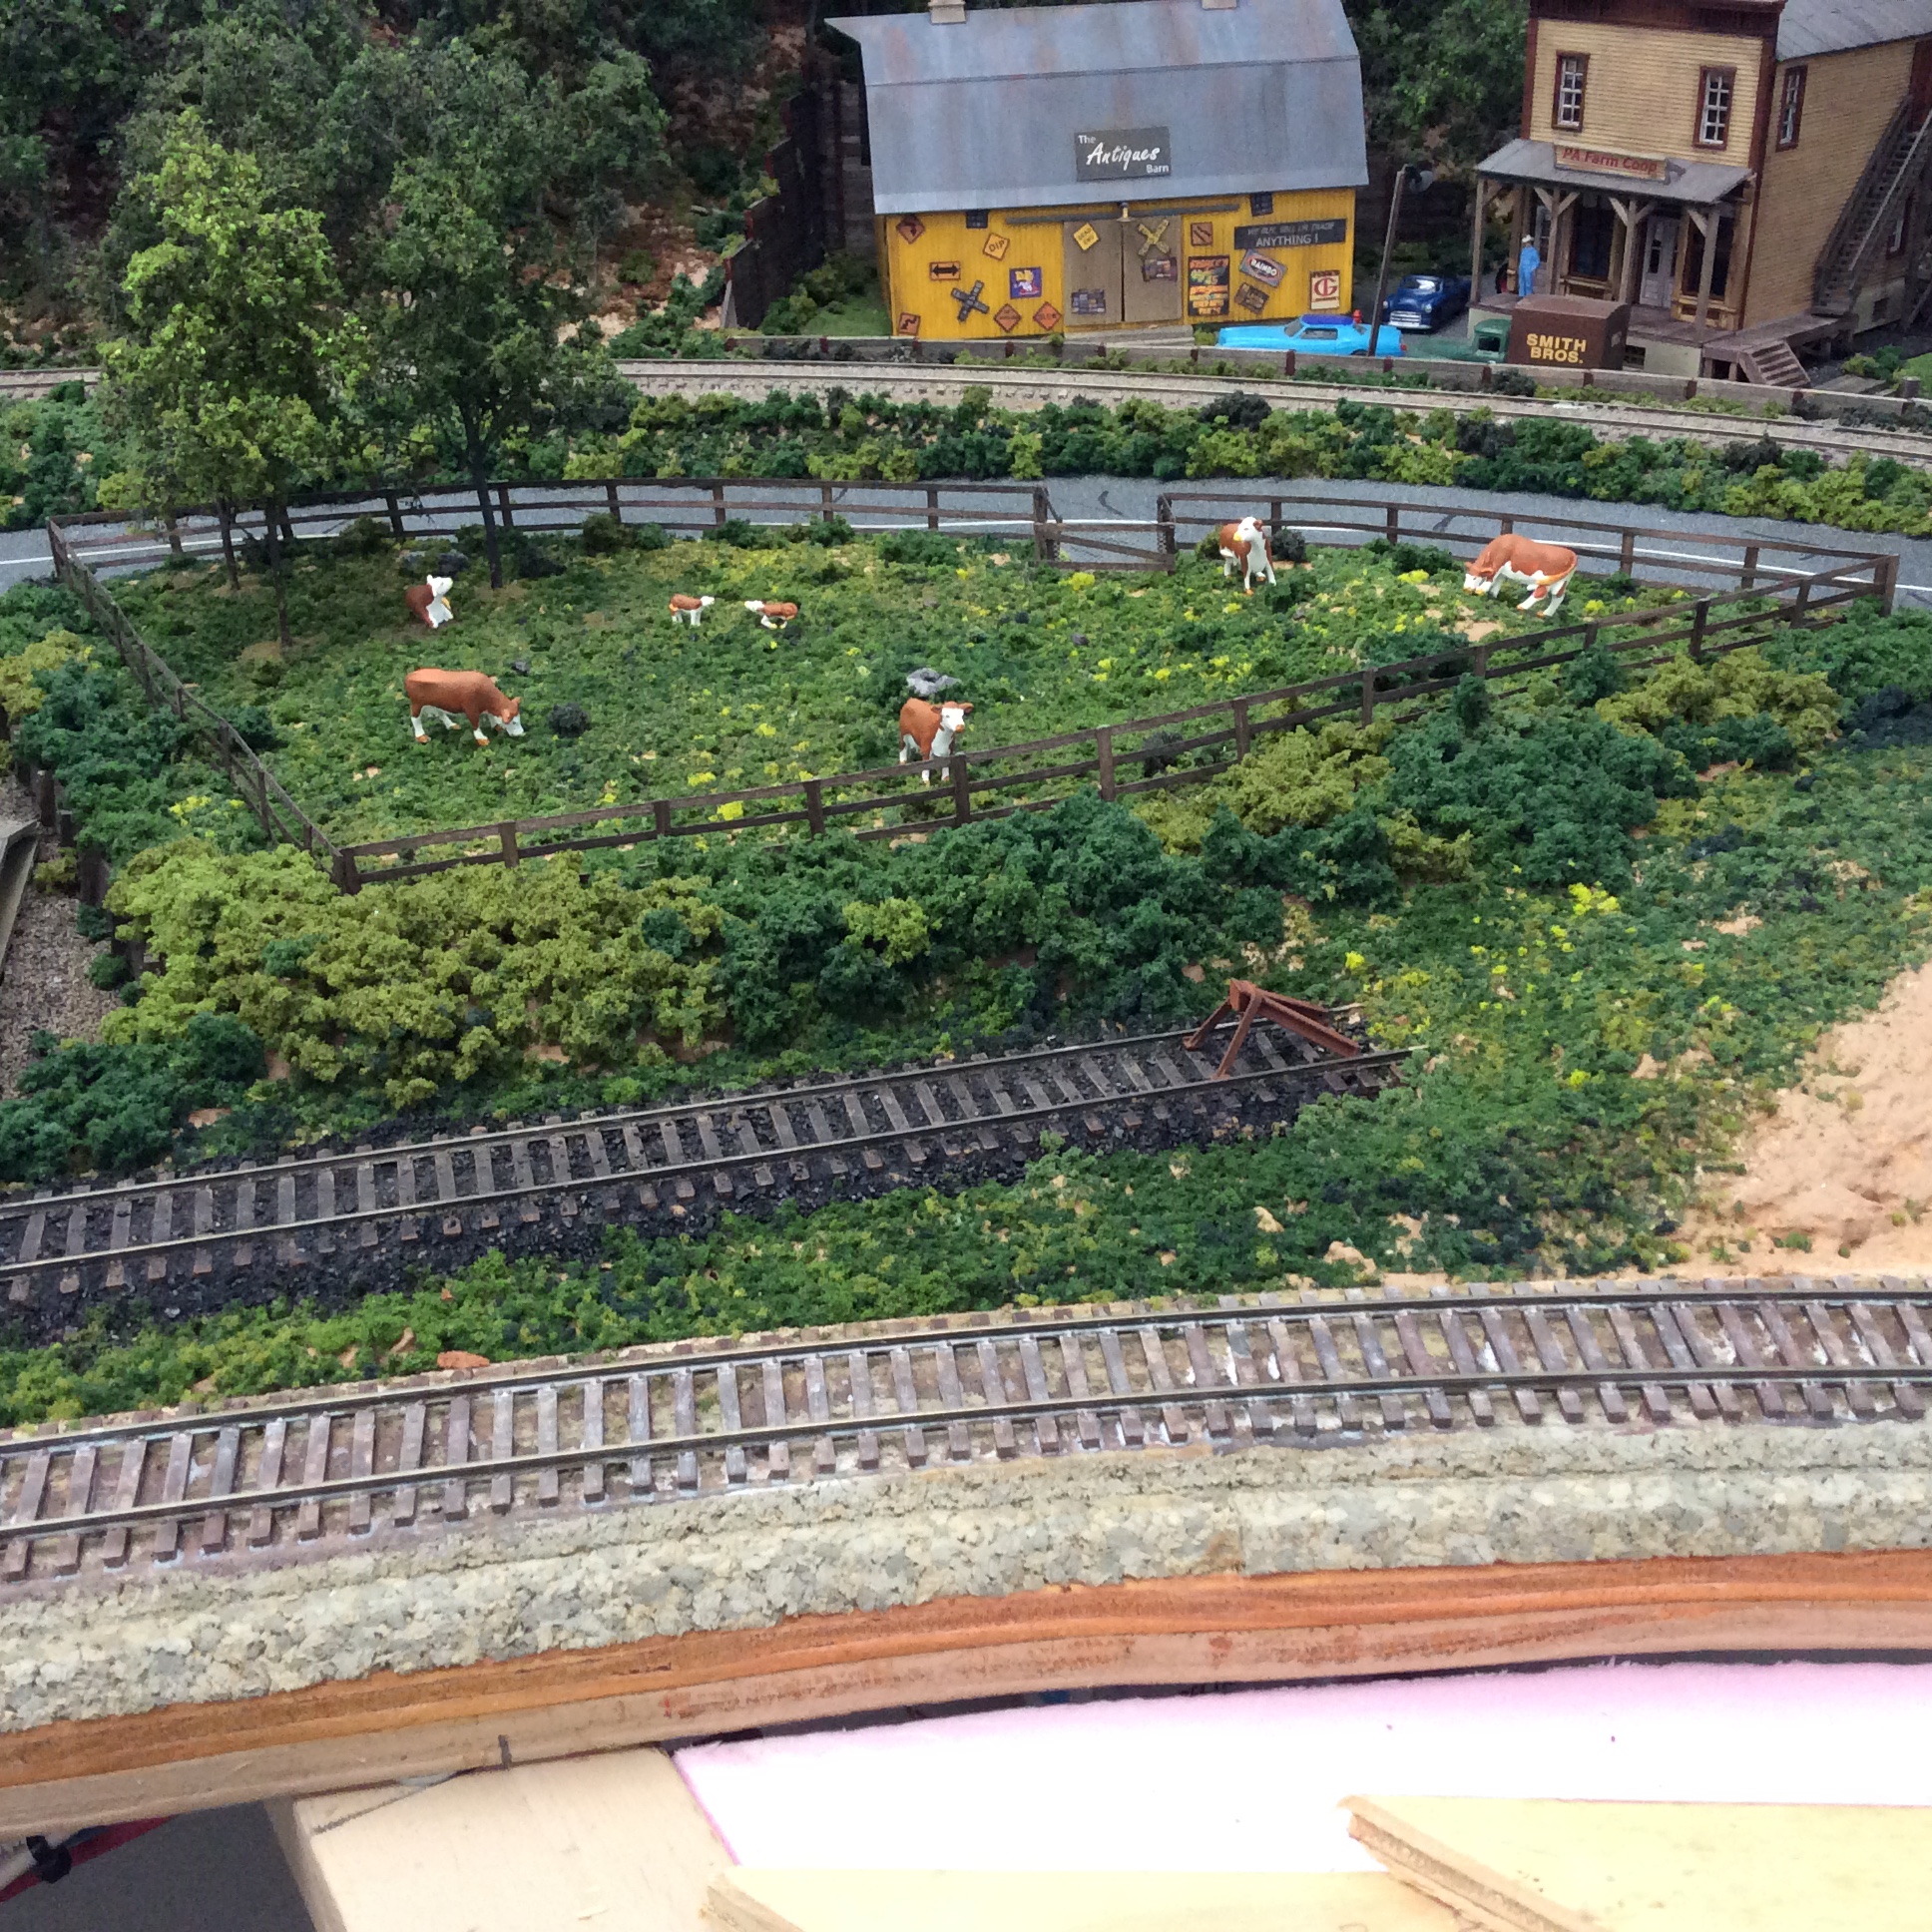
Cow pasture |
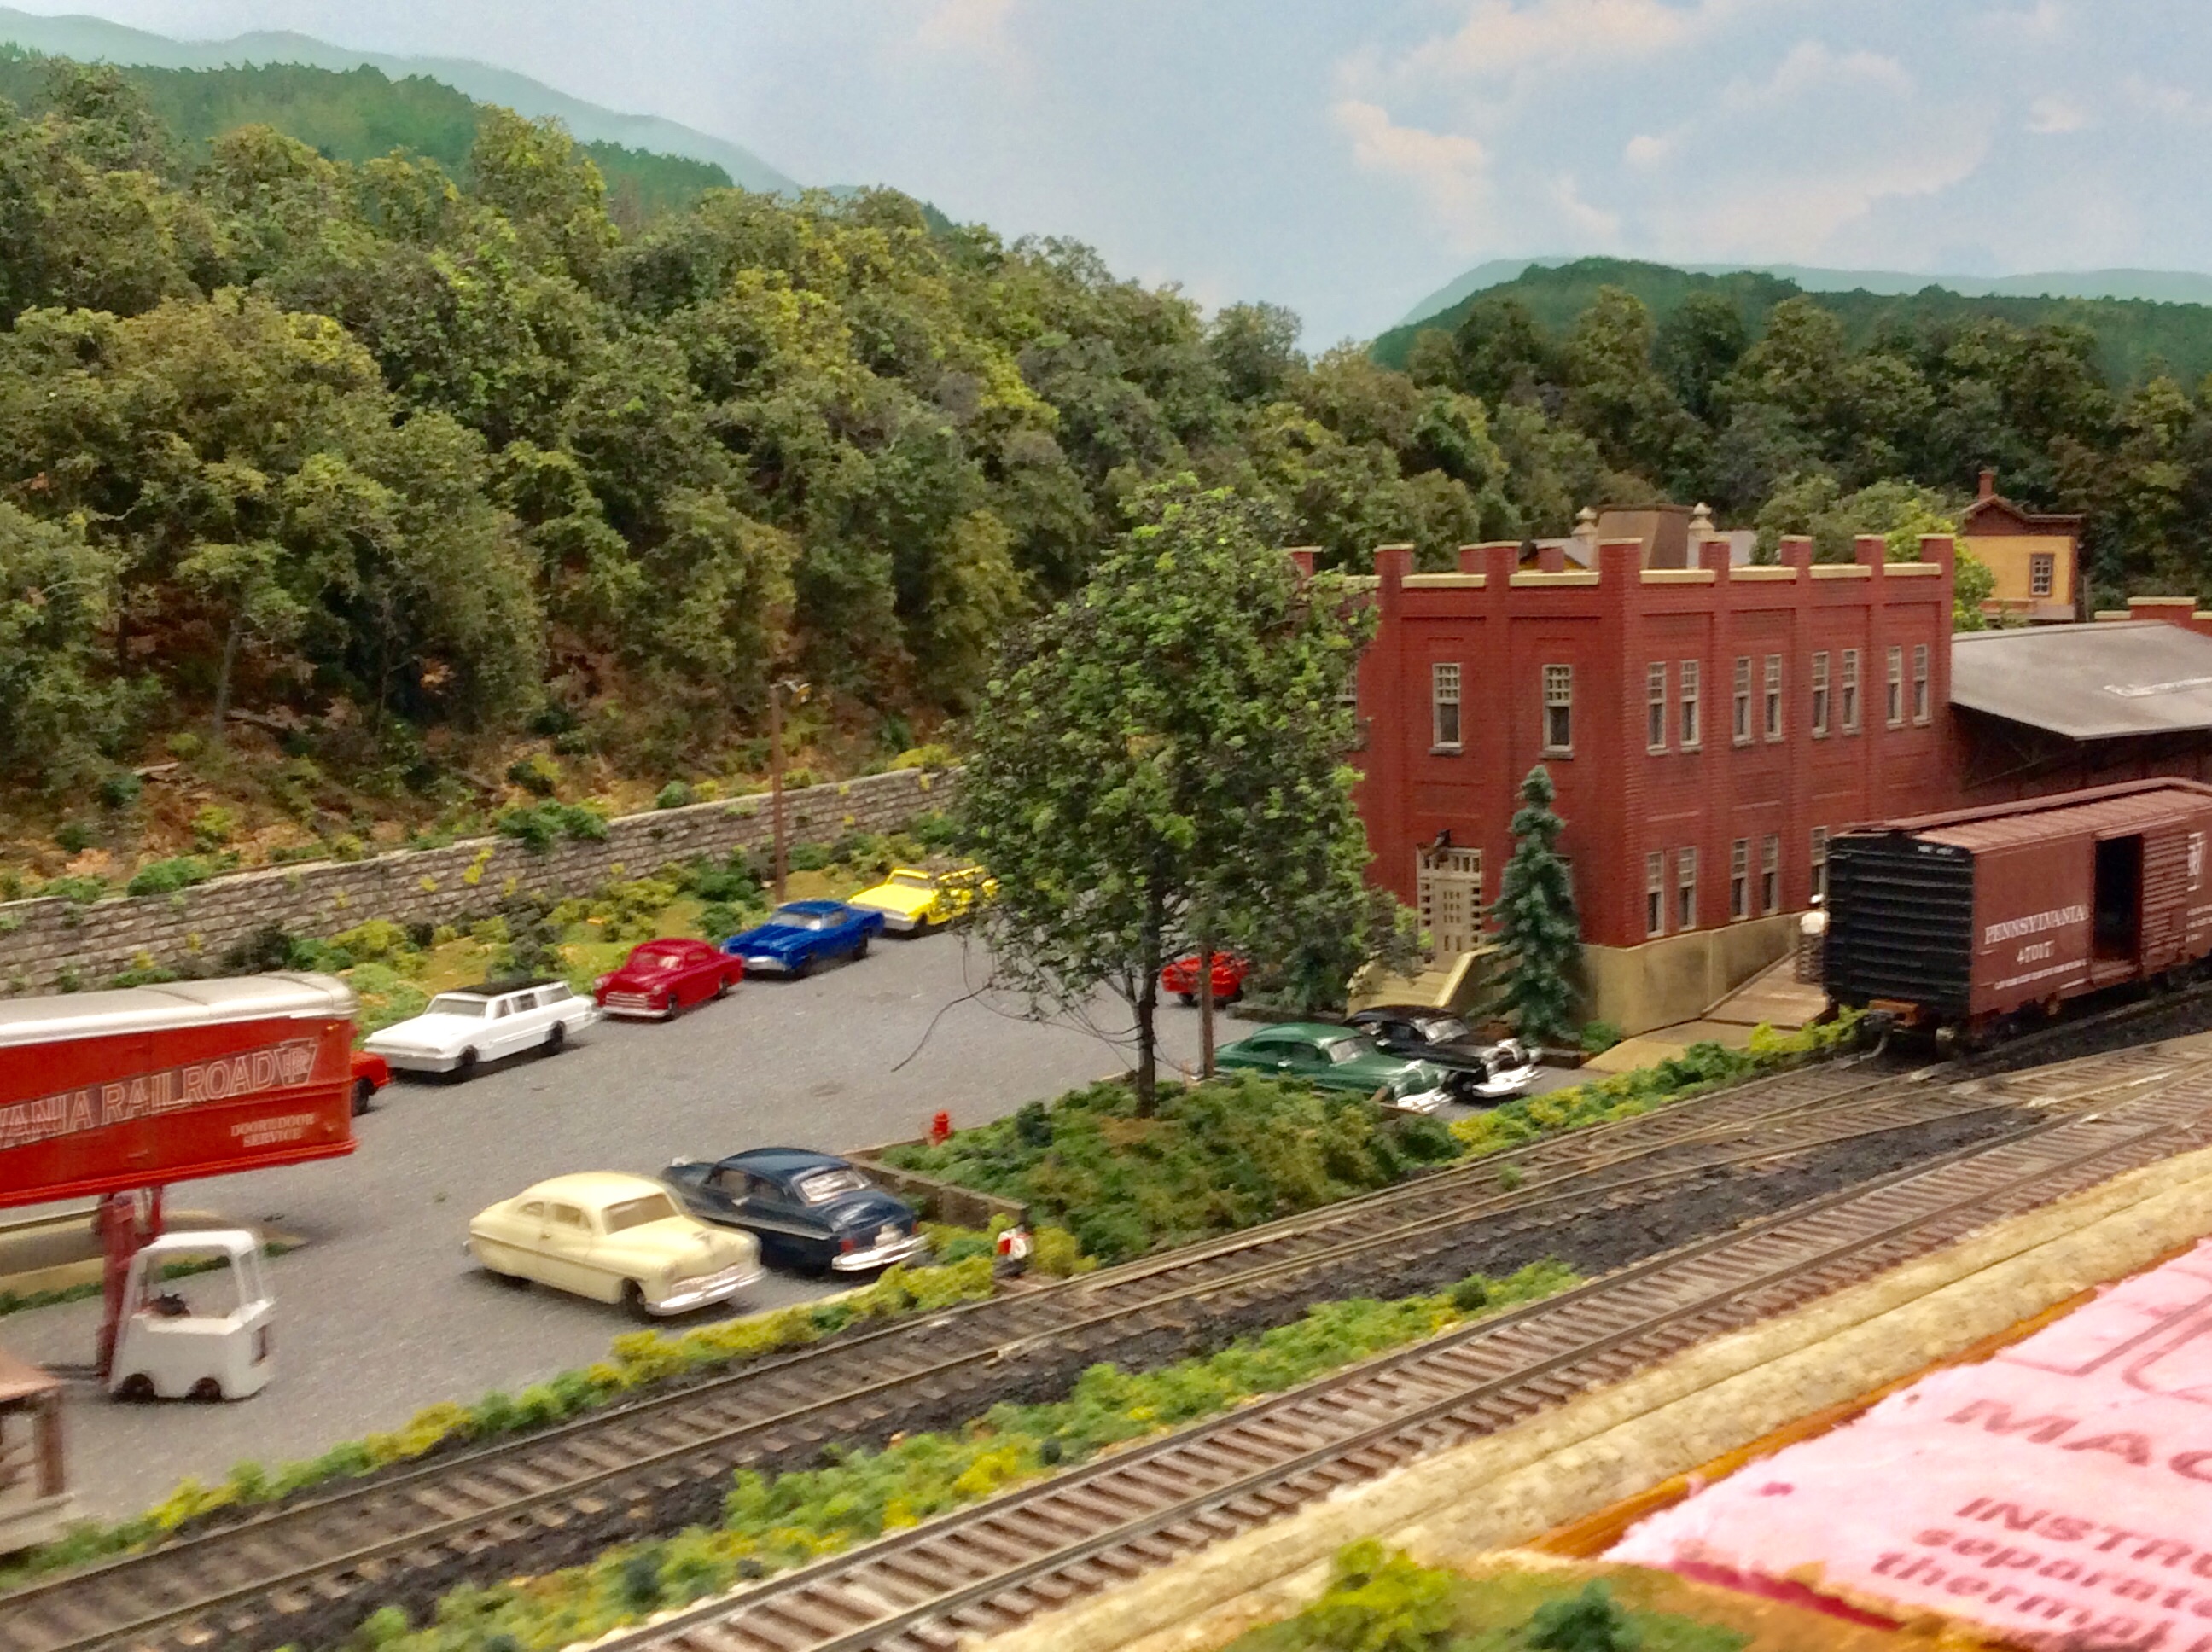
Raub parking lot |
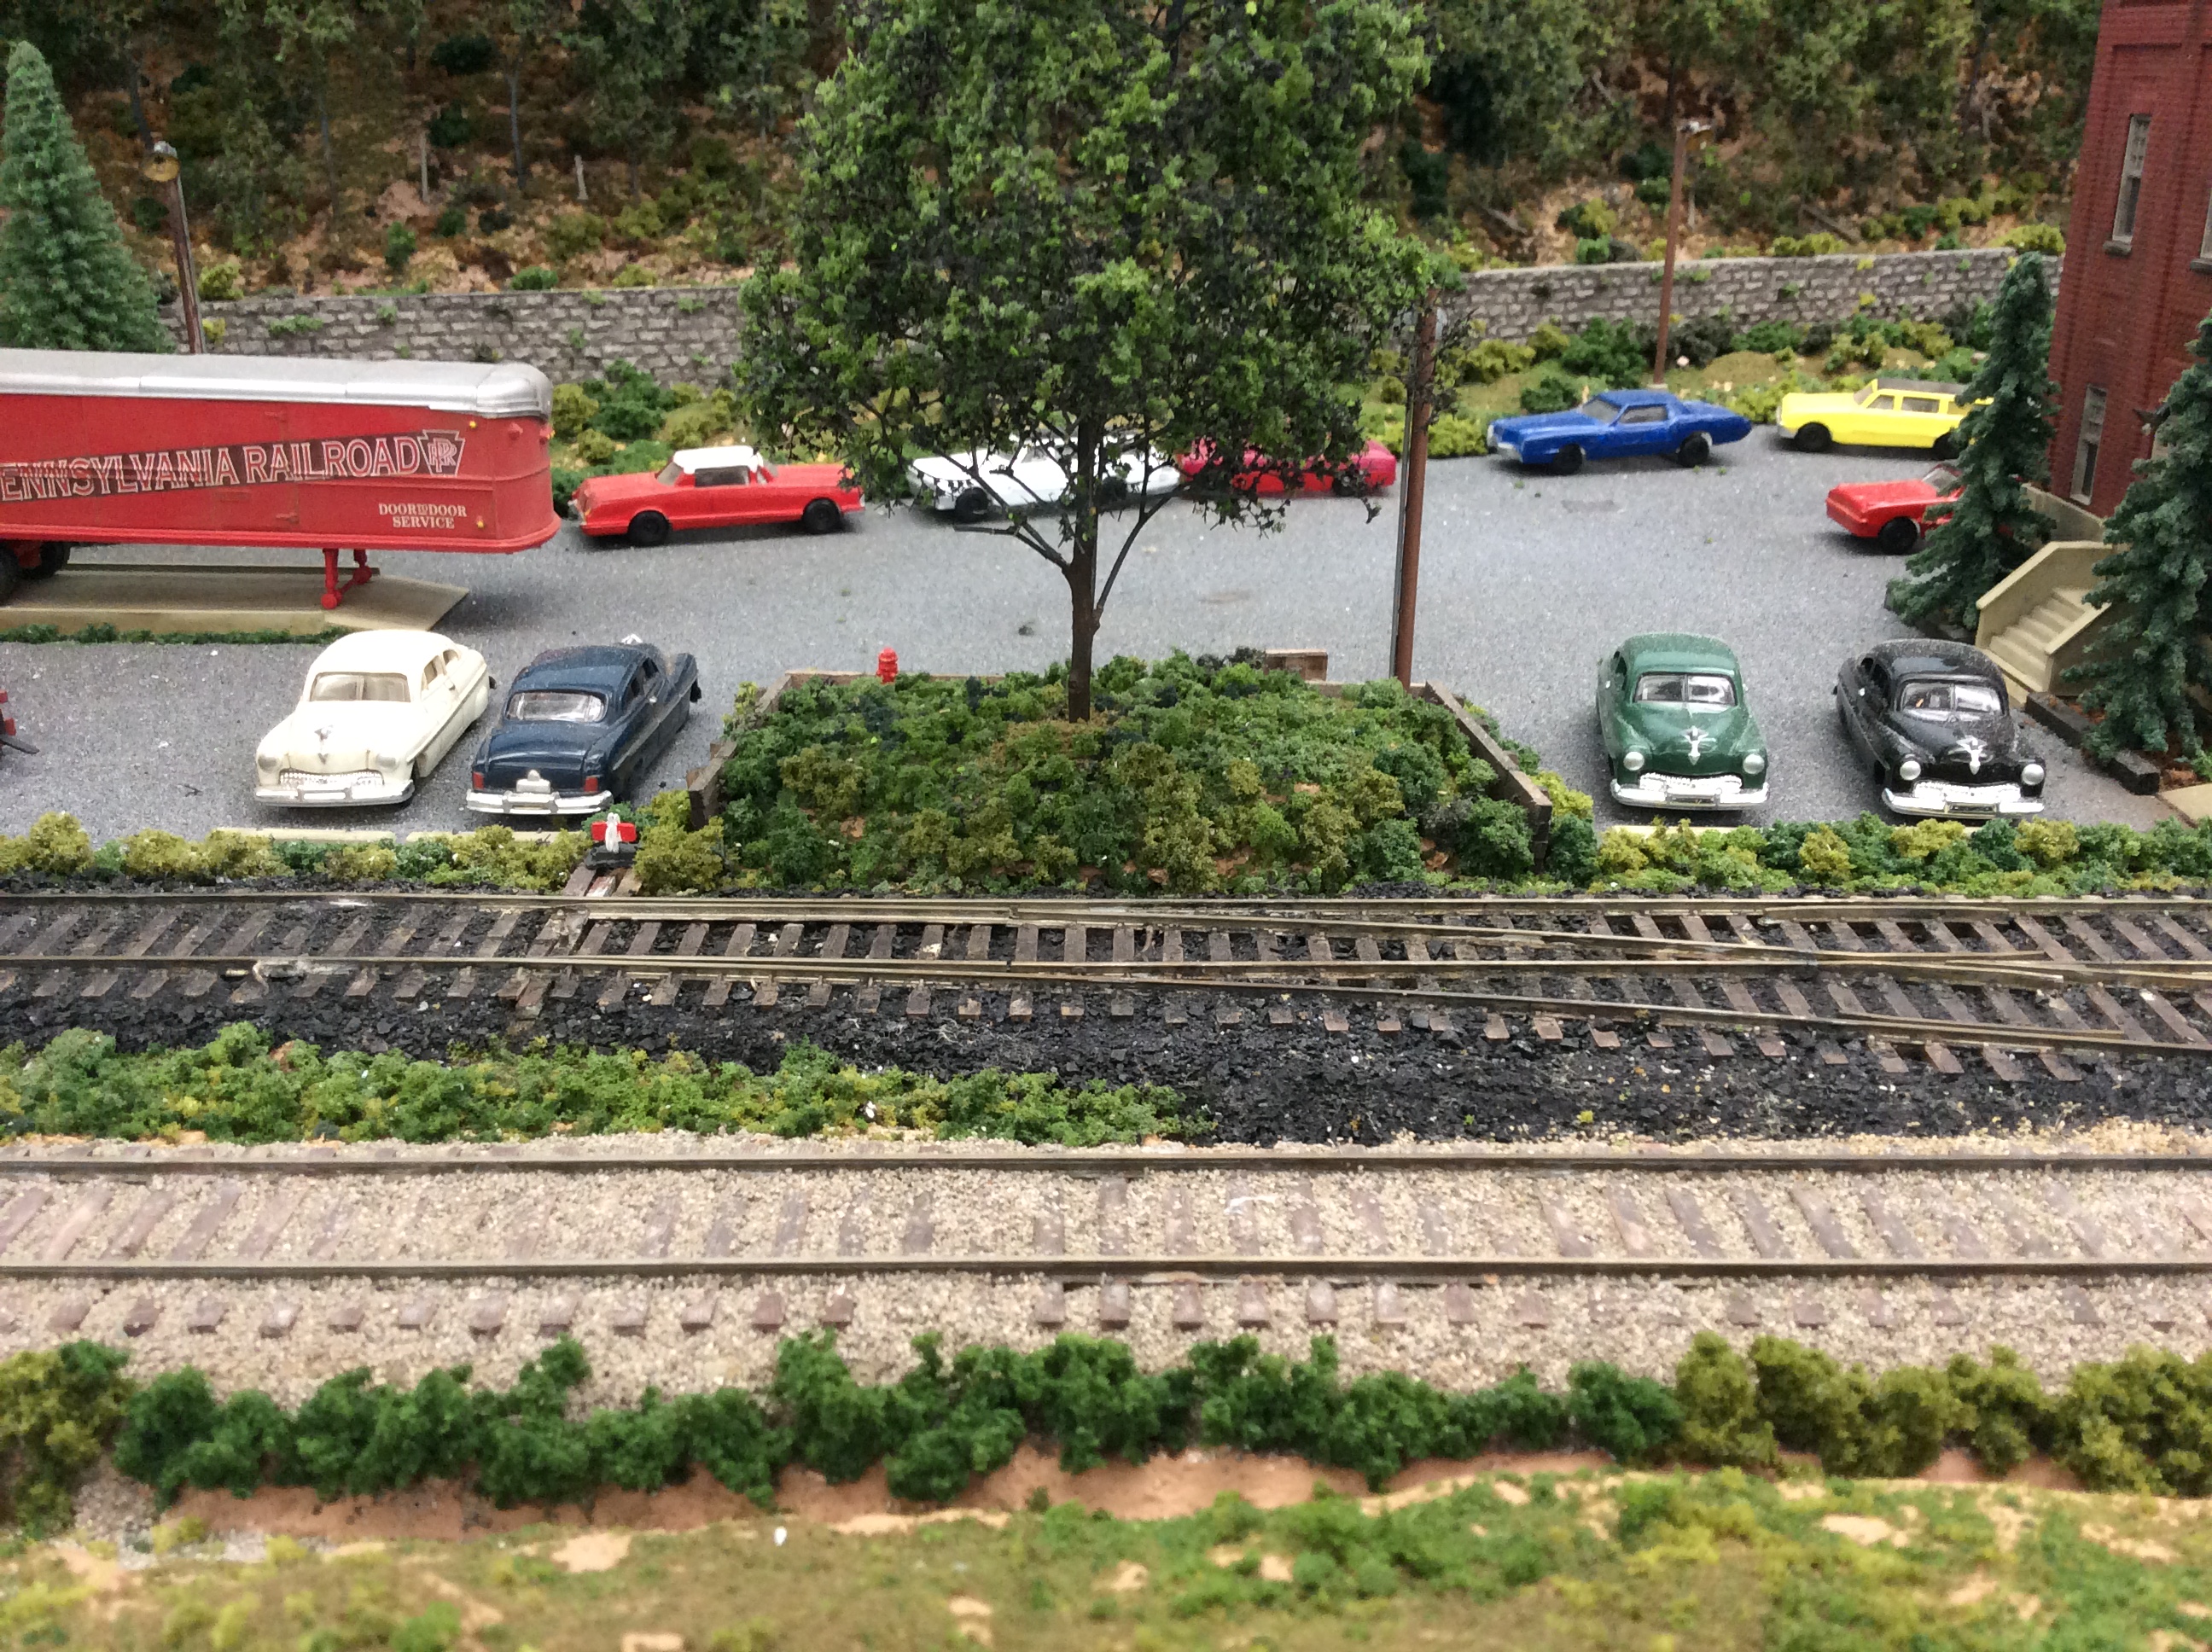
William Penn tree |
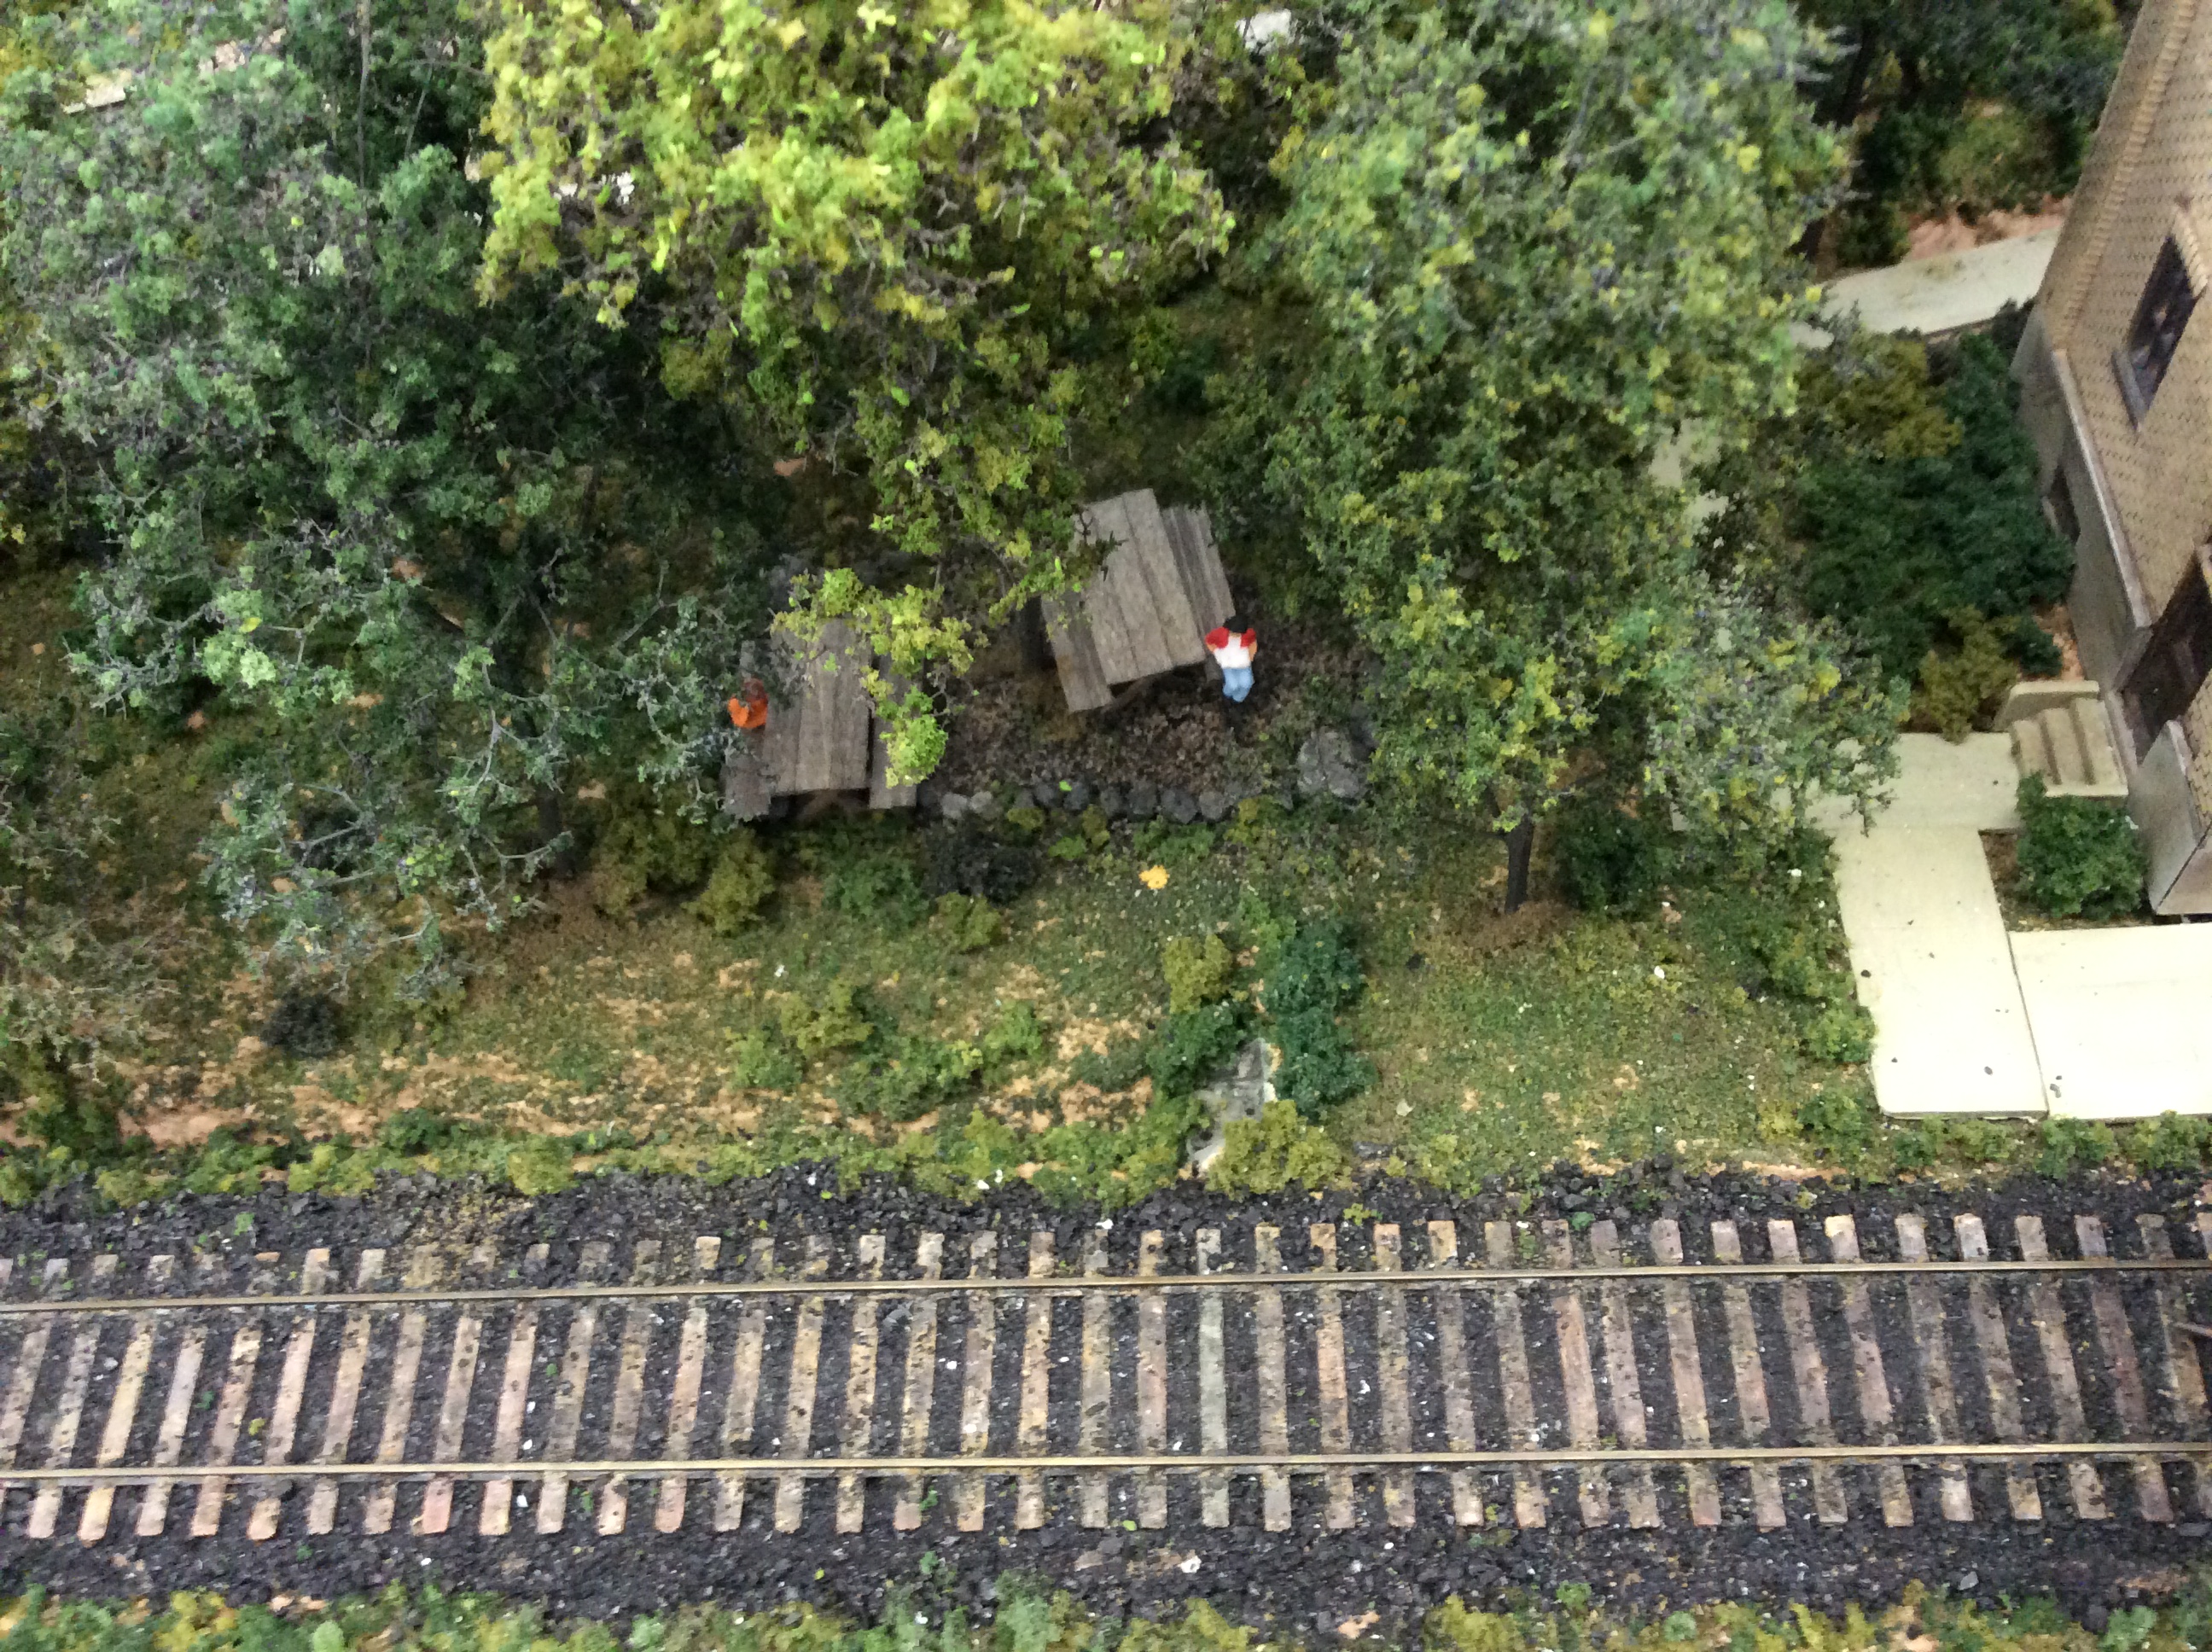
Picnic table outside Lehman
freight |
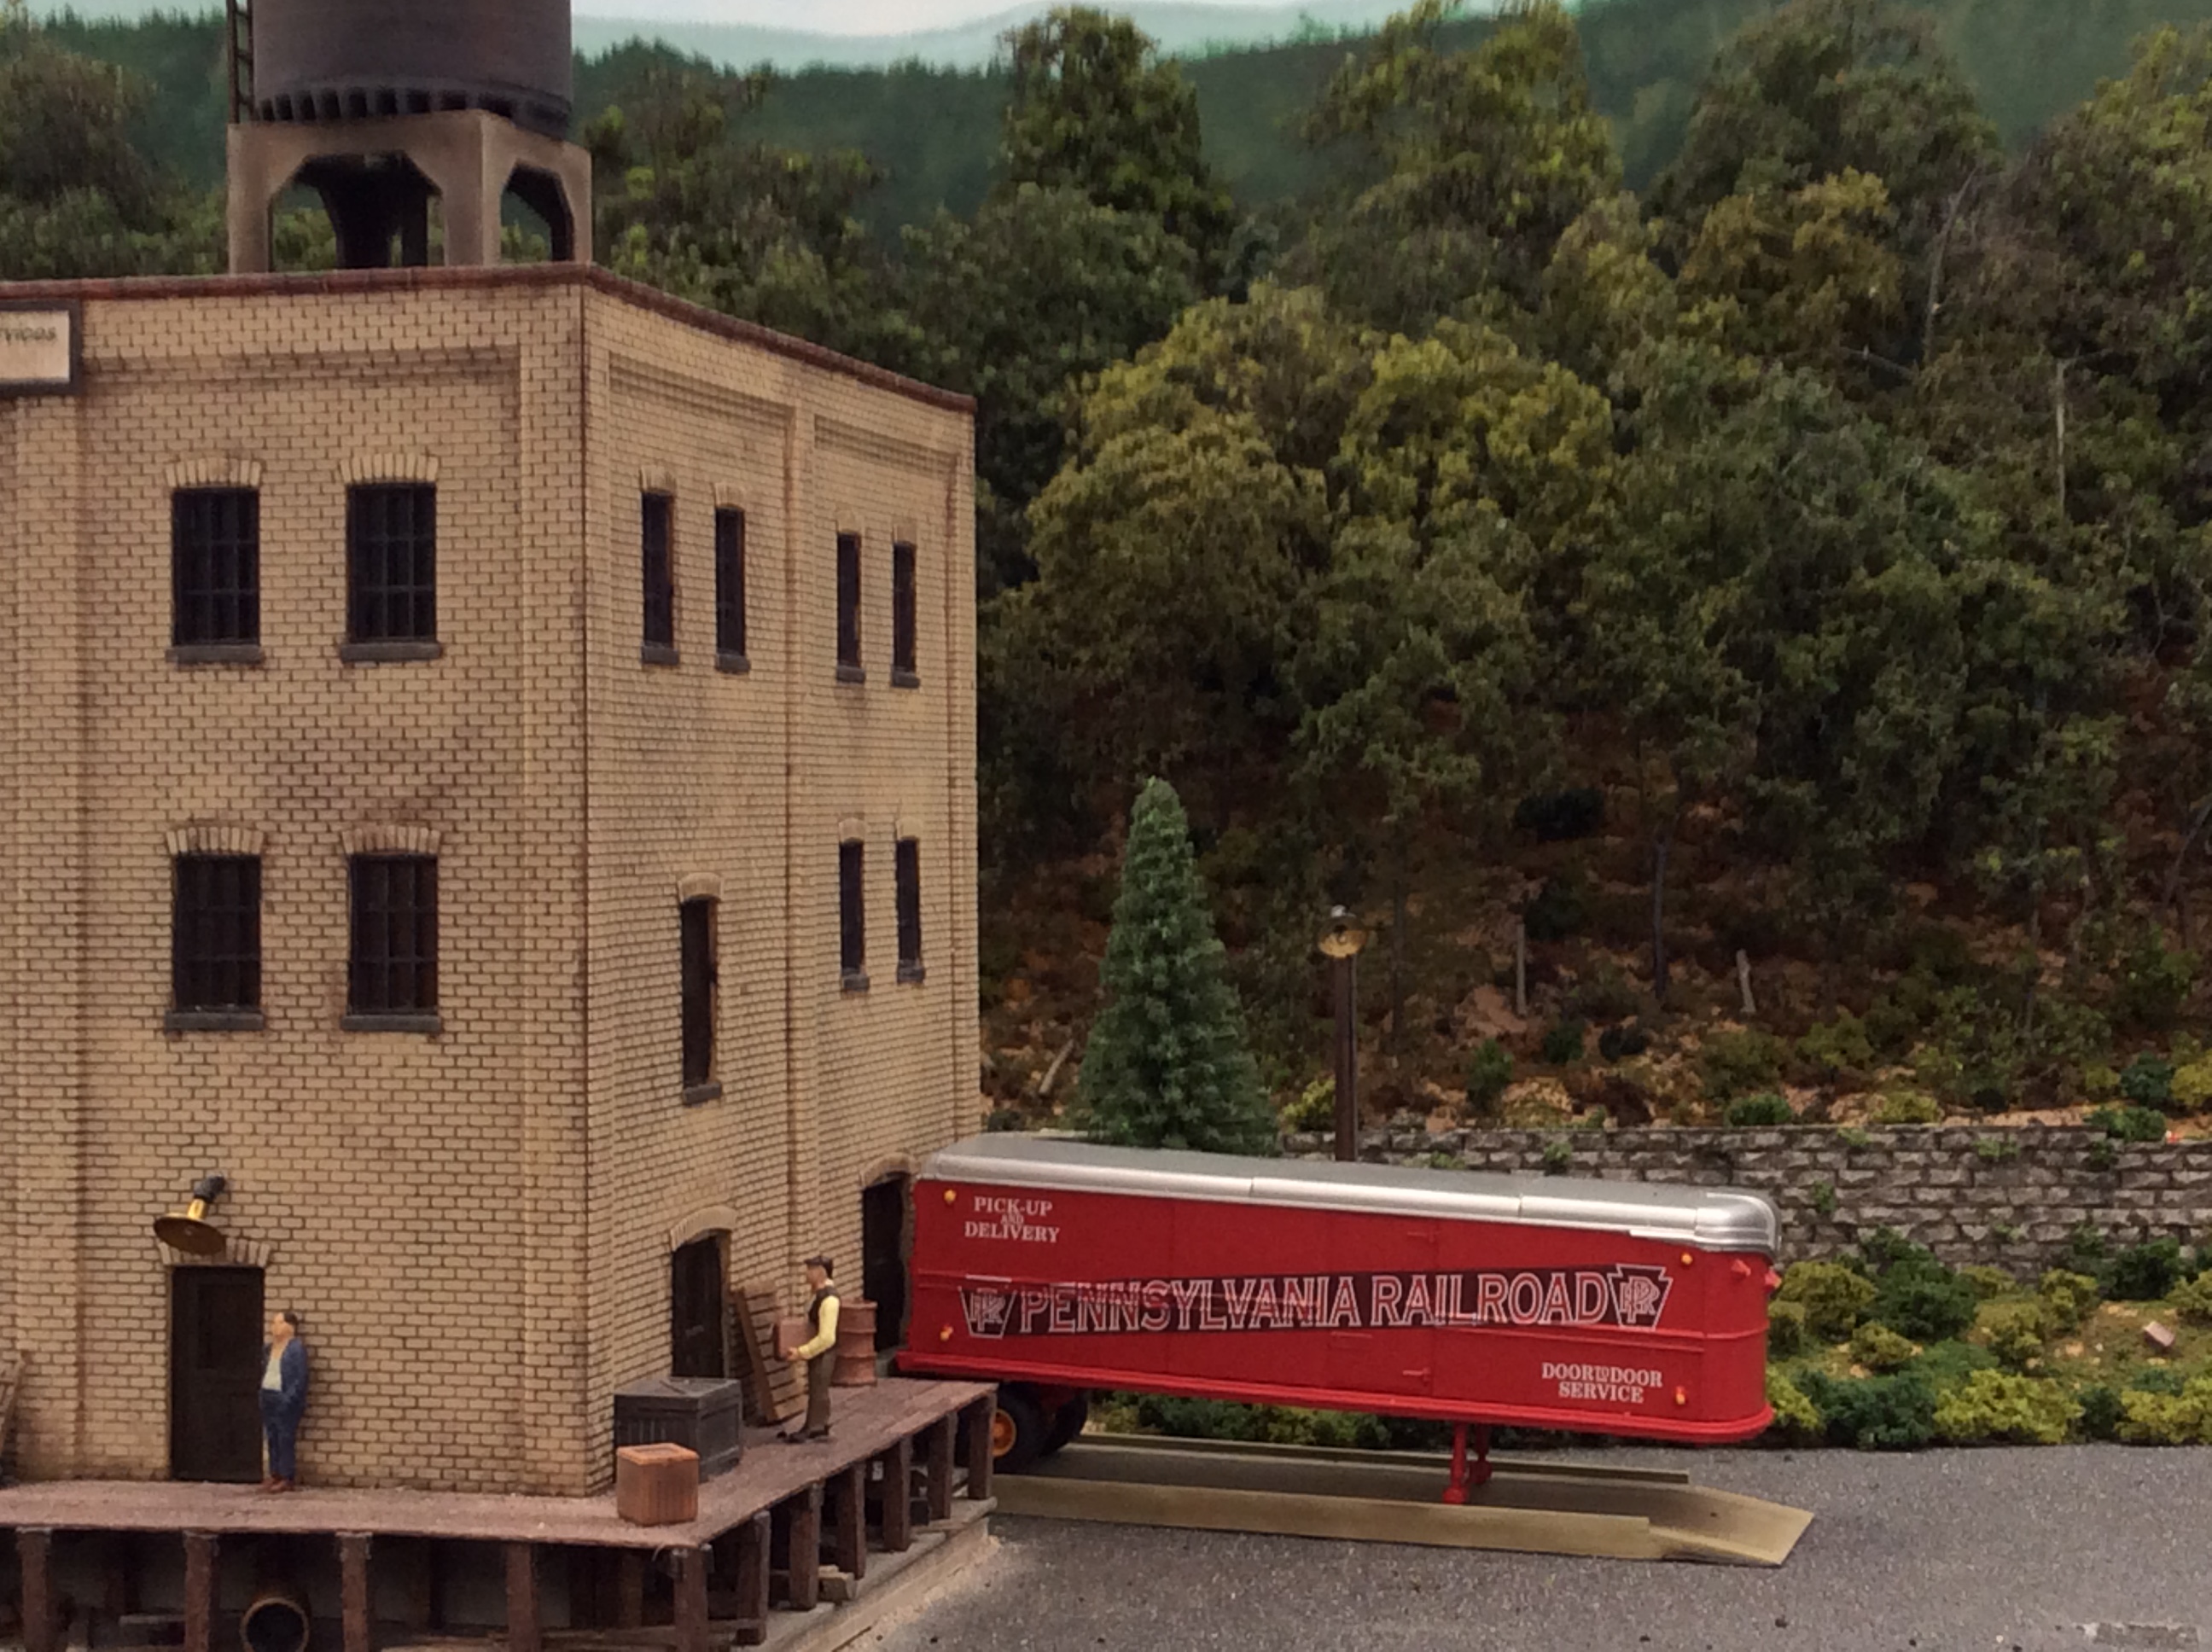
Loading Dock at Lehman
Freight Building |
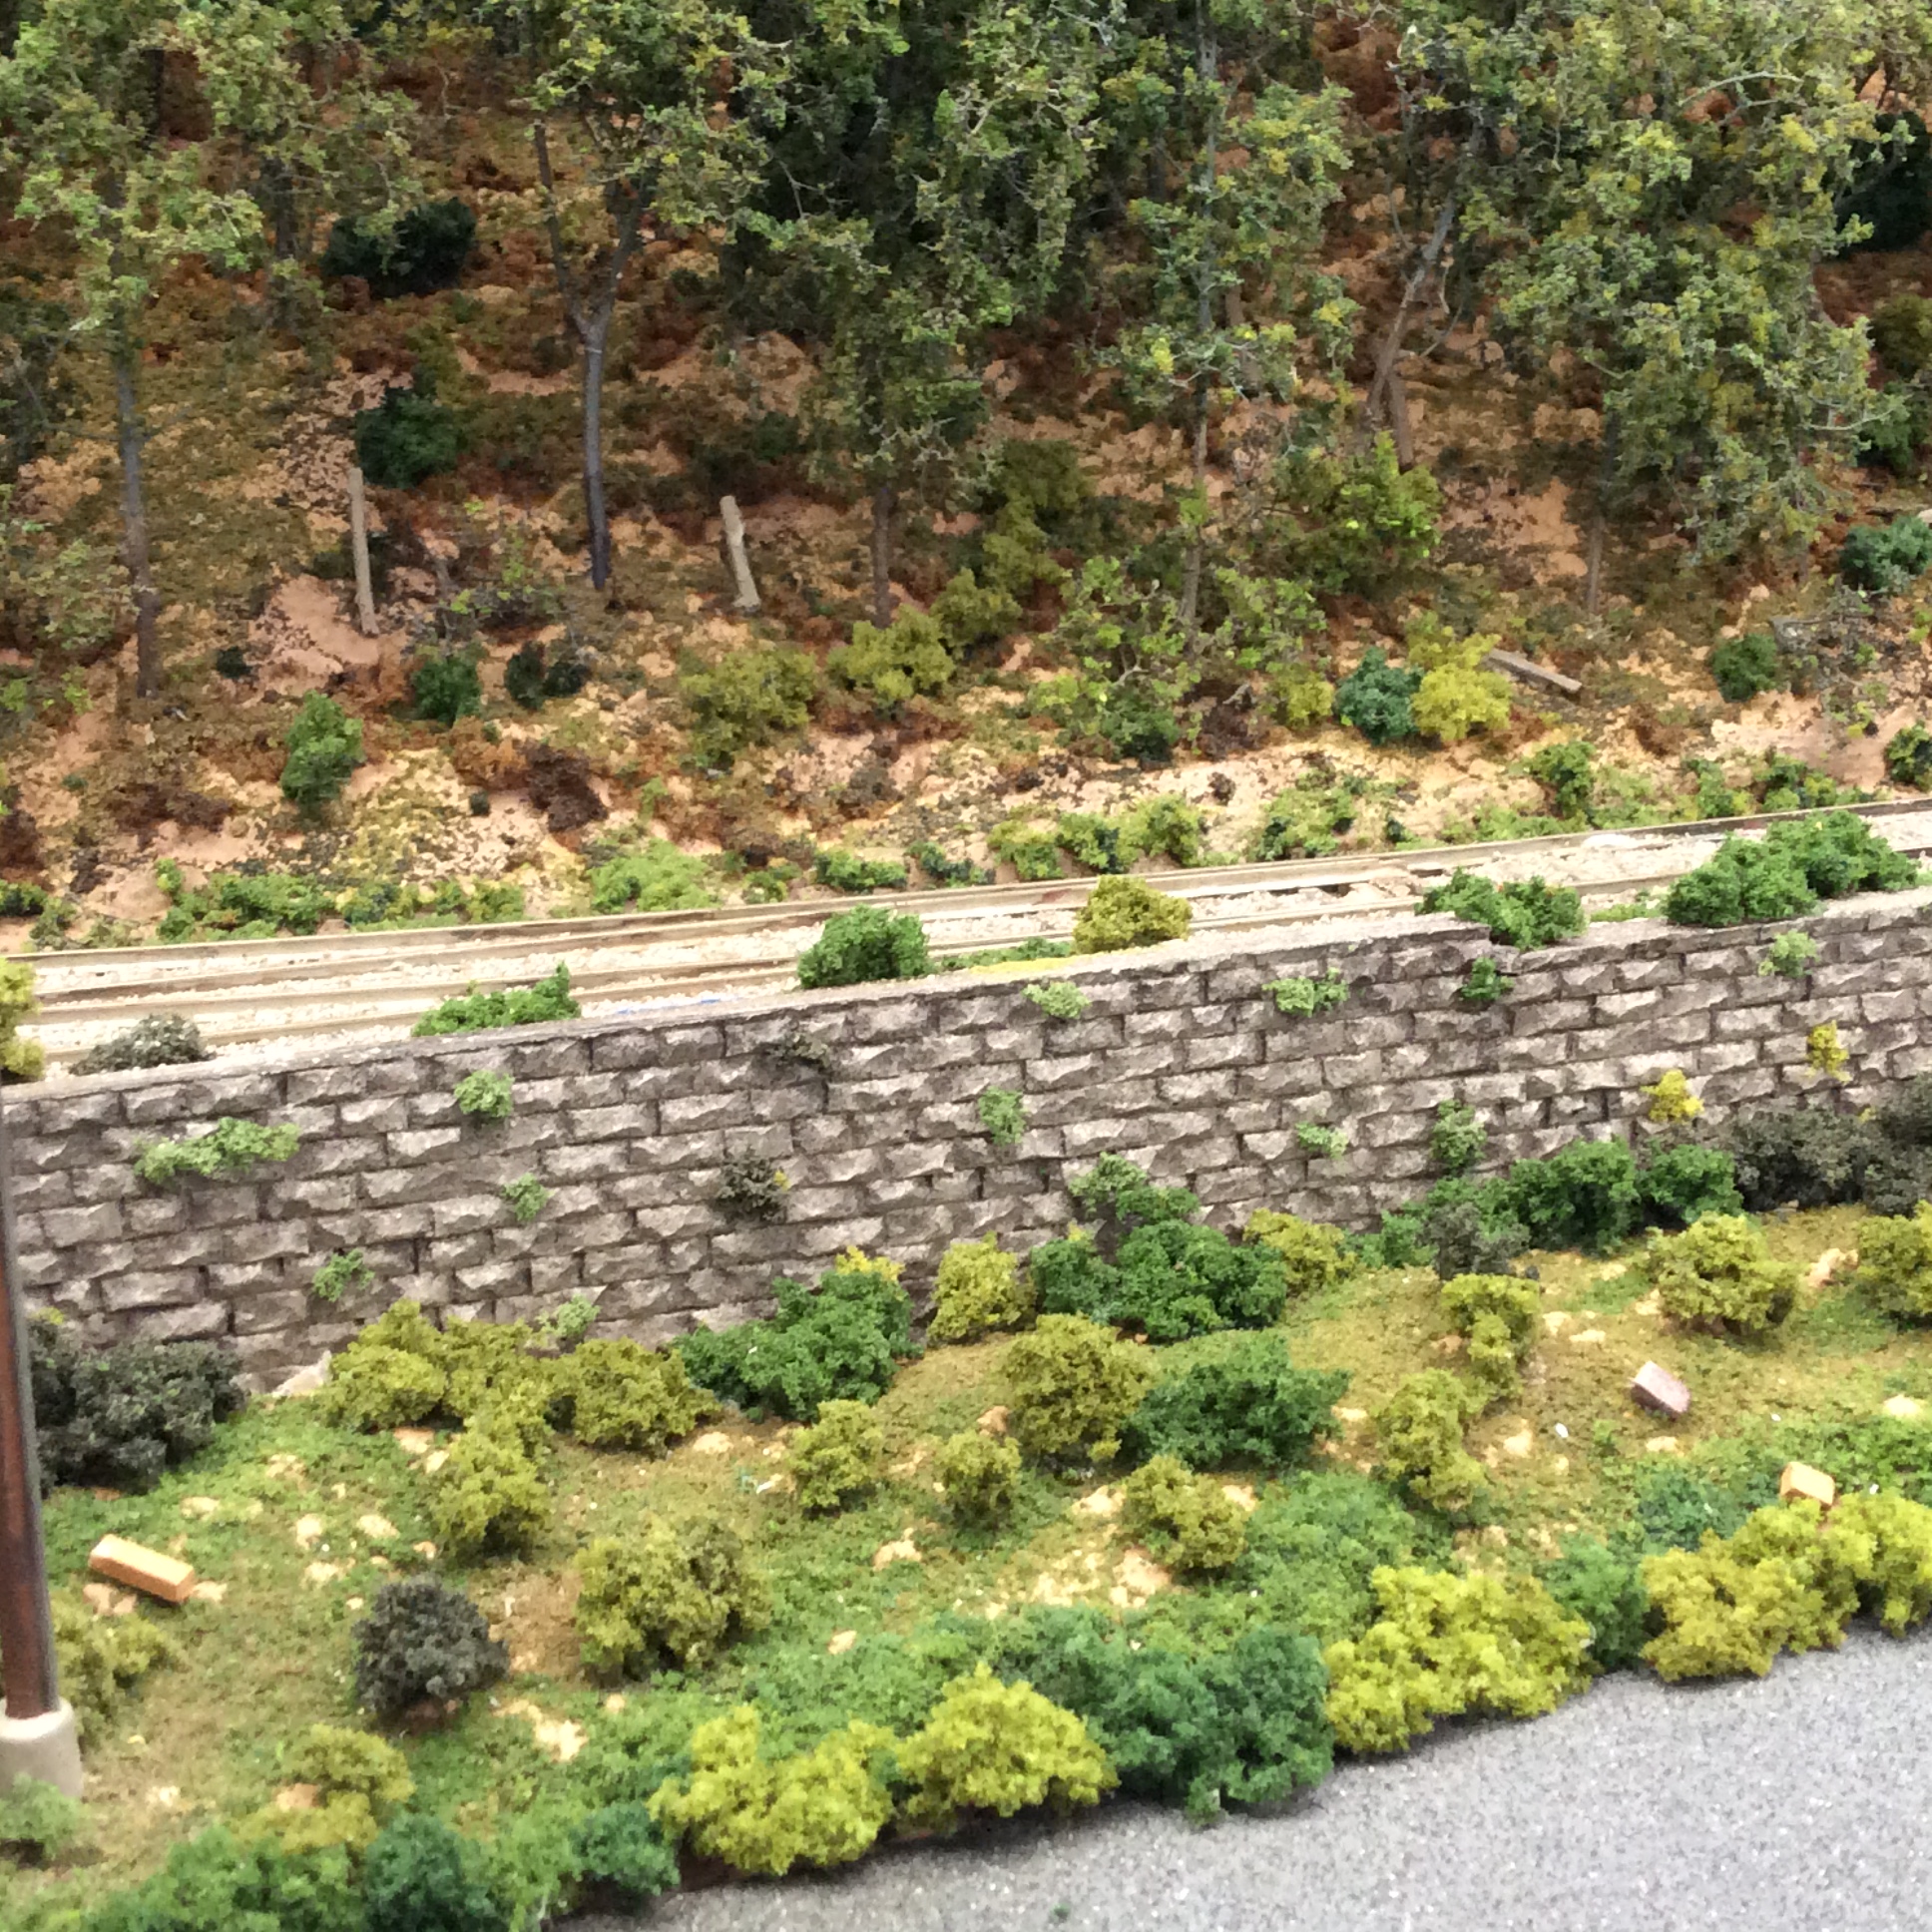
Stone wall above Raub Supply
parking lot |
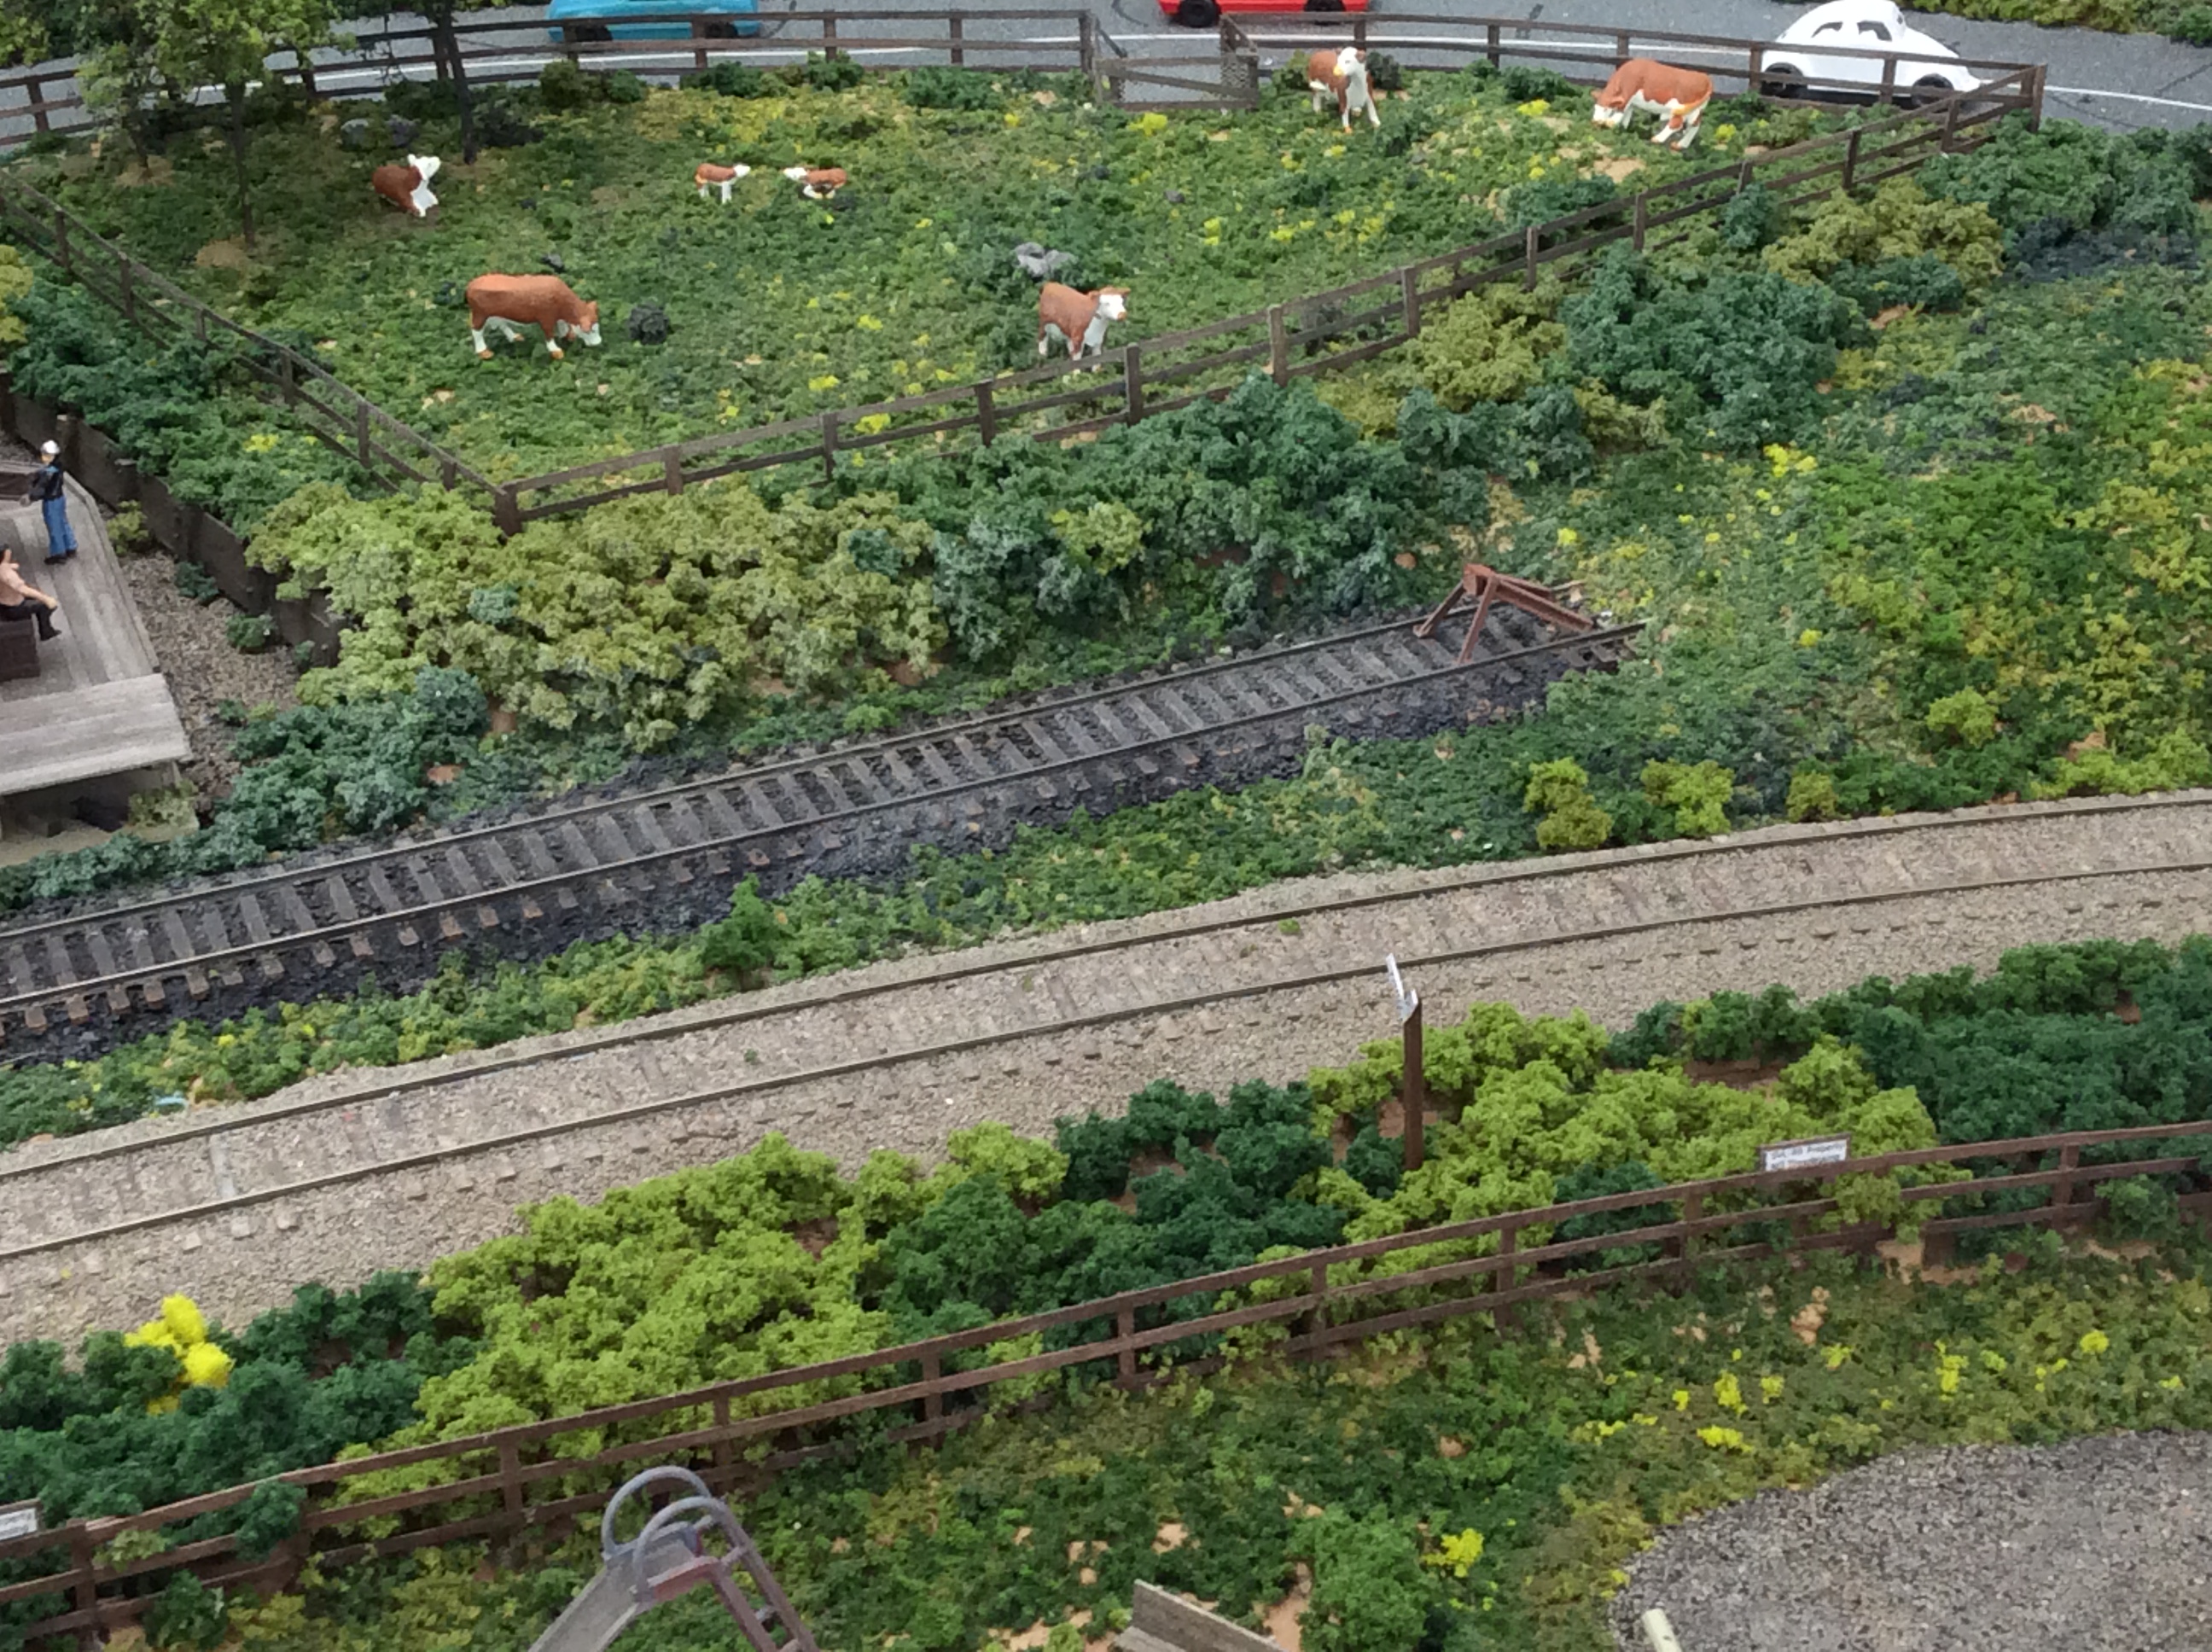
Track extension beyond Raub
Supply |
Section B
Section B is located in the SW corner of the layout and is not as large as Section 1. The near edge of Section B is about 34-inches
back from the edge of the fascia. Which means that some of the details shown in the photos below are not as viewable from the floor of the layout room as they are in the photos below. But it was an area in which I experimented with new scenery techniques which I did not have to employ in Scenery Area 1. Among there were.
- Lawn grass
- Asphalt parking lot
- Concrete roadway
- Retaining wall - non-concrete
In general I am pleased with how each of these scenery techniques worked and each provided a good learning experience and notes for improving the techniques involved.
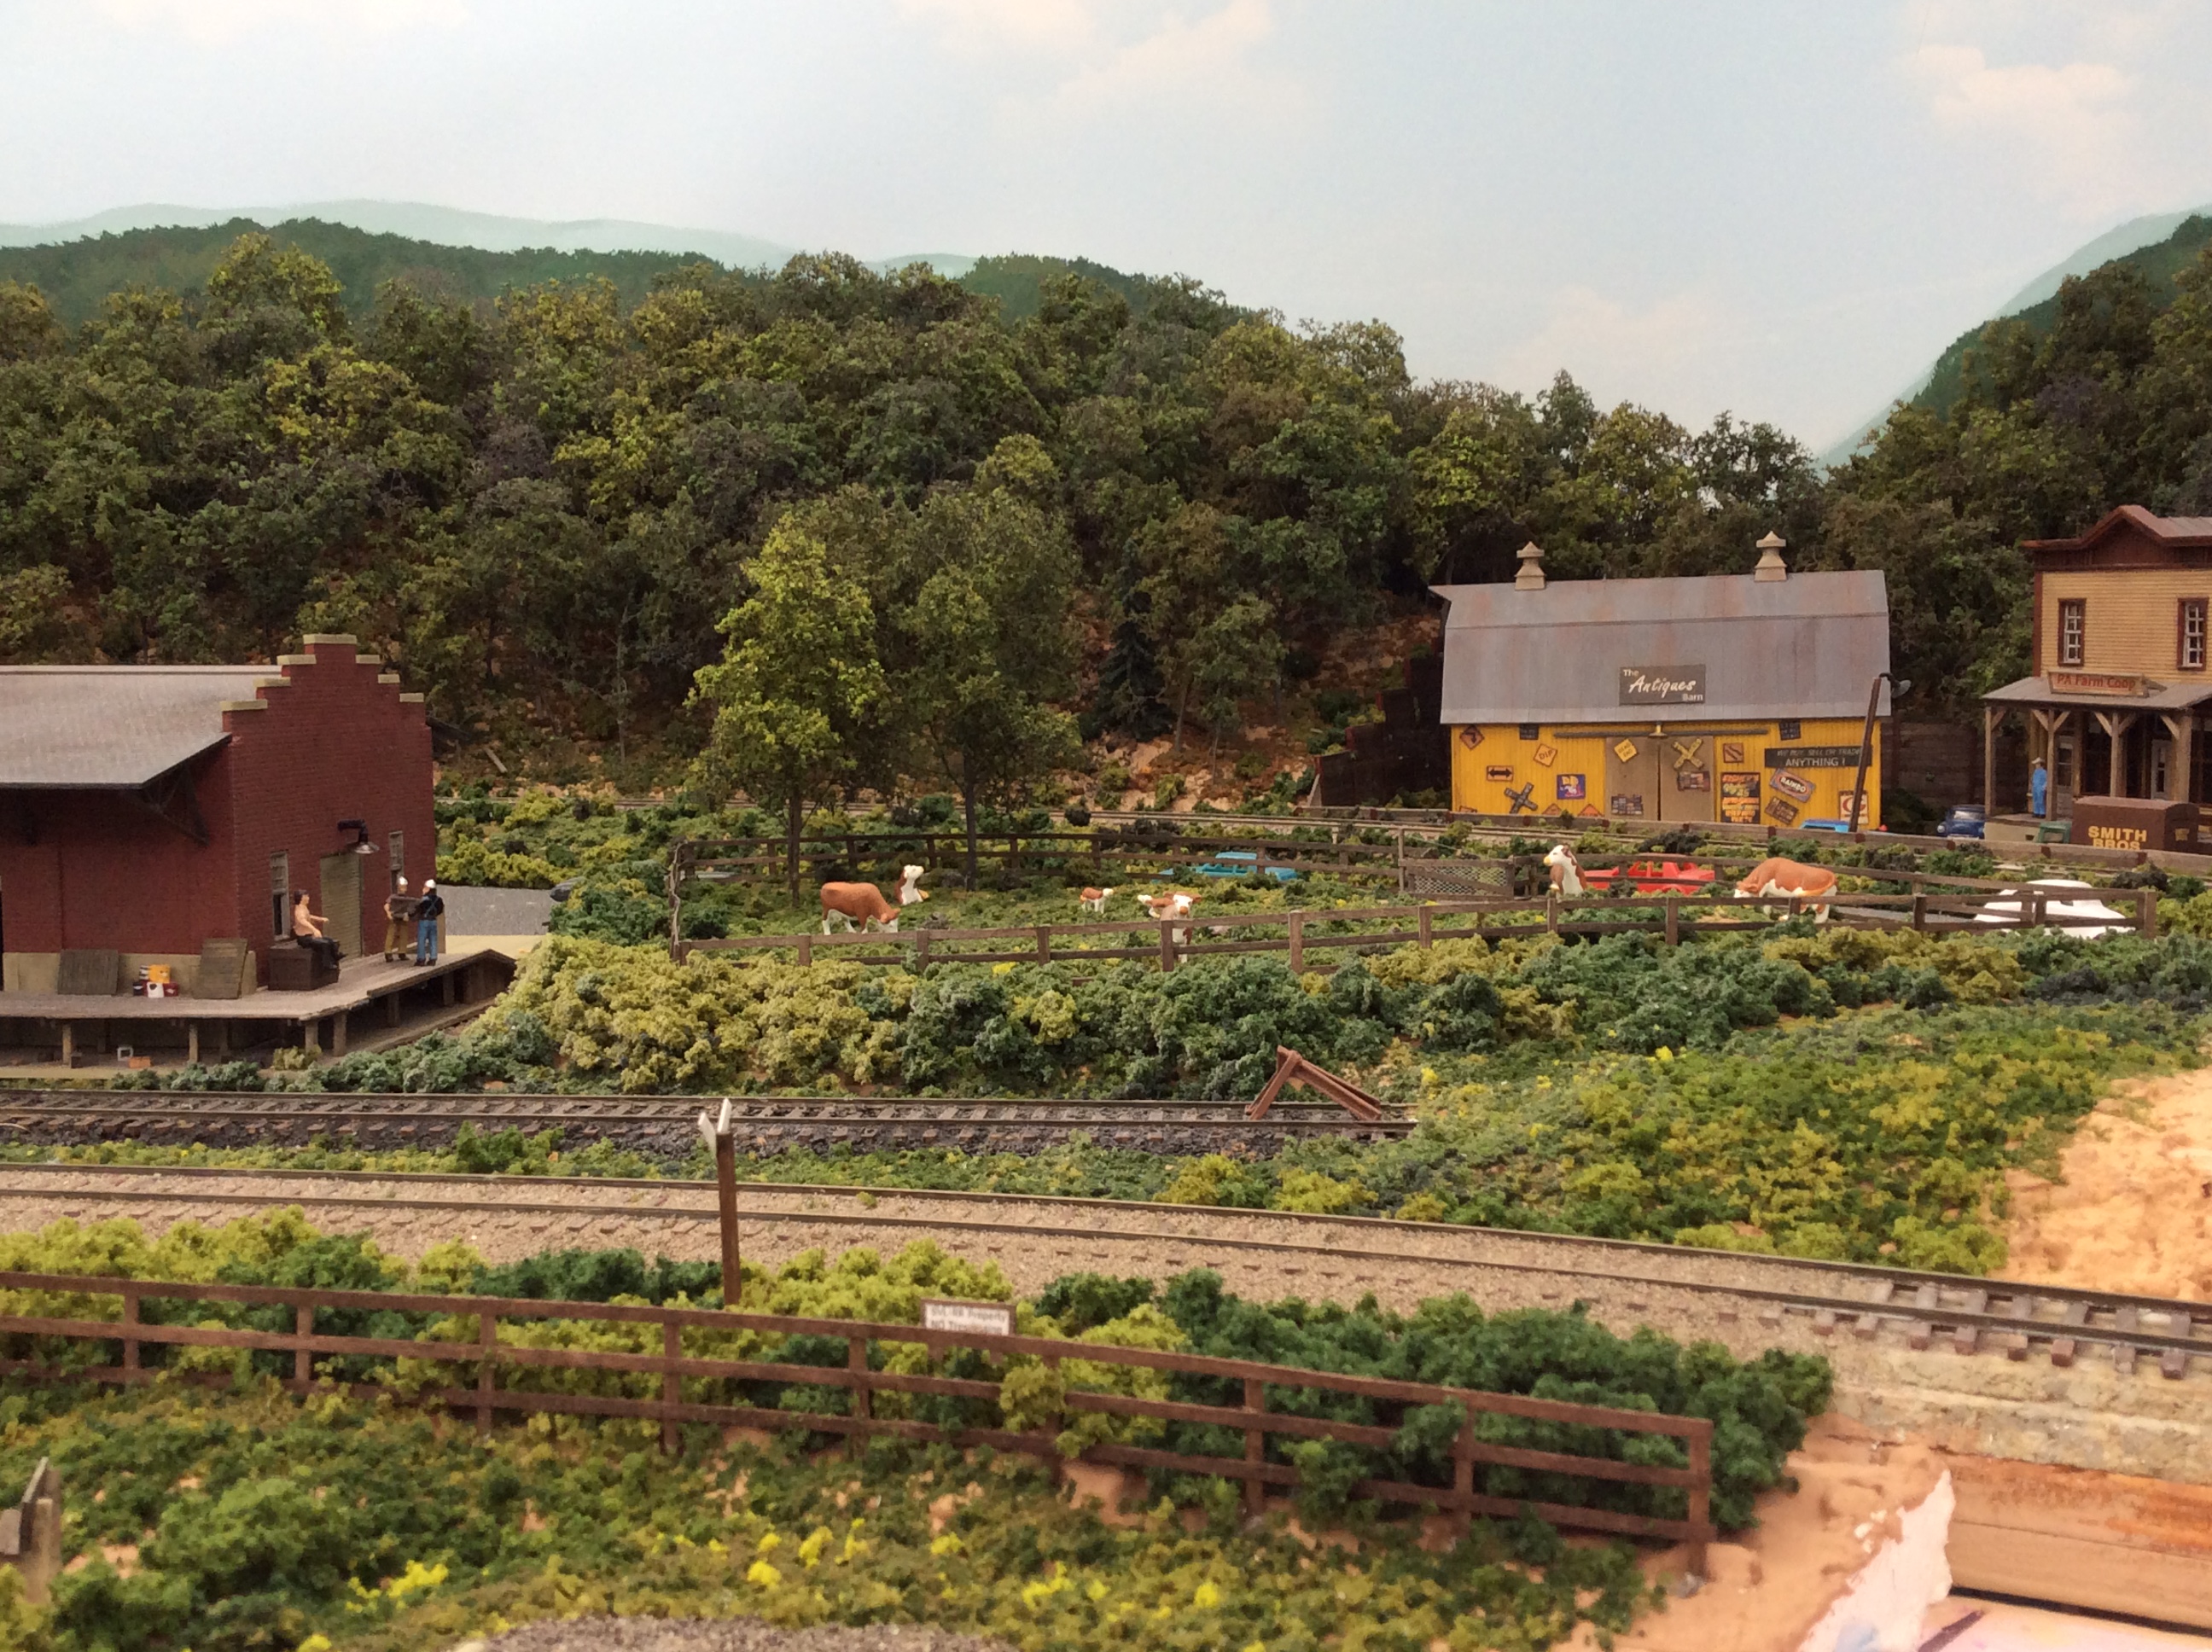
The content of Section 3 is based around 2 Walthers kits that I fell in love with and wanted to incorporate in the layout somewhere. The siding track in this area is a truncated branch line that used to run from Williamsport PA up to Lock Haven PA. The line was deactivated many years ago and the stub end of it near Williamsport proved a nice siding for a small business i.e. the PA Farm Coop store. With limited parking area the Antiques Barn seemed like a reasonable non-siding business to install here.
In the front area of Scenery Section 3 is a fenced in cow pasture which was great fun to construct and populate.
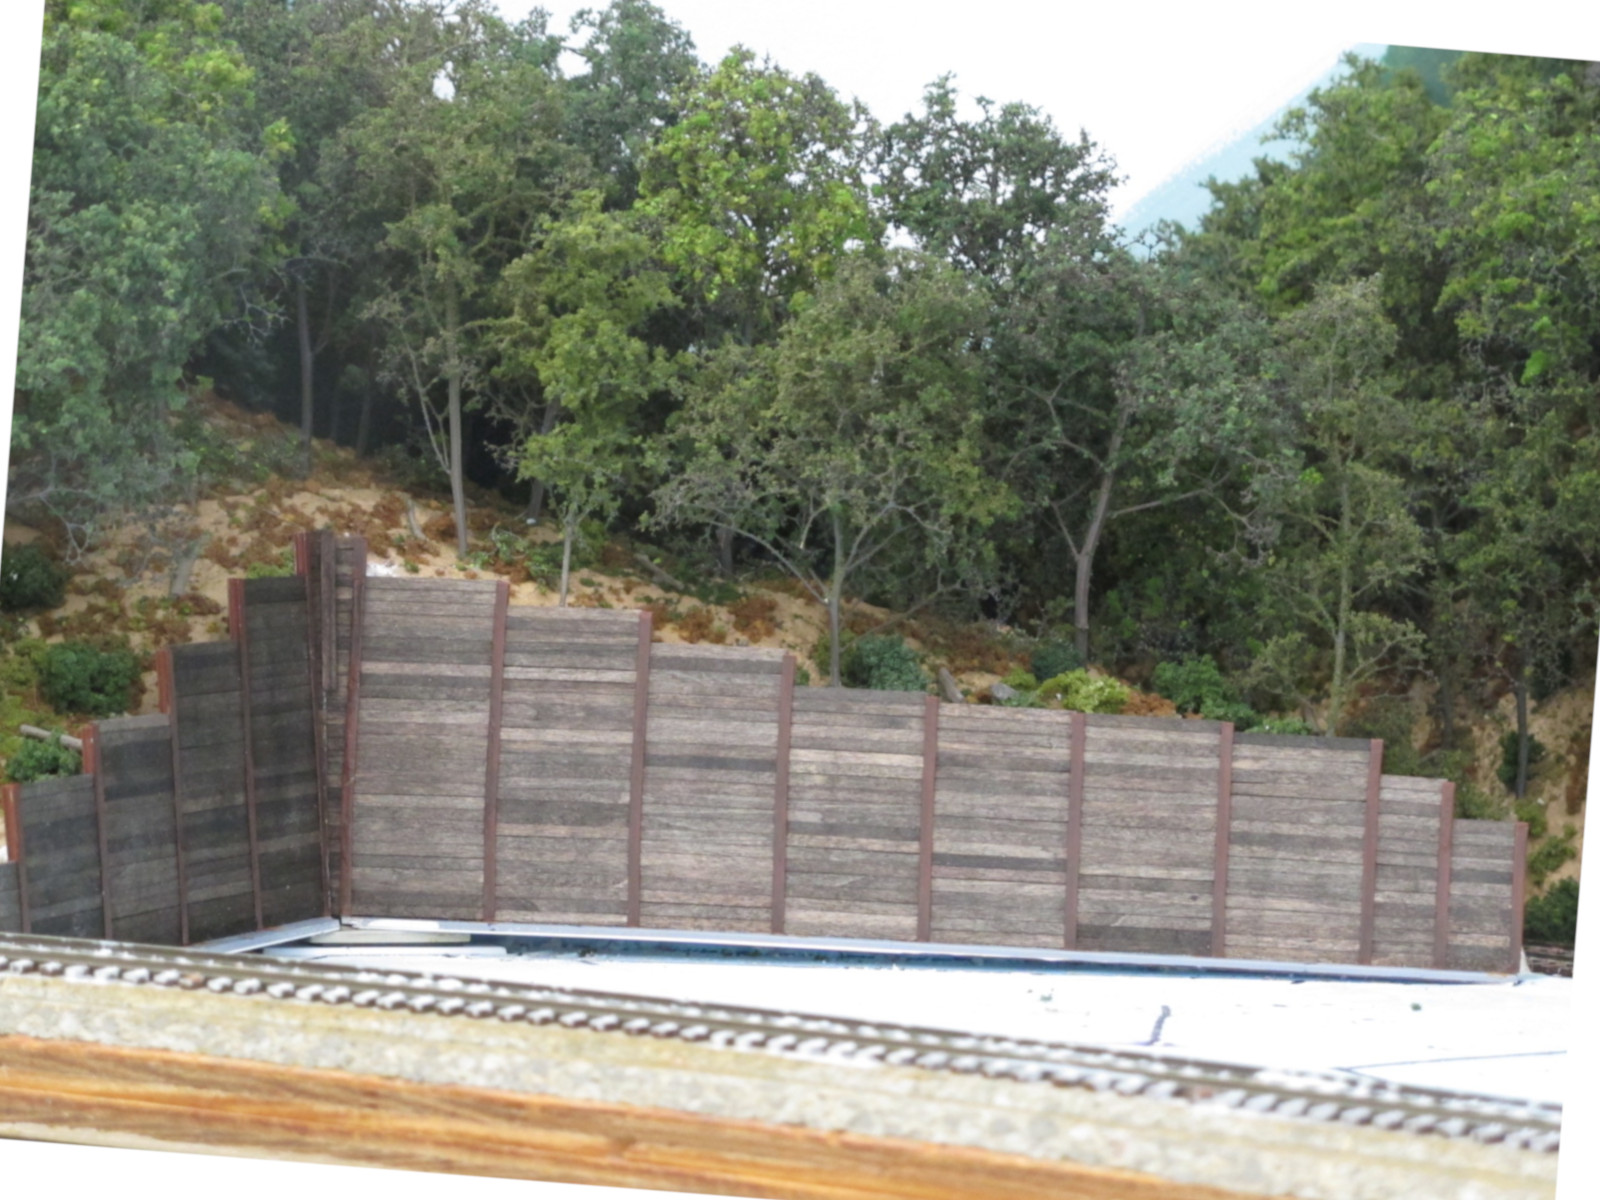
Steel beam and used
RR tie wall |
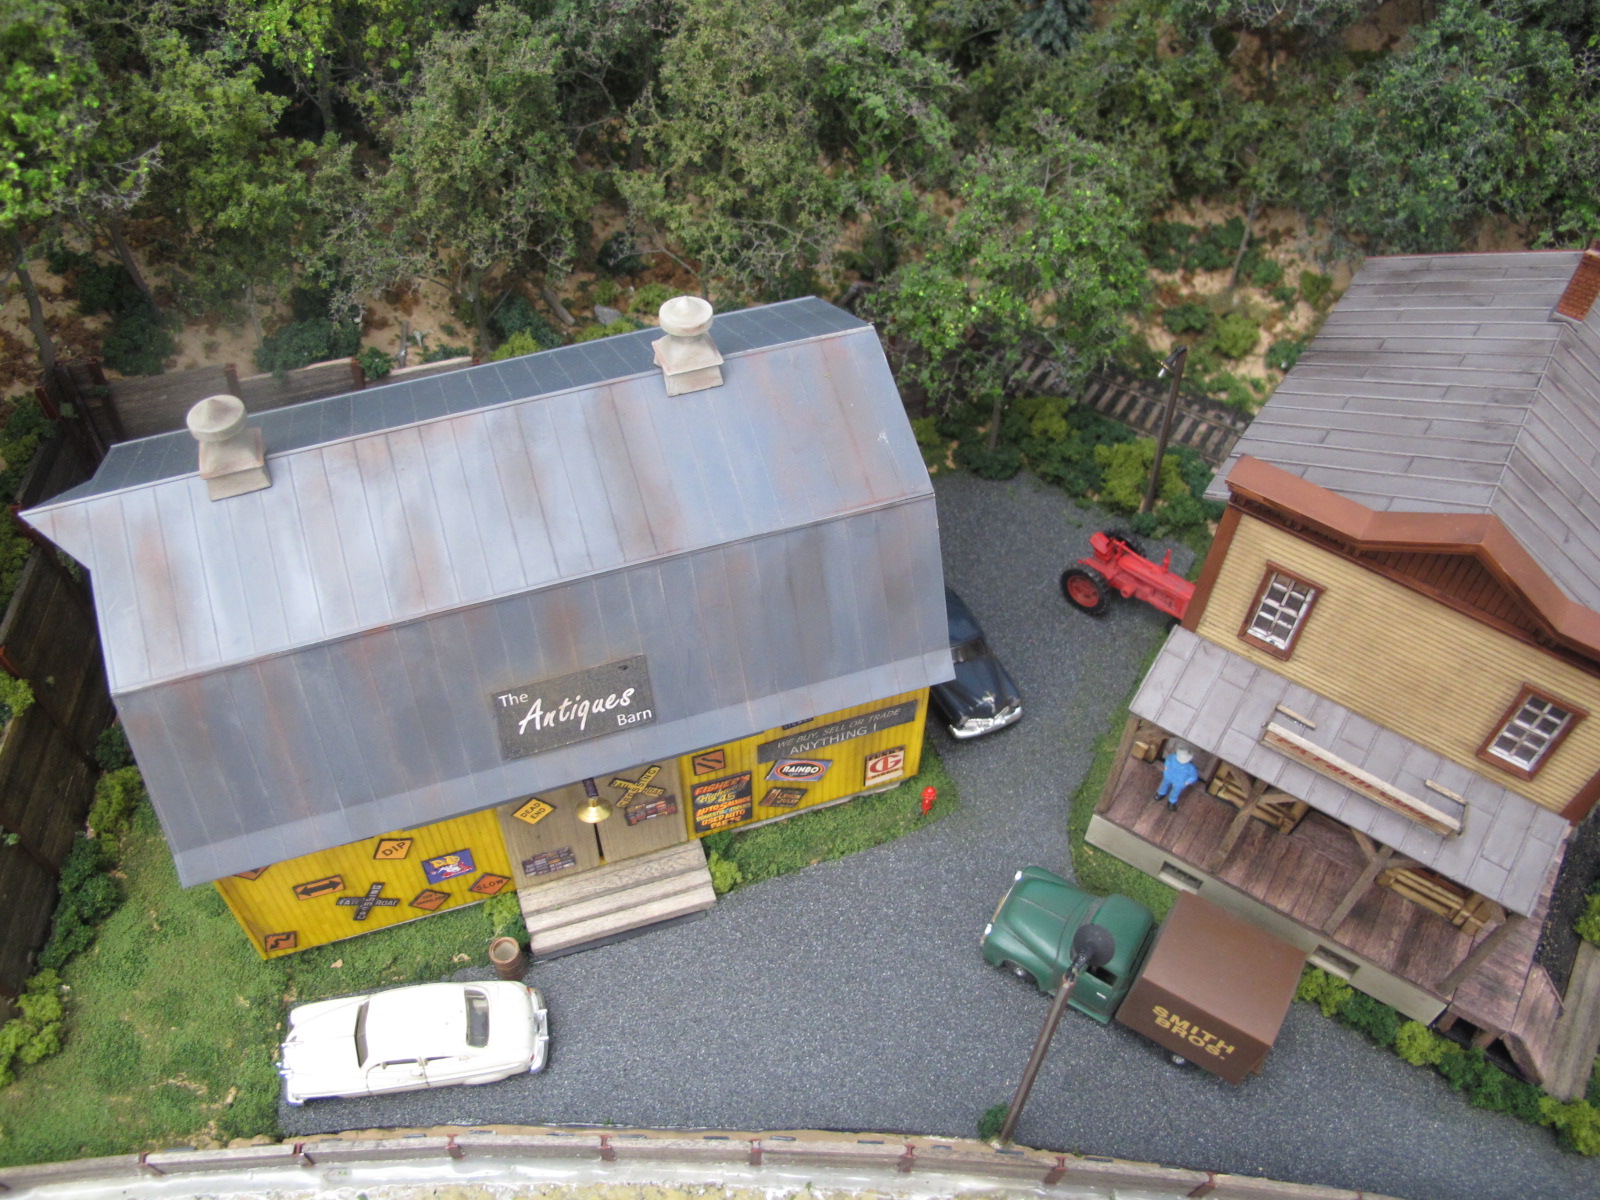
Aerial View 1 |
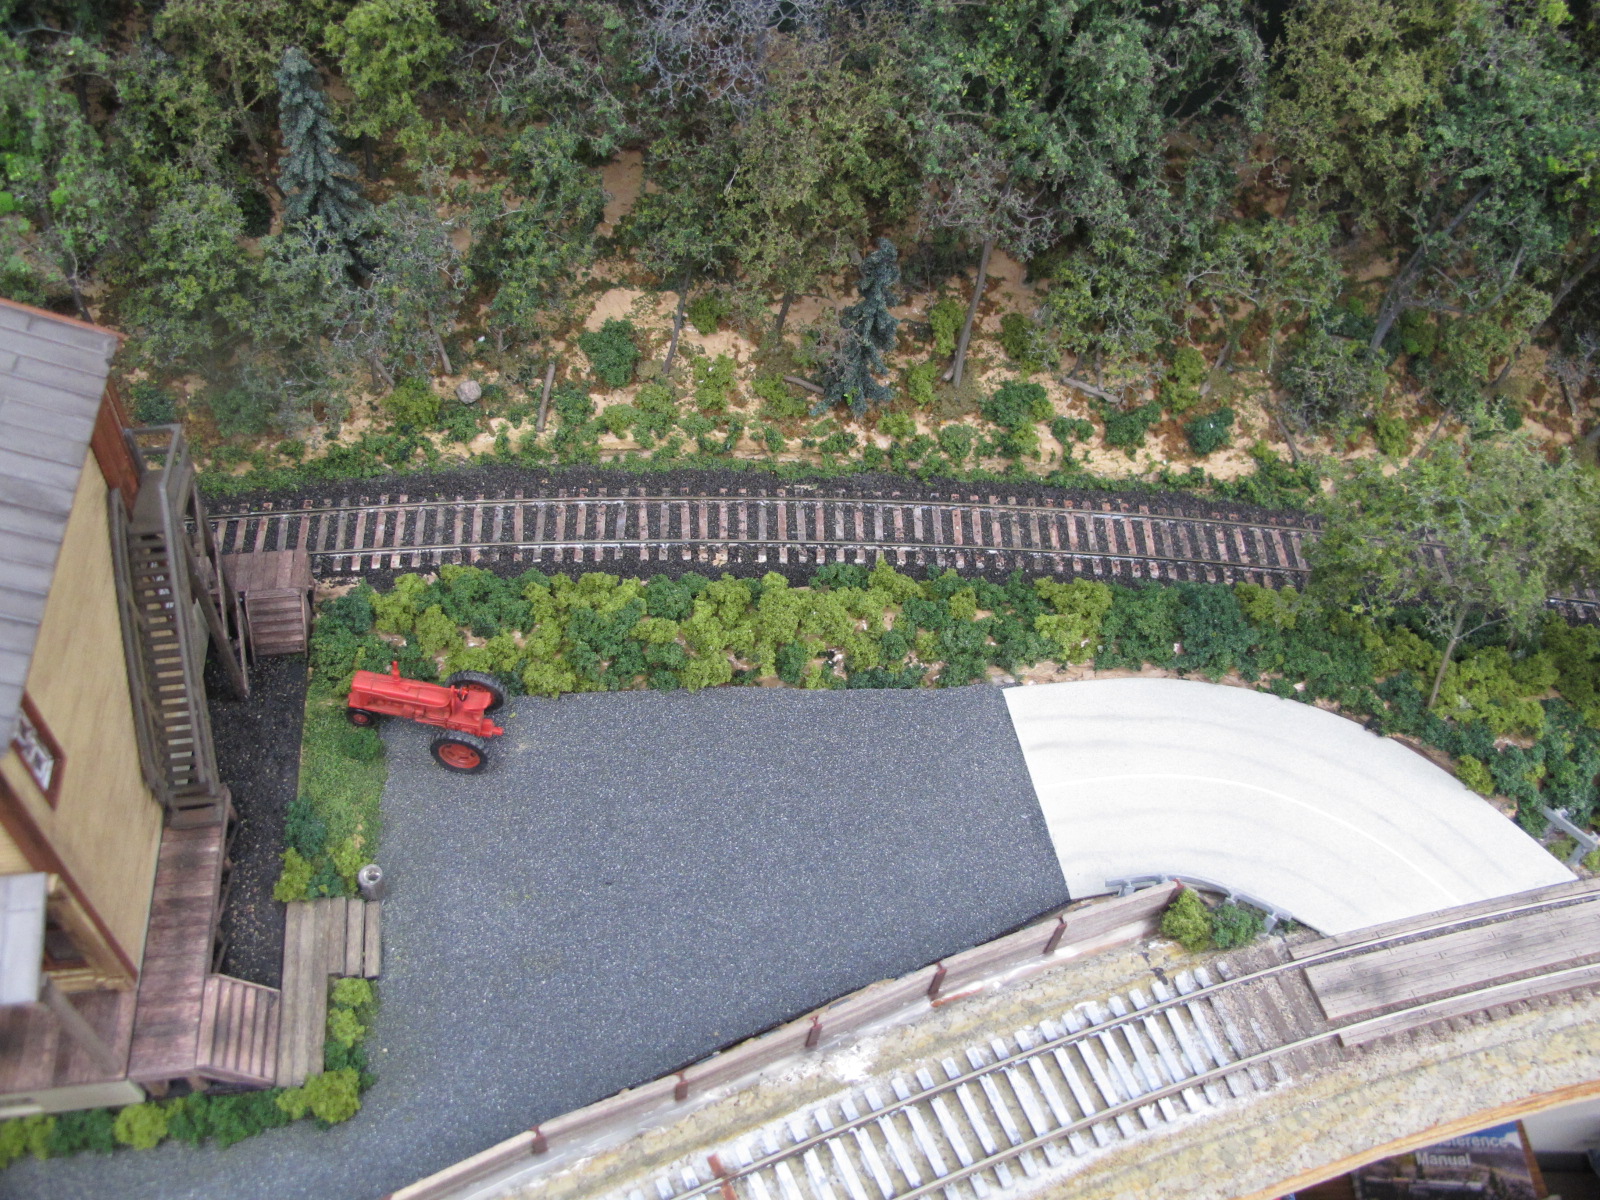
Aerial View 2 |
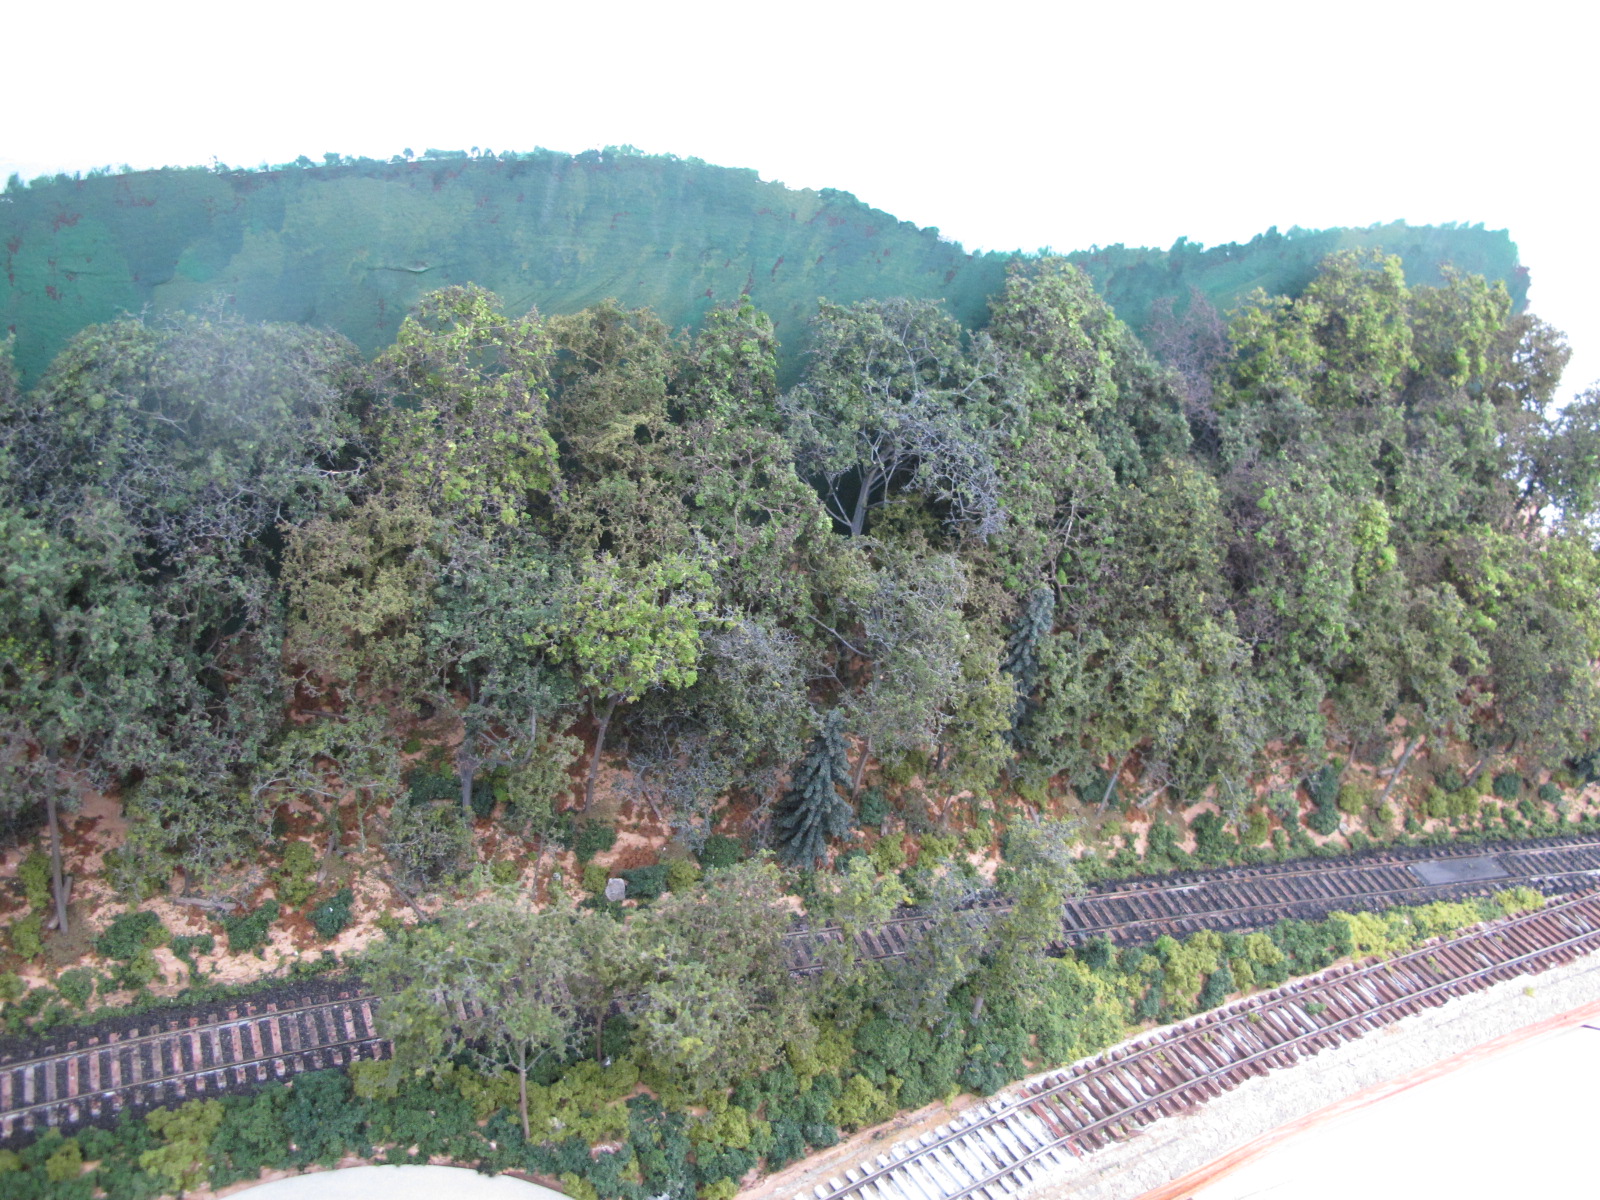
Aerial View 3 |
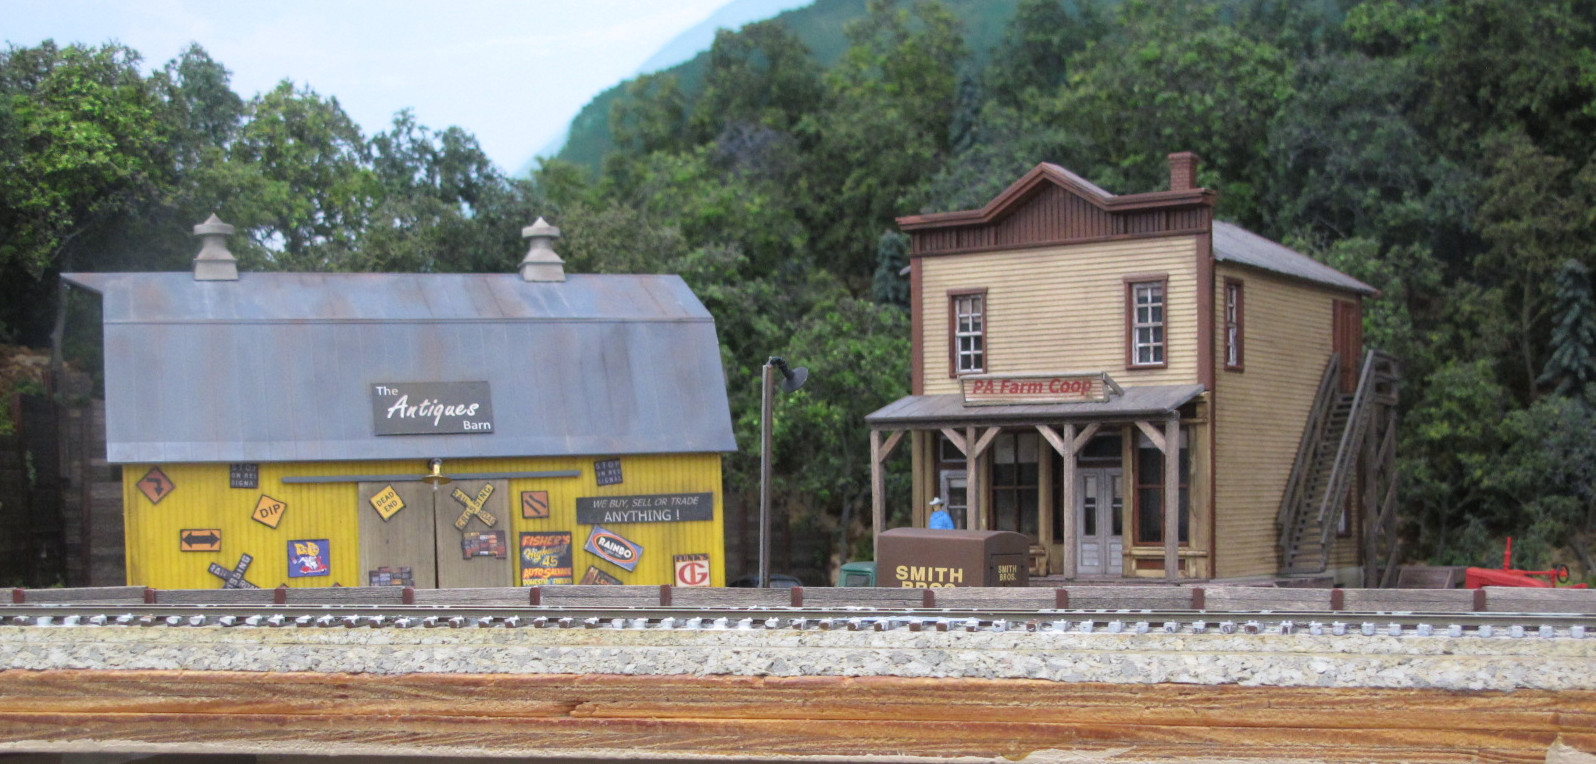
Front view |
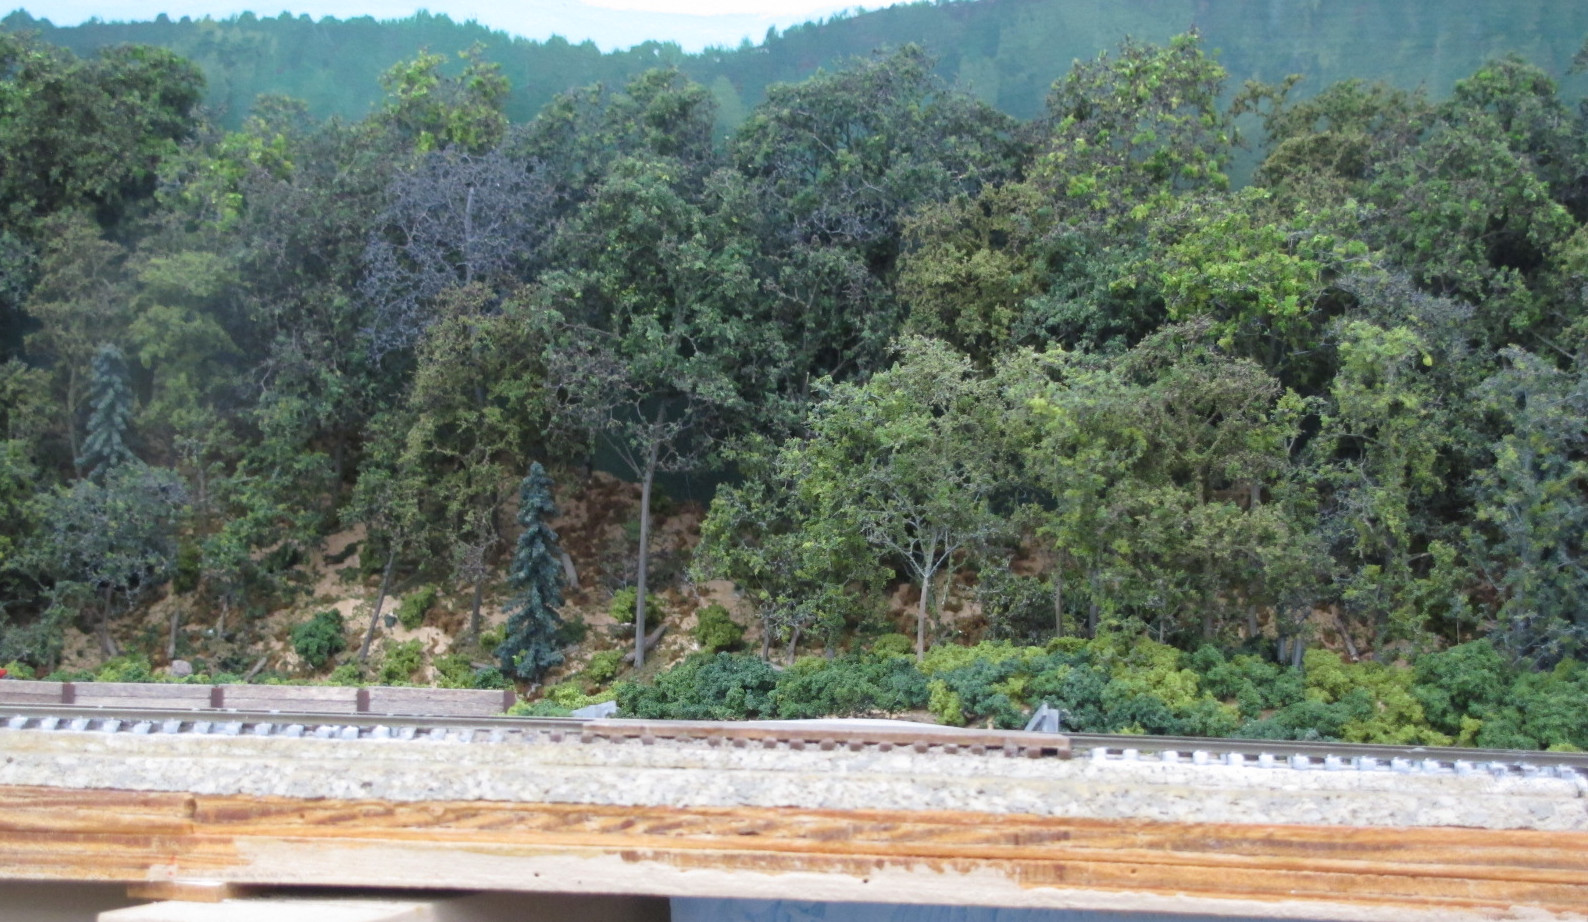
Mountain view 1 |
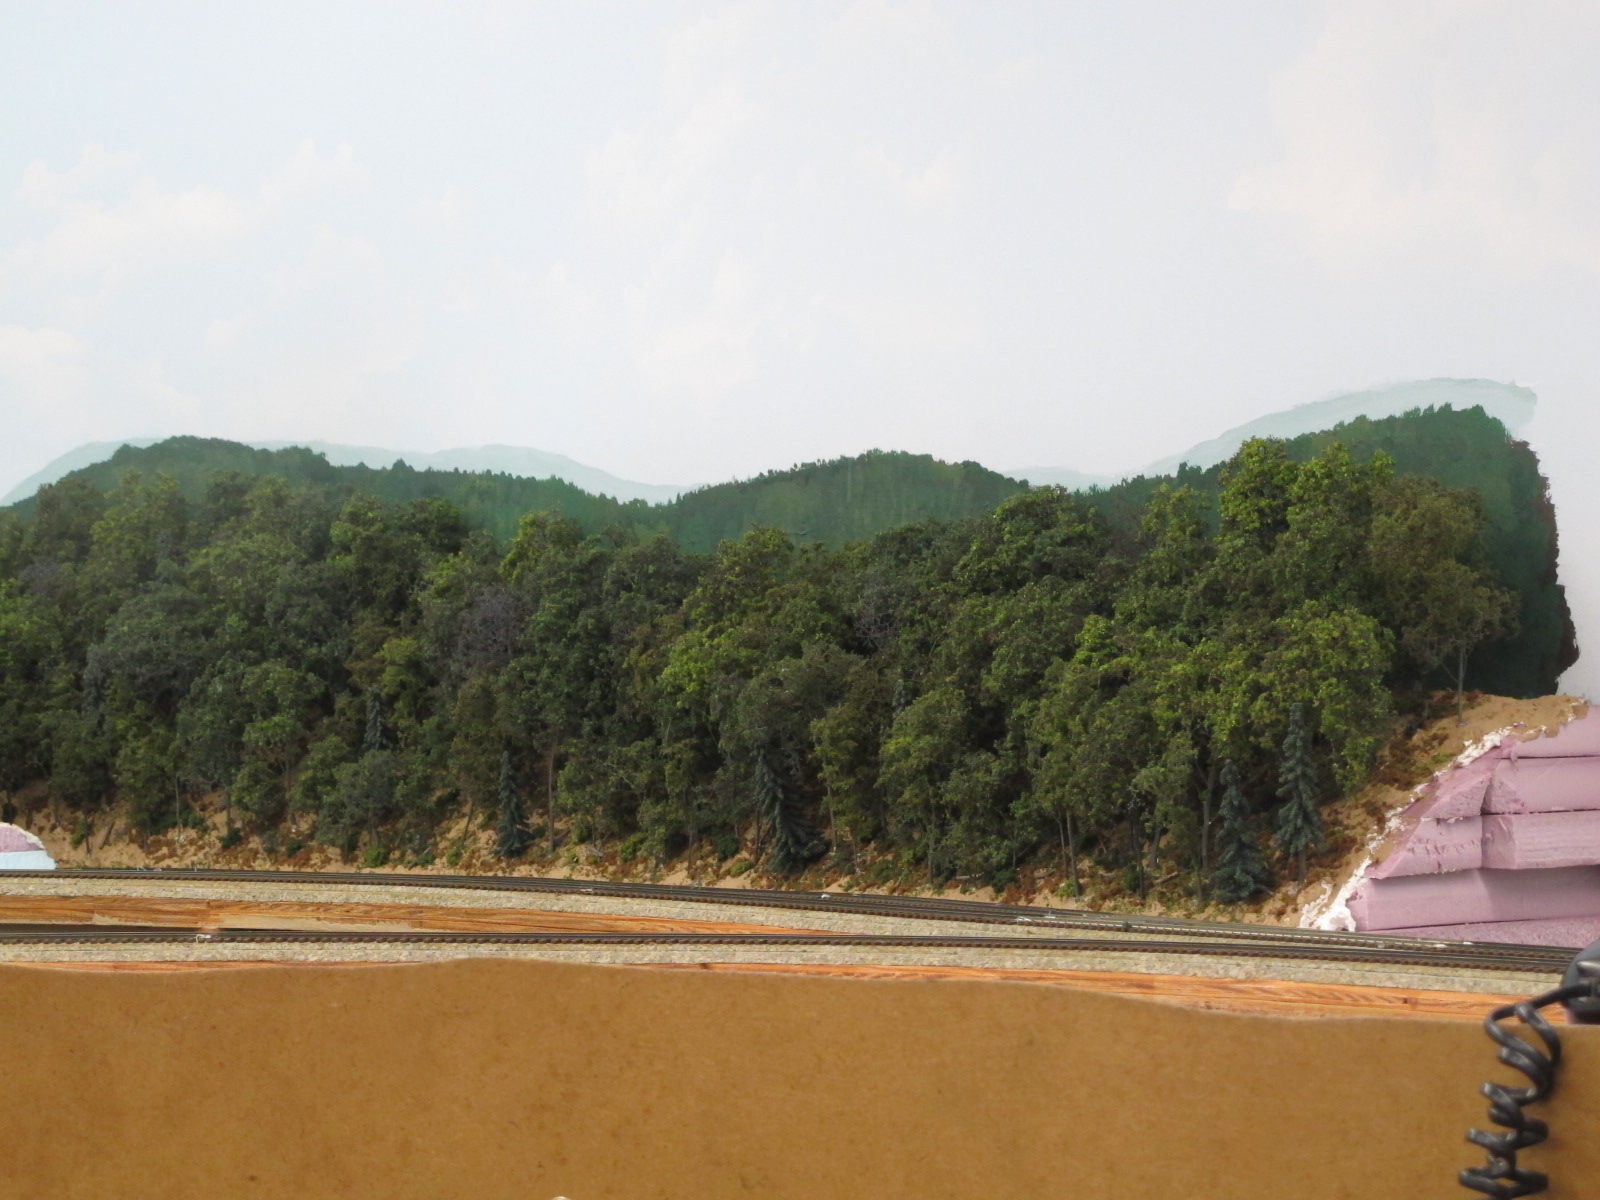
Mountain view 2 |
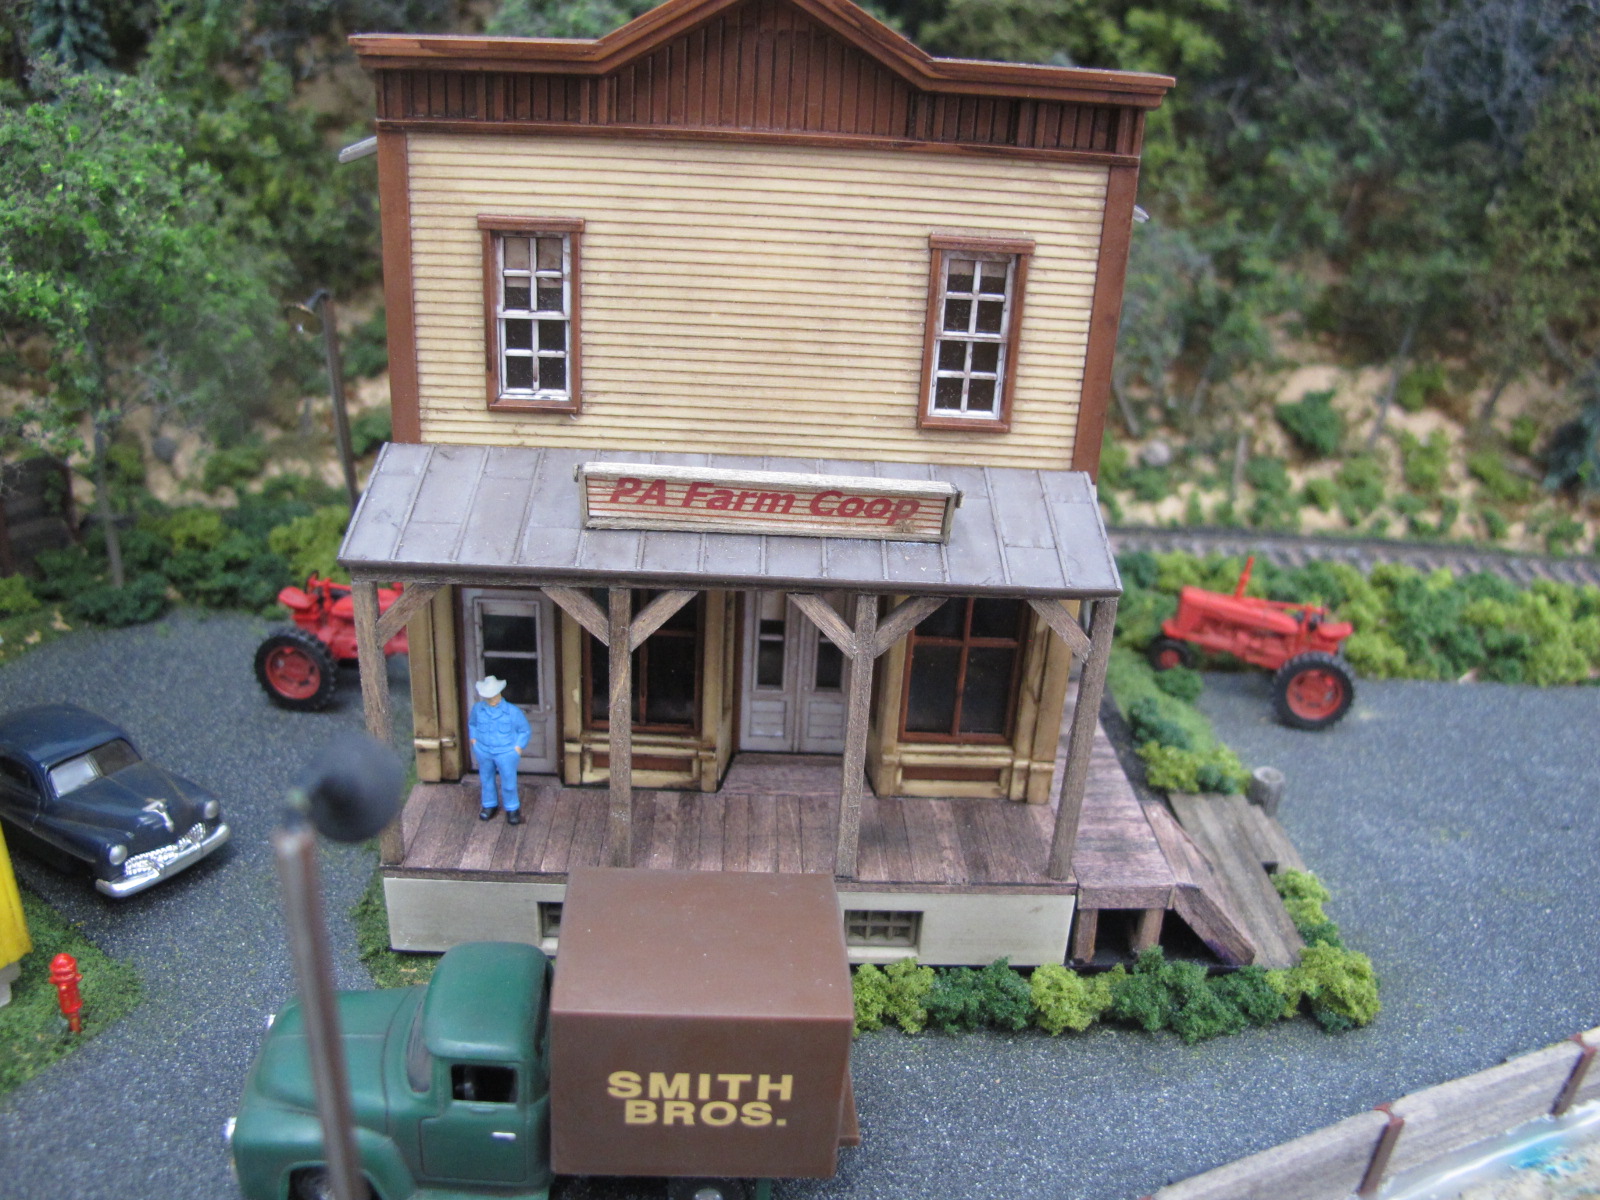
PA Farm Coop store |
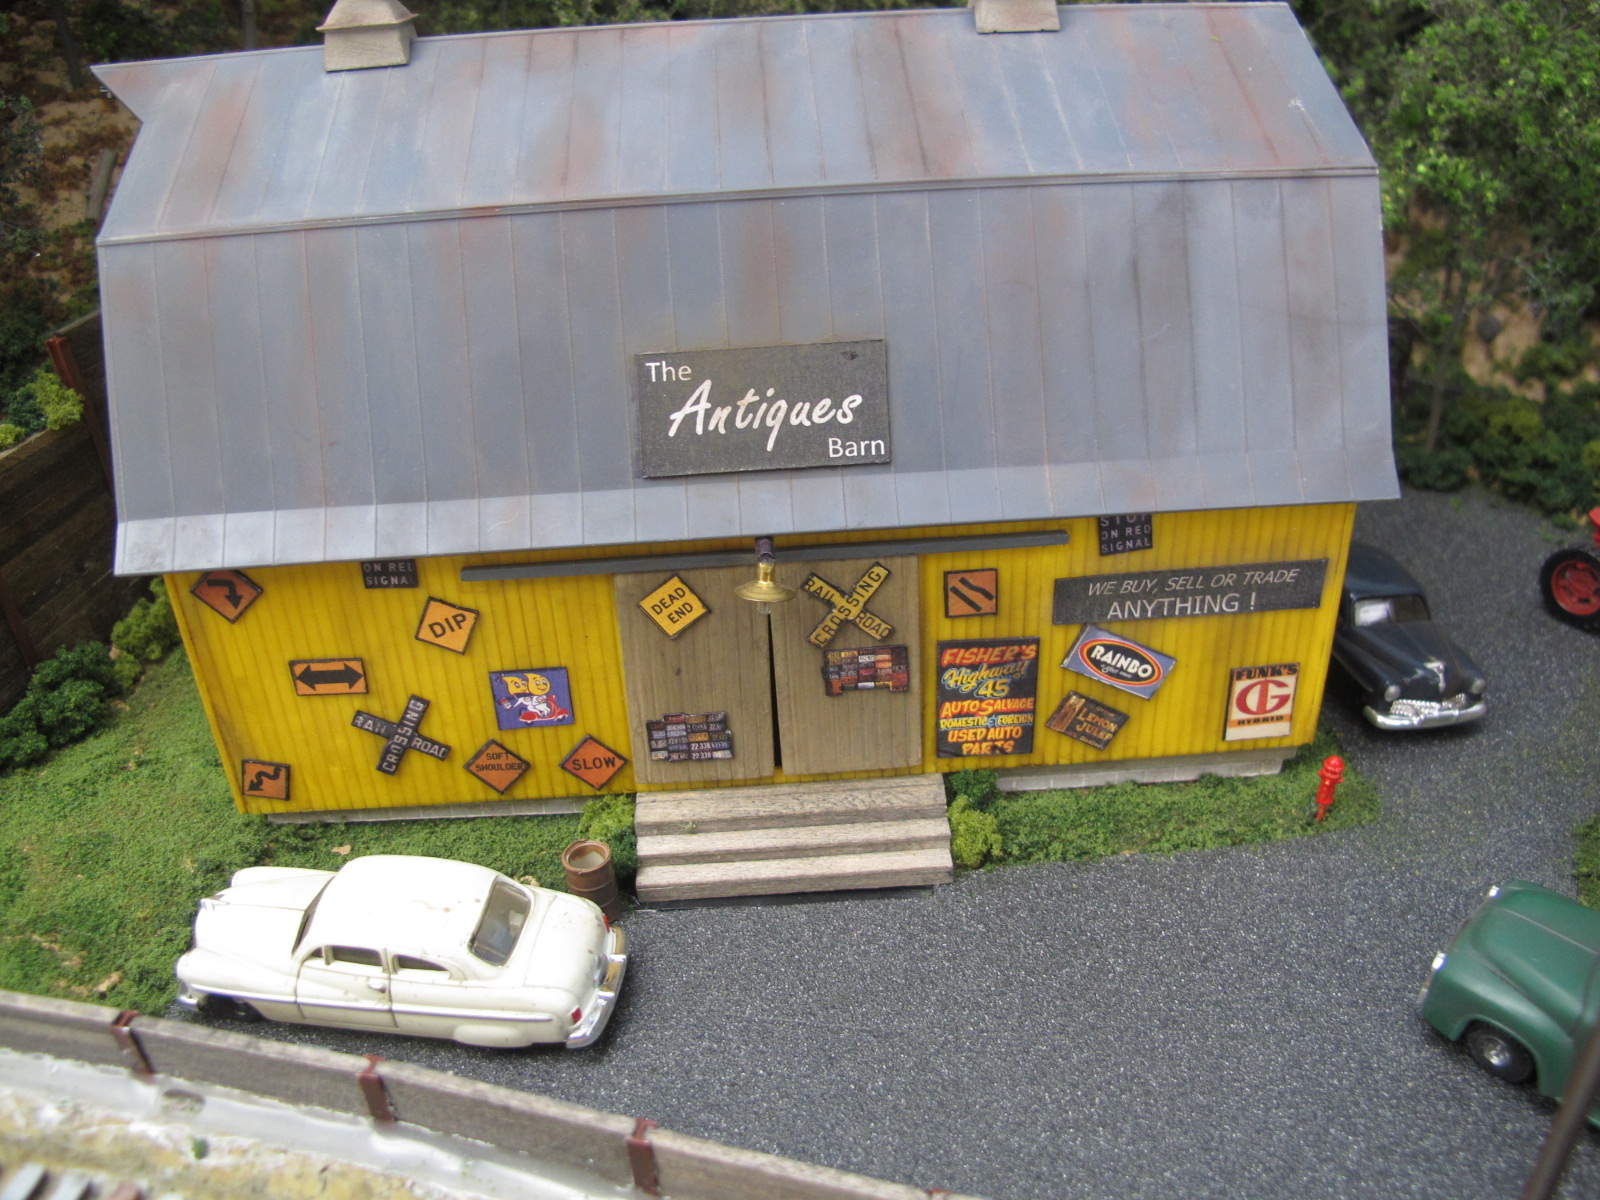
Antiques barn |
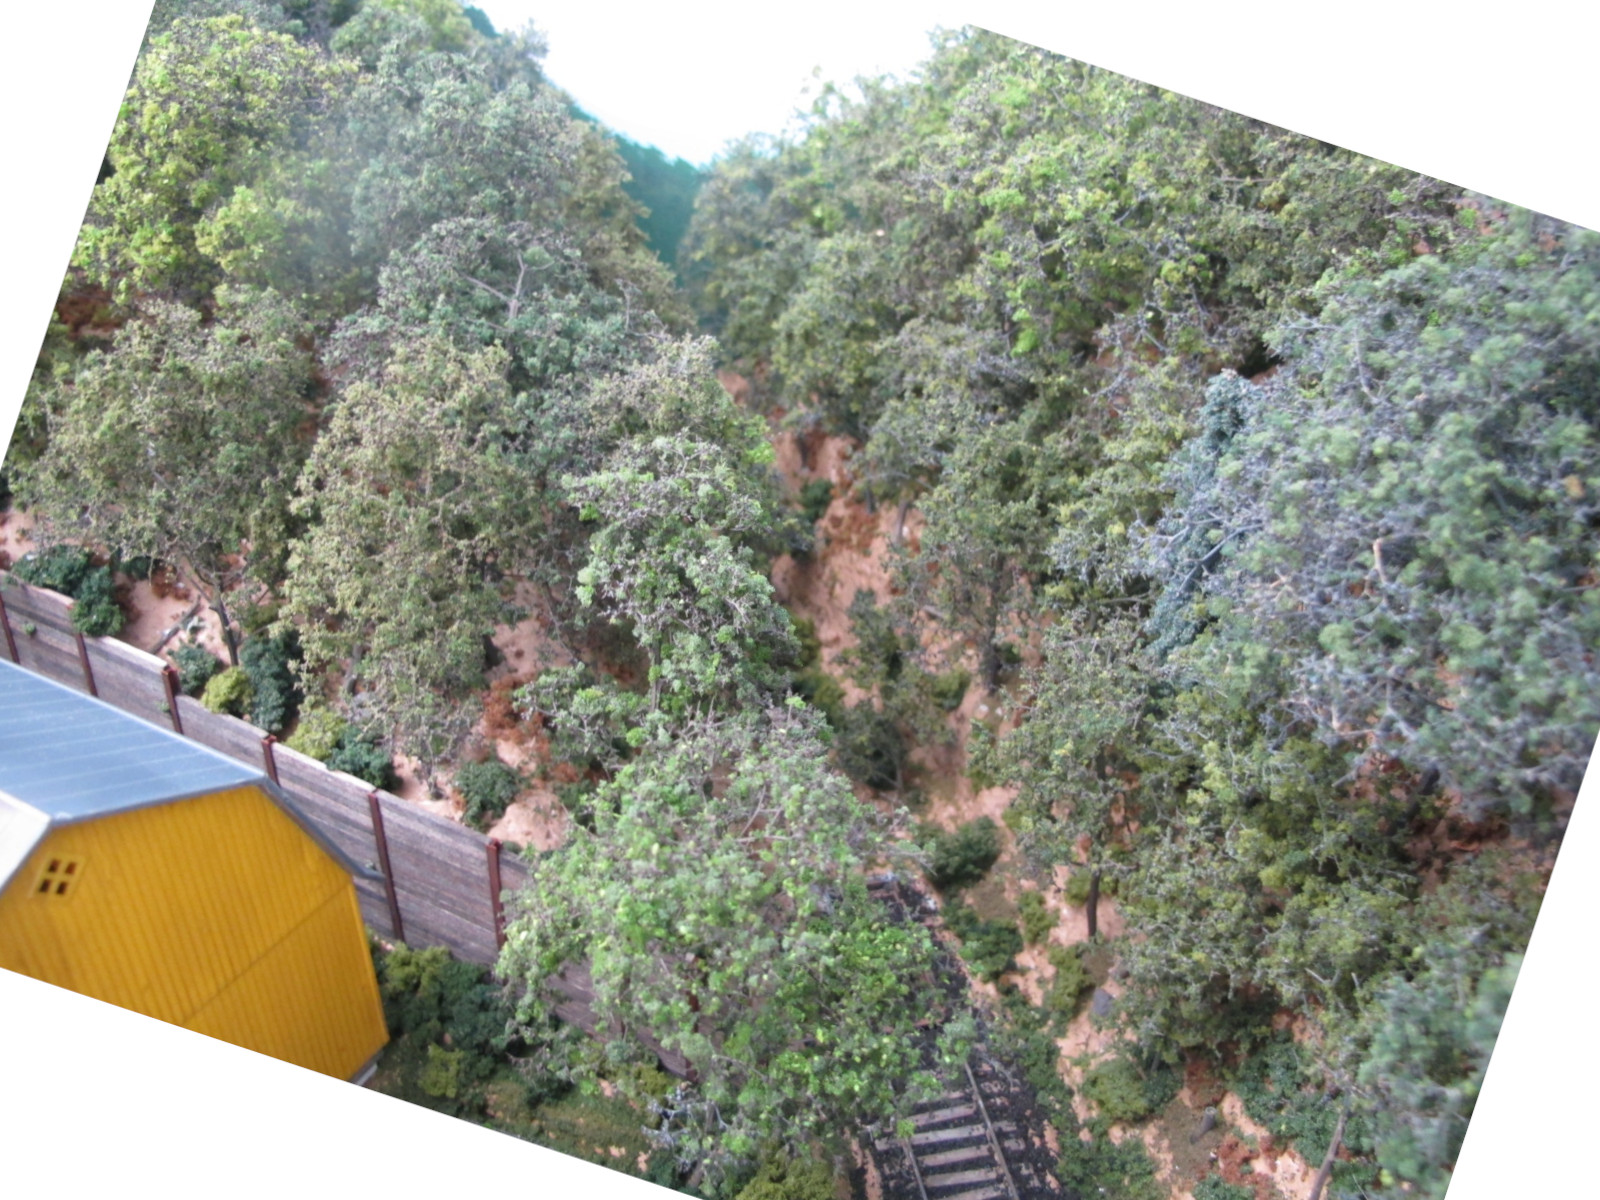
Truncated branch line |
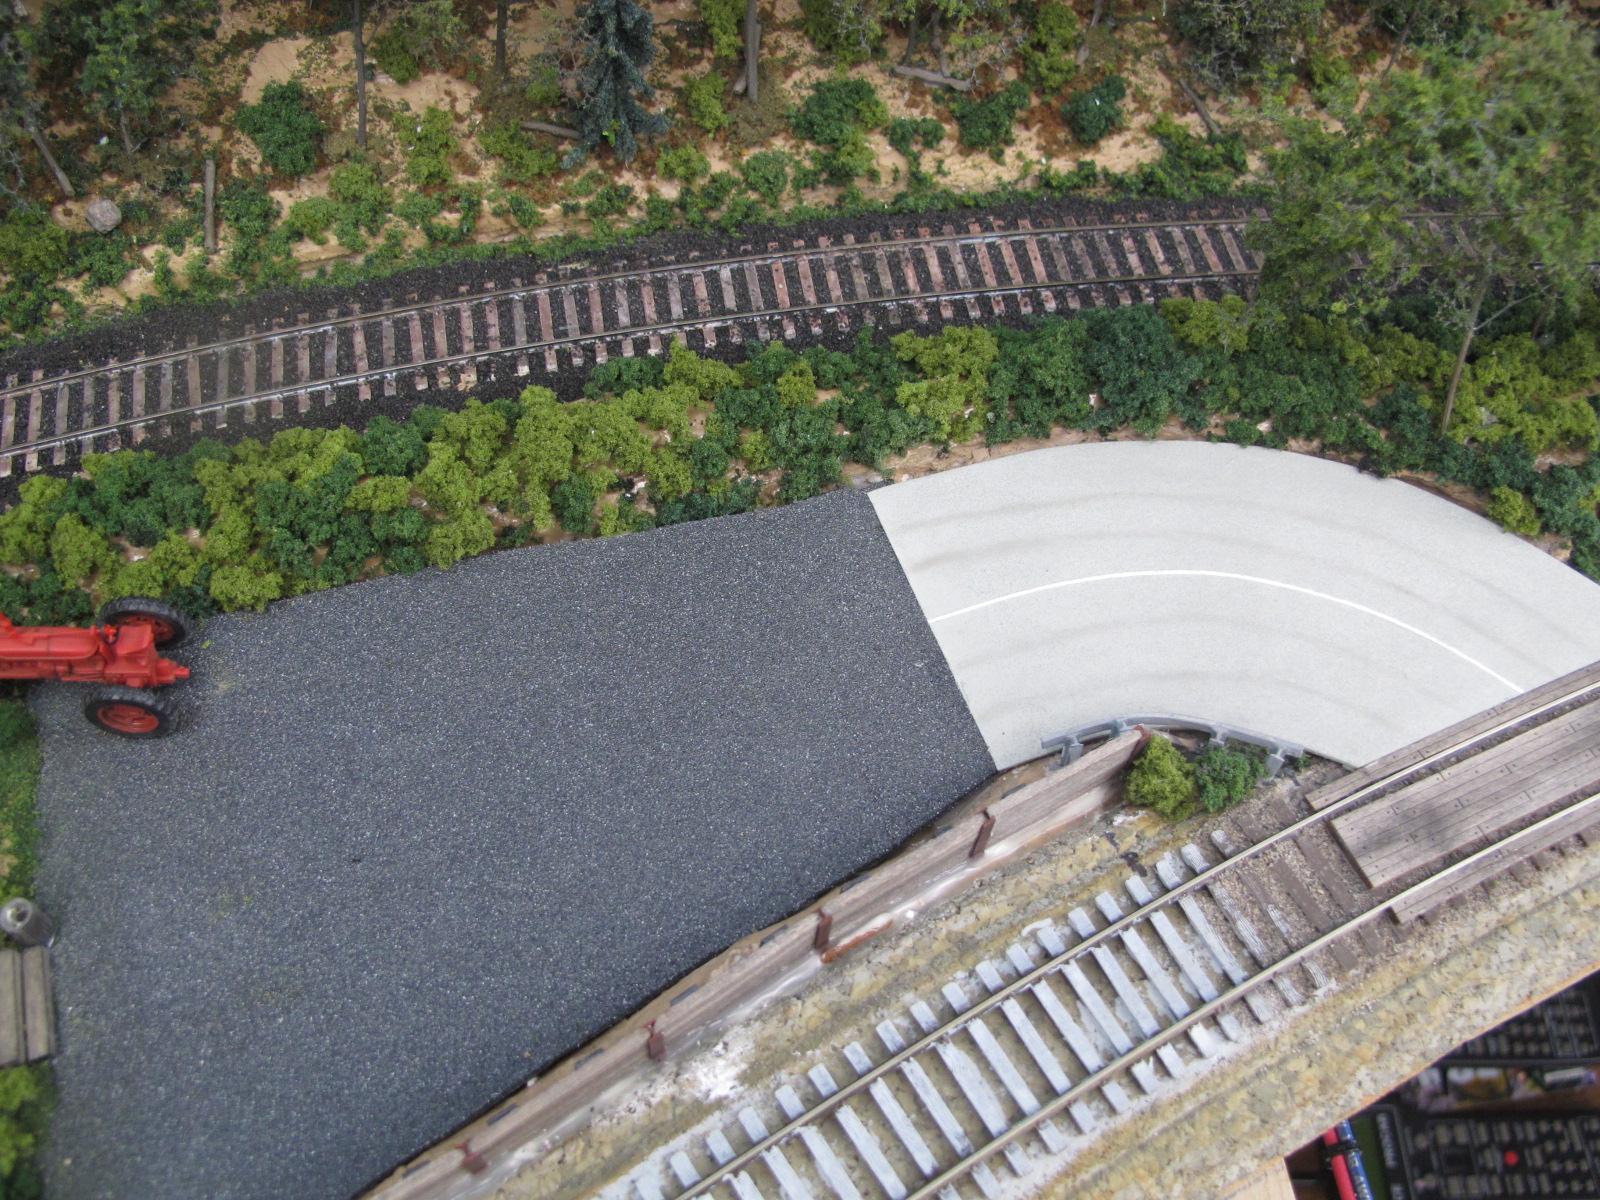
Parking lot and approach
street |
Section C
Section C sits just below the cow pasture and extends down to the fascia in this area, and encompasses a small playground with a parking lot.
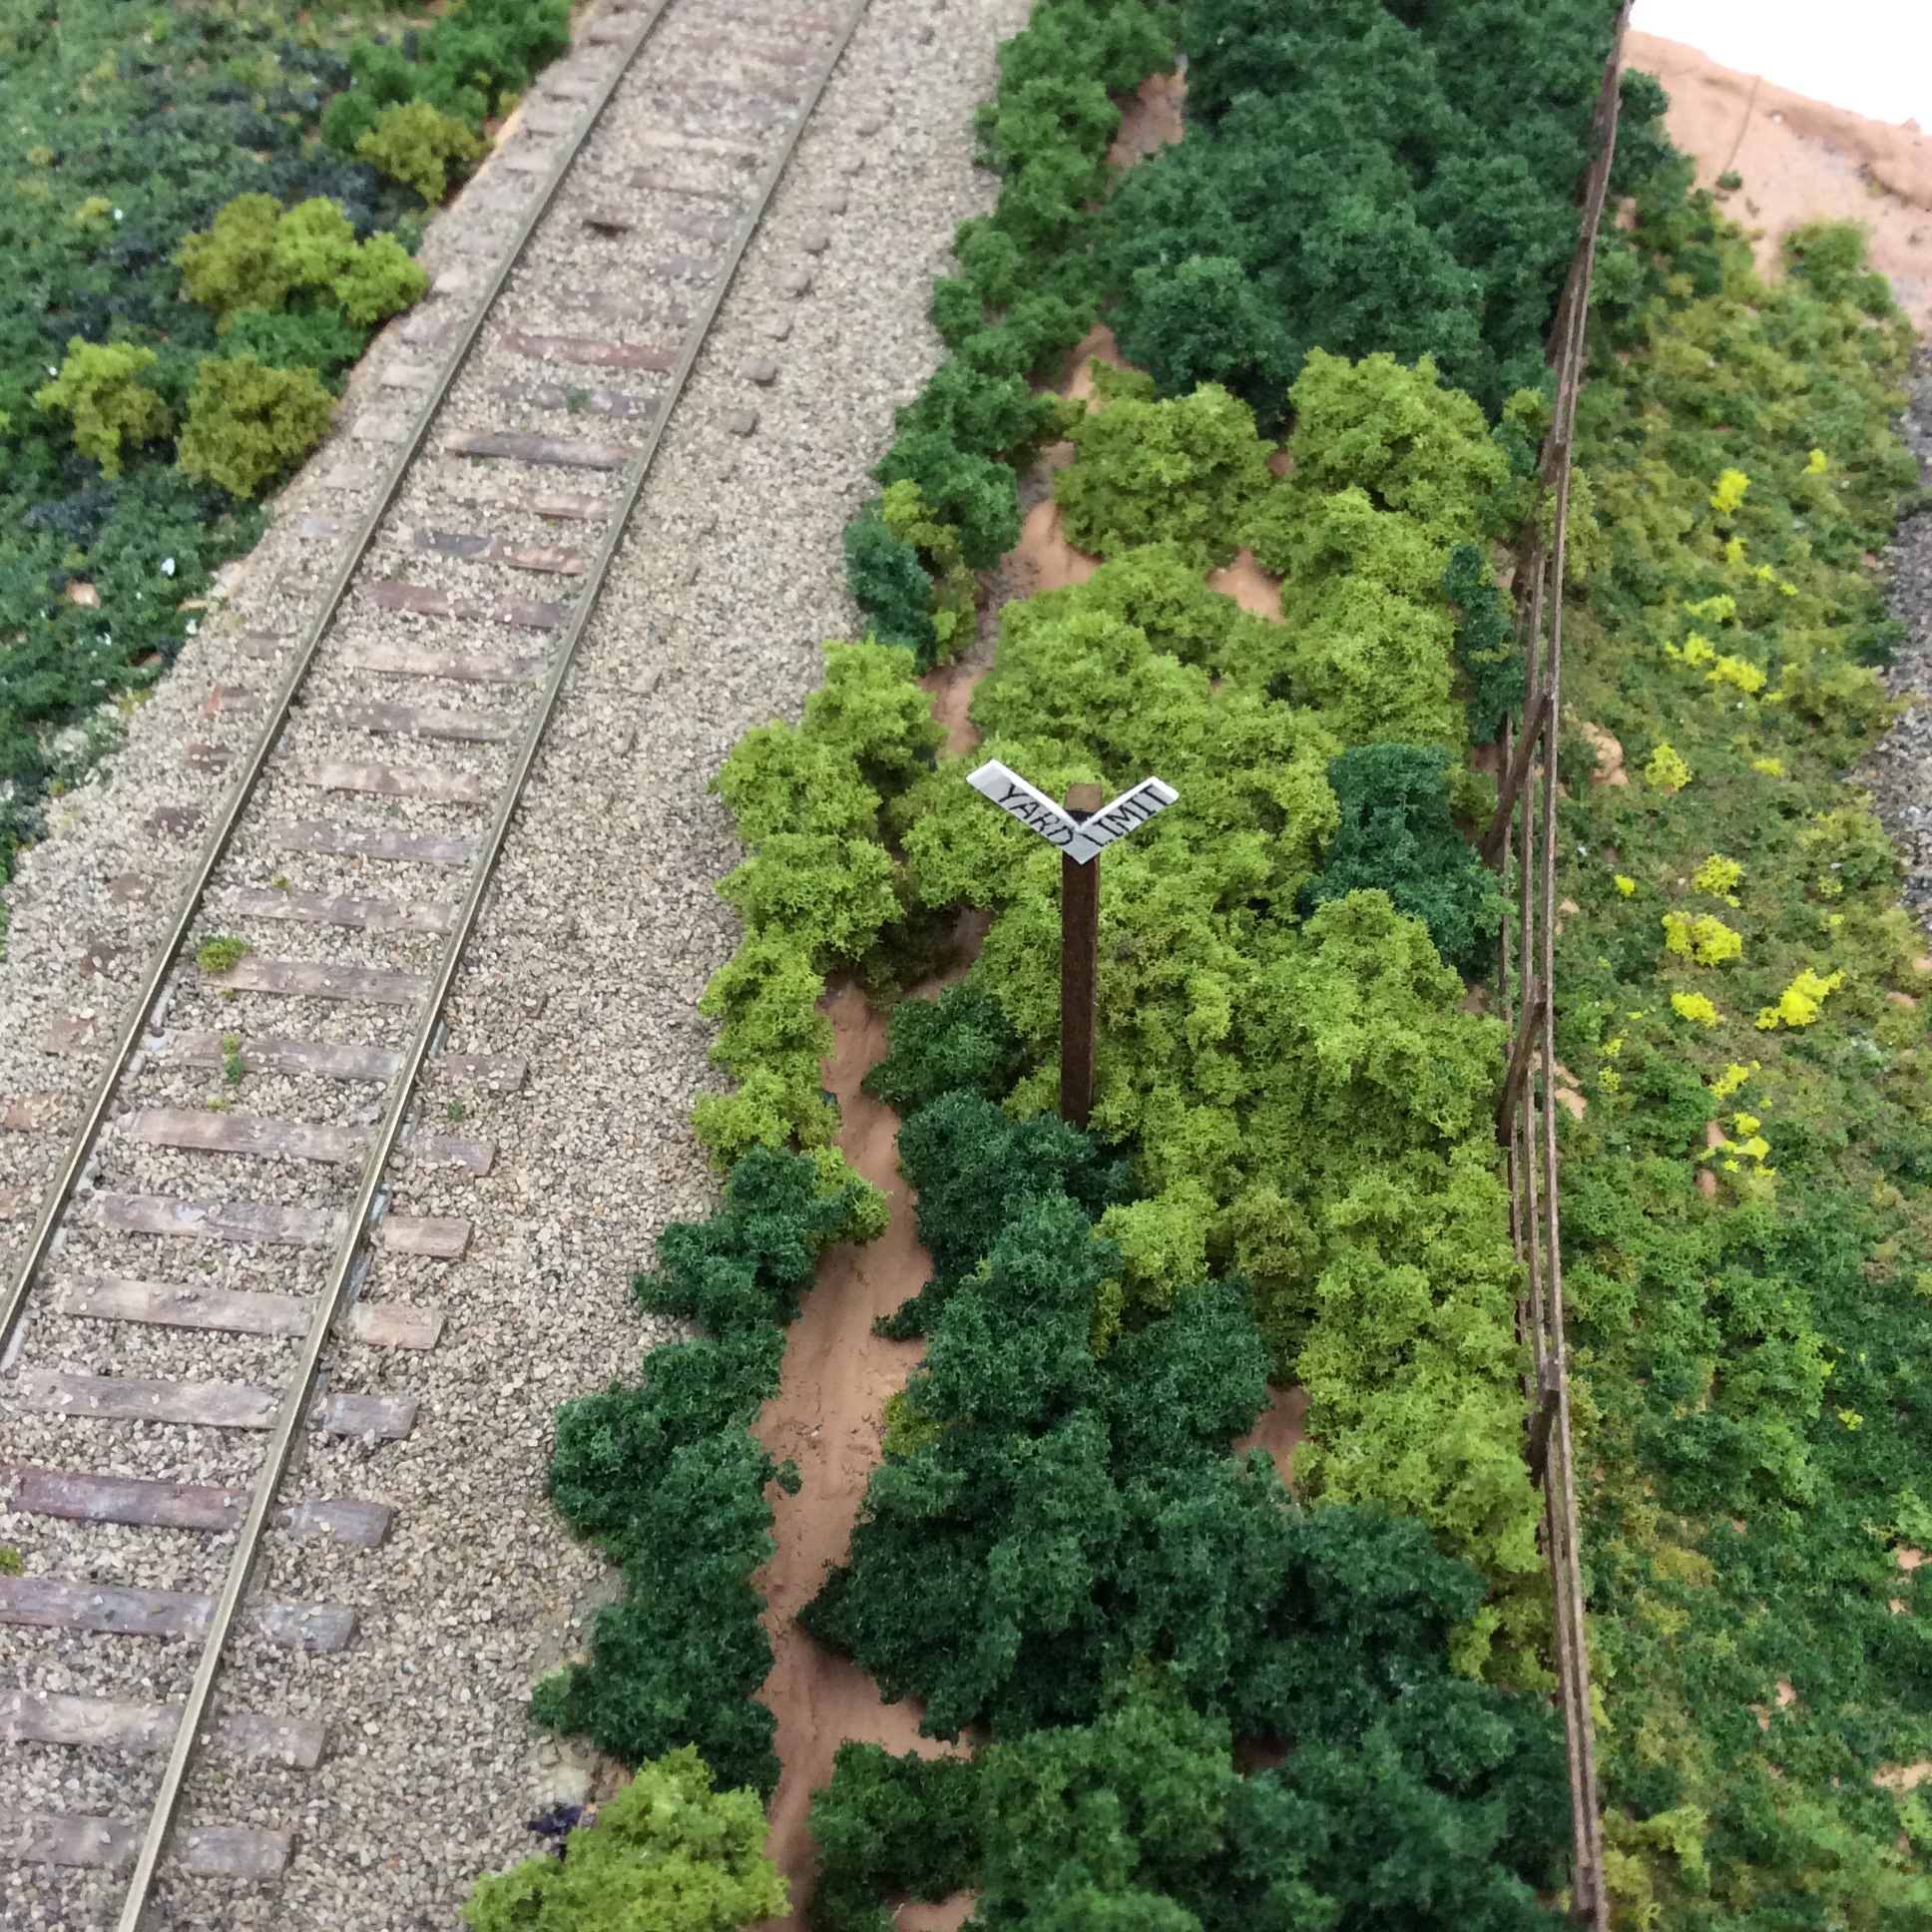
Yard Limit sign
RR tie wall |
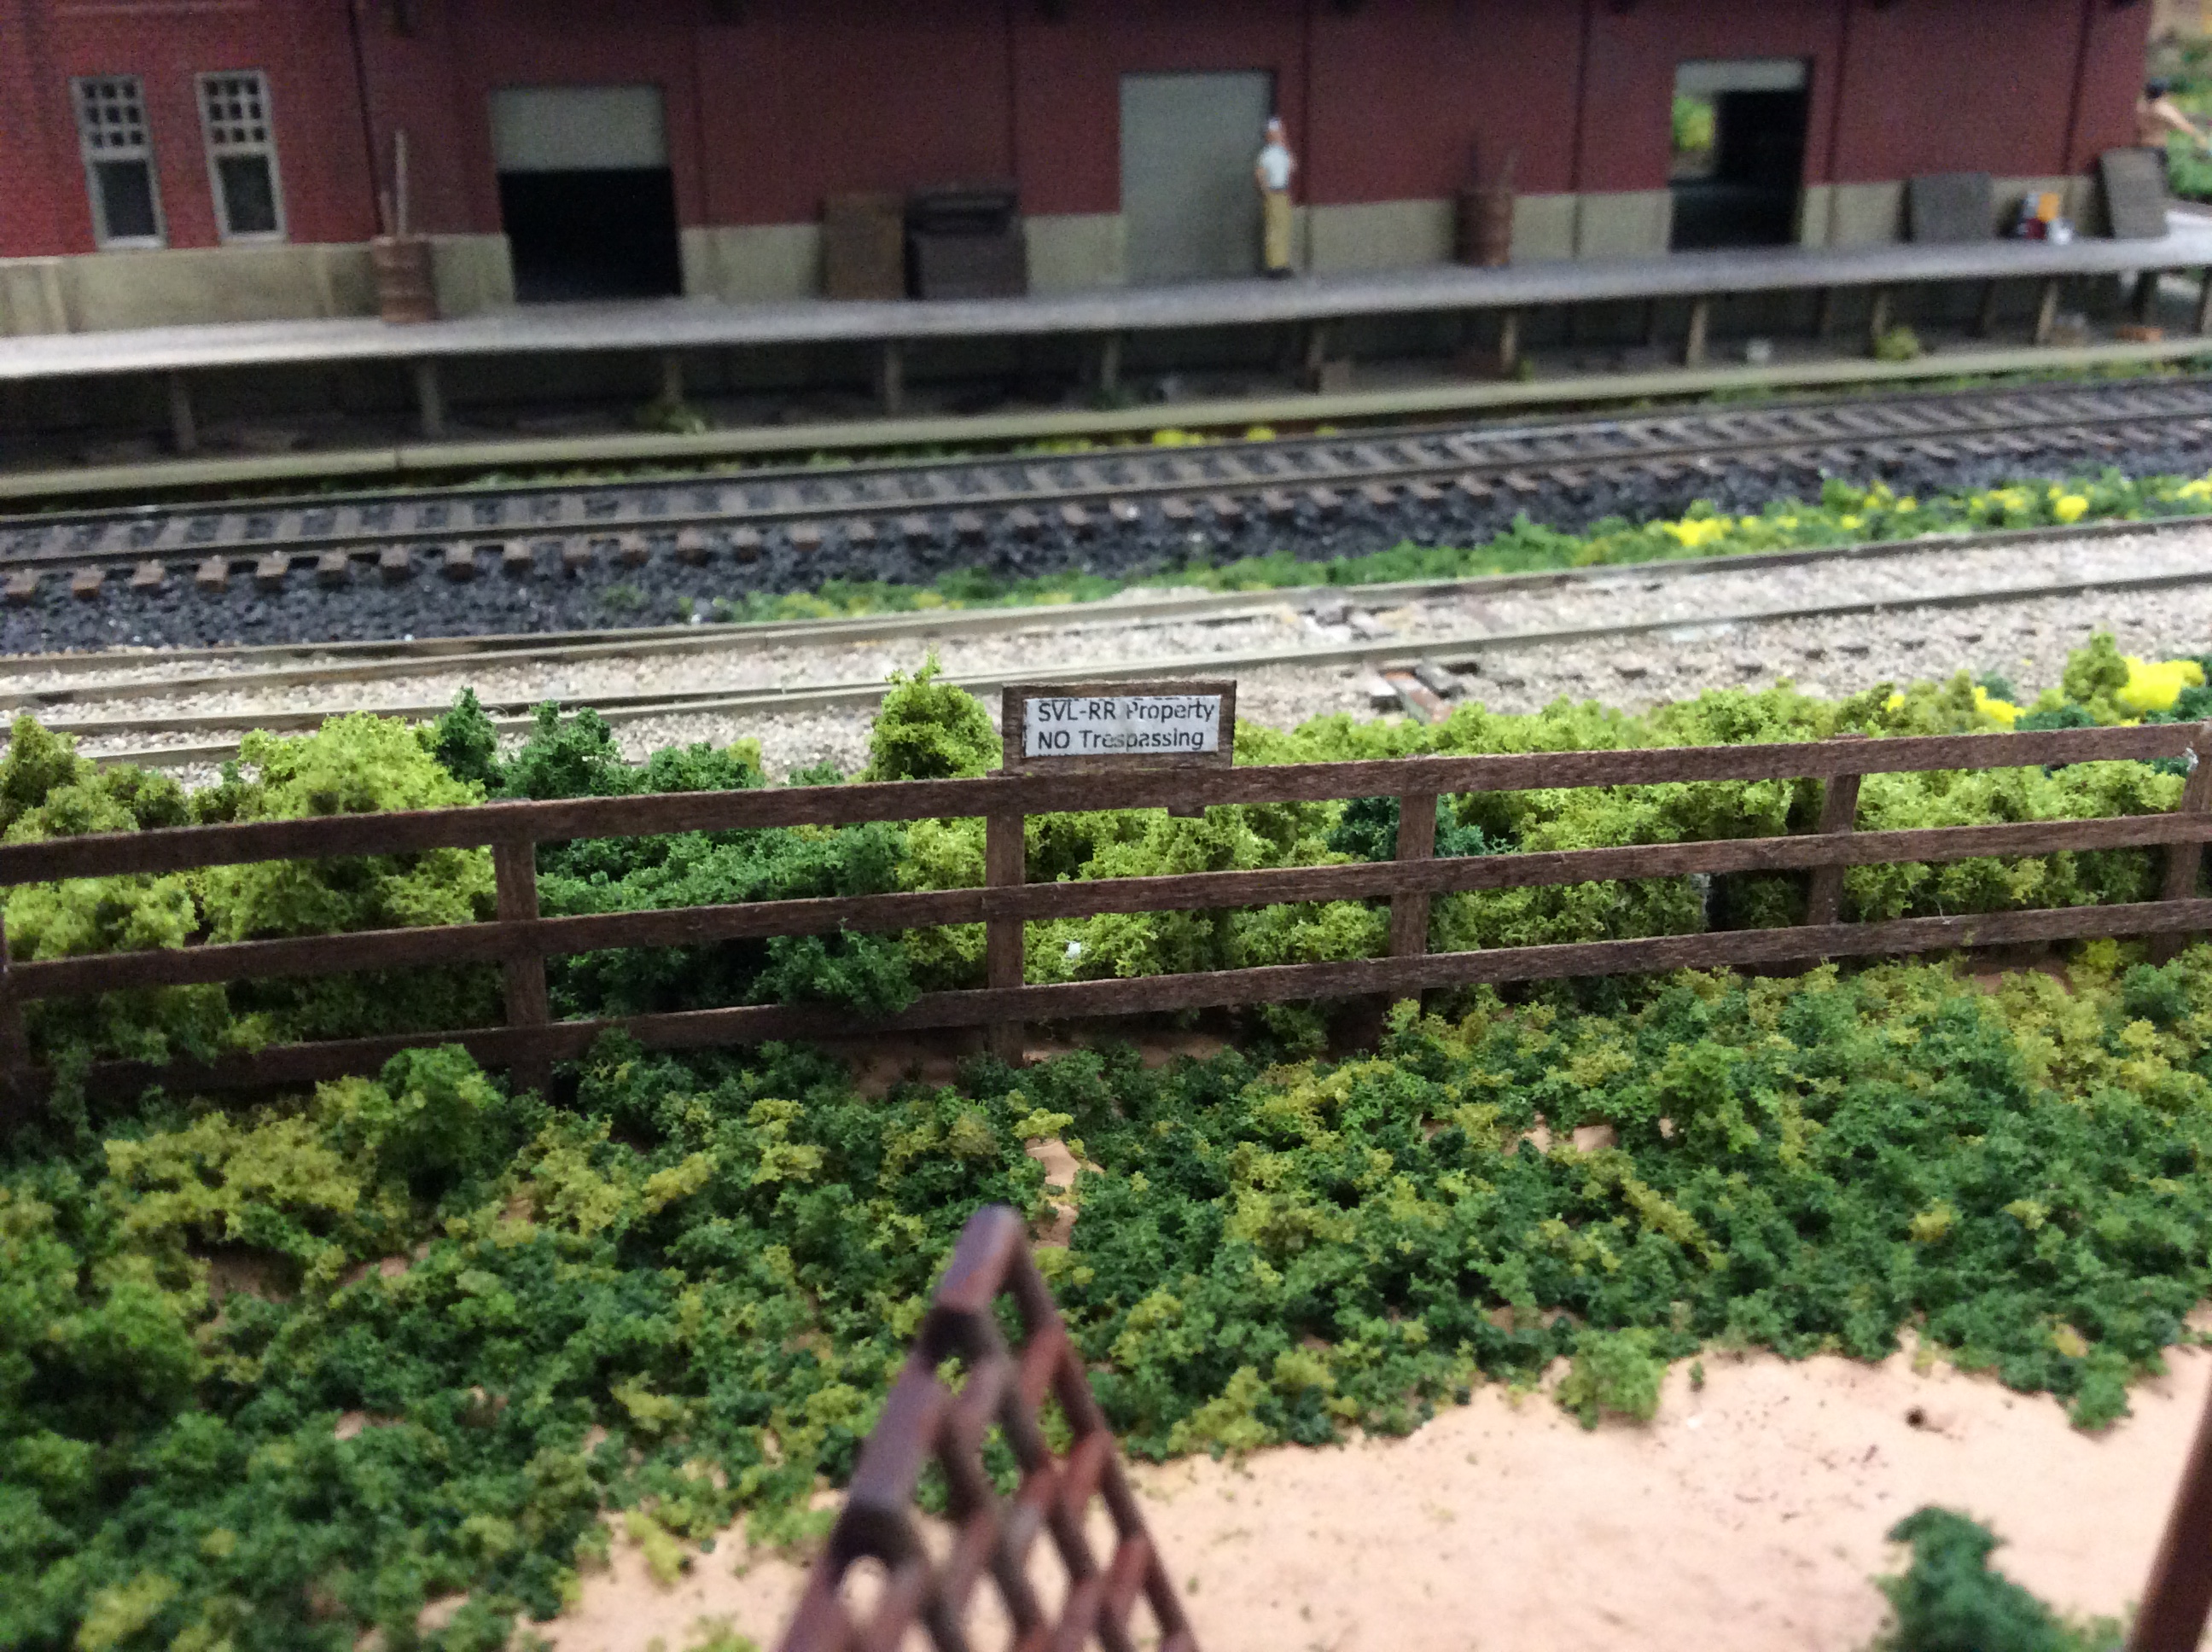
NO Trespassing sign |
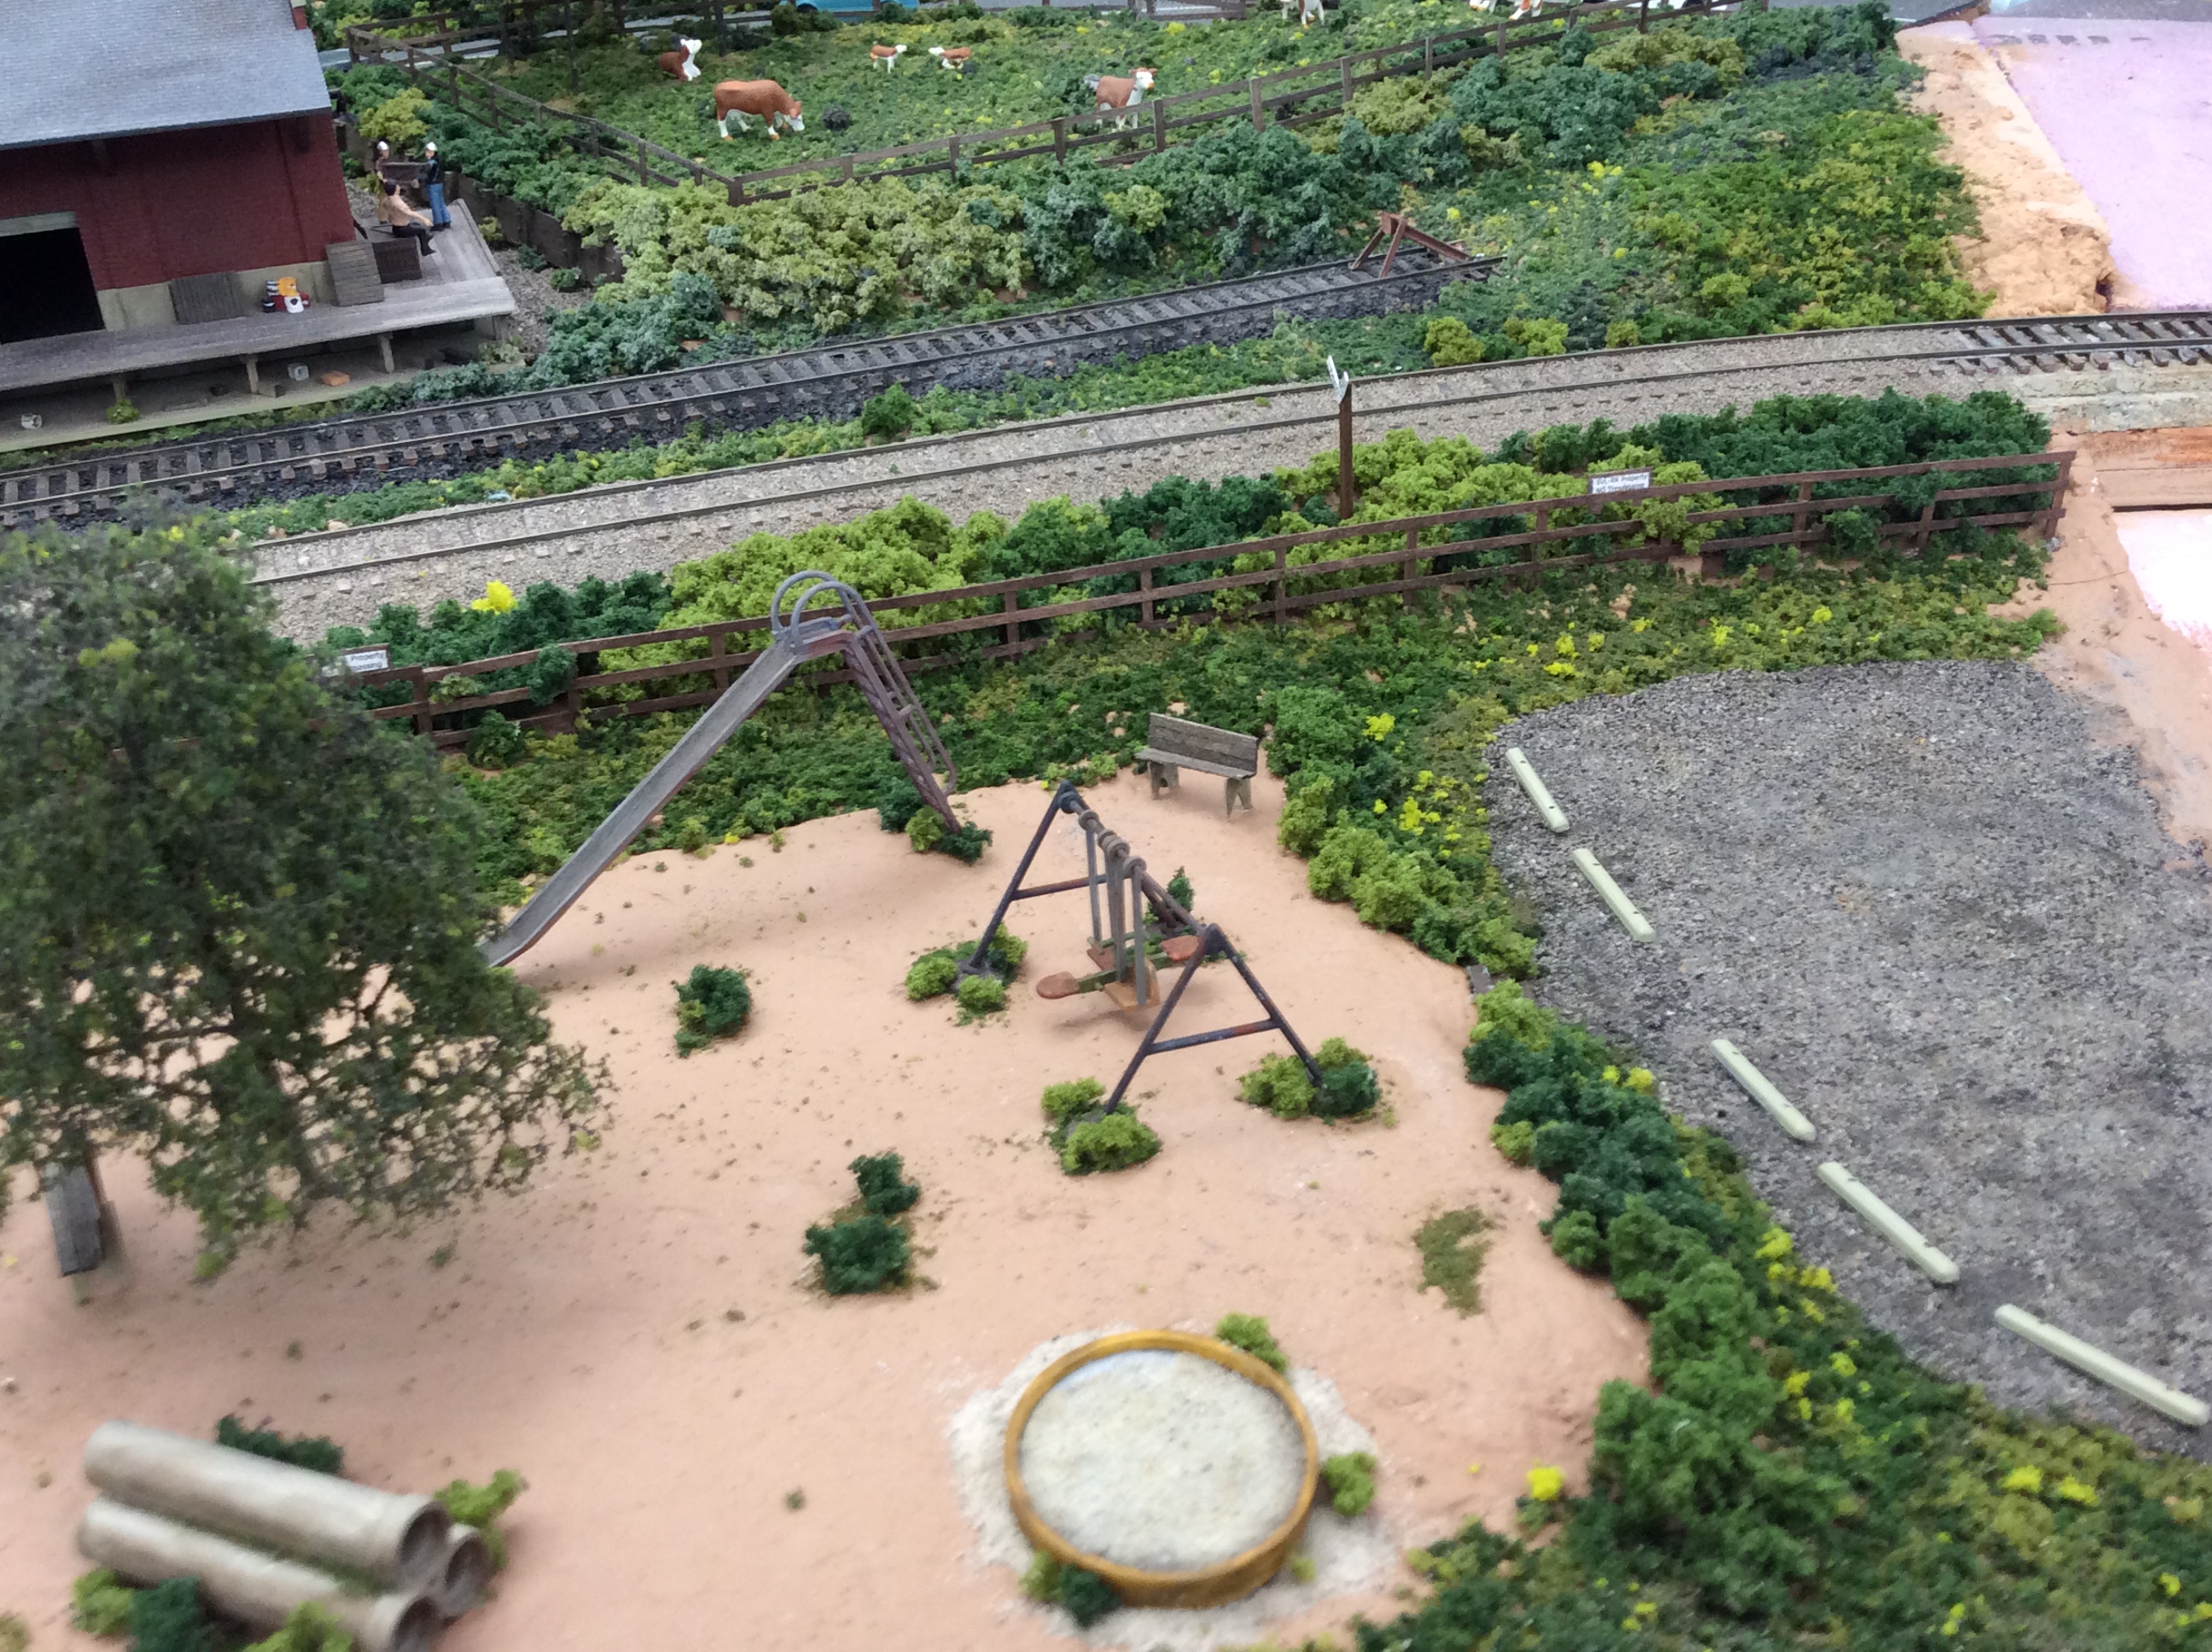
West end of playground area |
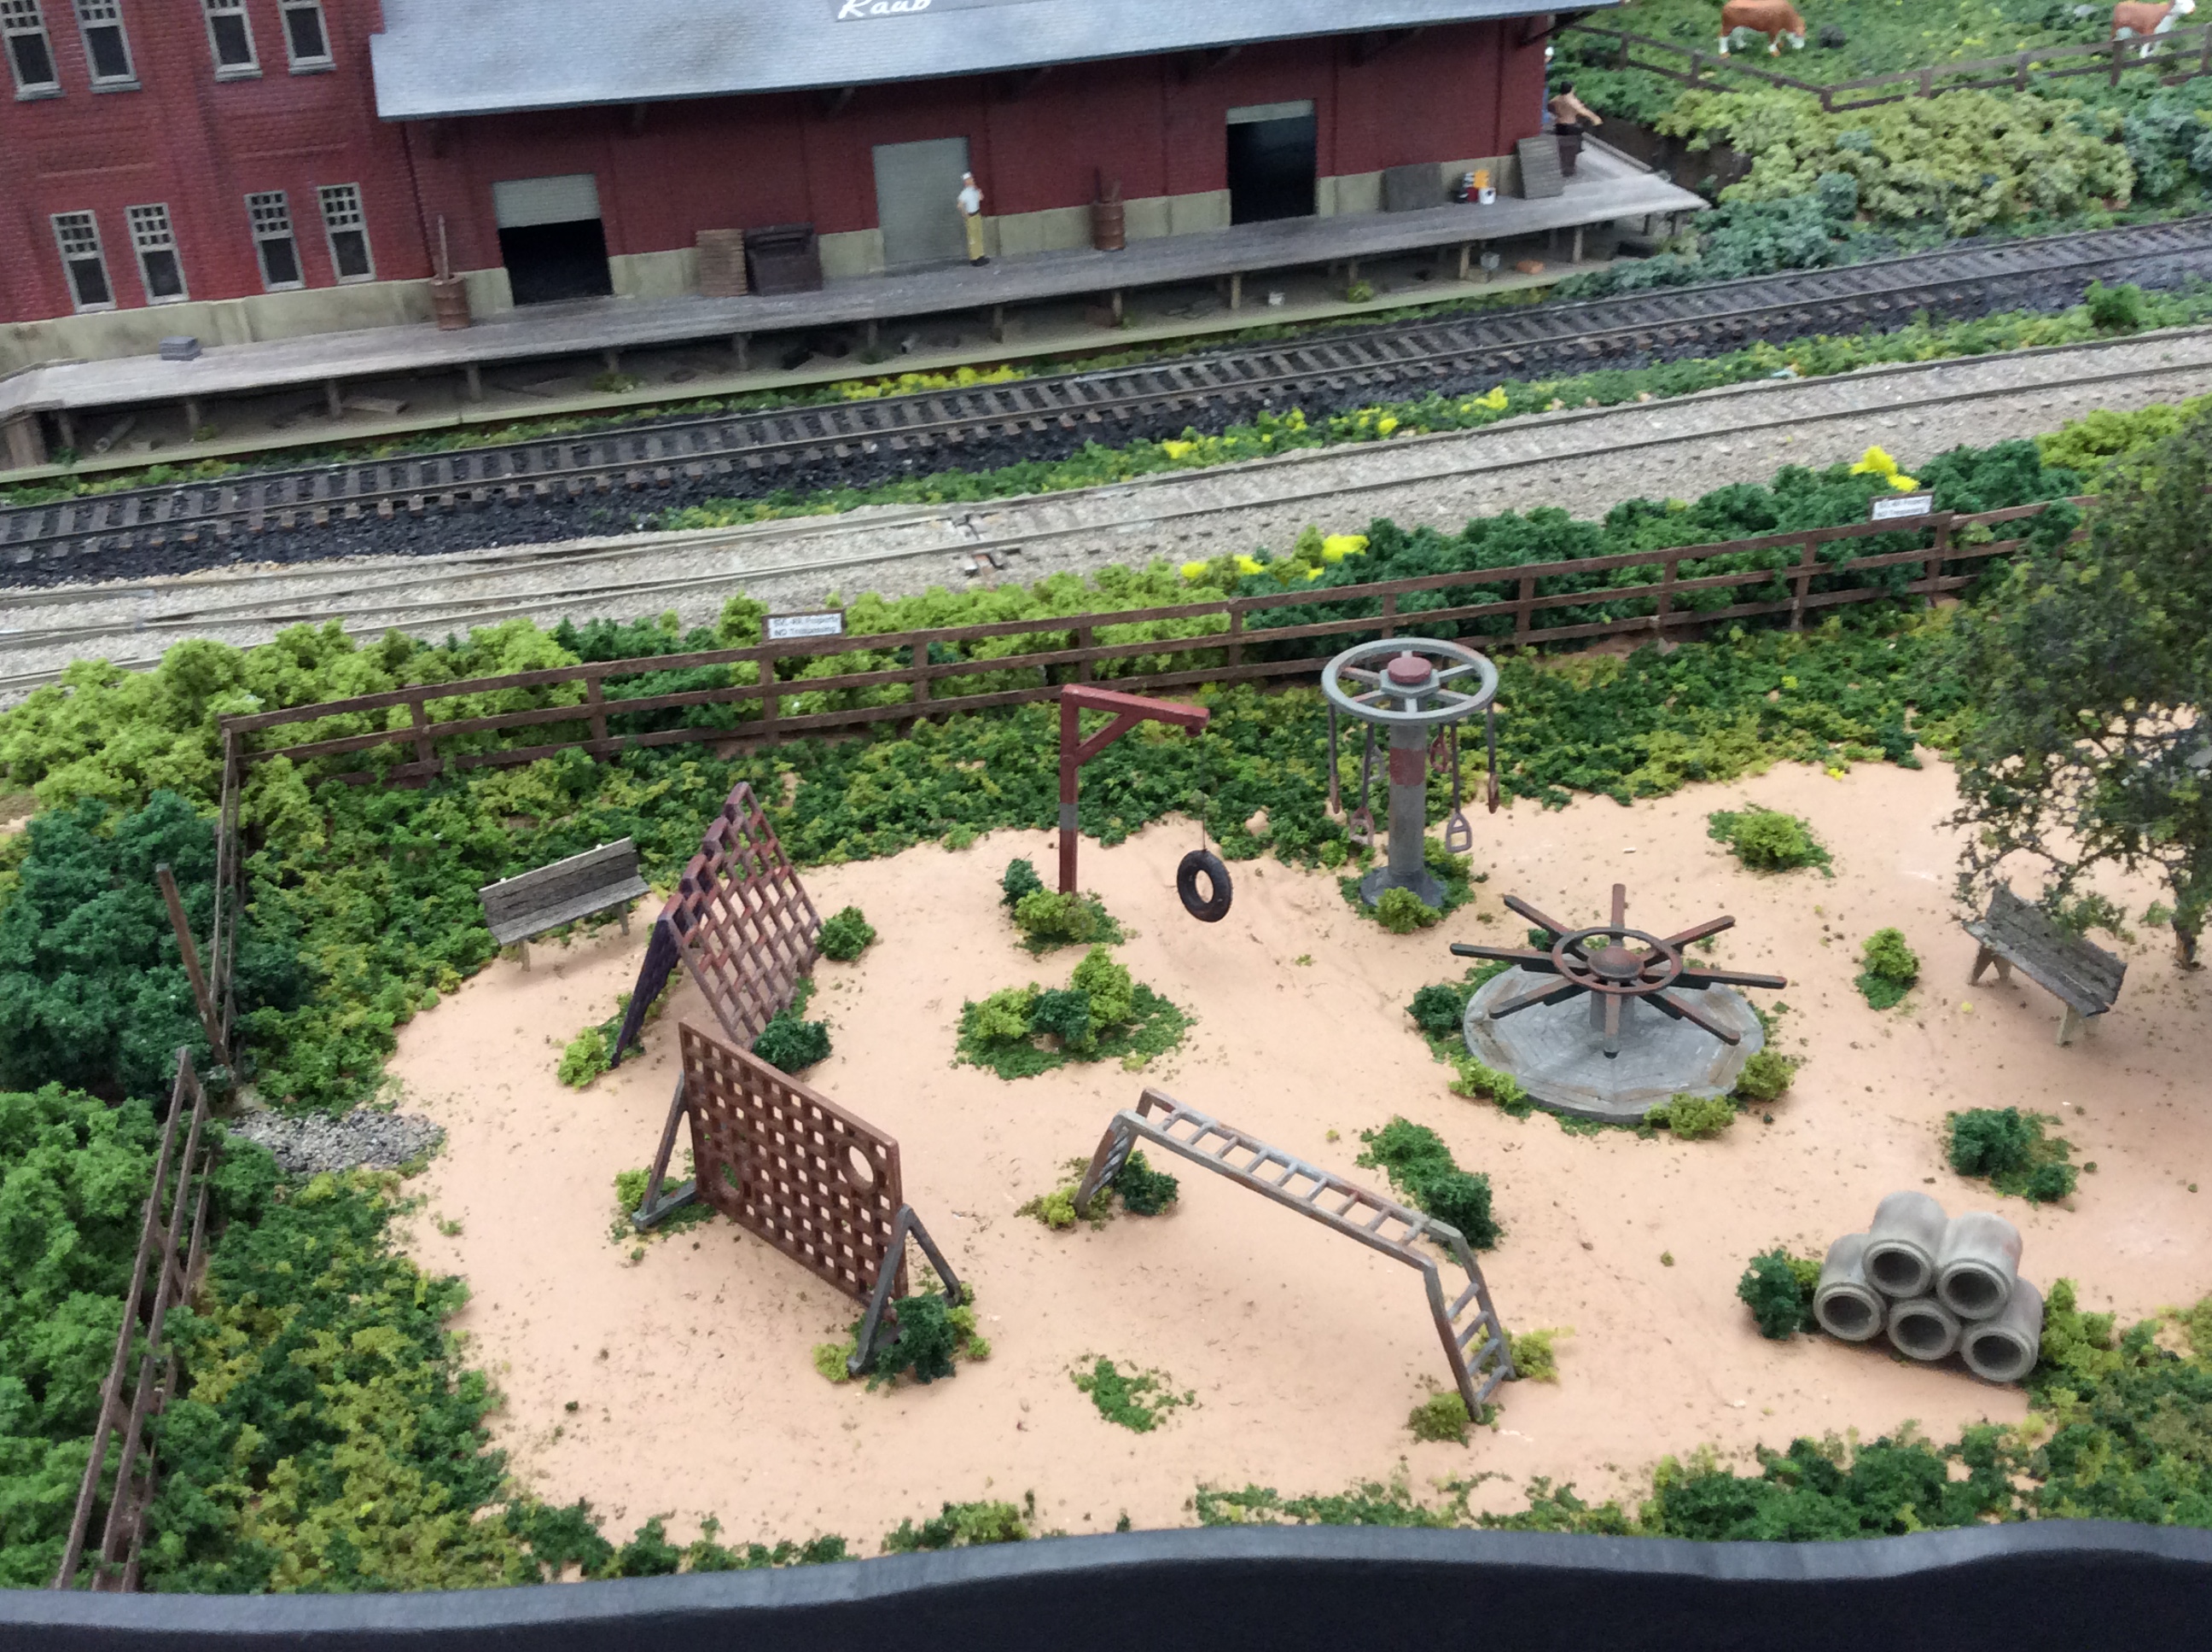
East end of playground area |
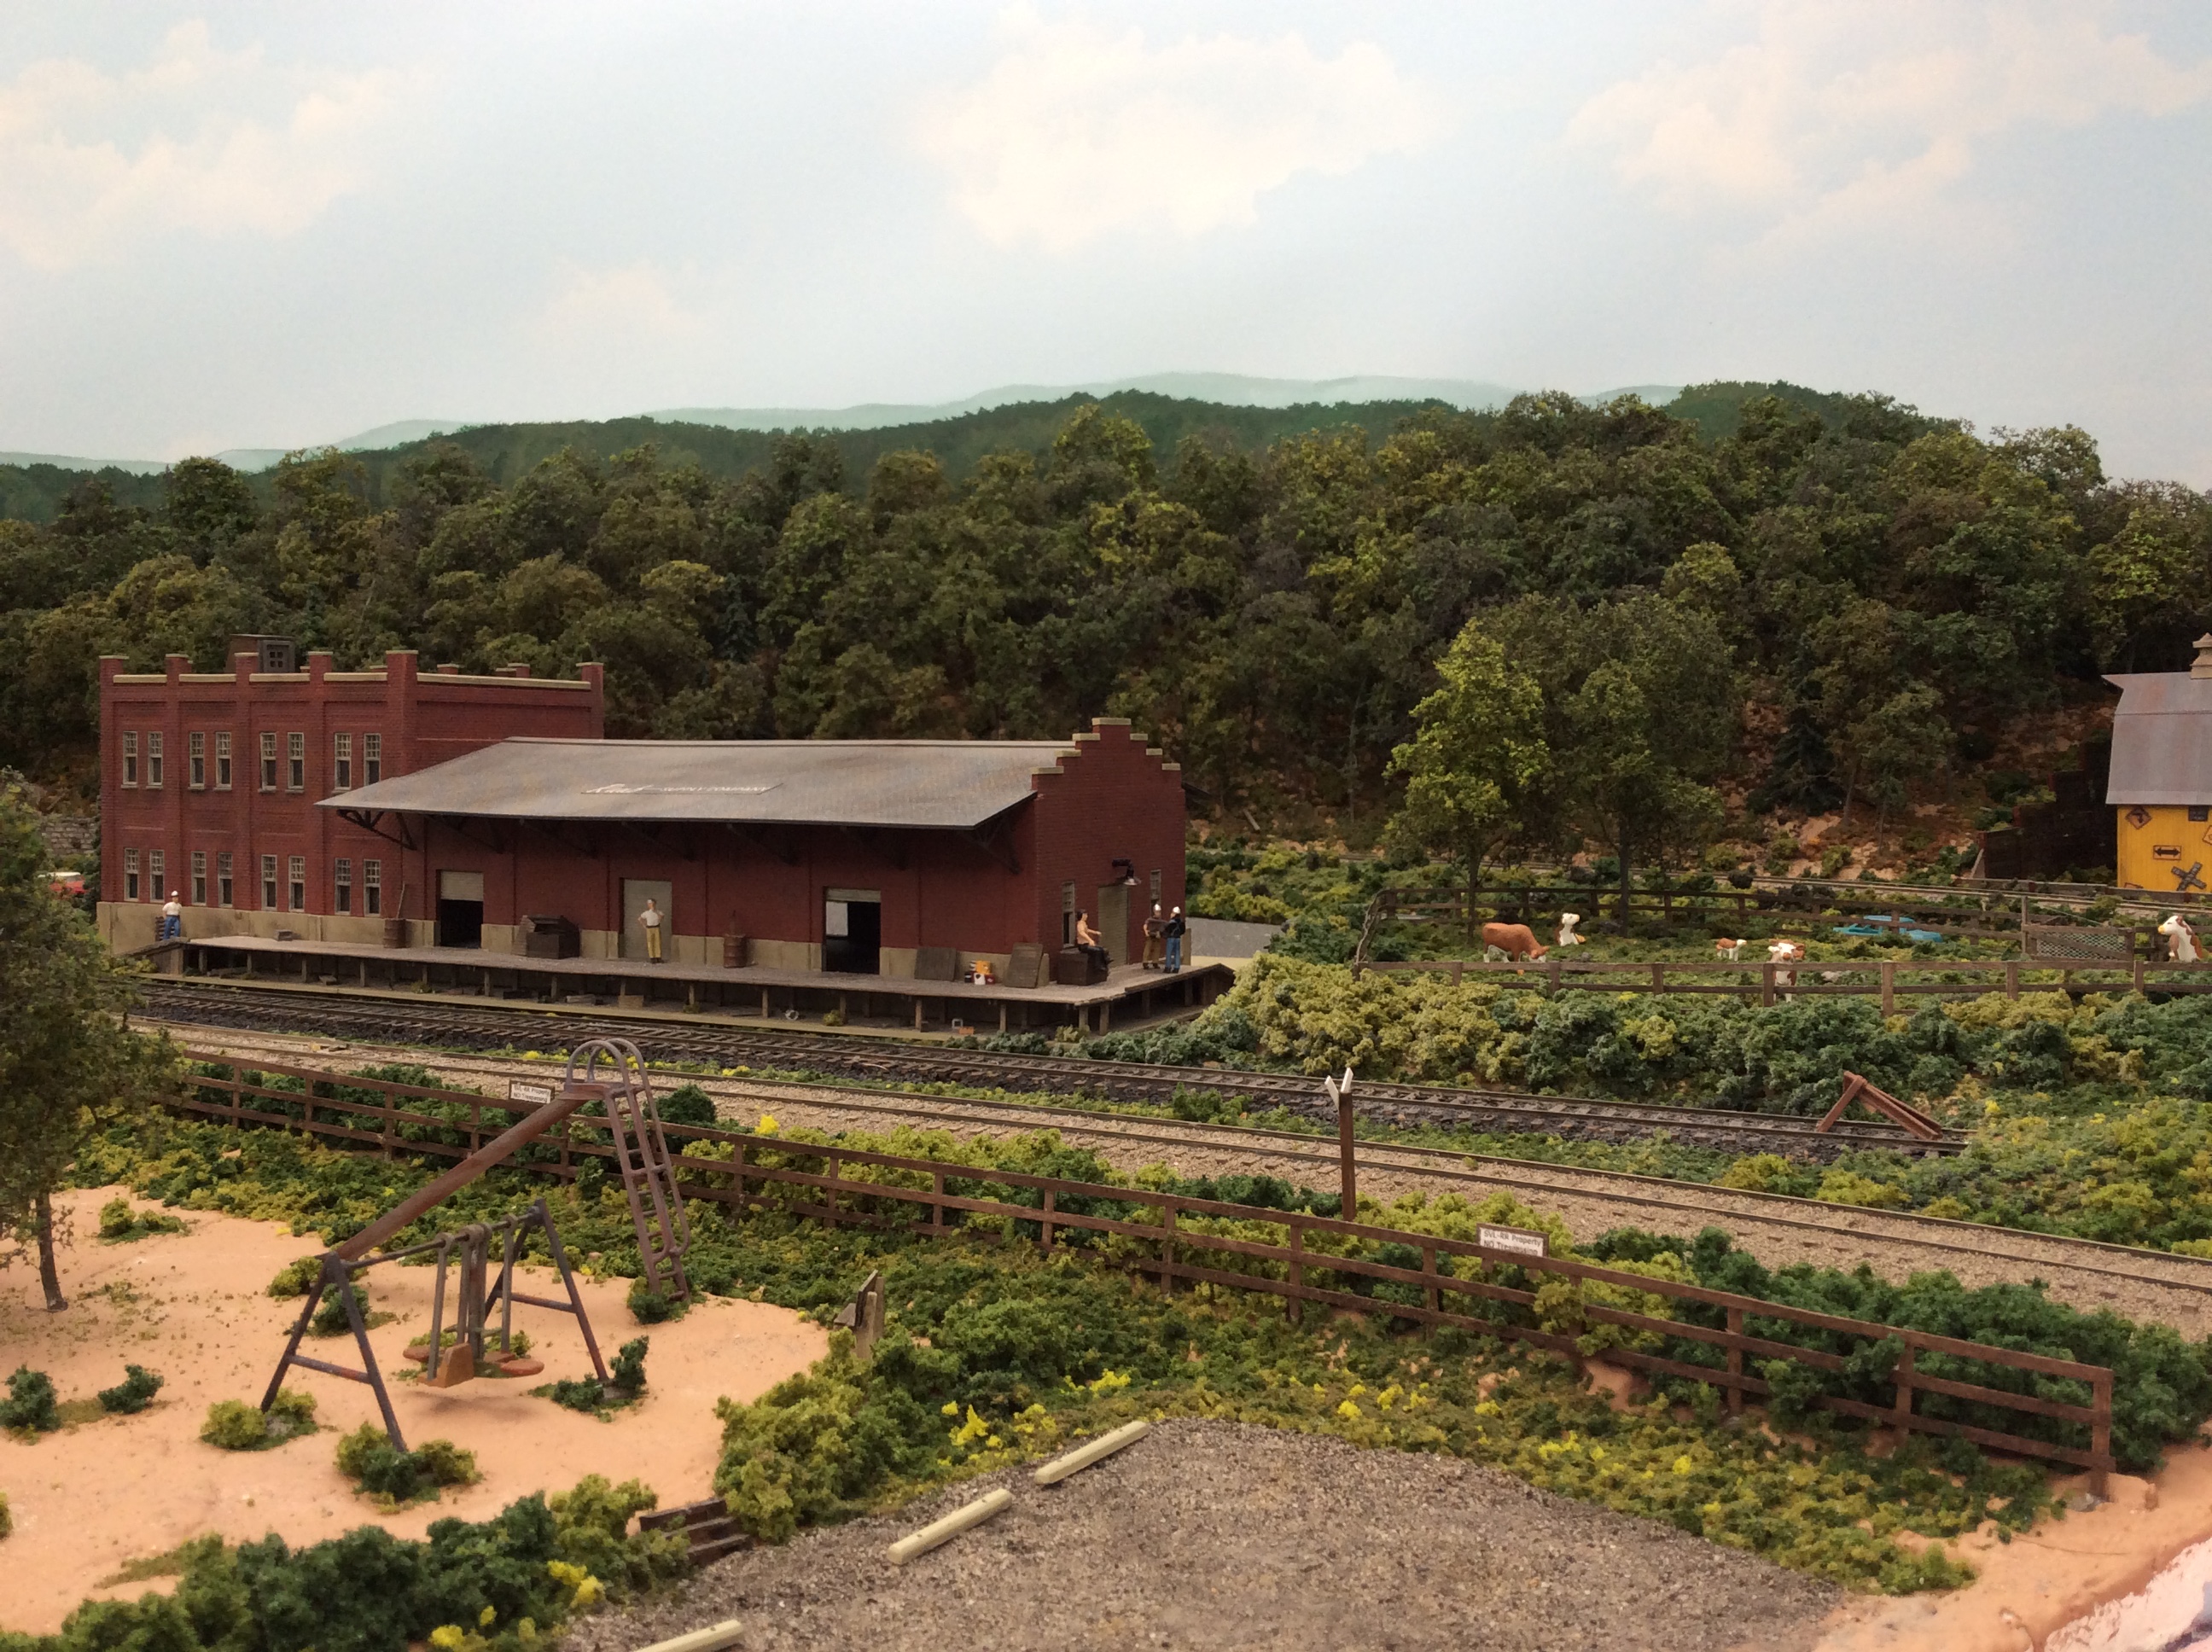
Playground parking lot and
Raub Supply building
RR tie wall |
Scenery Section 4 in the
foreground and Scenery
Section 3 in the background |
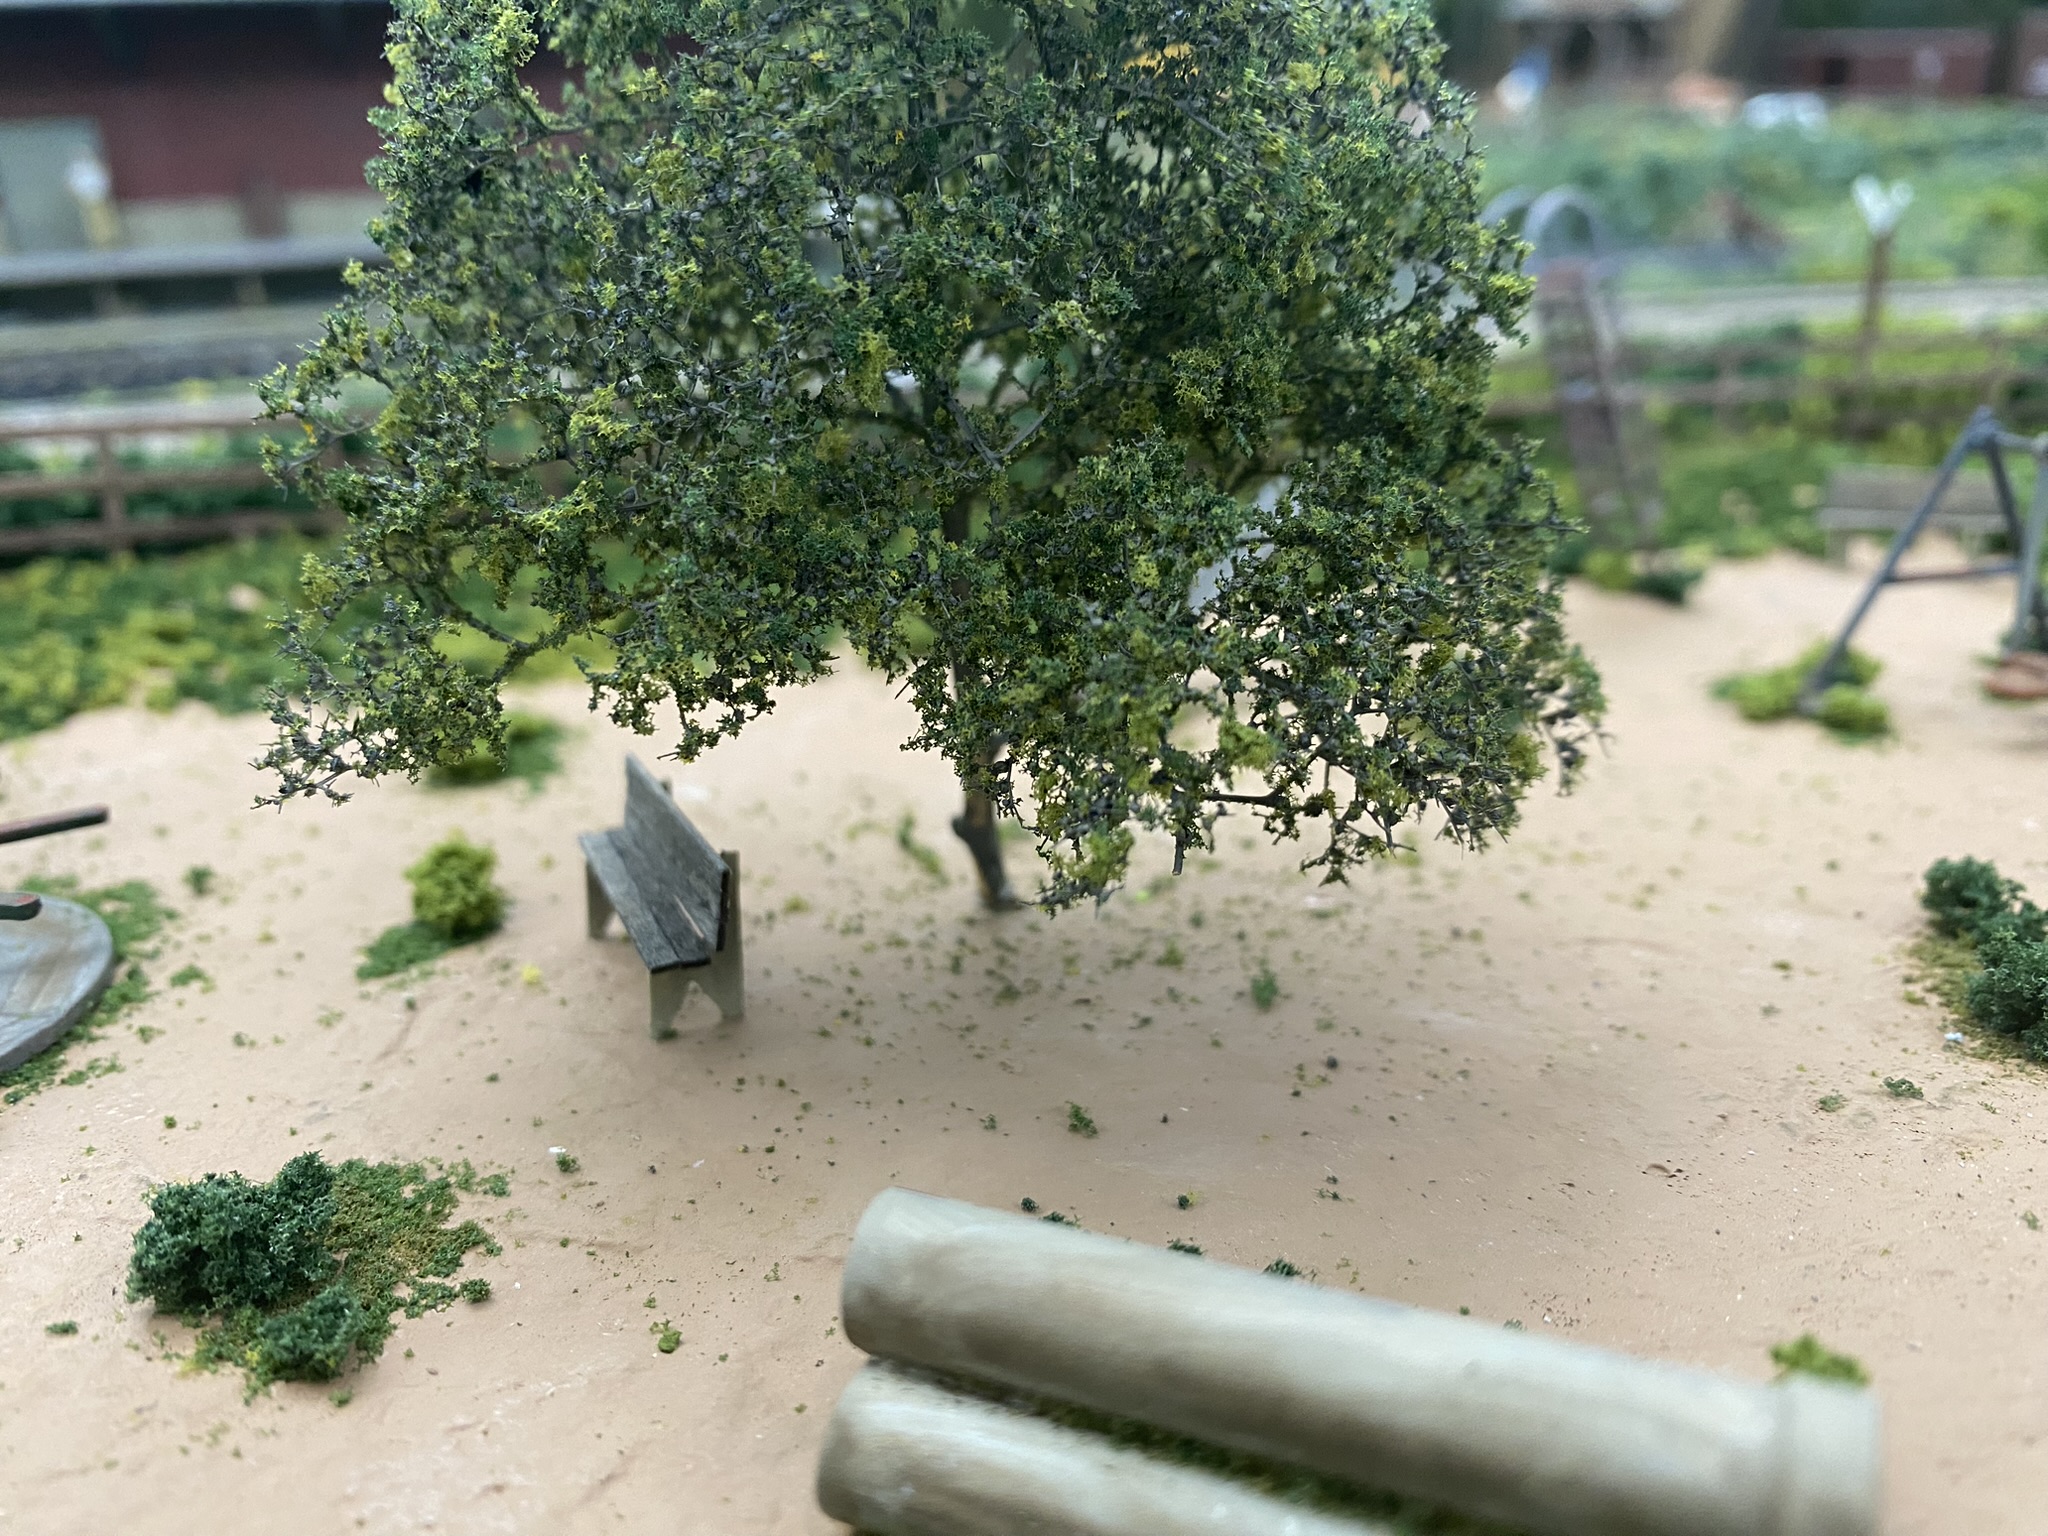
Bench under tree in playground
area |
Scenery Area 3
Scenery Area 3 includes three large industrial buildings which are located on the south side of the peinsula which juts out into the layout room from the NW corner of the room. This section is still a work in progress as i have not finished all three buildings at this time 8/20/26.
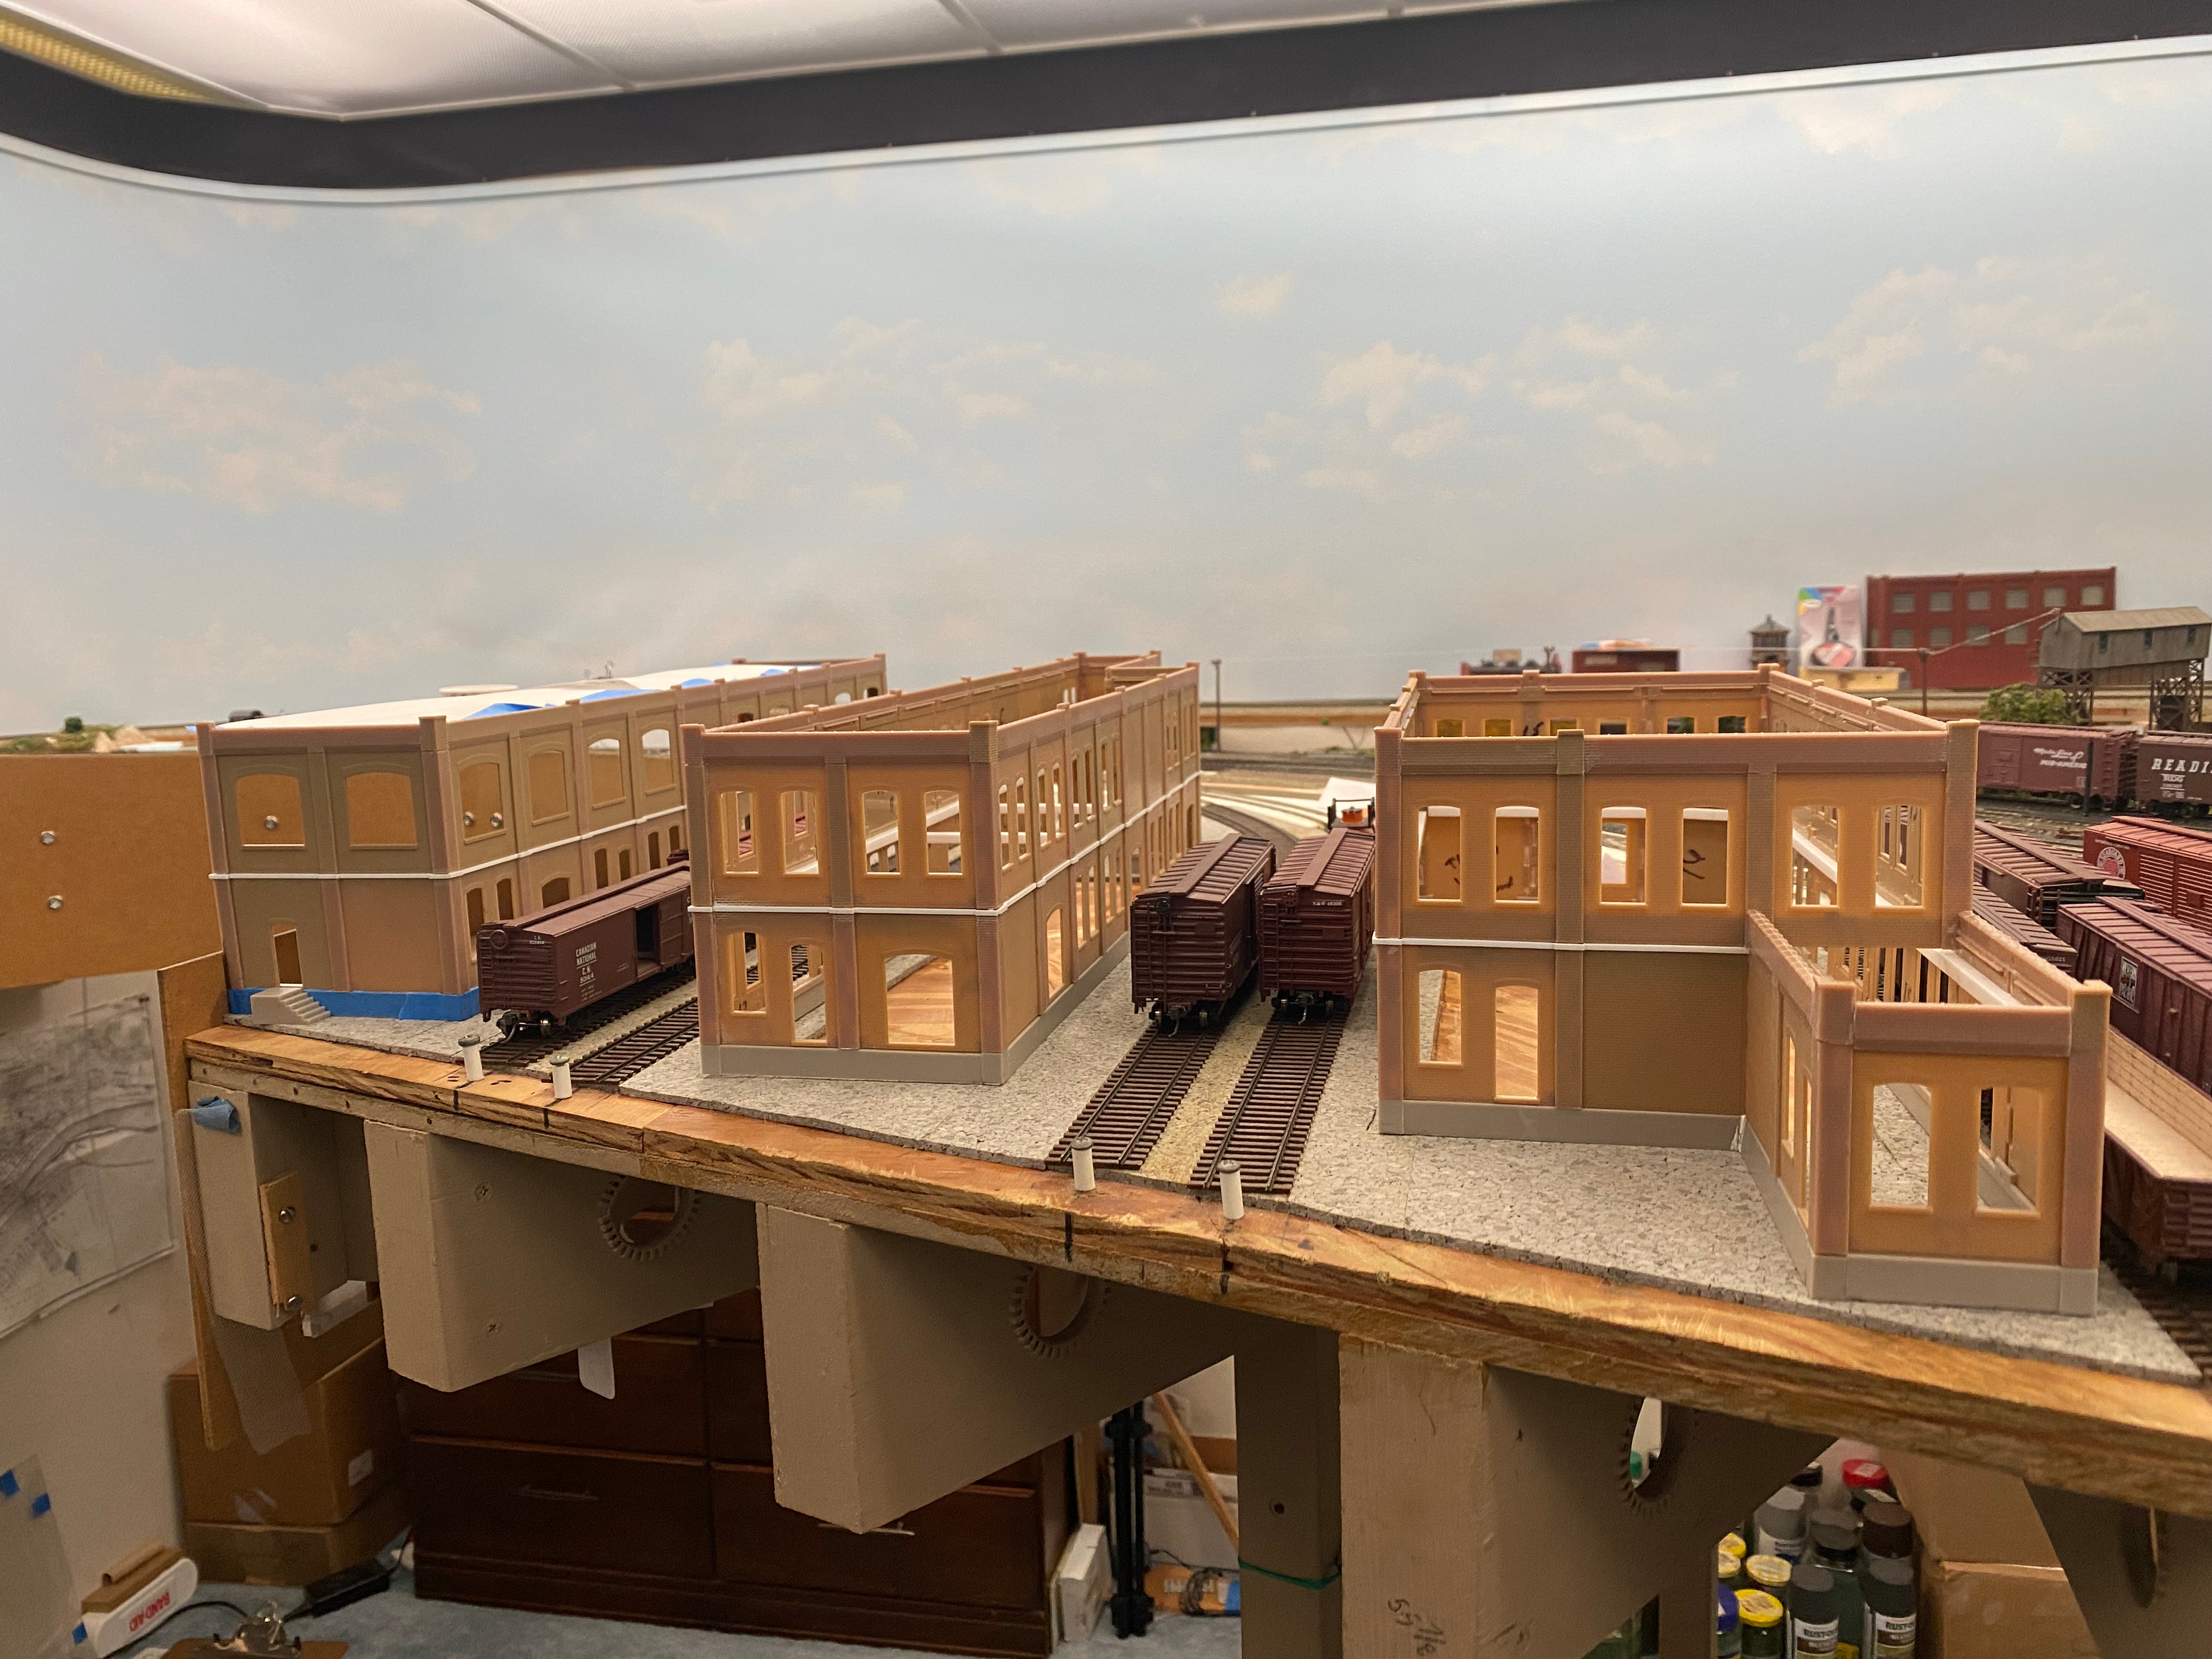
Three large unweathered
industrial buildings as
seen from the near
side of the peninsula |
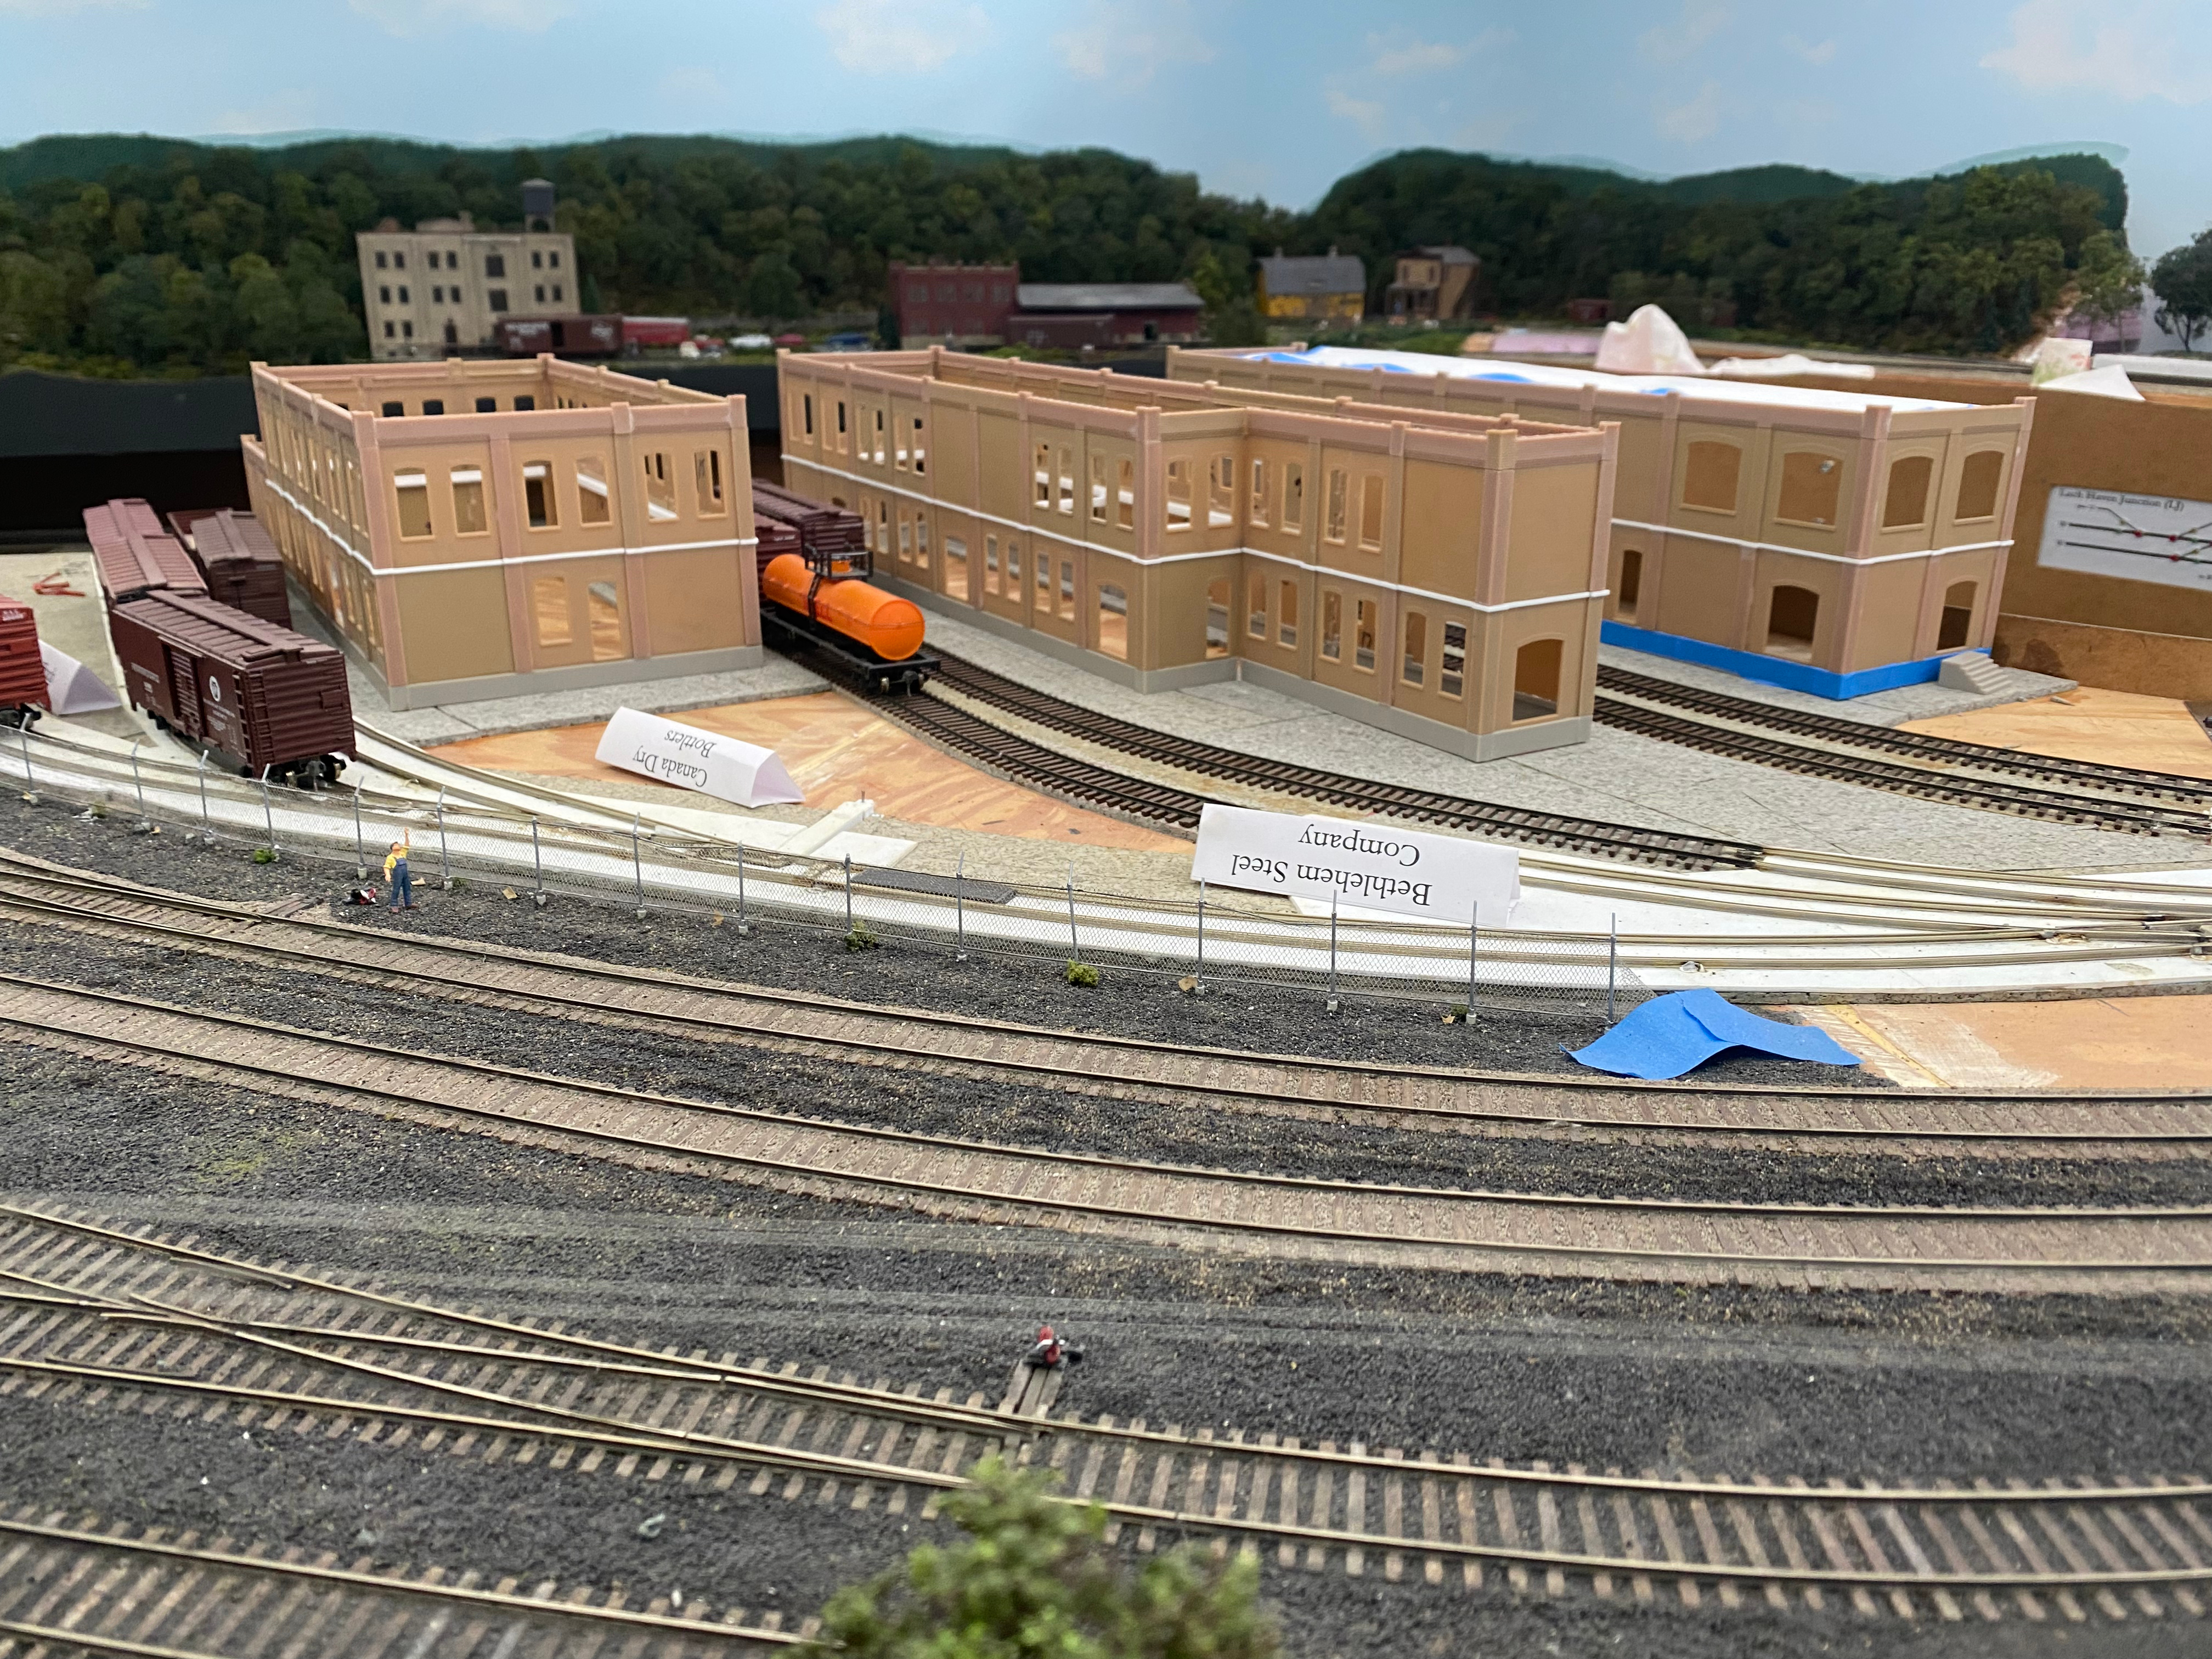
Three large unweathered
industrial buildings as
seen from across
the peninsula |
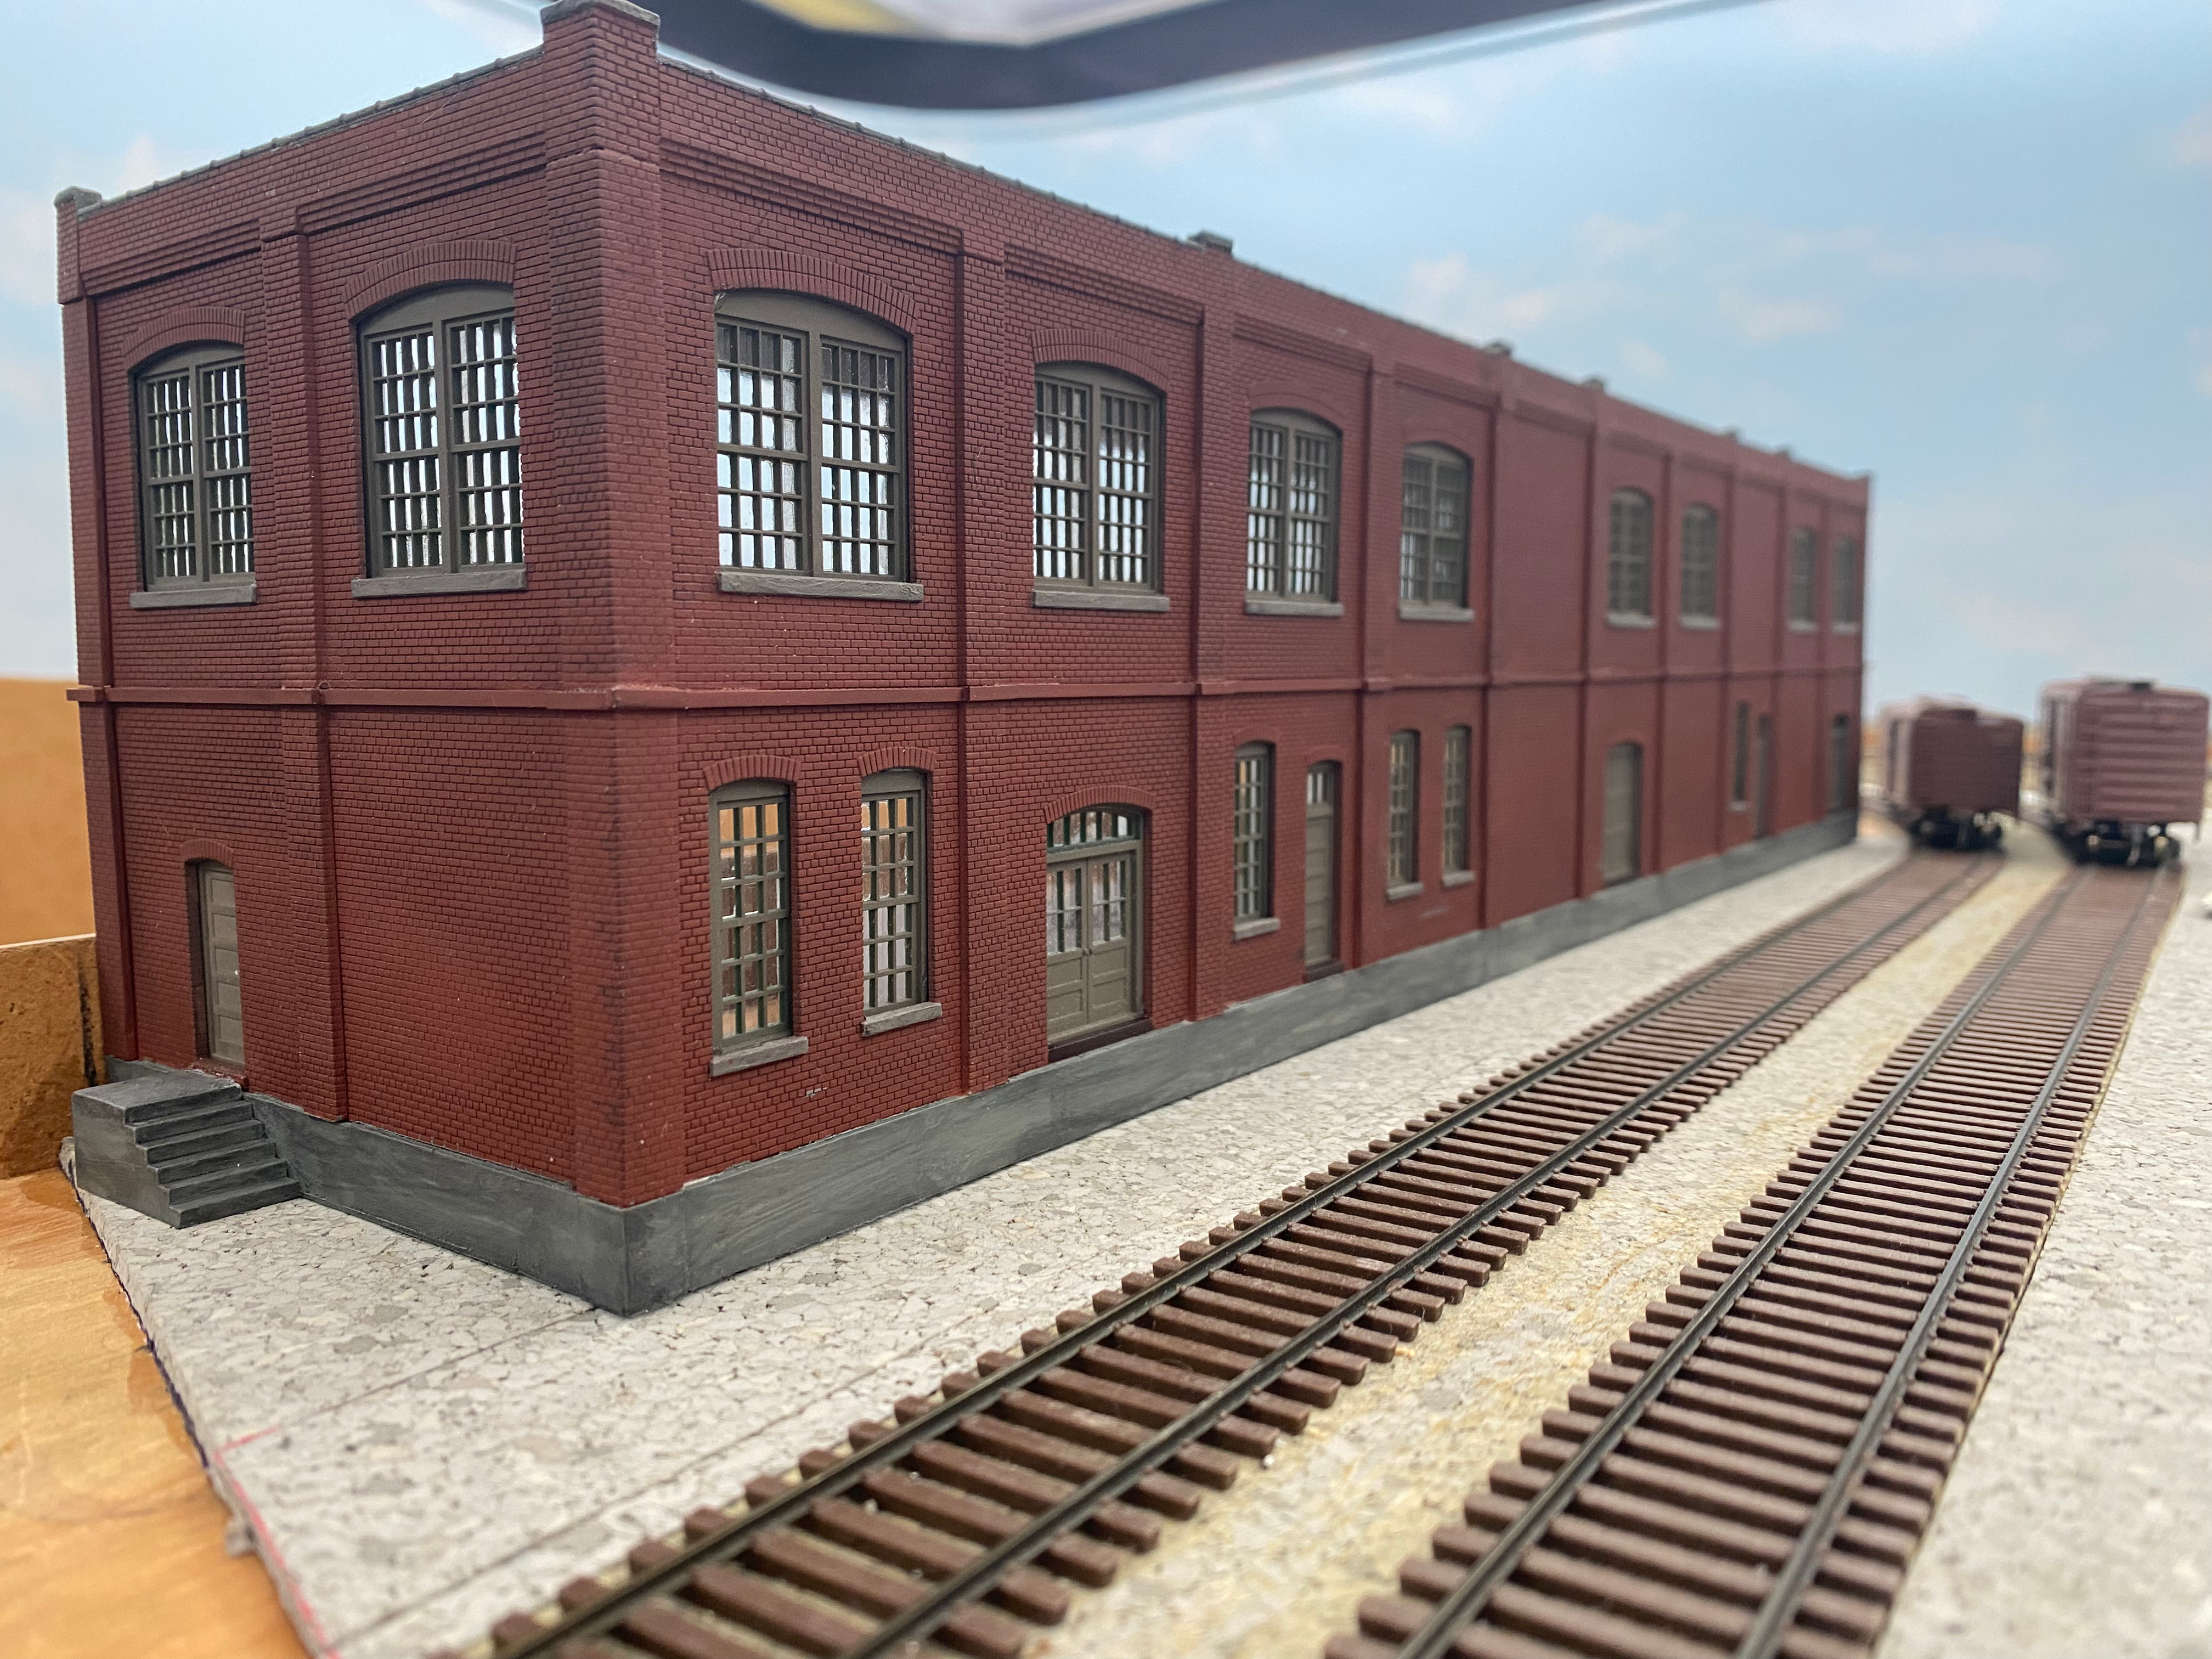
Initial placement of the
Williamsport Sun-Gazette
and Sears Roebuck shared
building |
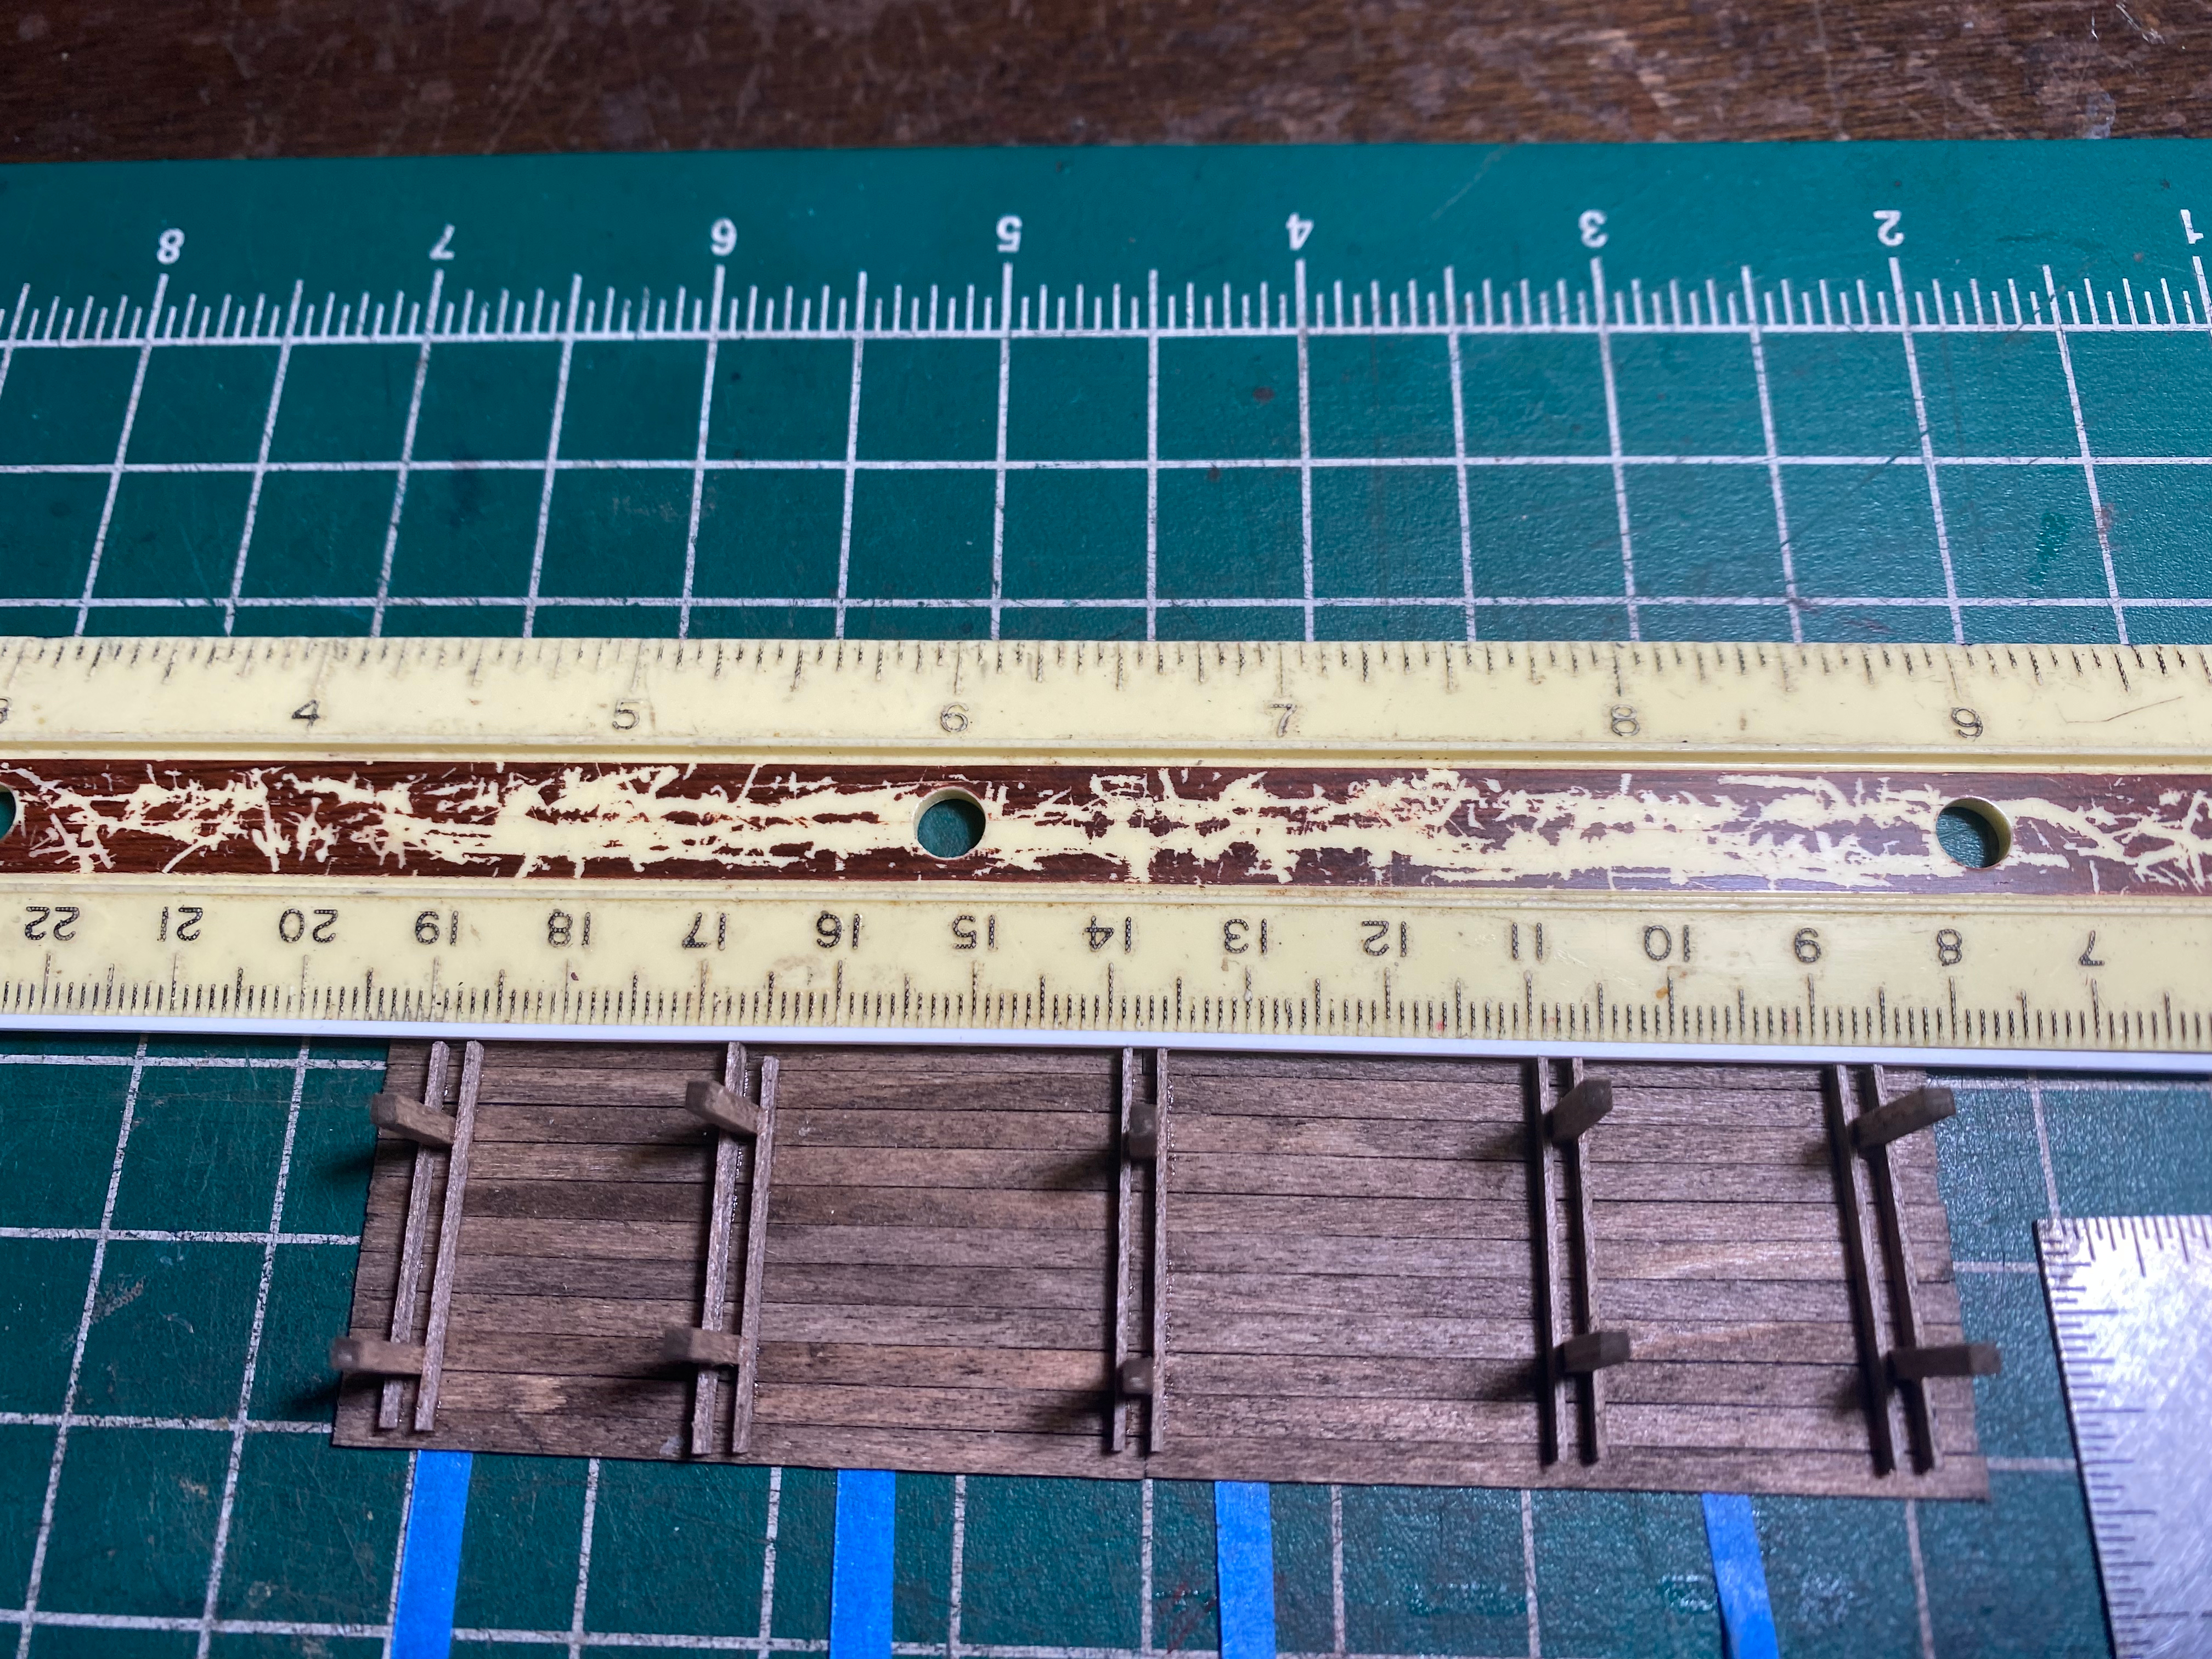
Loading dock construction
process |
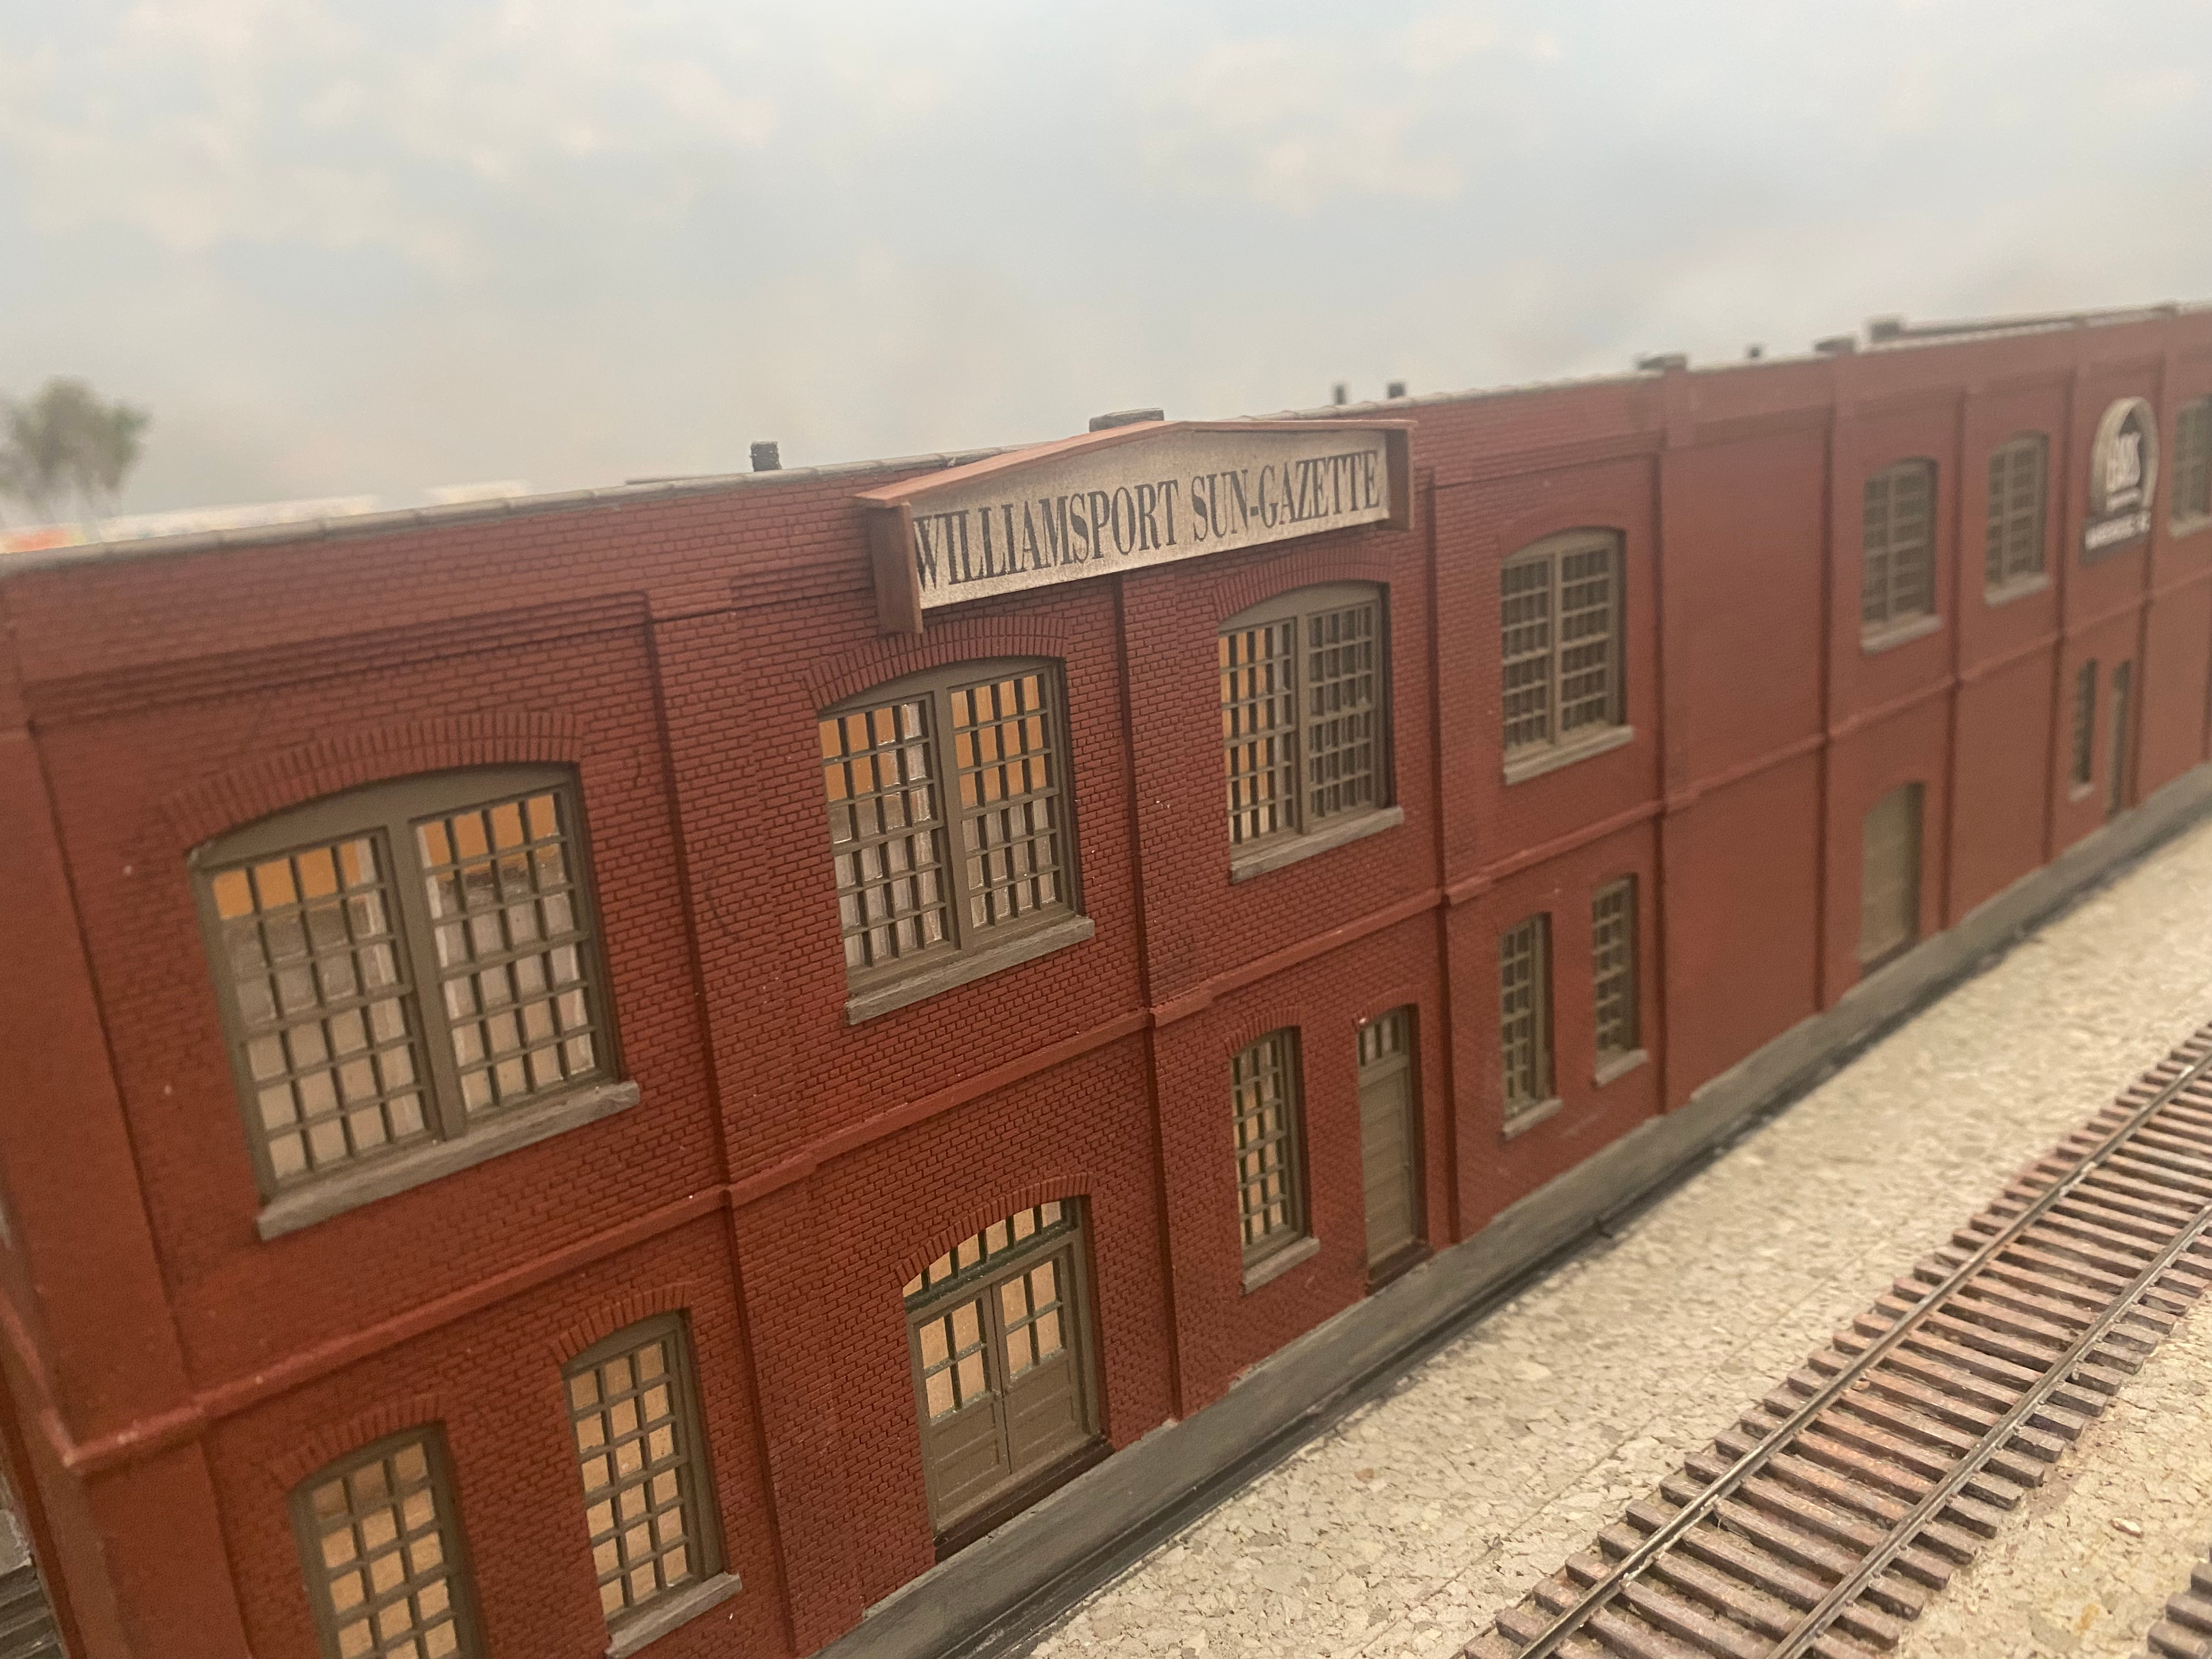
Finished Williamsport Sun-
Gazette and Sears Roebuck
shared building |
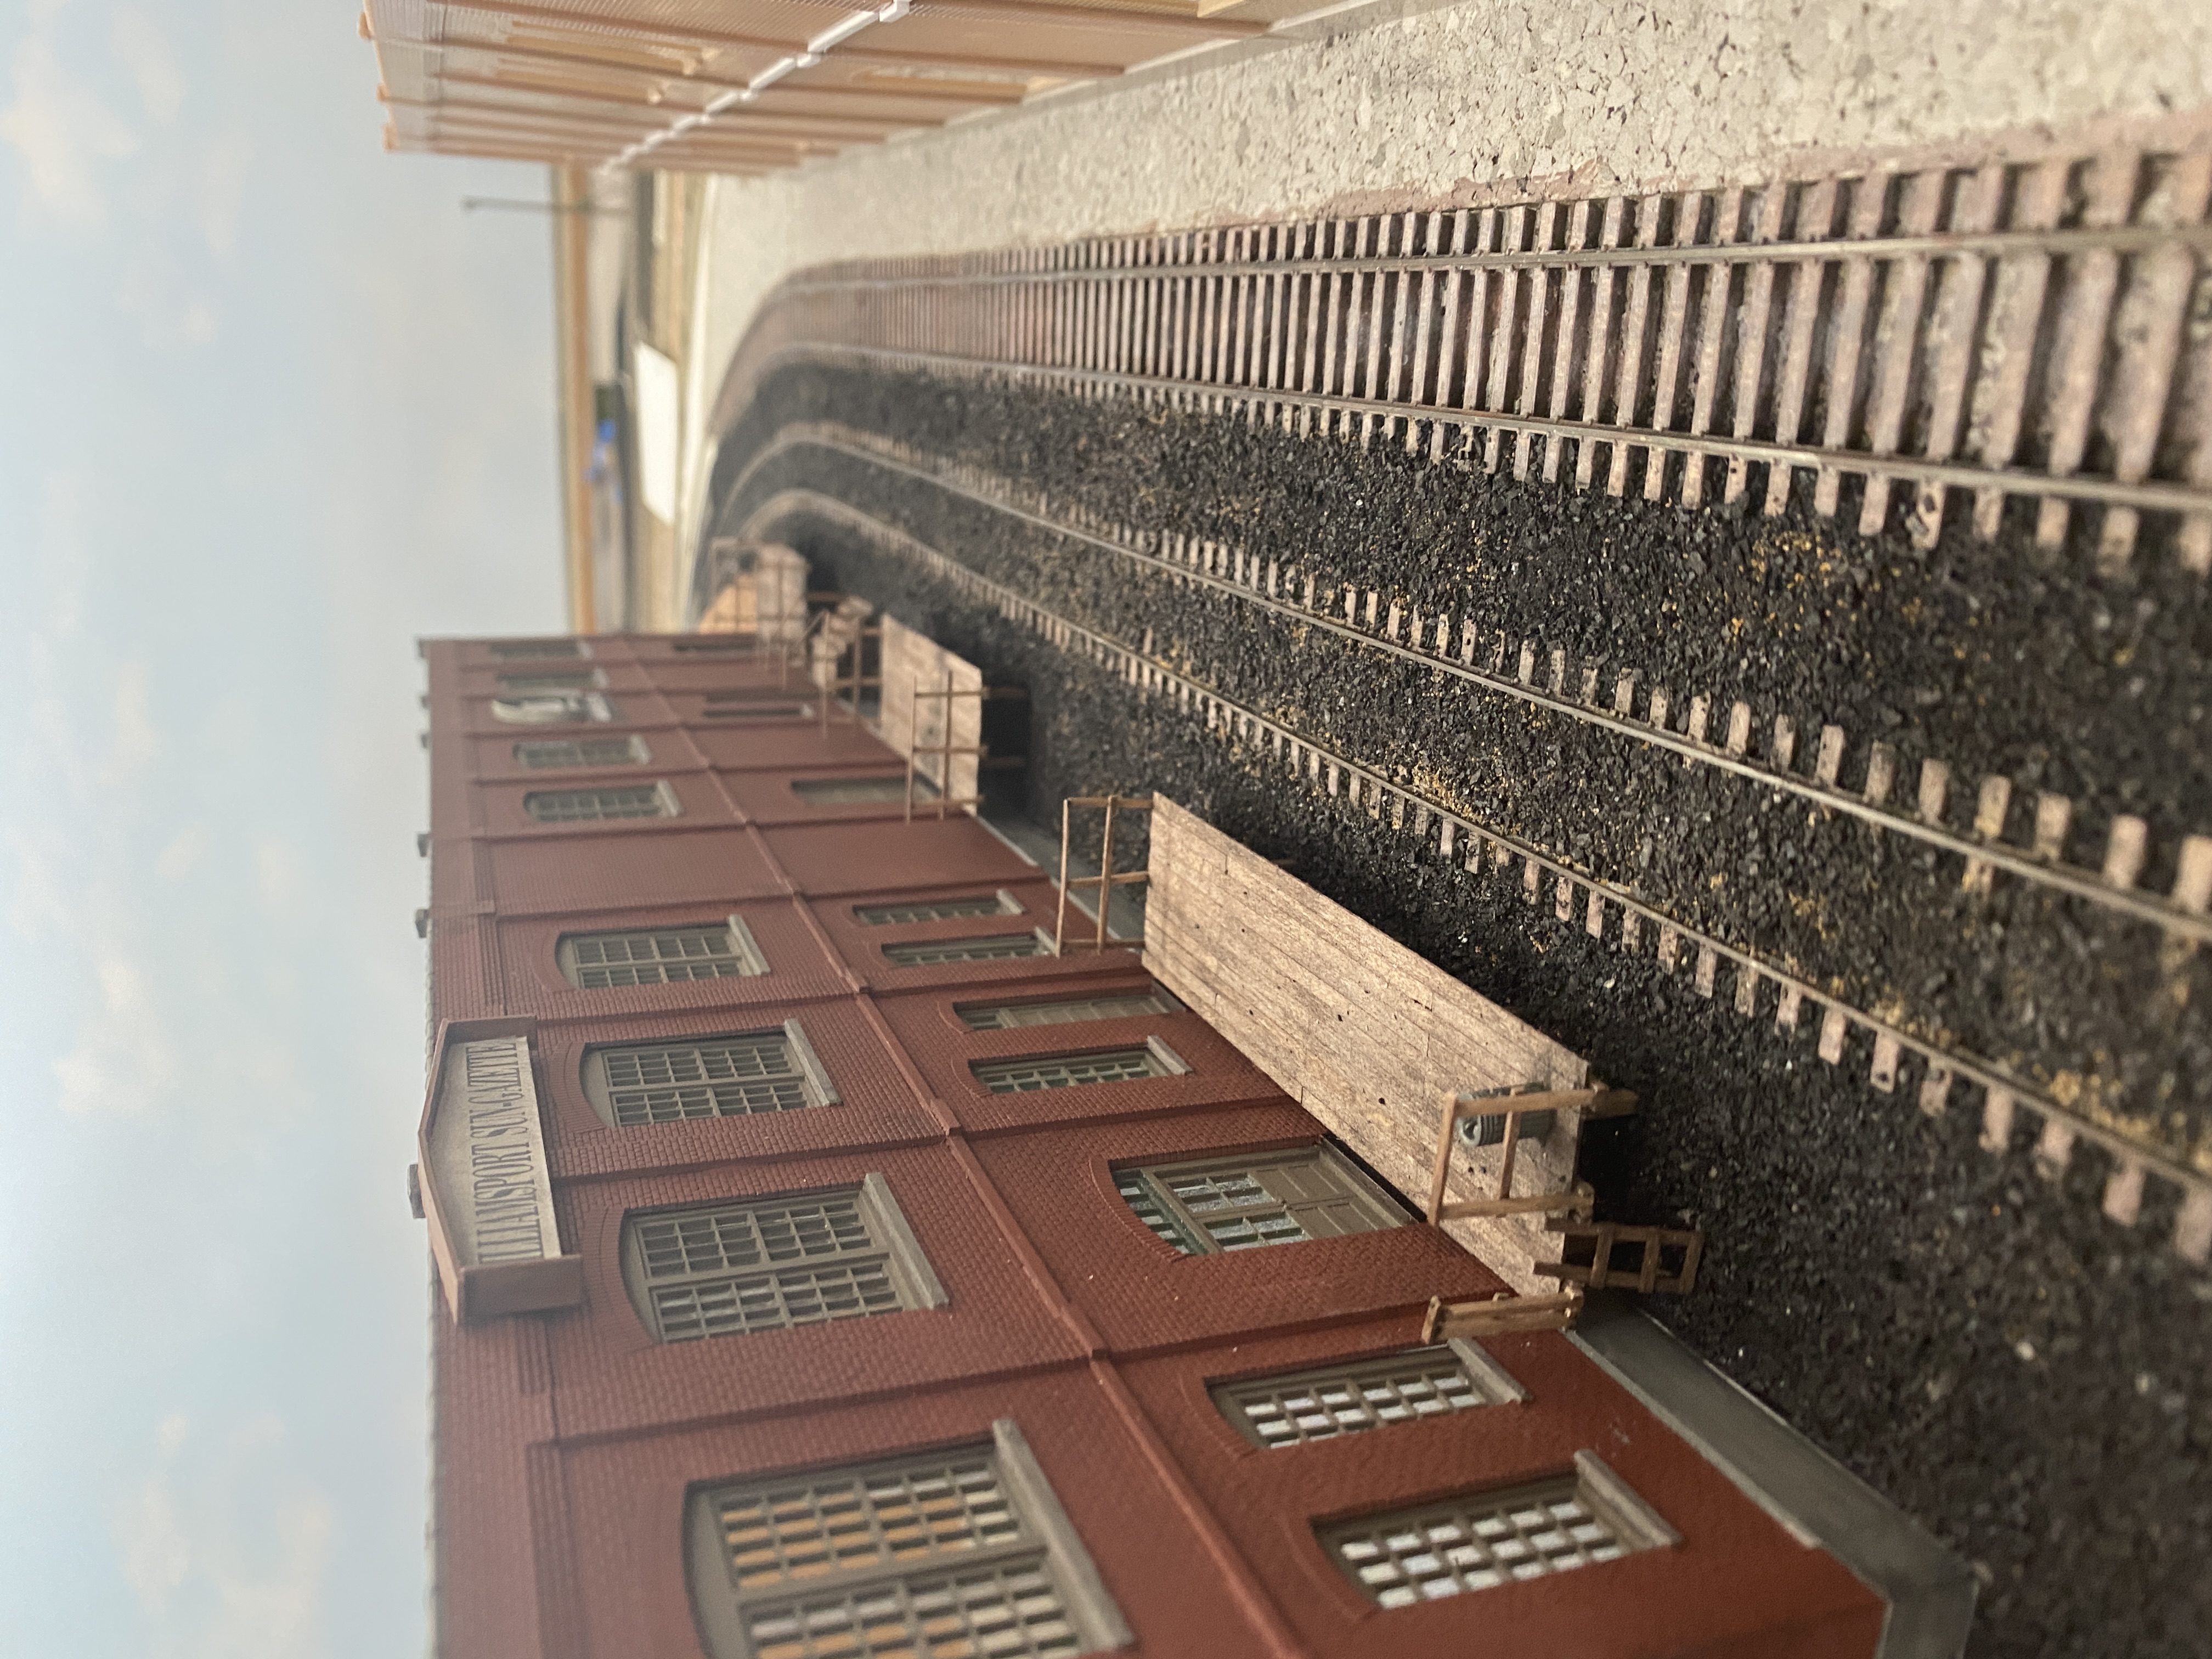
Williamsport Sun-Gazetette and
Sears Roebuck building with loading
docks installed |
Scenery Area 4
Scenery Area 4 is a montage of pictures illustrating how I developed the mountains that go along a 7-foot long section the west wall of the layout room.These mountains are exactly like the mountains I've installed on other areas of the layout. The tree construction process is summarized on the Construction page of this web site. I have eliminated some of the steps in the process shown there. Overall I am exceedingly pleased with how all the mountains surrounding Williamsport, PA have come out.
The base of the mountains is made of stacked pieces of 0.5", 0.75", and 1.0" thick foam insulation board. I shape the pieces of foam insulation board with a coarse rasp or a hot wire gun. I use Liquid Nail Panel Adhesive for securing the layers of foam insulation board together as I make the mountains. I use Sculptamold, a paper-mache like product, to creat the ground layer for the mountains. After the Sculptamold has thoroughly dried I paint the ground with a paint that is color matched to the ground I photographed near Hershey, PA a long tme ago.The dark painted area above the mountains in the second row of photos represents the dense forest behind my trees where I hand painted trees ddirectly on the backdrop. Above that dark area is somewhat lighter colored paint representing far off mountain ridges. I use Timberline Scenery - Forest Floor and various colors of Woodland Scenics Clump-Foliage as my ground cover.
Instead of showing all the photos I have I've selected serveral showing the various steps of my mountain making process and have roughly divided the 7-foot long stretch into 4 ontiguous areas.
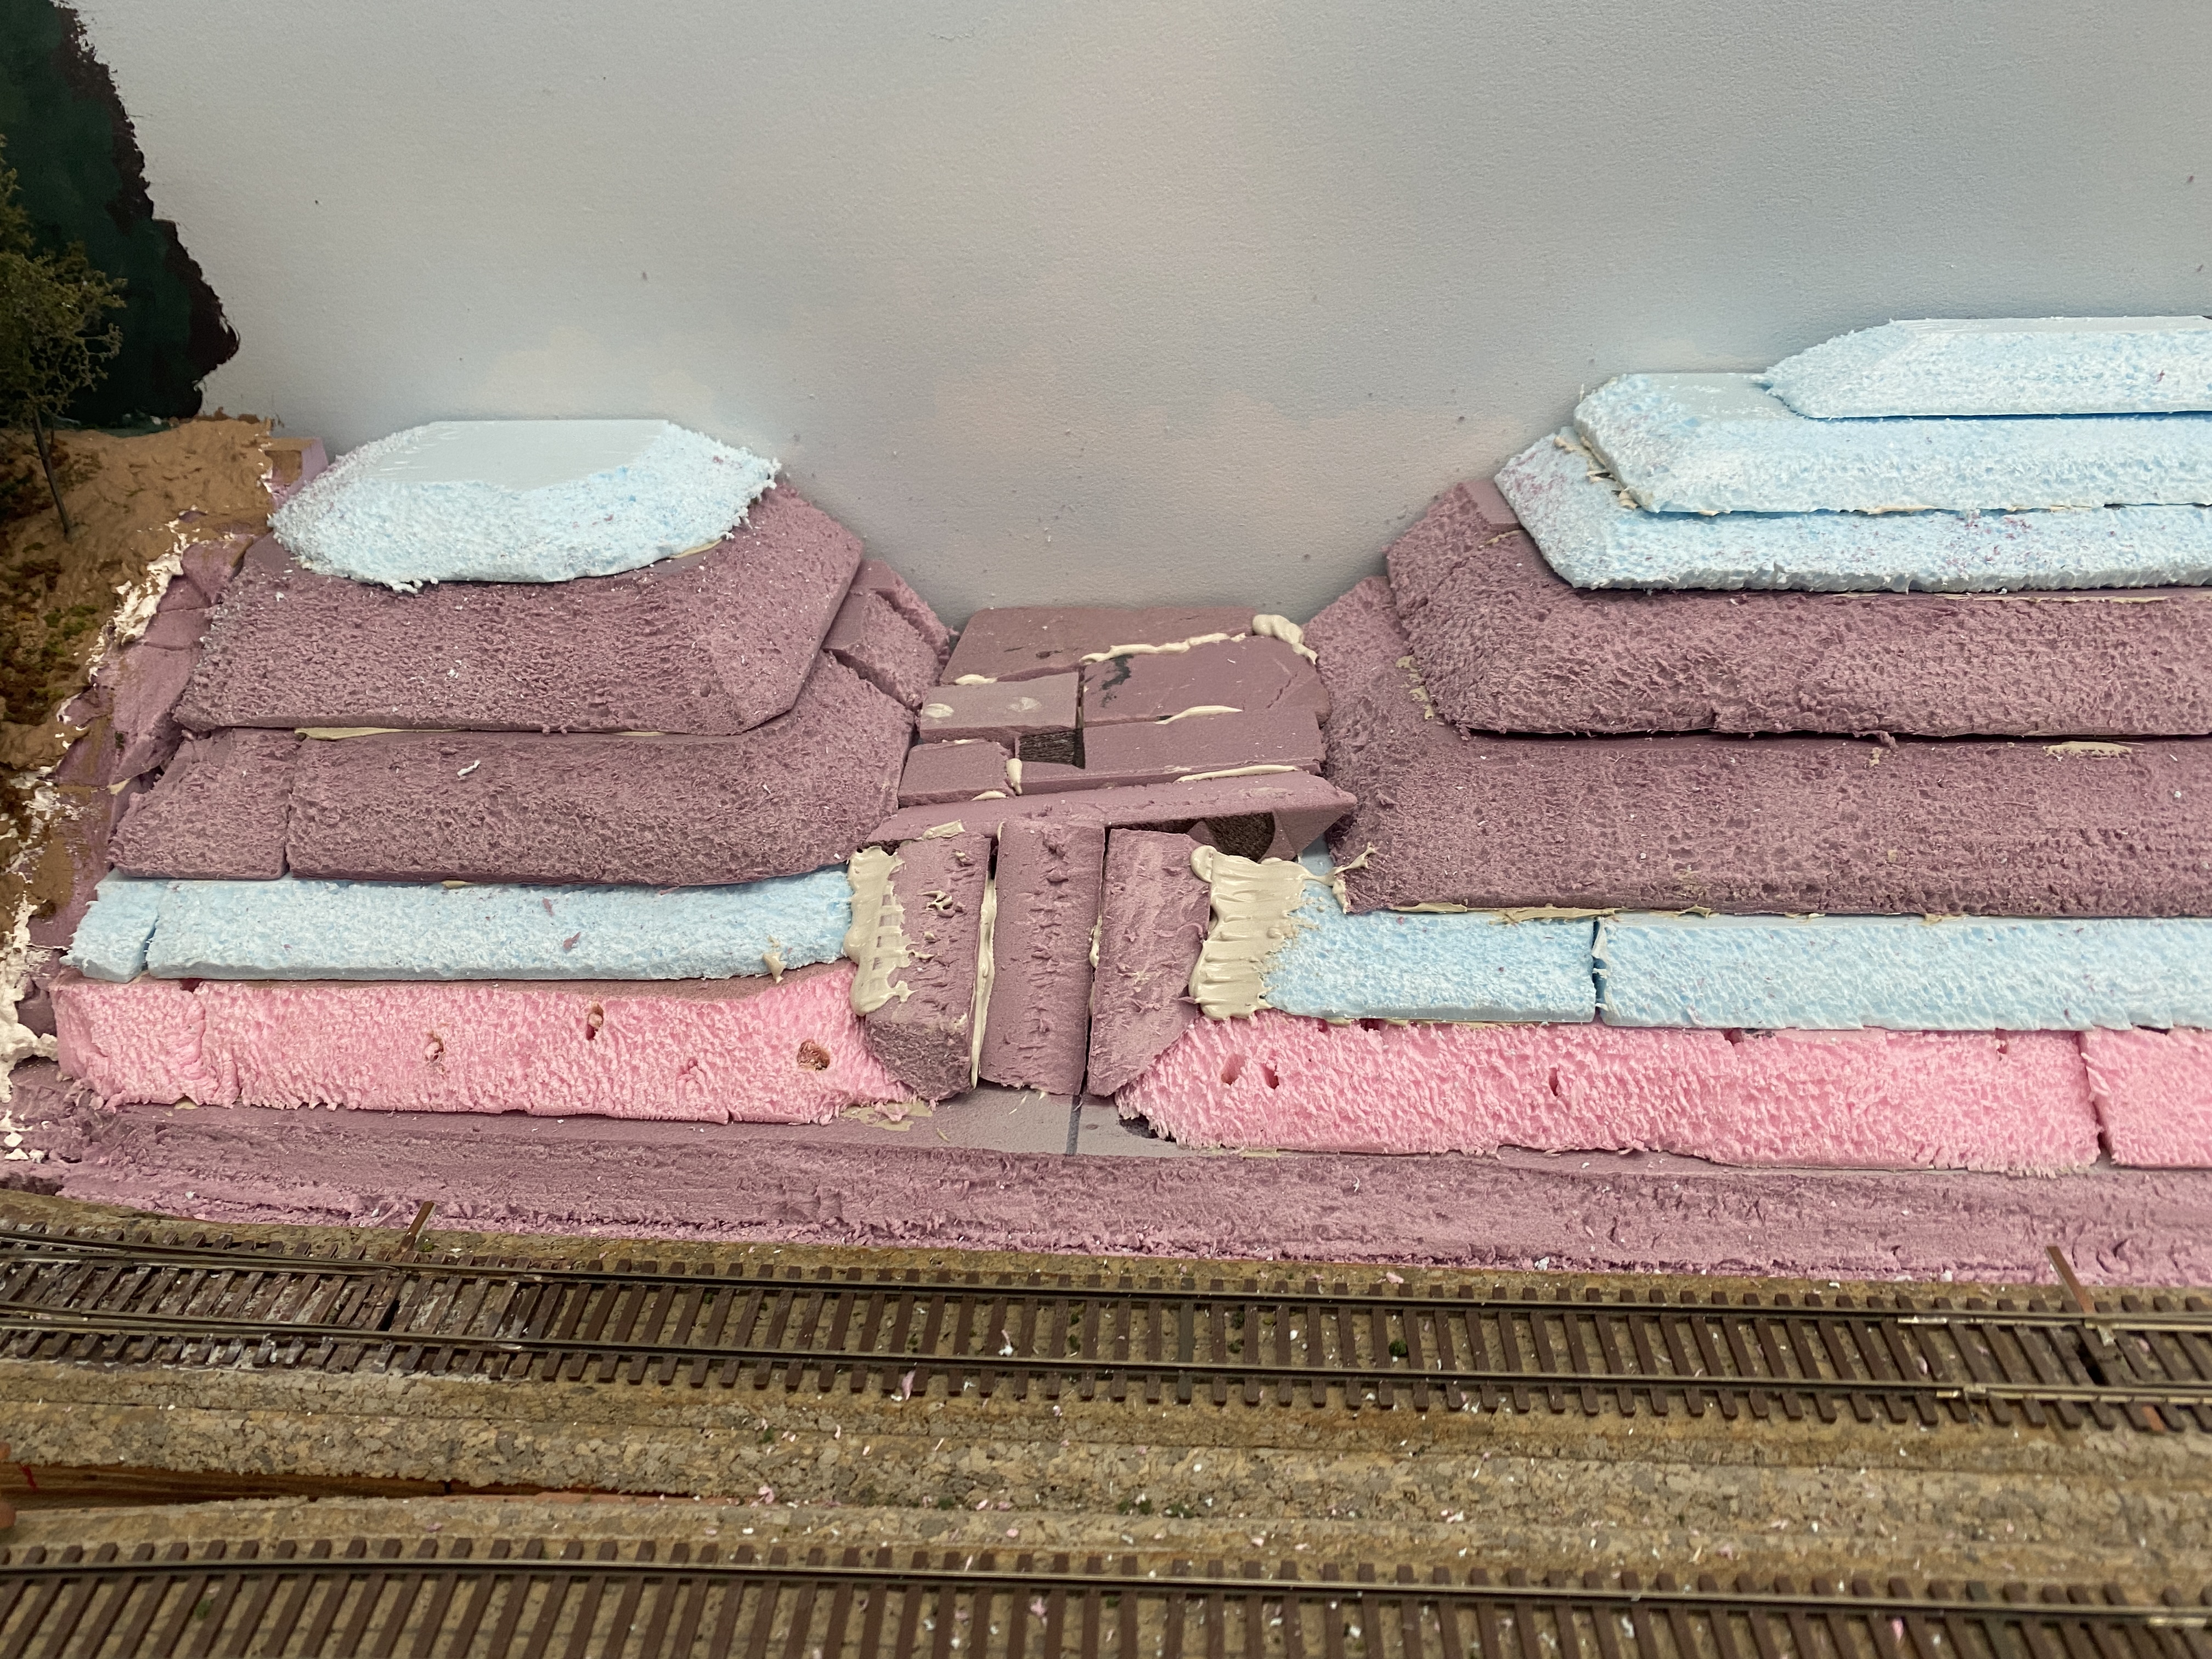
Mountain profile with
foam insulation board,
area 1 |
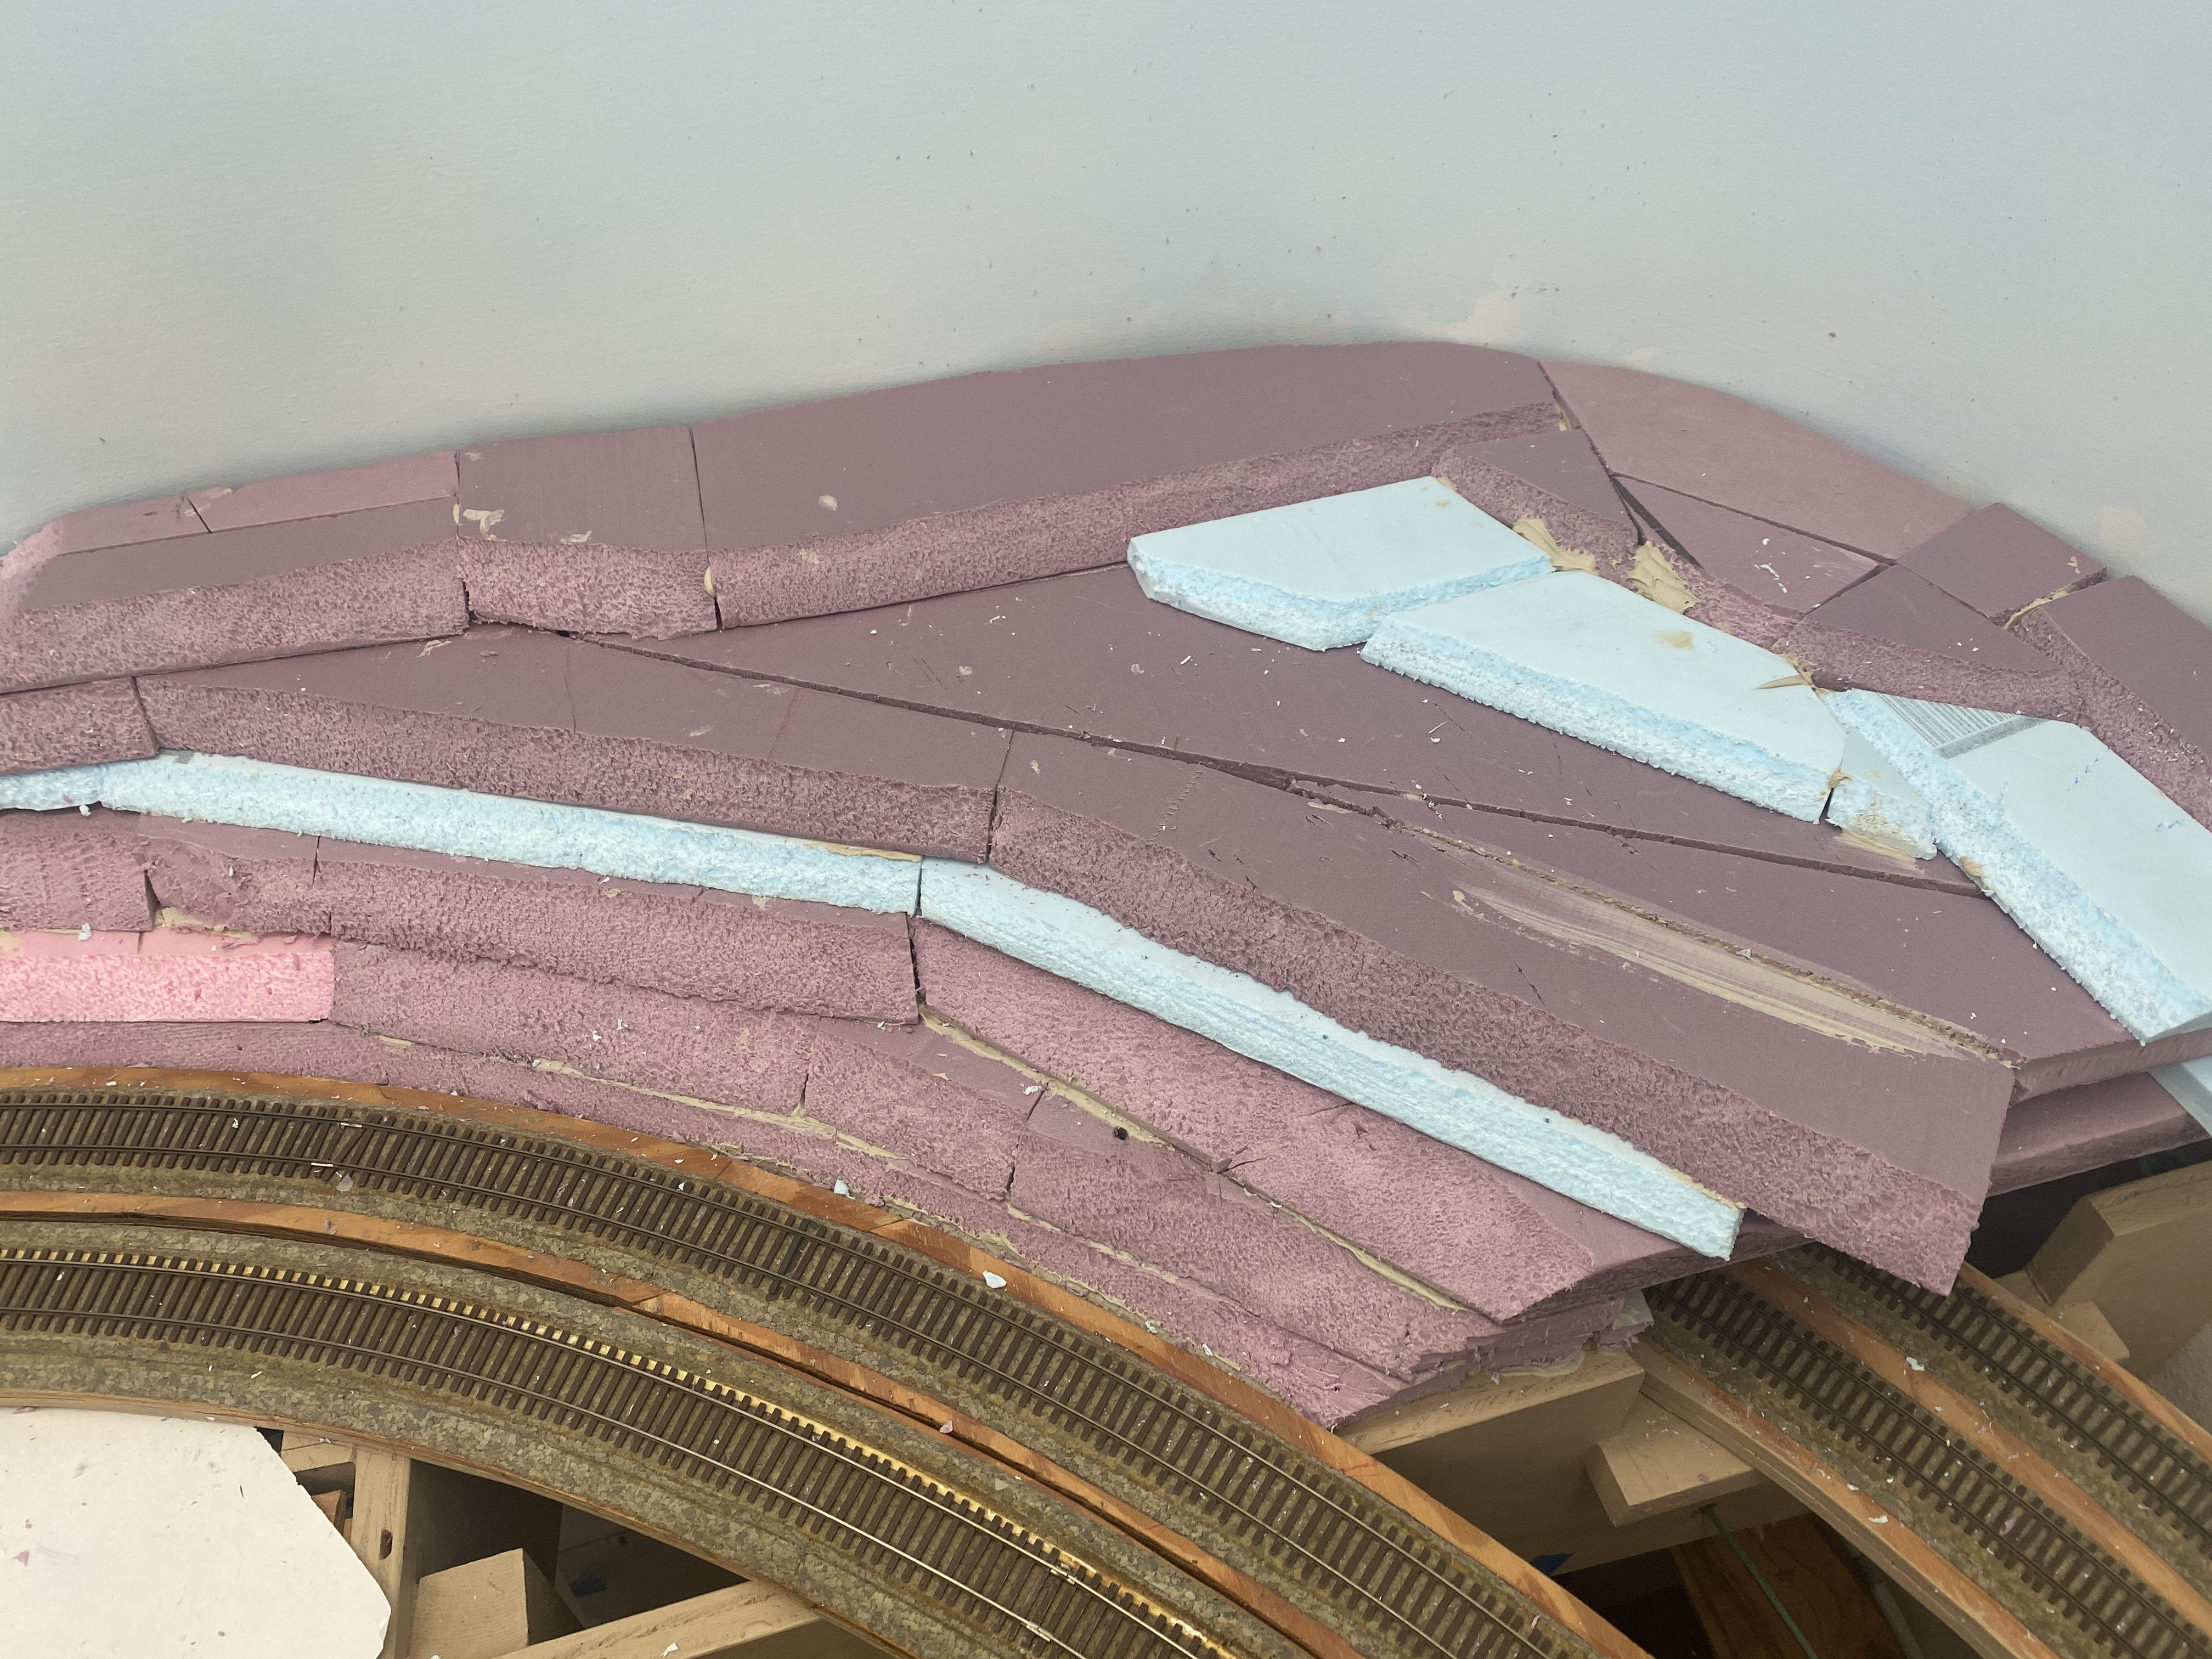
Same as previous, area 4 |
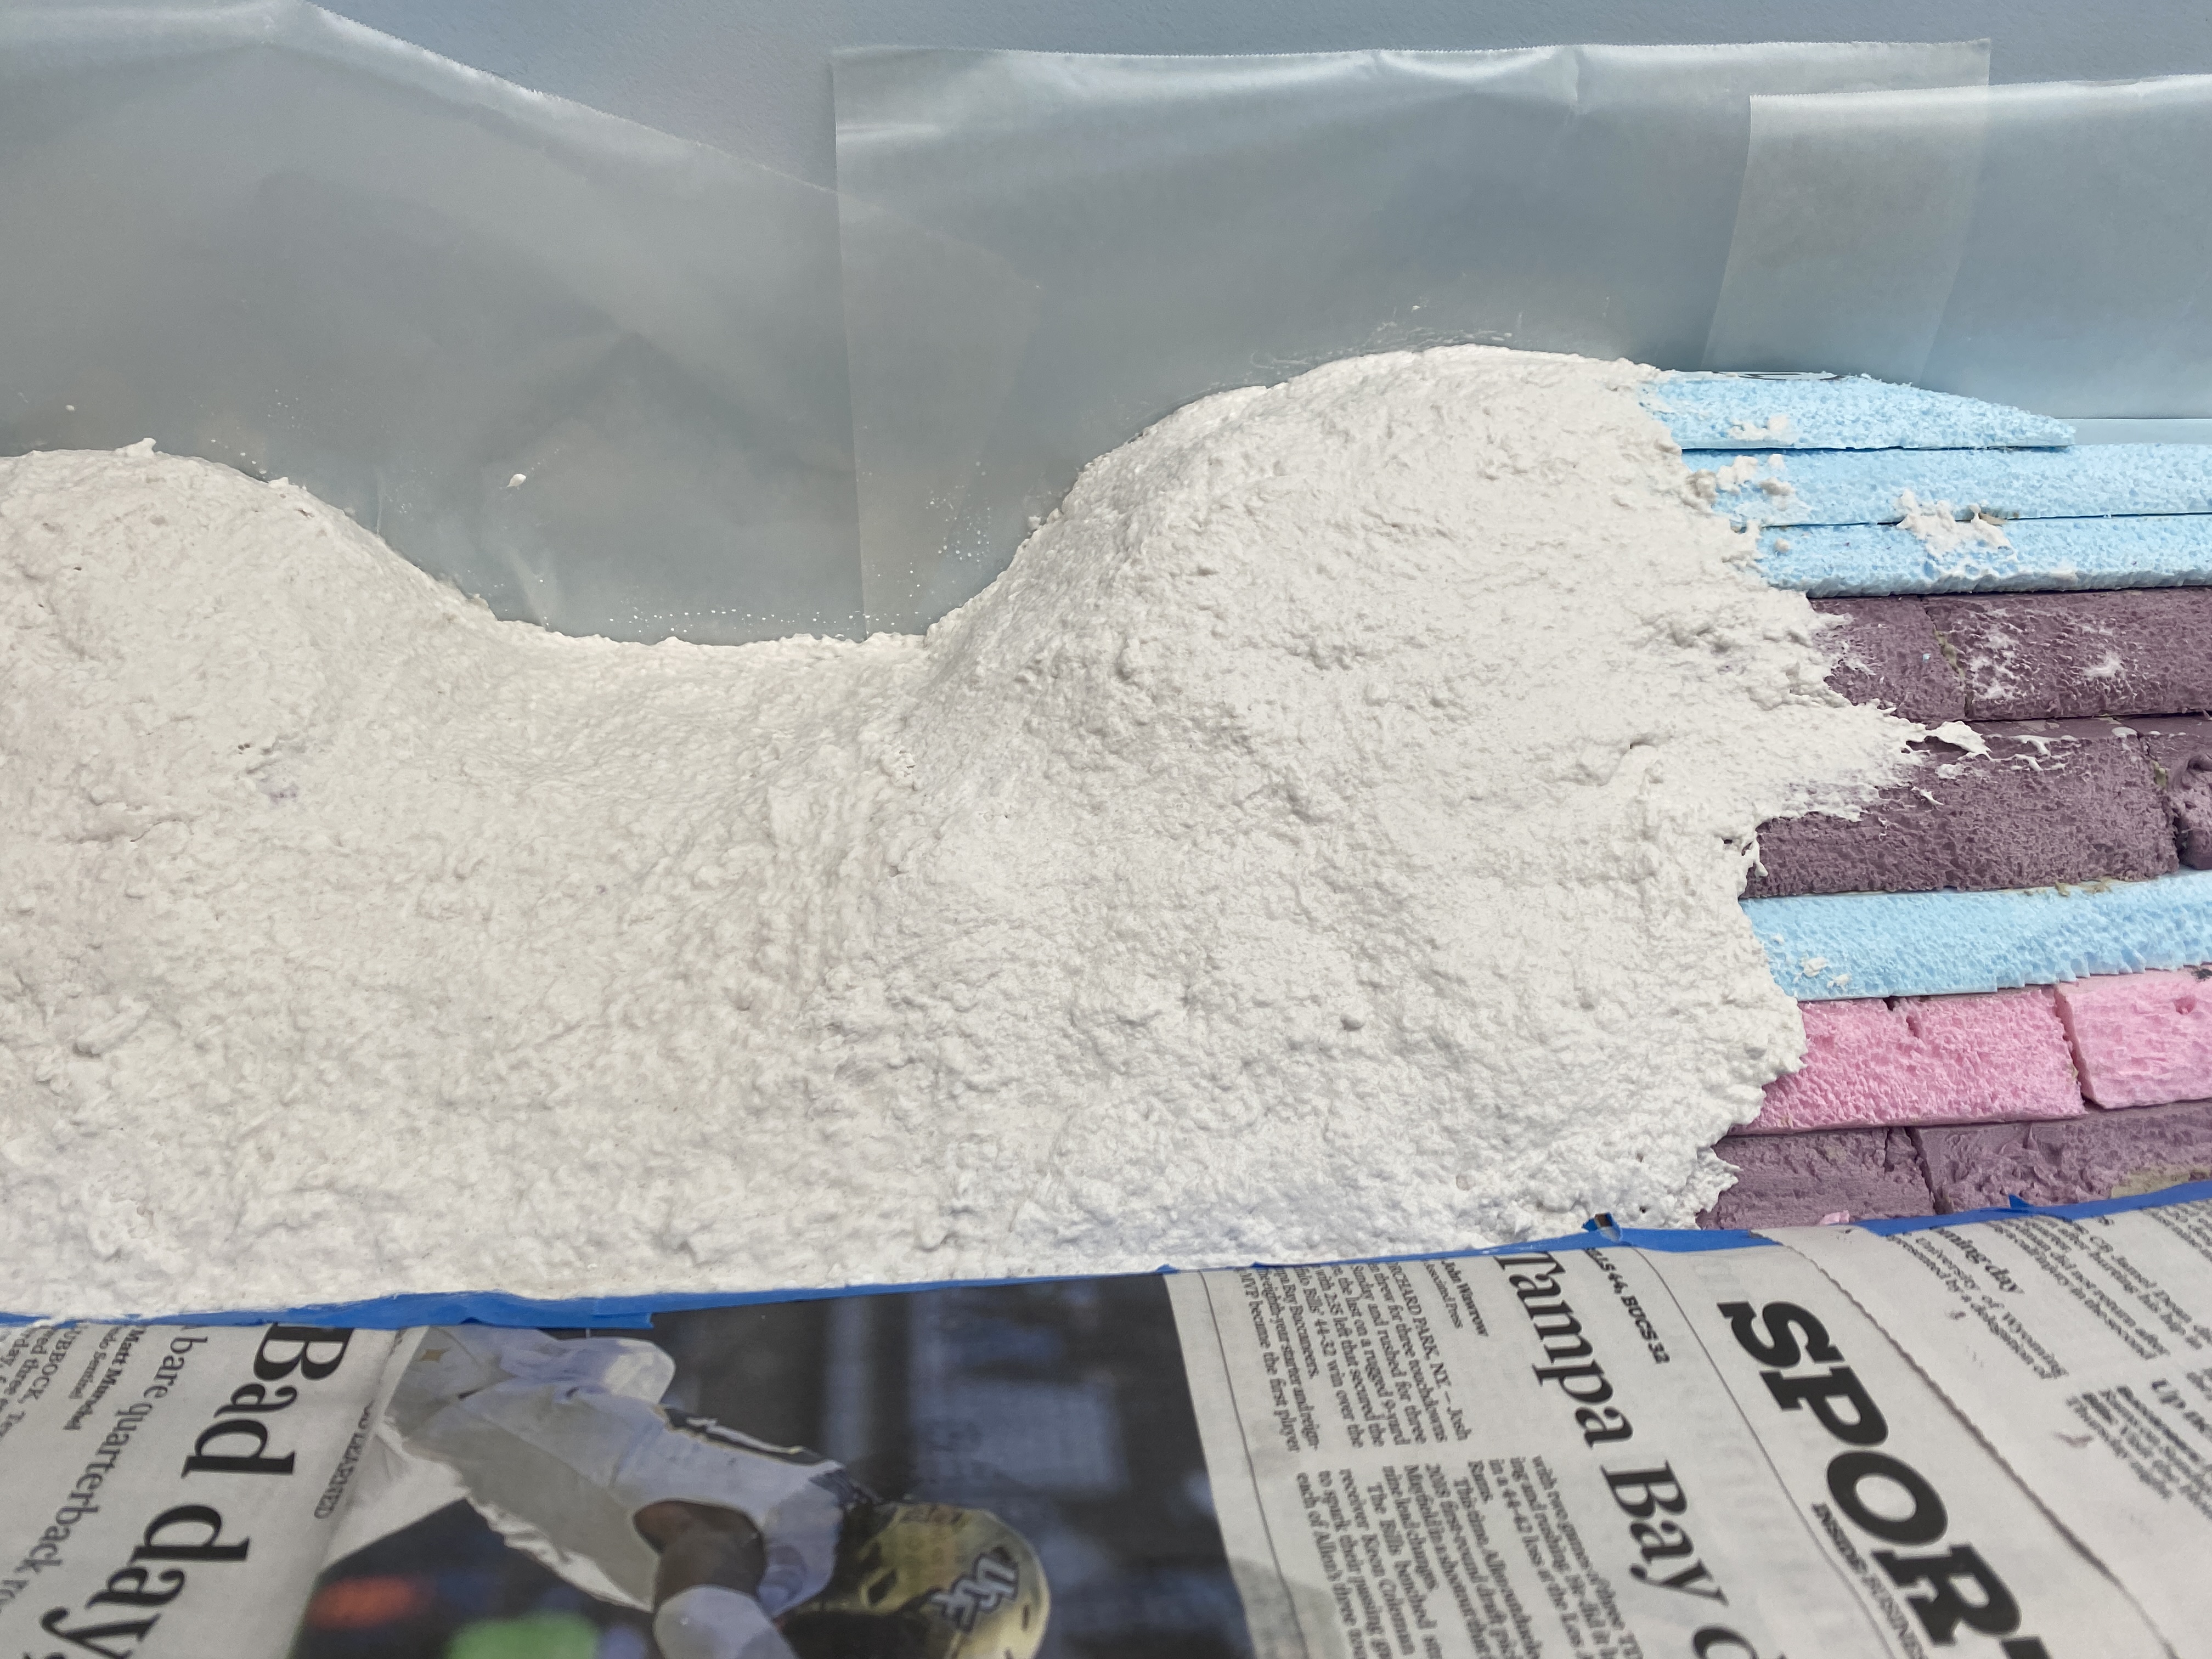
Initial installation of
Sculptamold, area 1 |
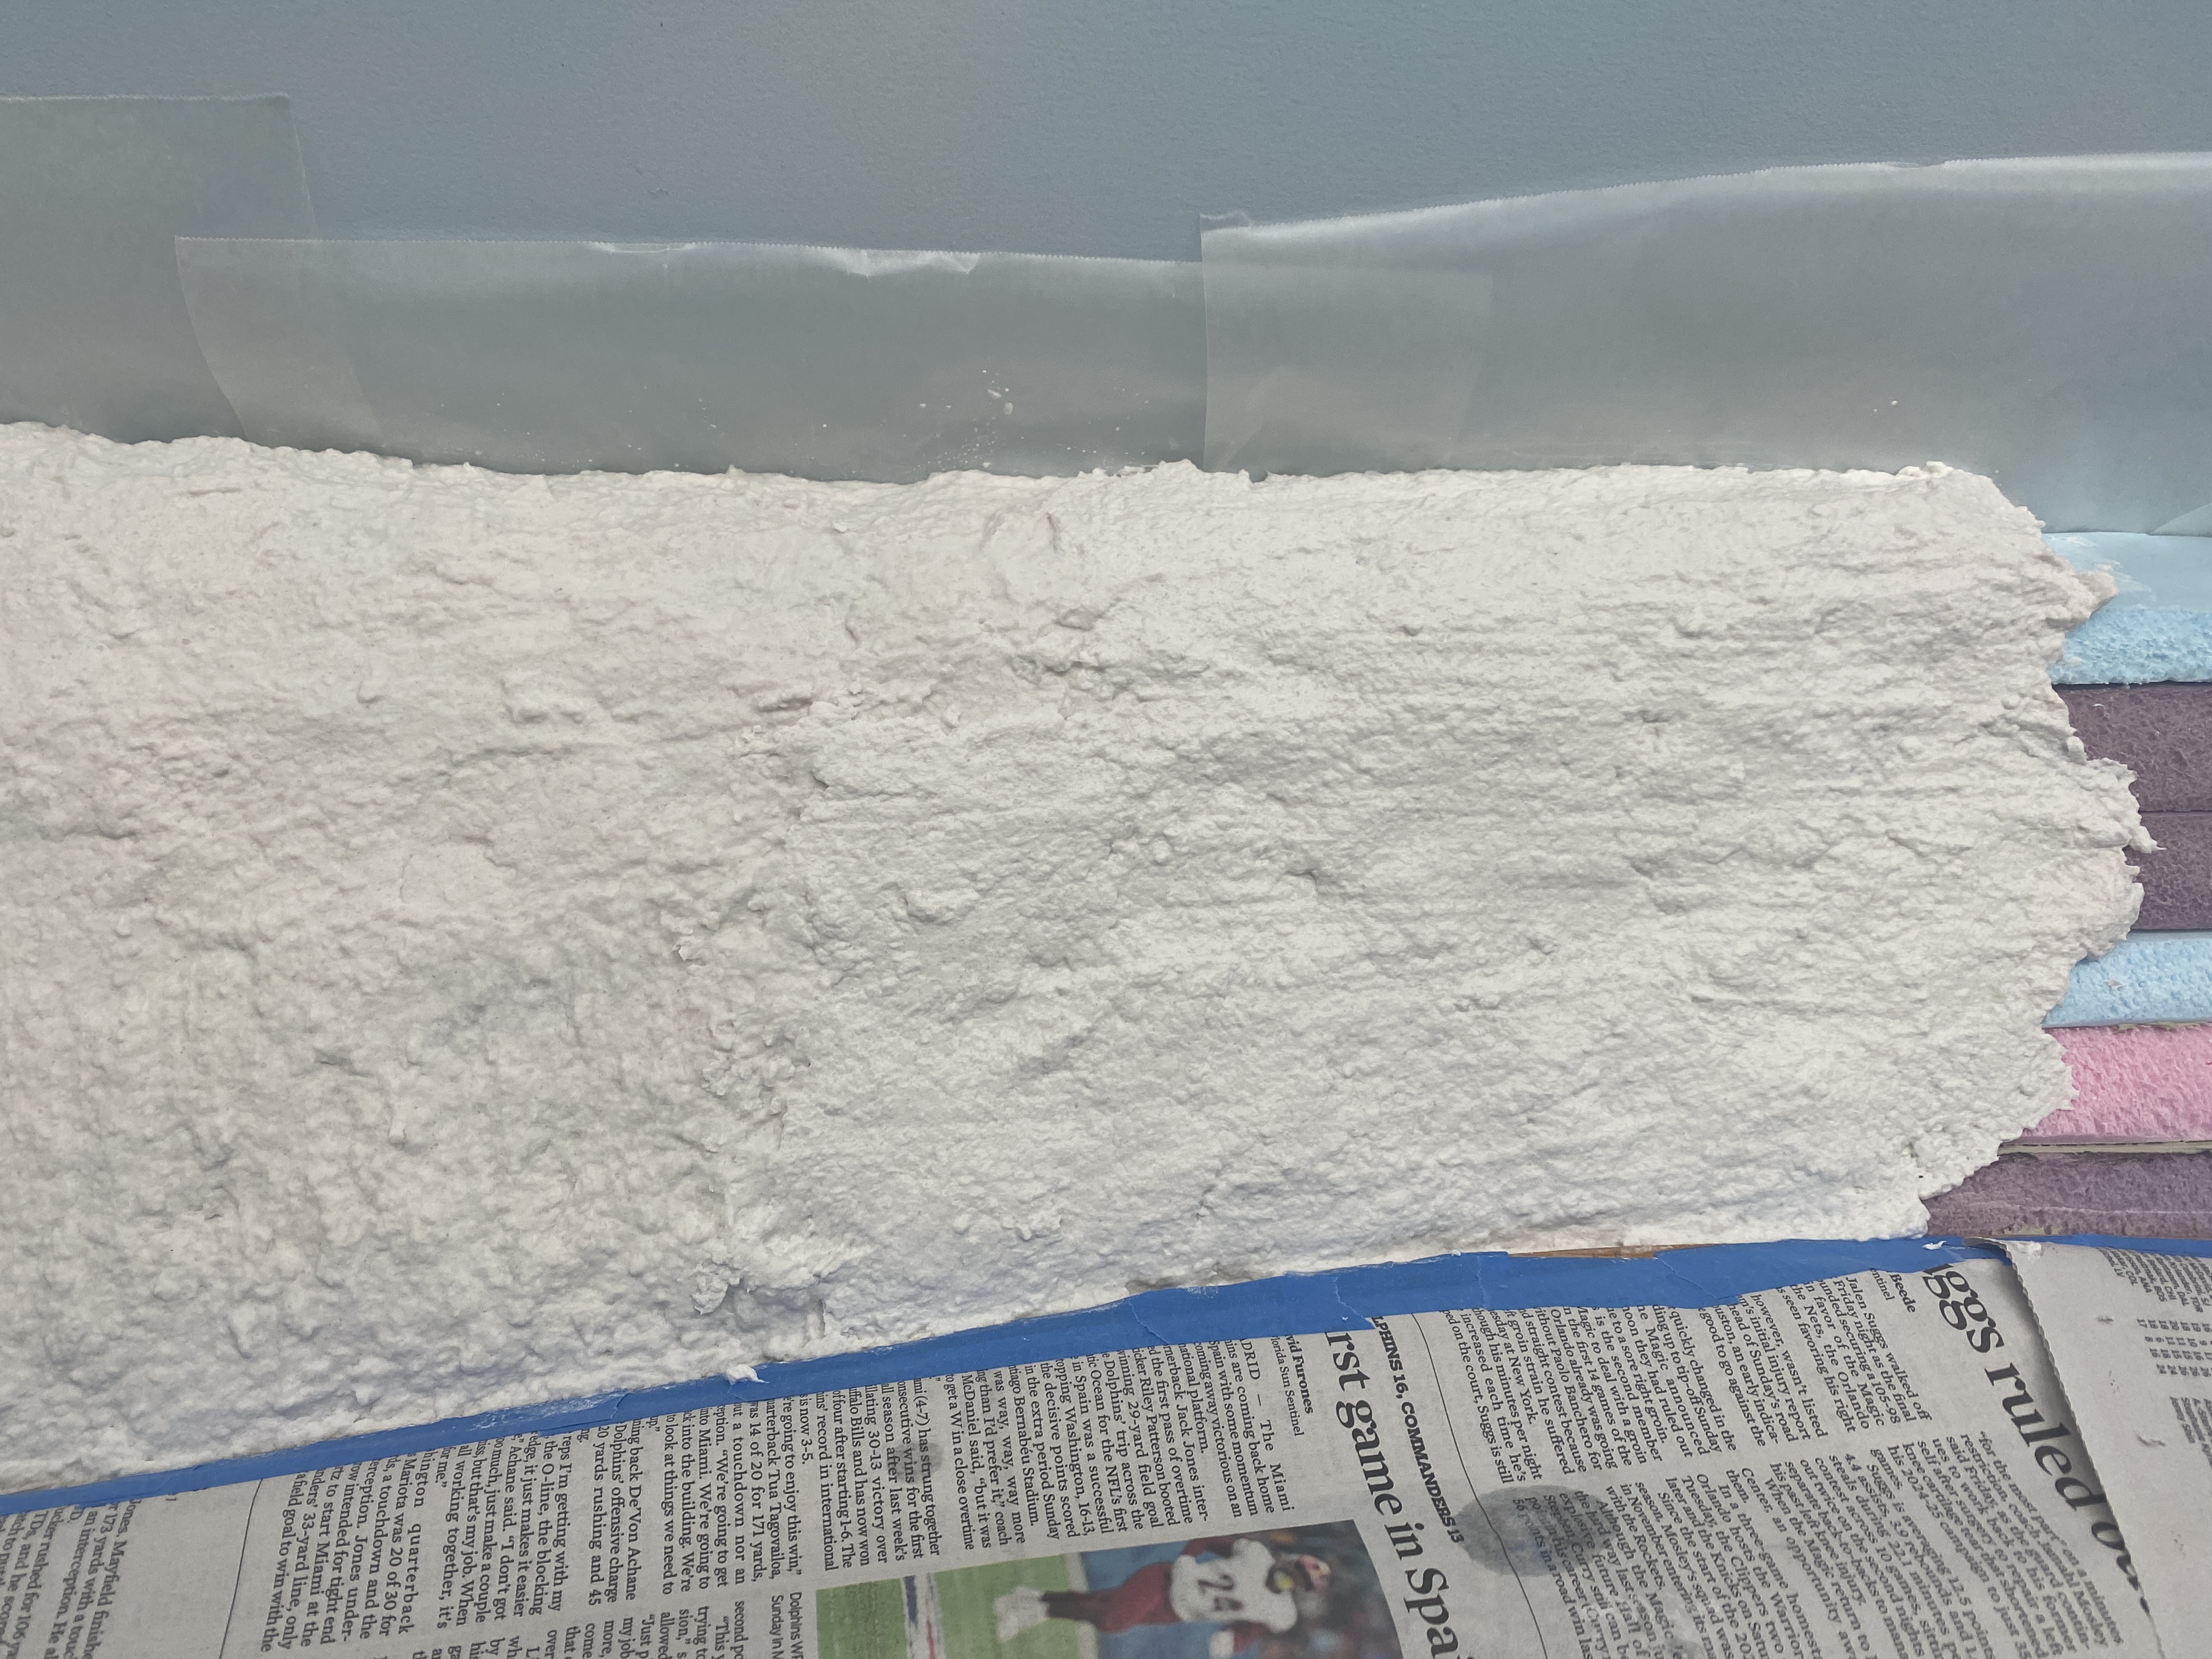
Same as previous, area 3 |
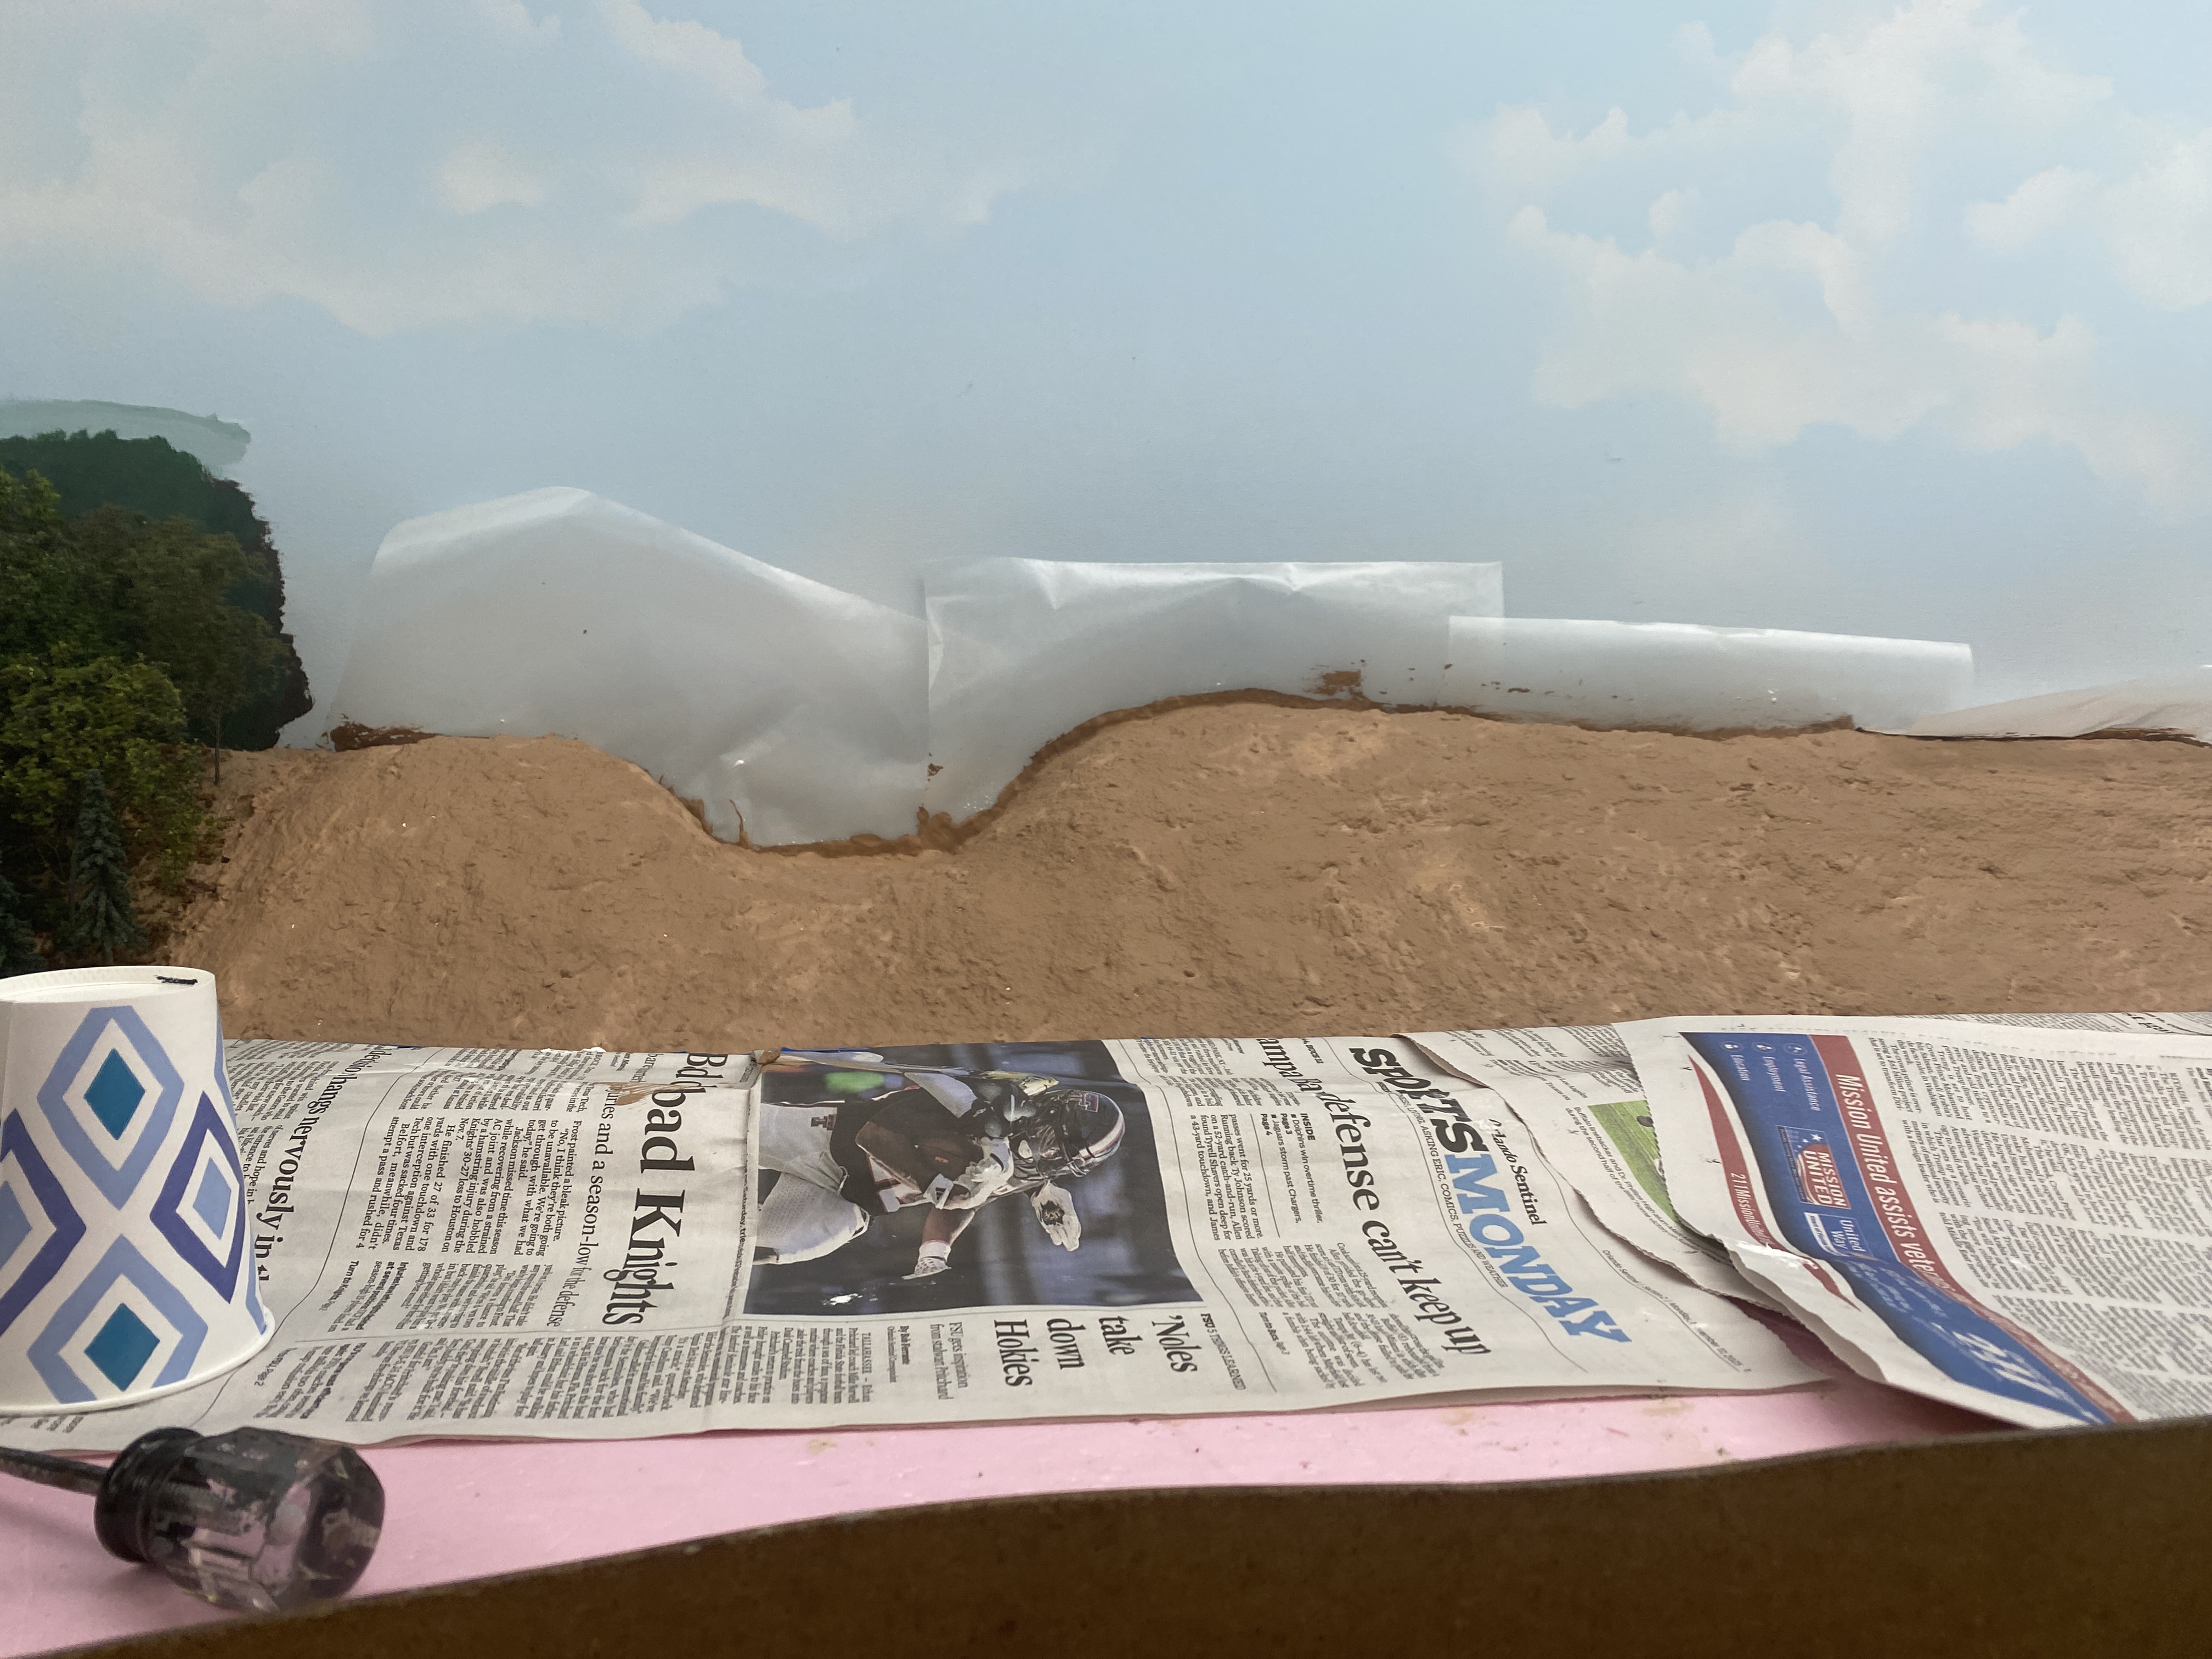
Painted Sculptamold, area 1 |
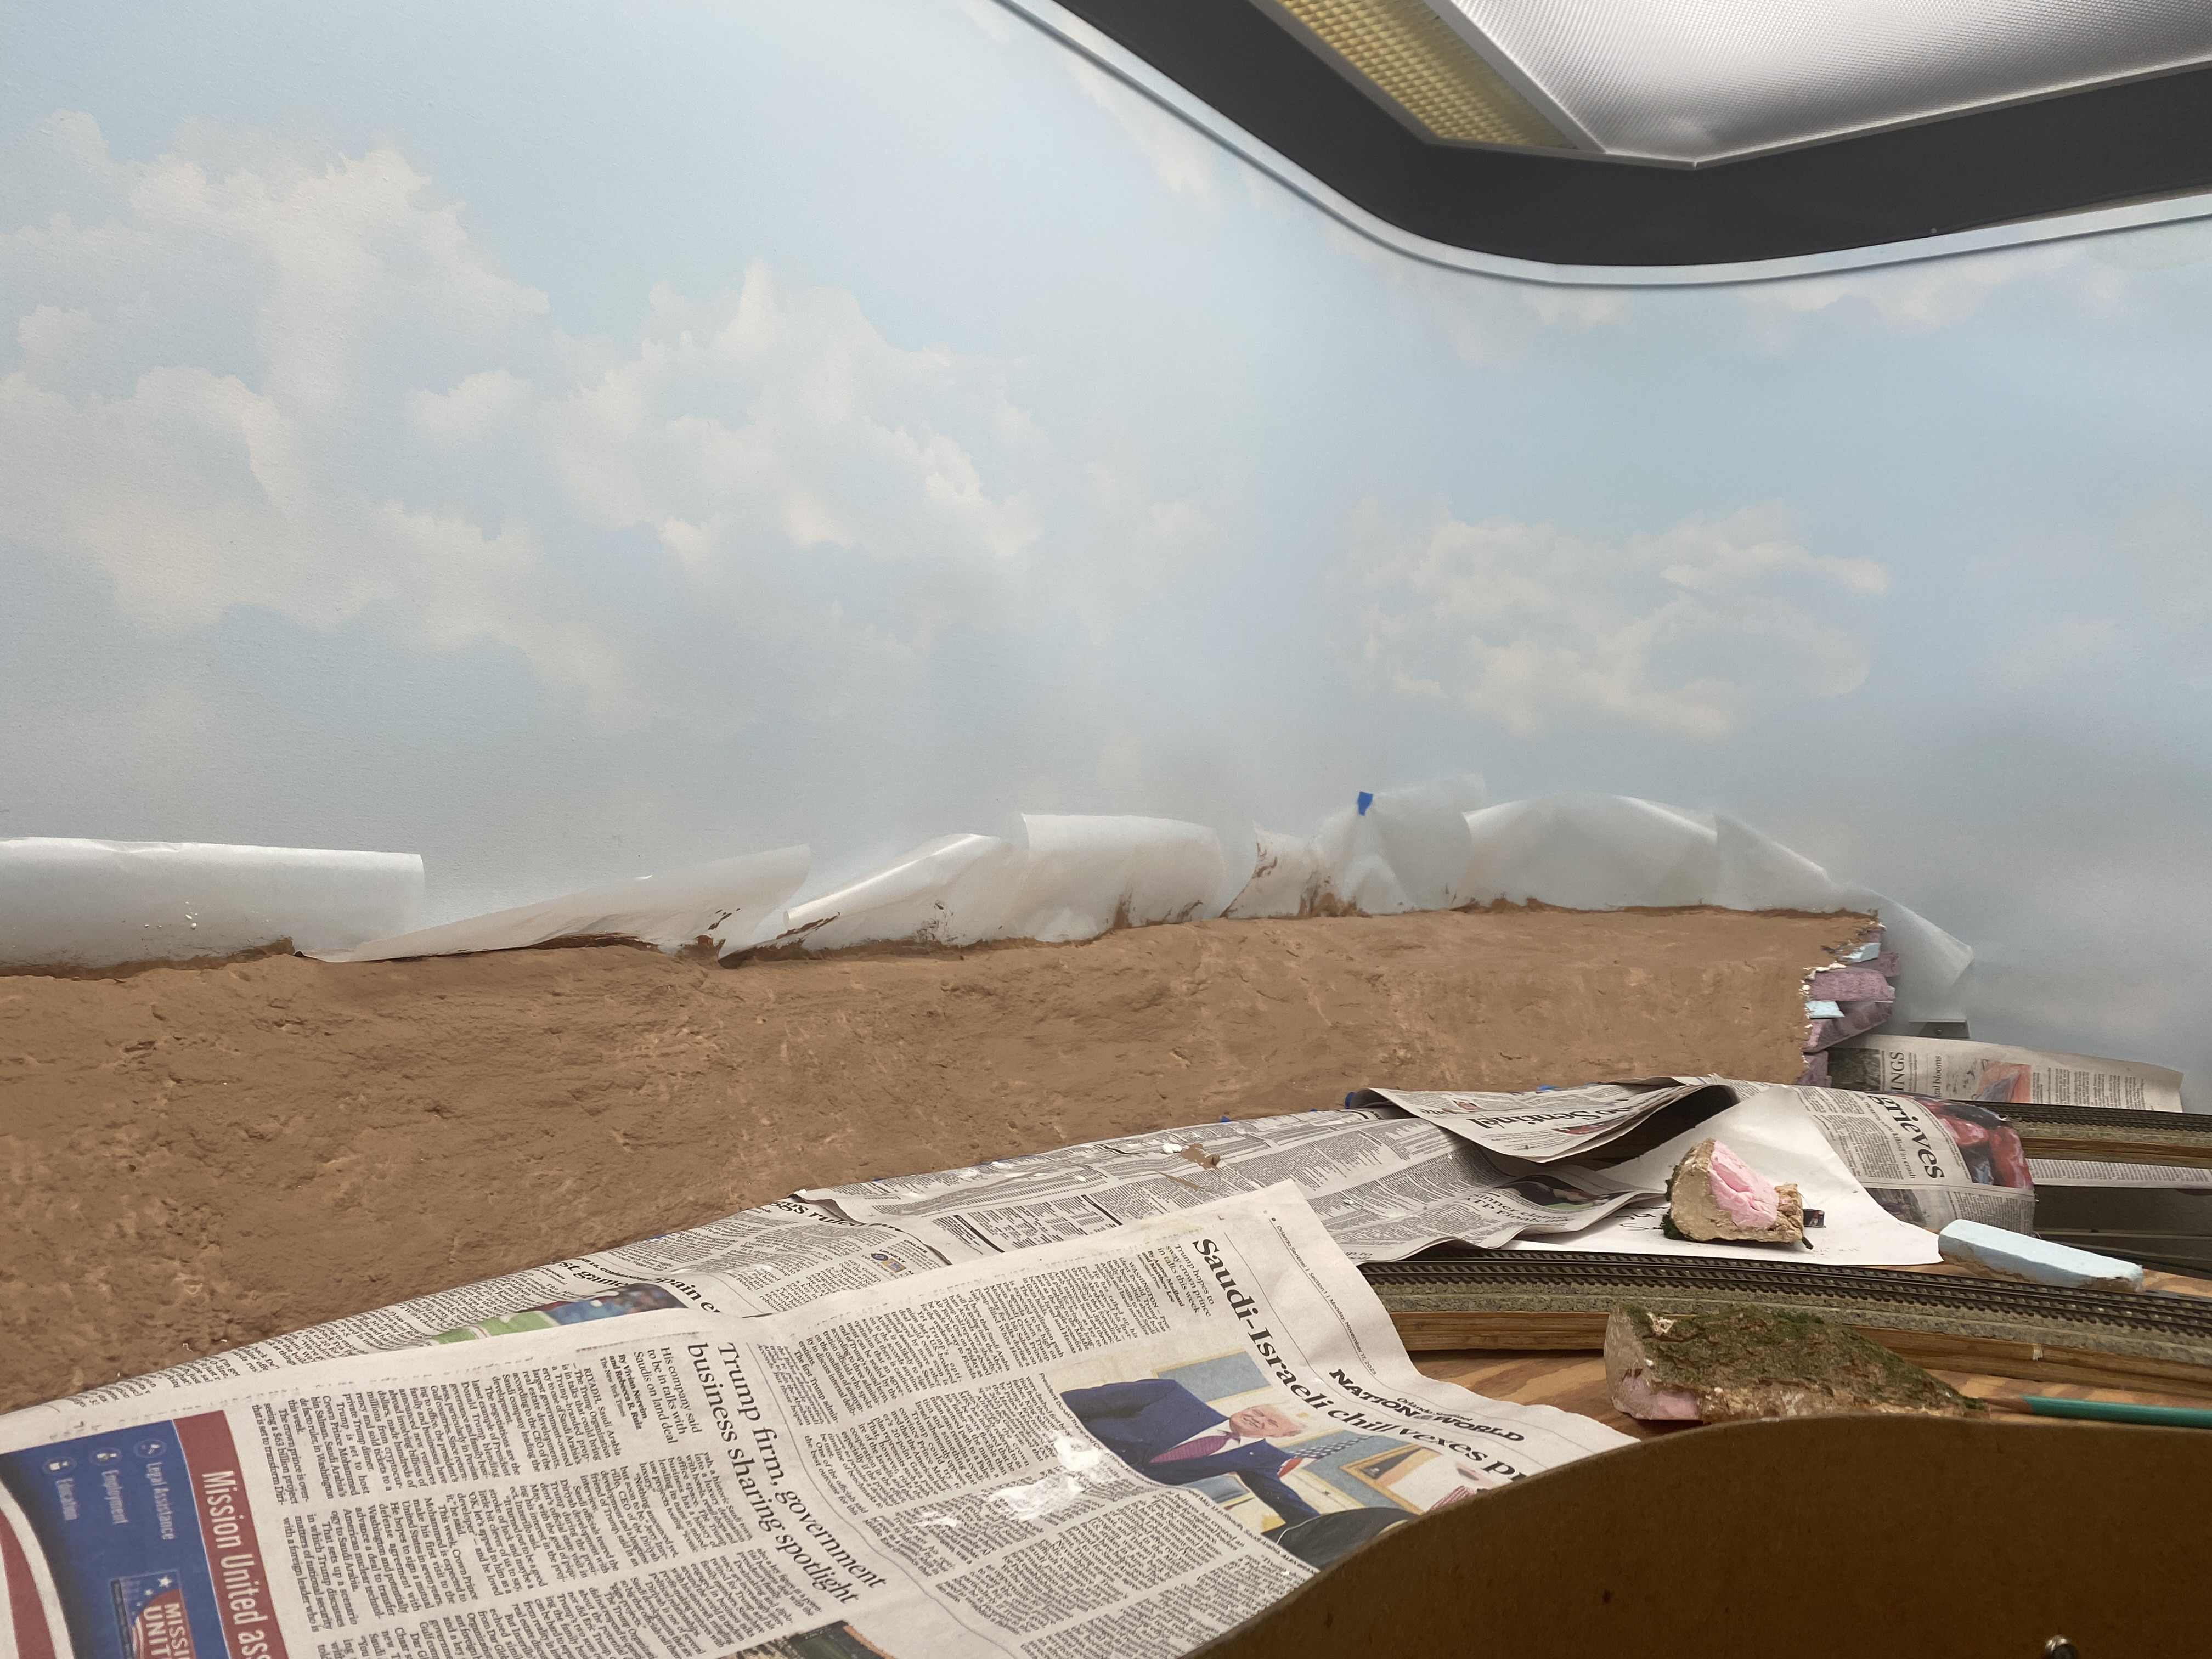
Same as previous, area 4 |
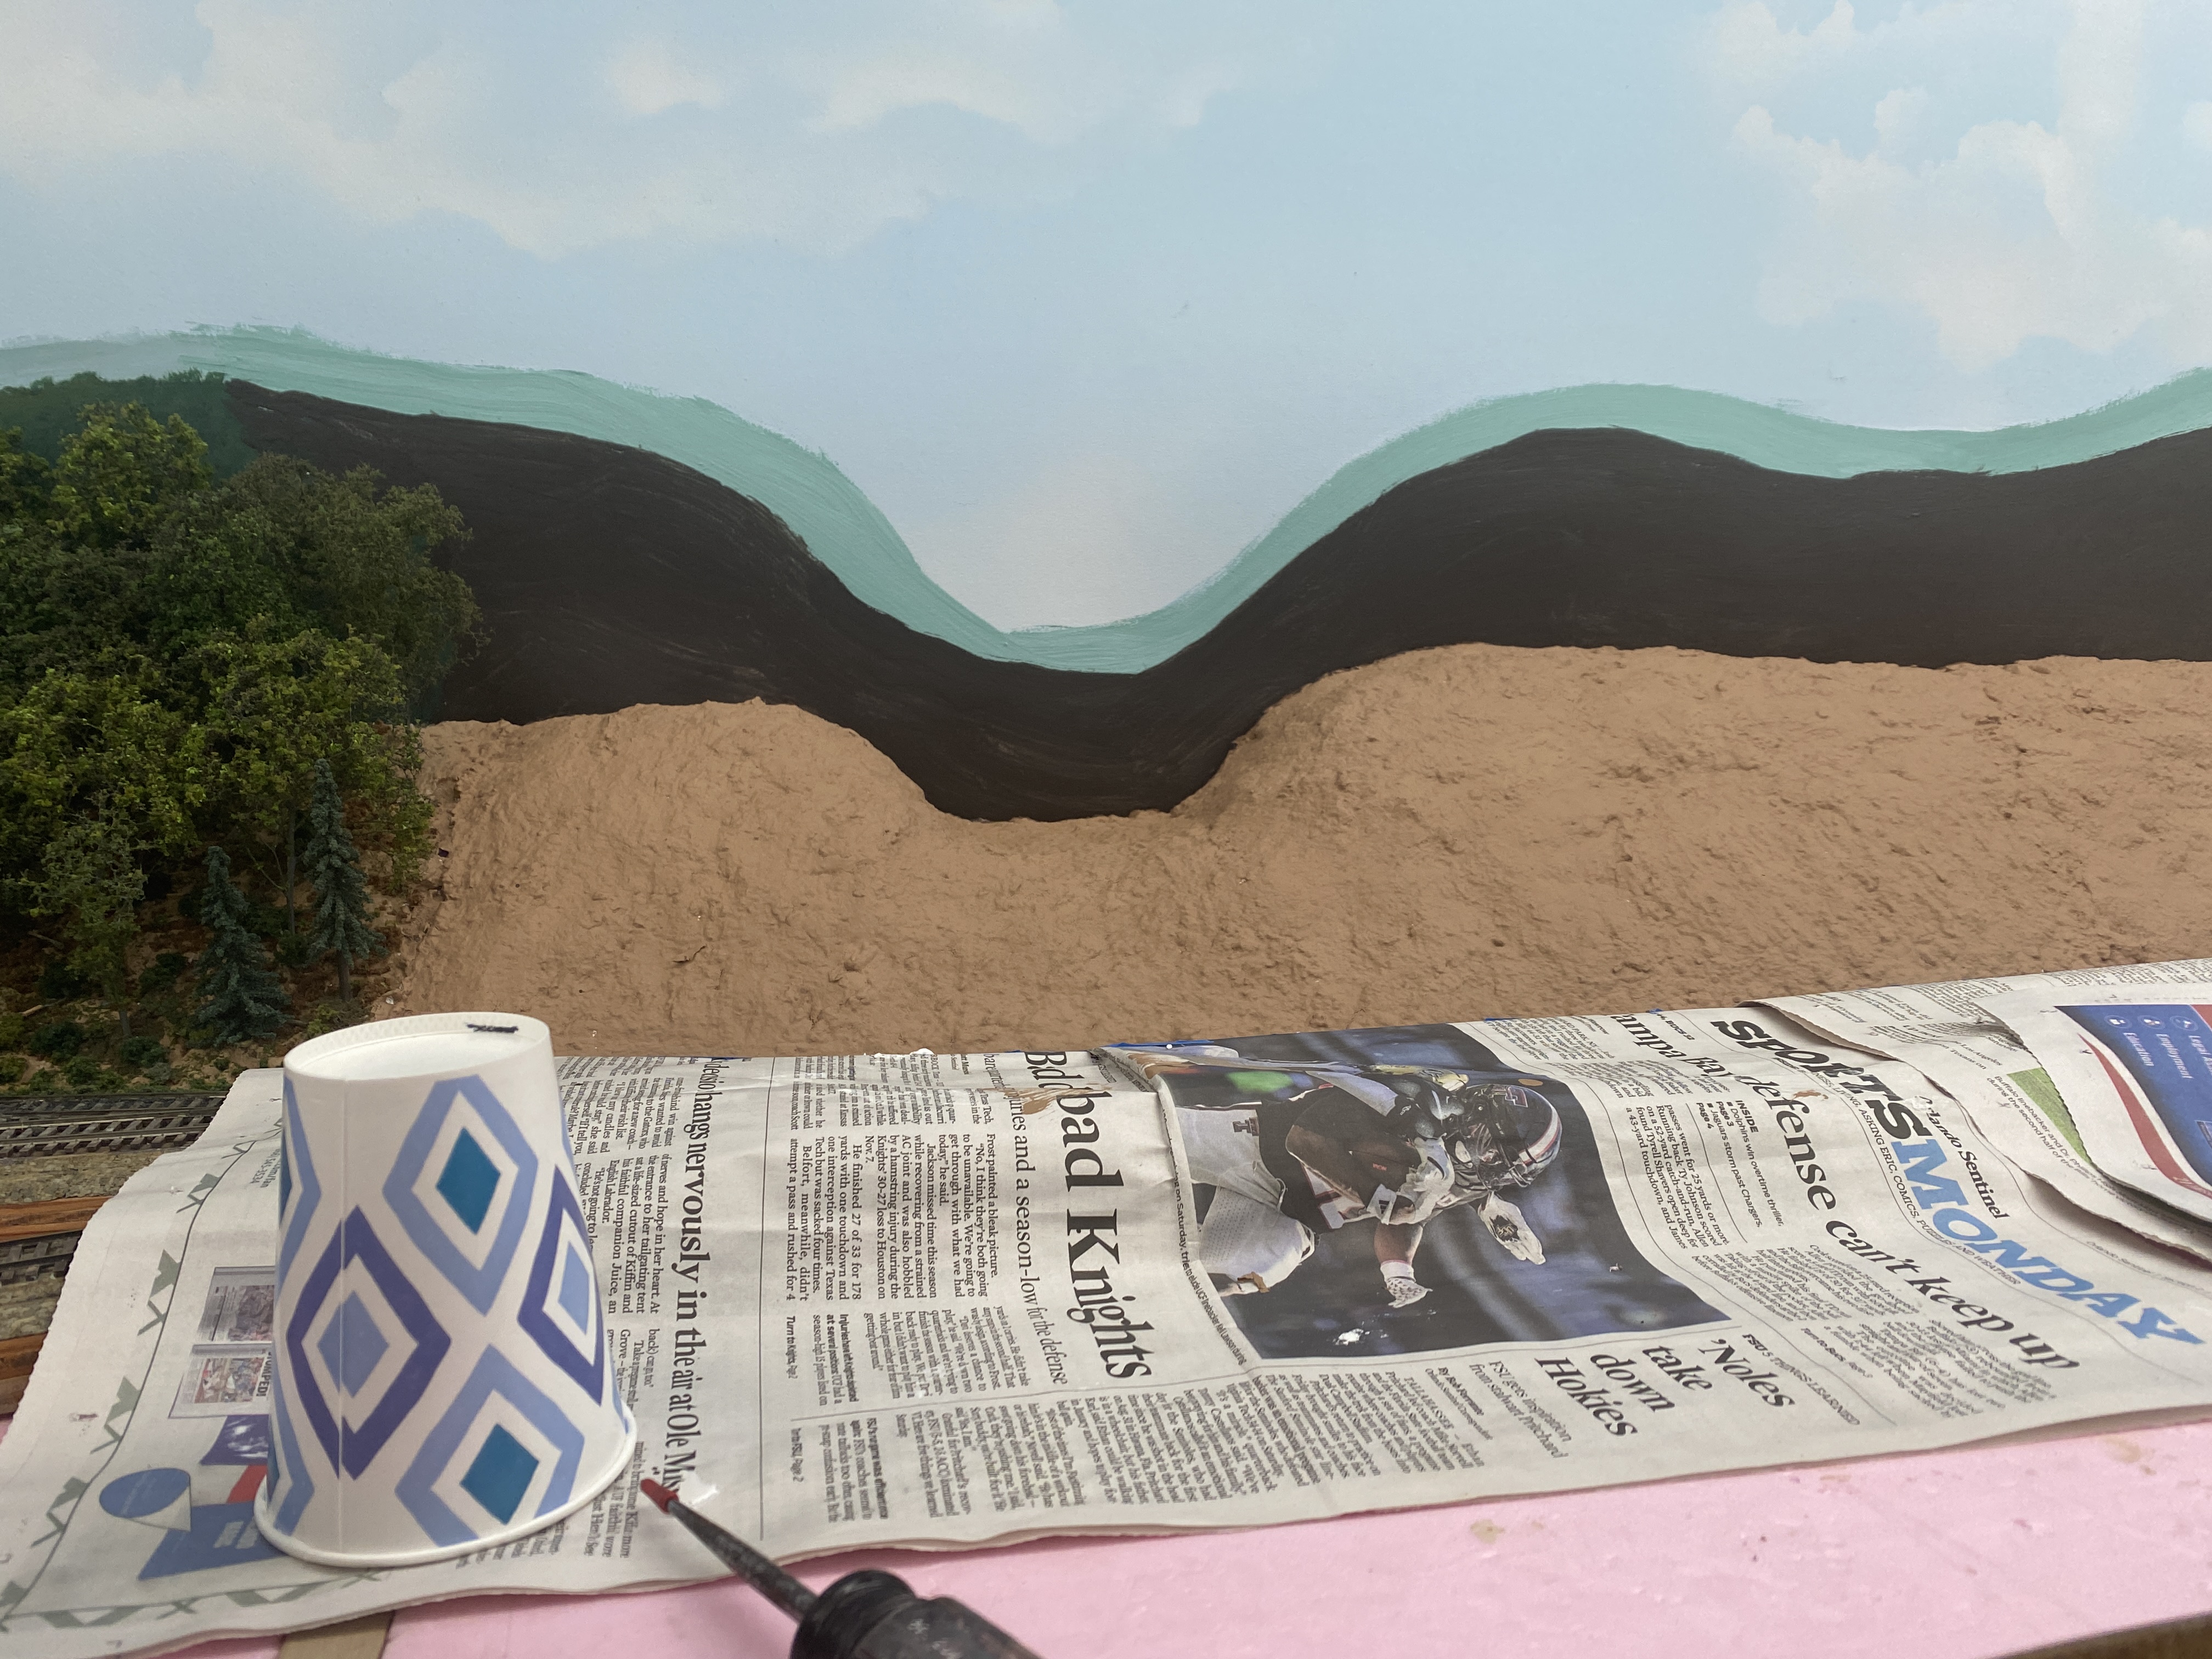
Area behind my trees
and far off mountains
area 1 |
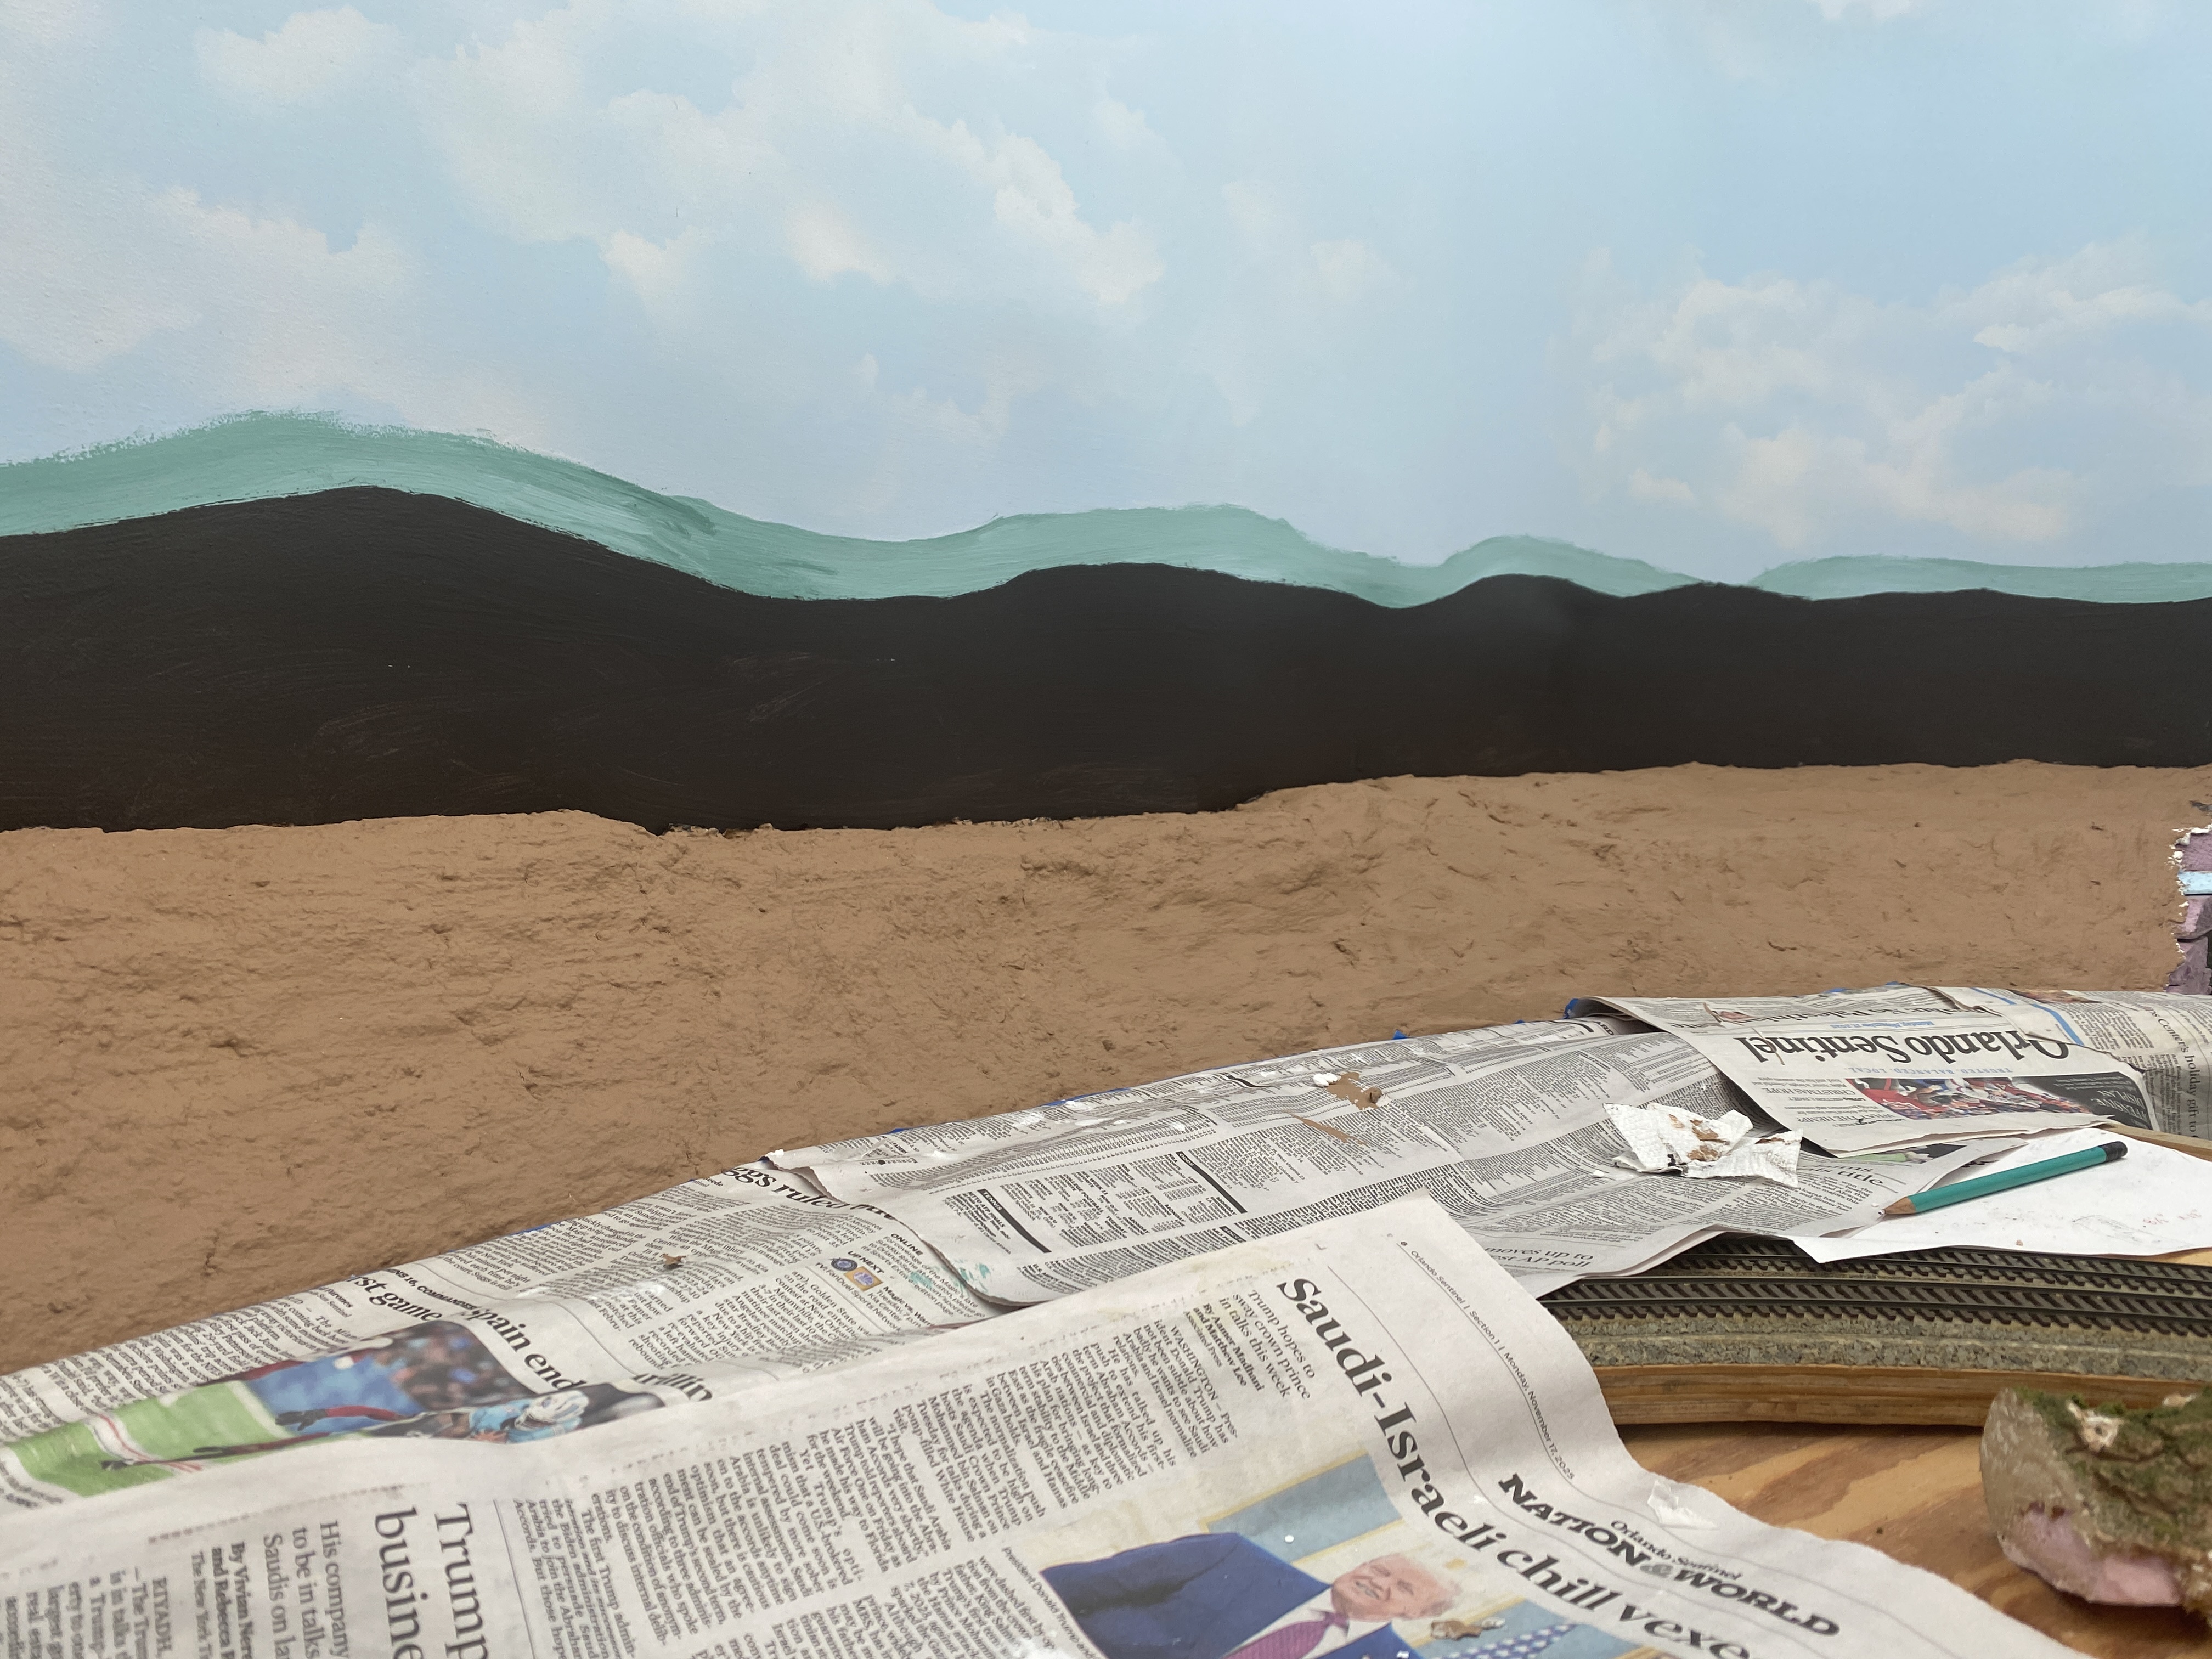
Same as previous, area 3 |
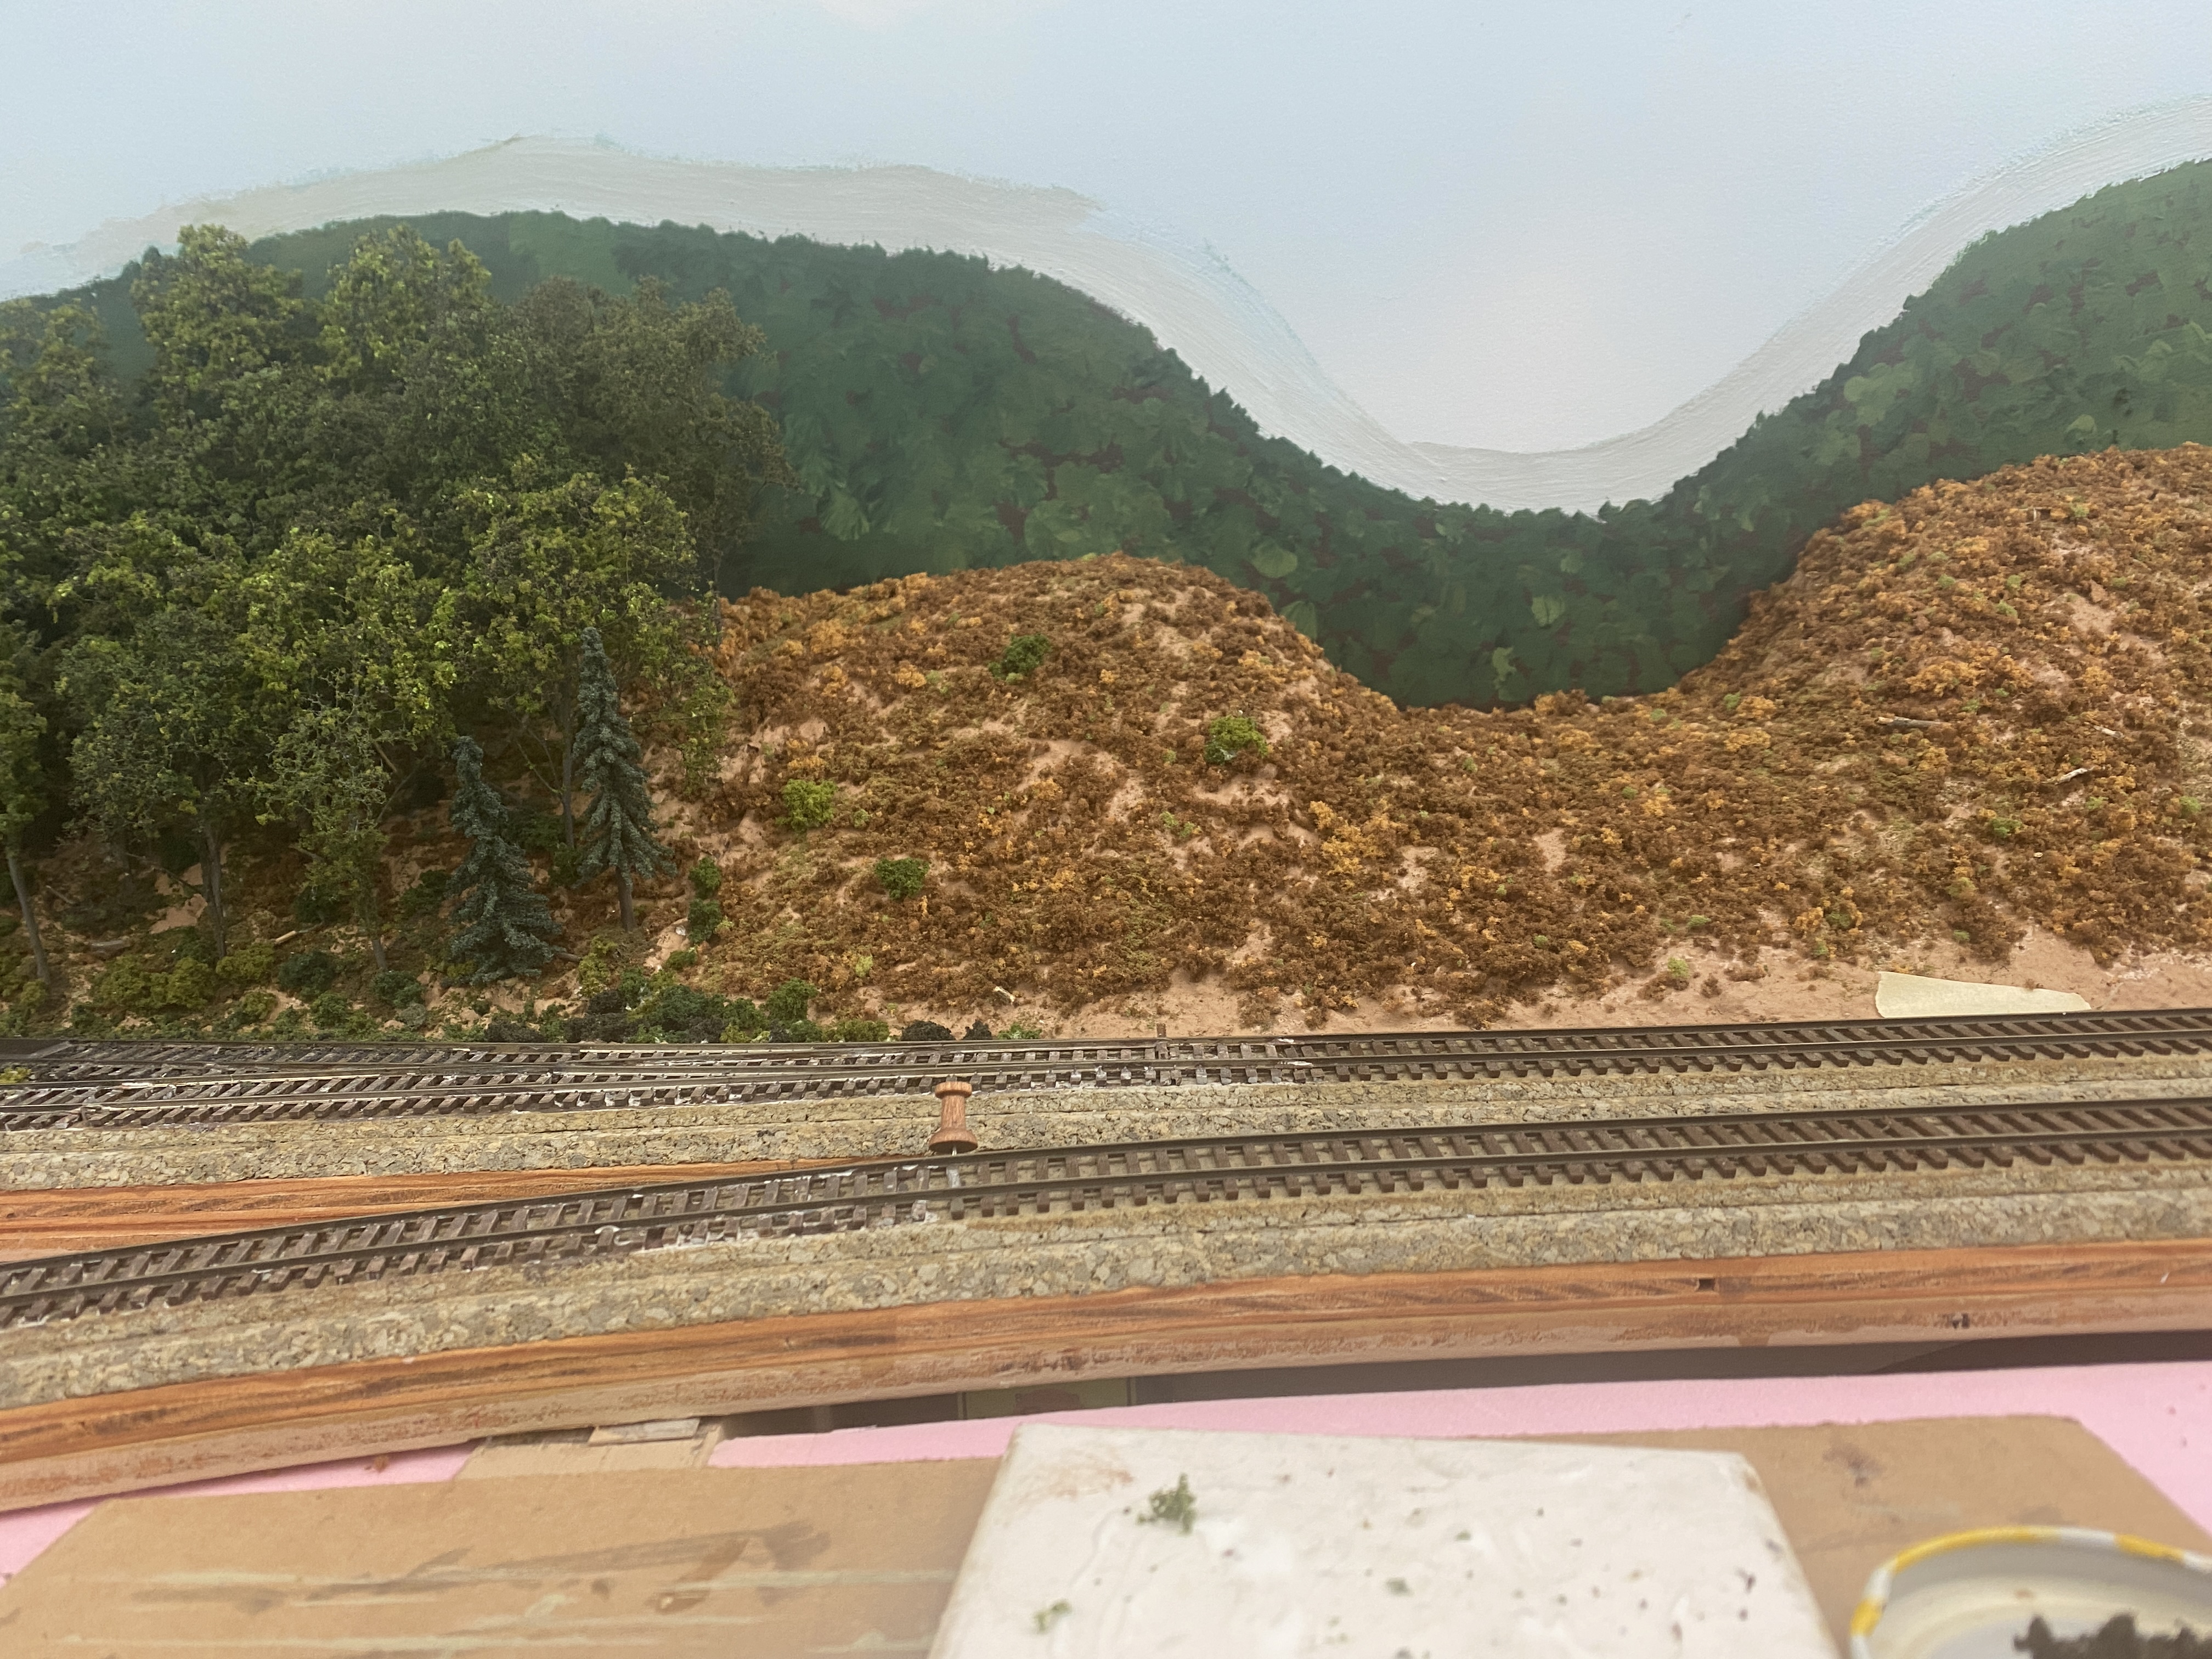
Ground cover installation
area 1 |
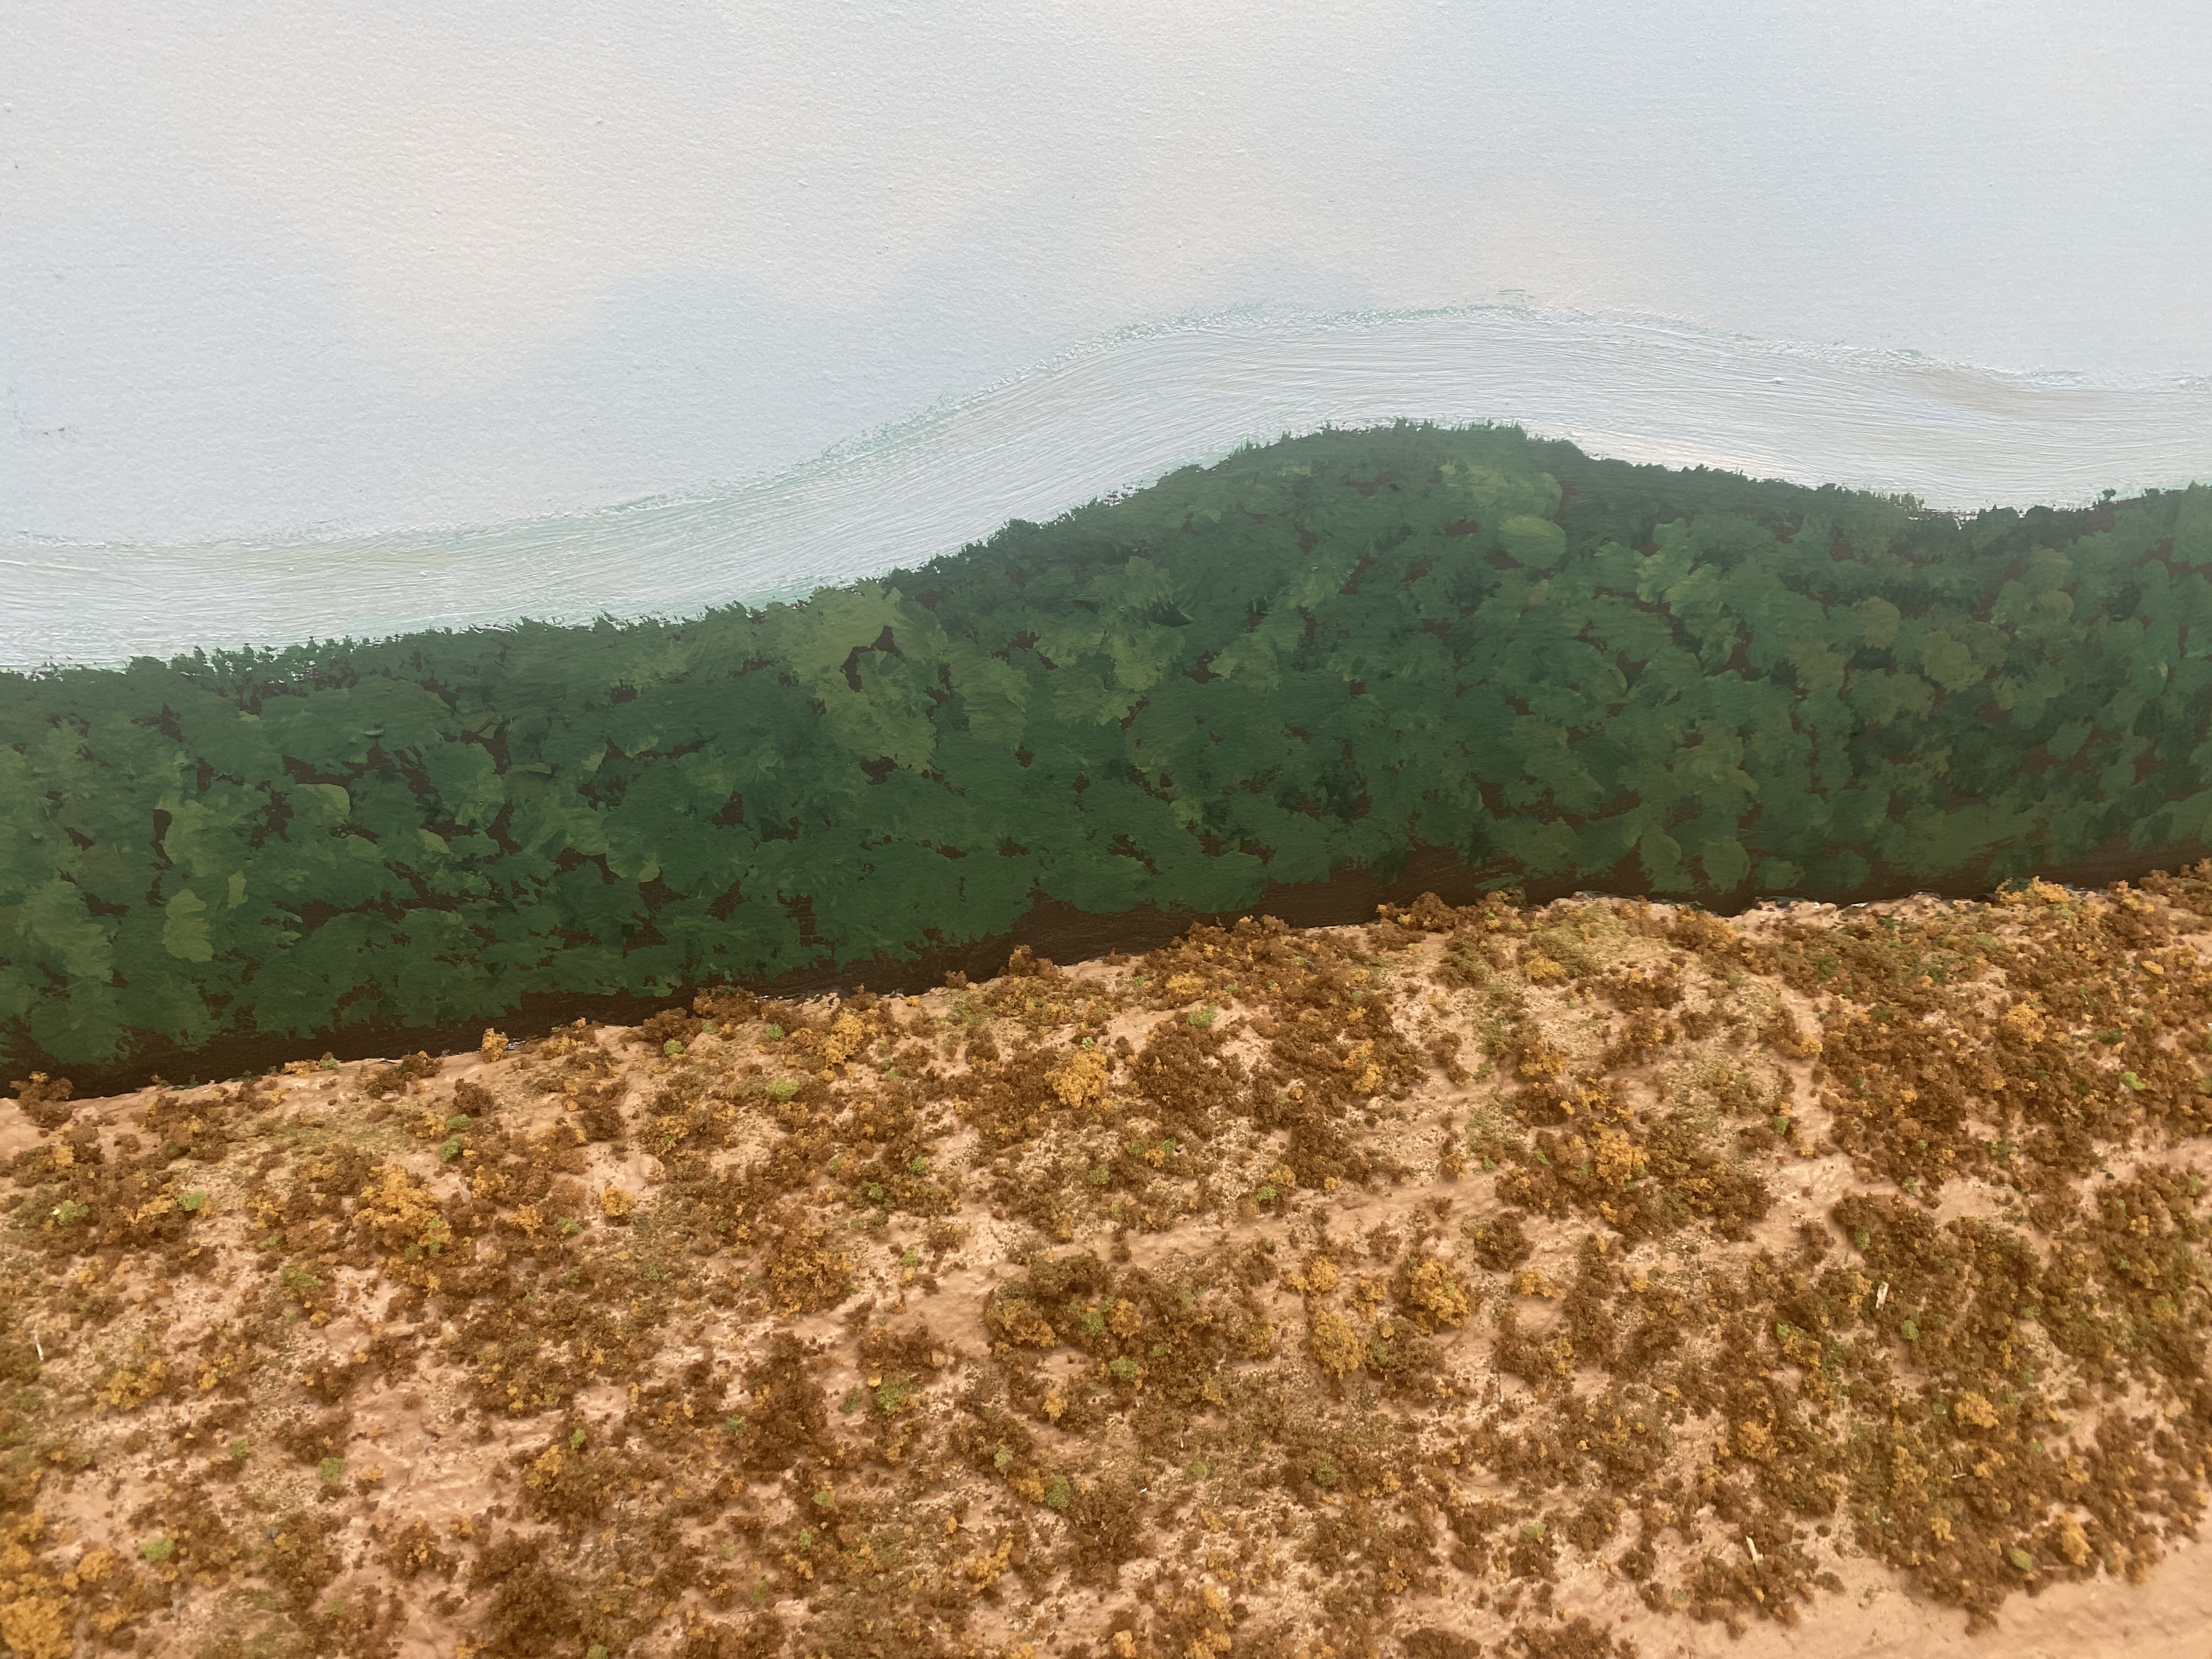
Same as previous, area 2 |
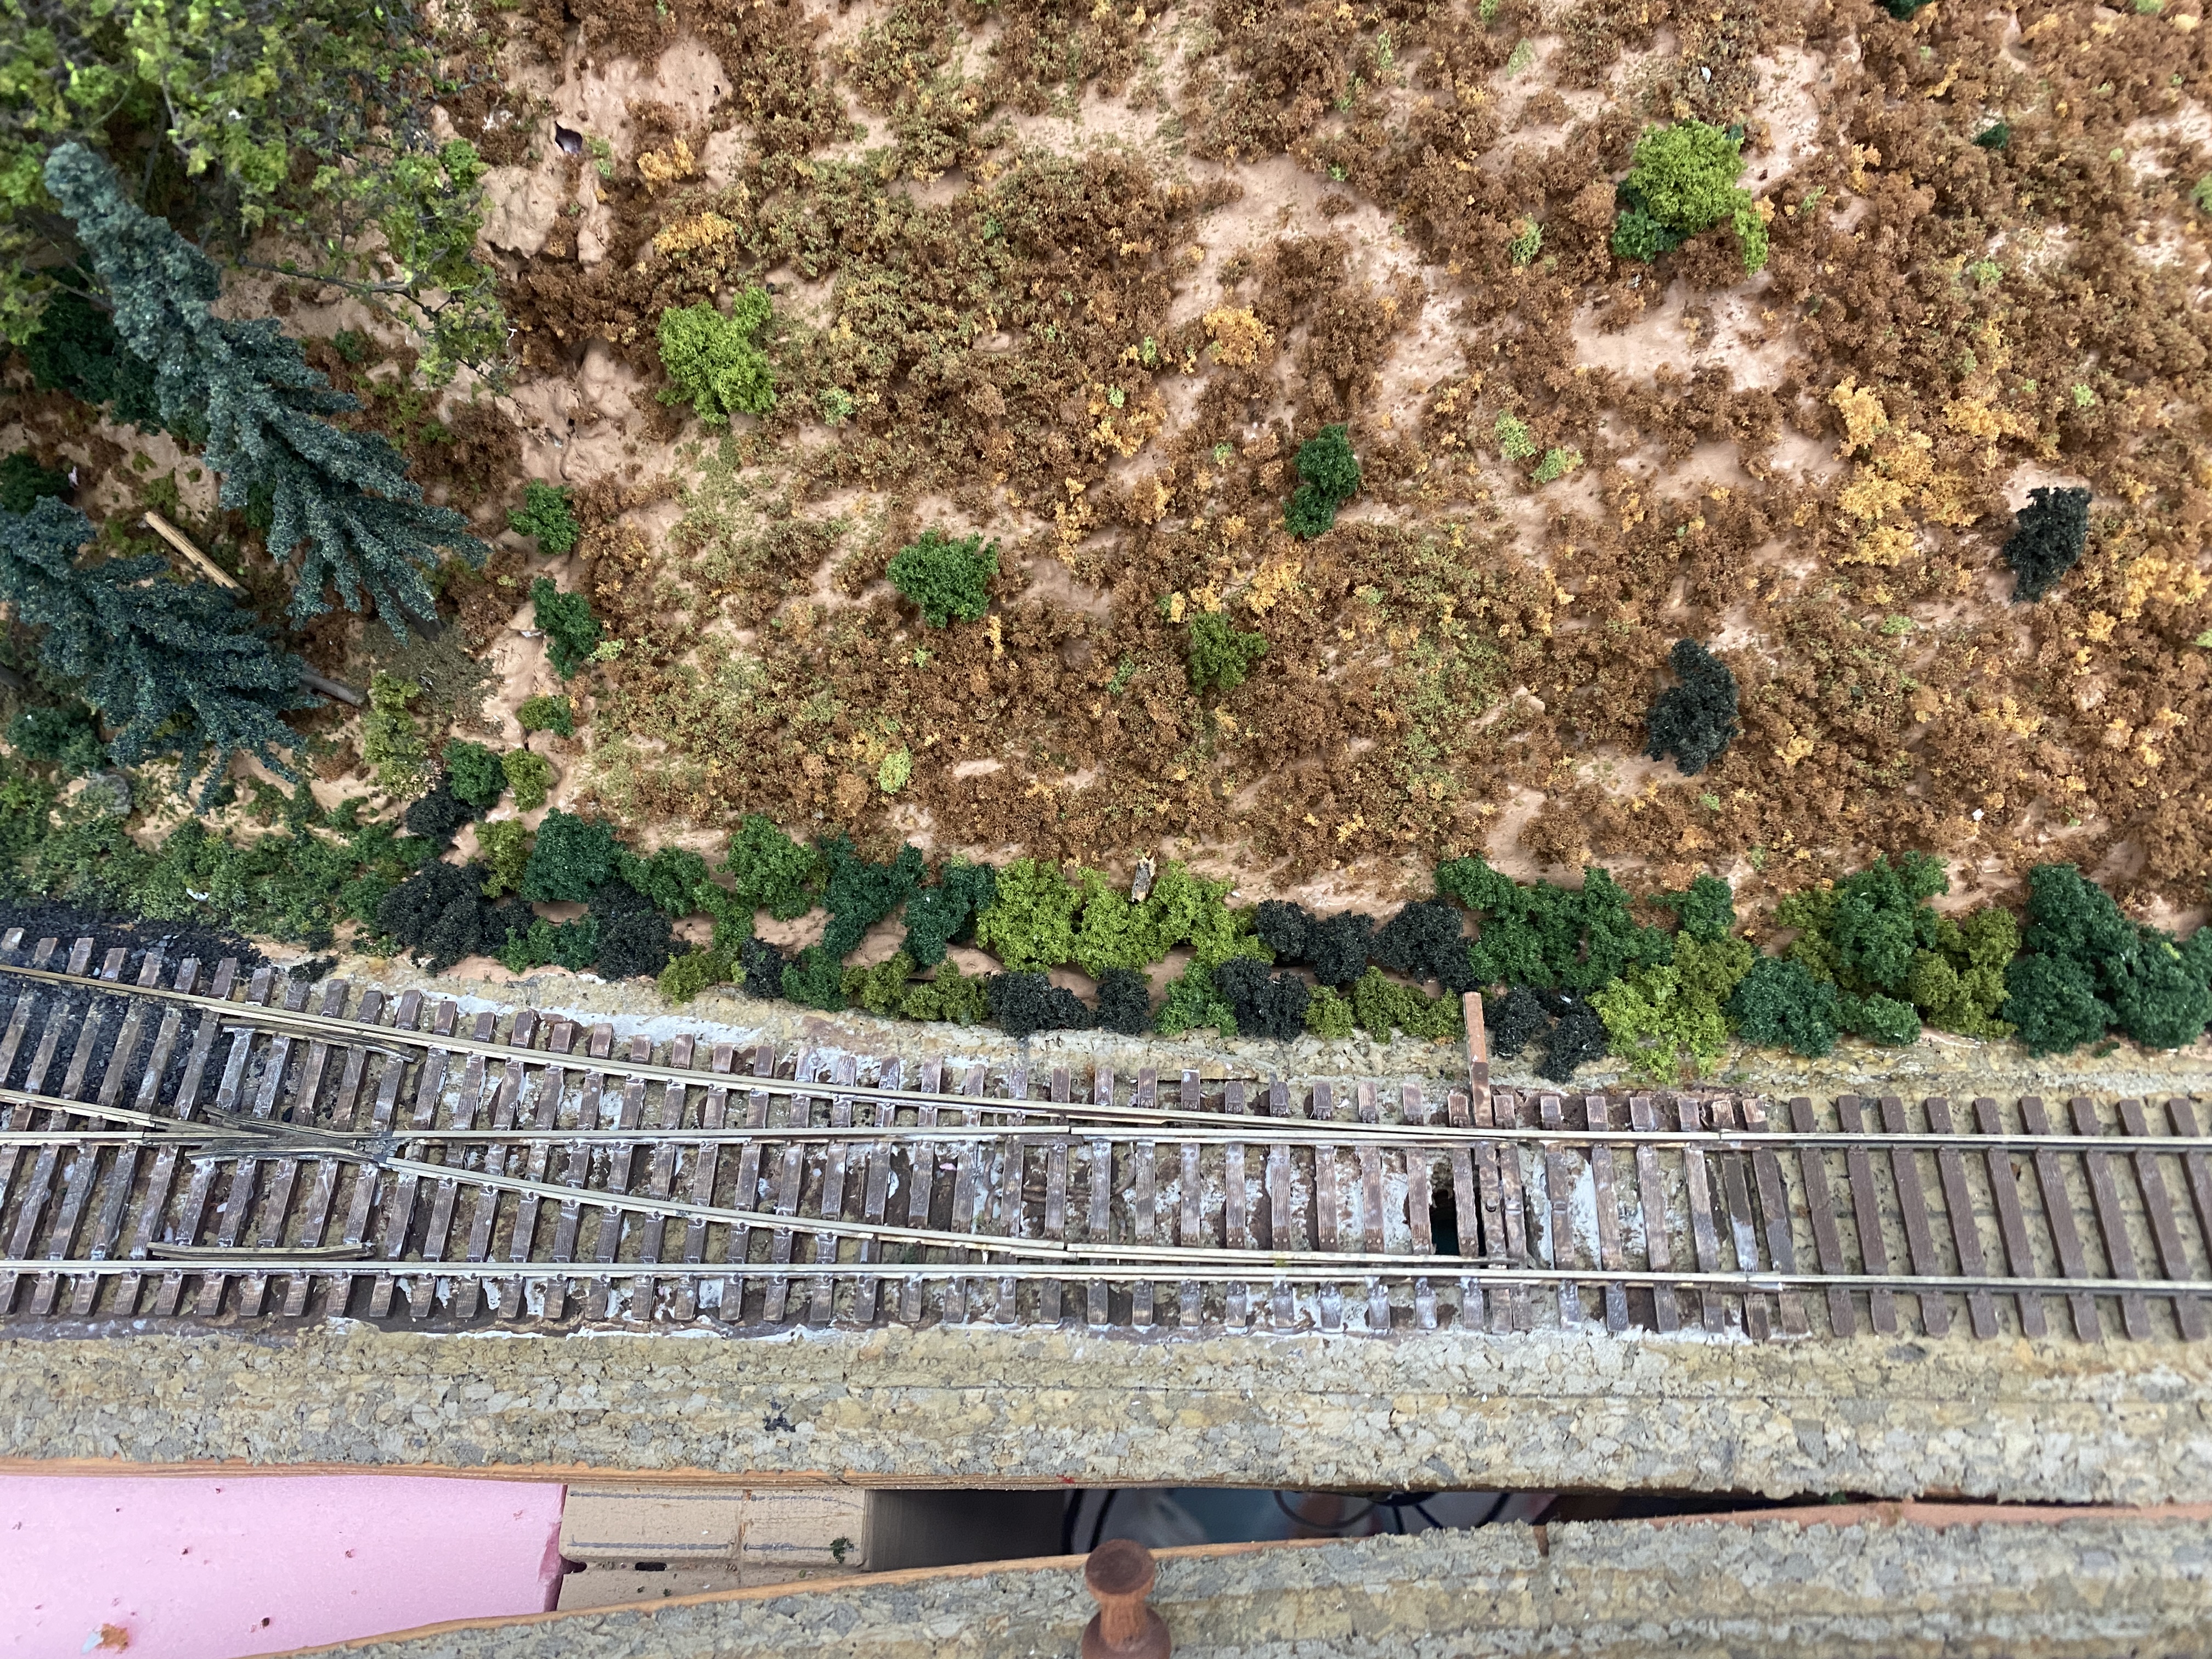
Small bushes installed
in ditch adjacent
to the tracks, area 1 |
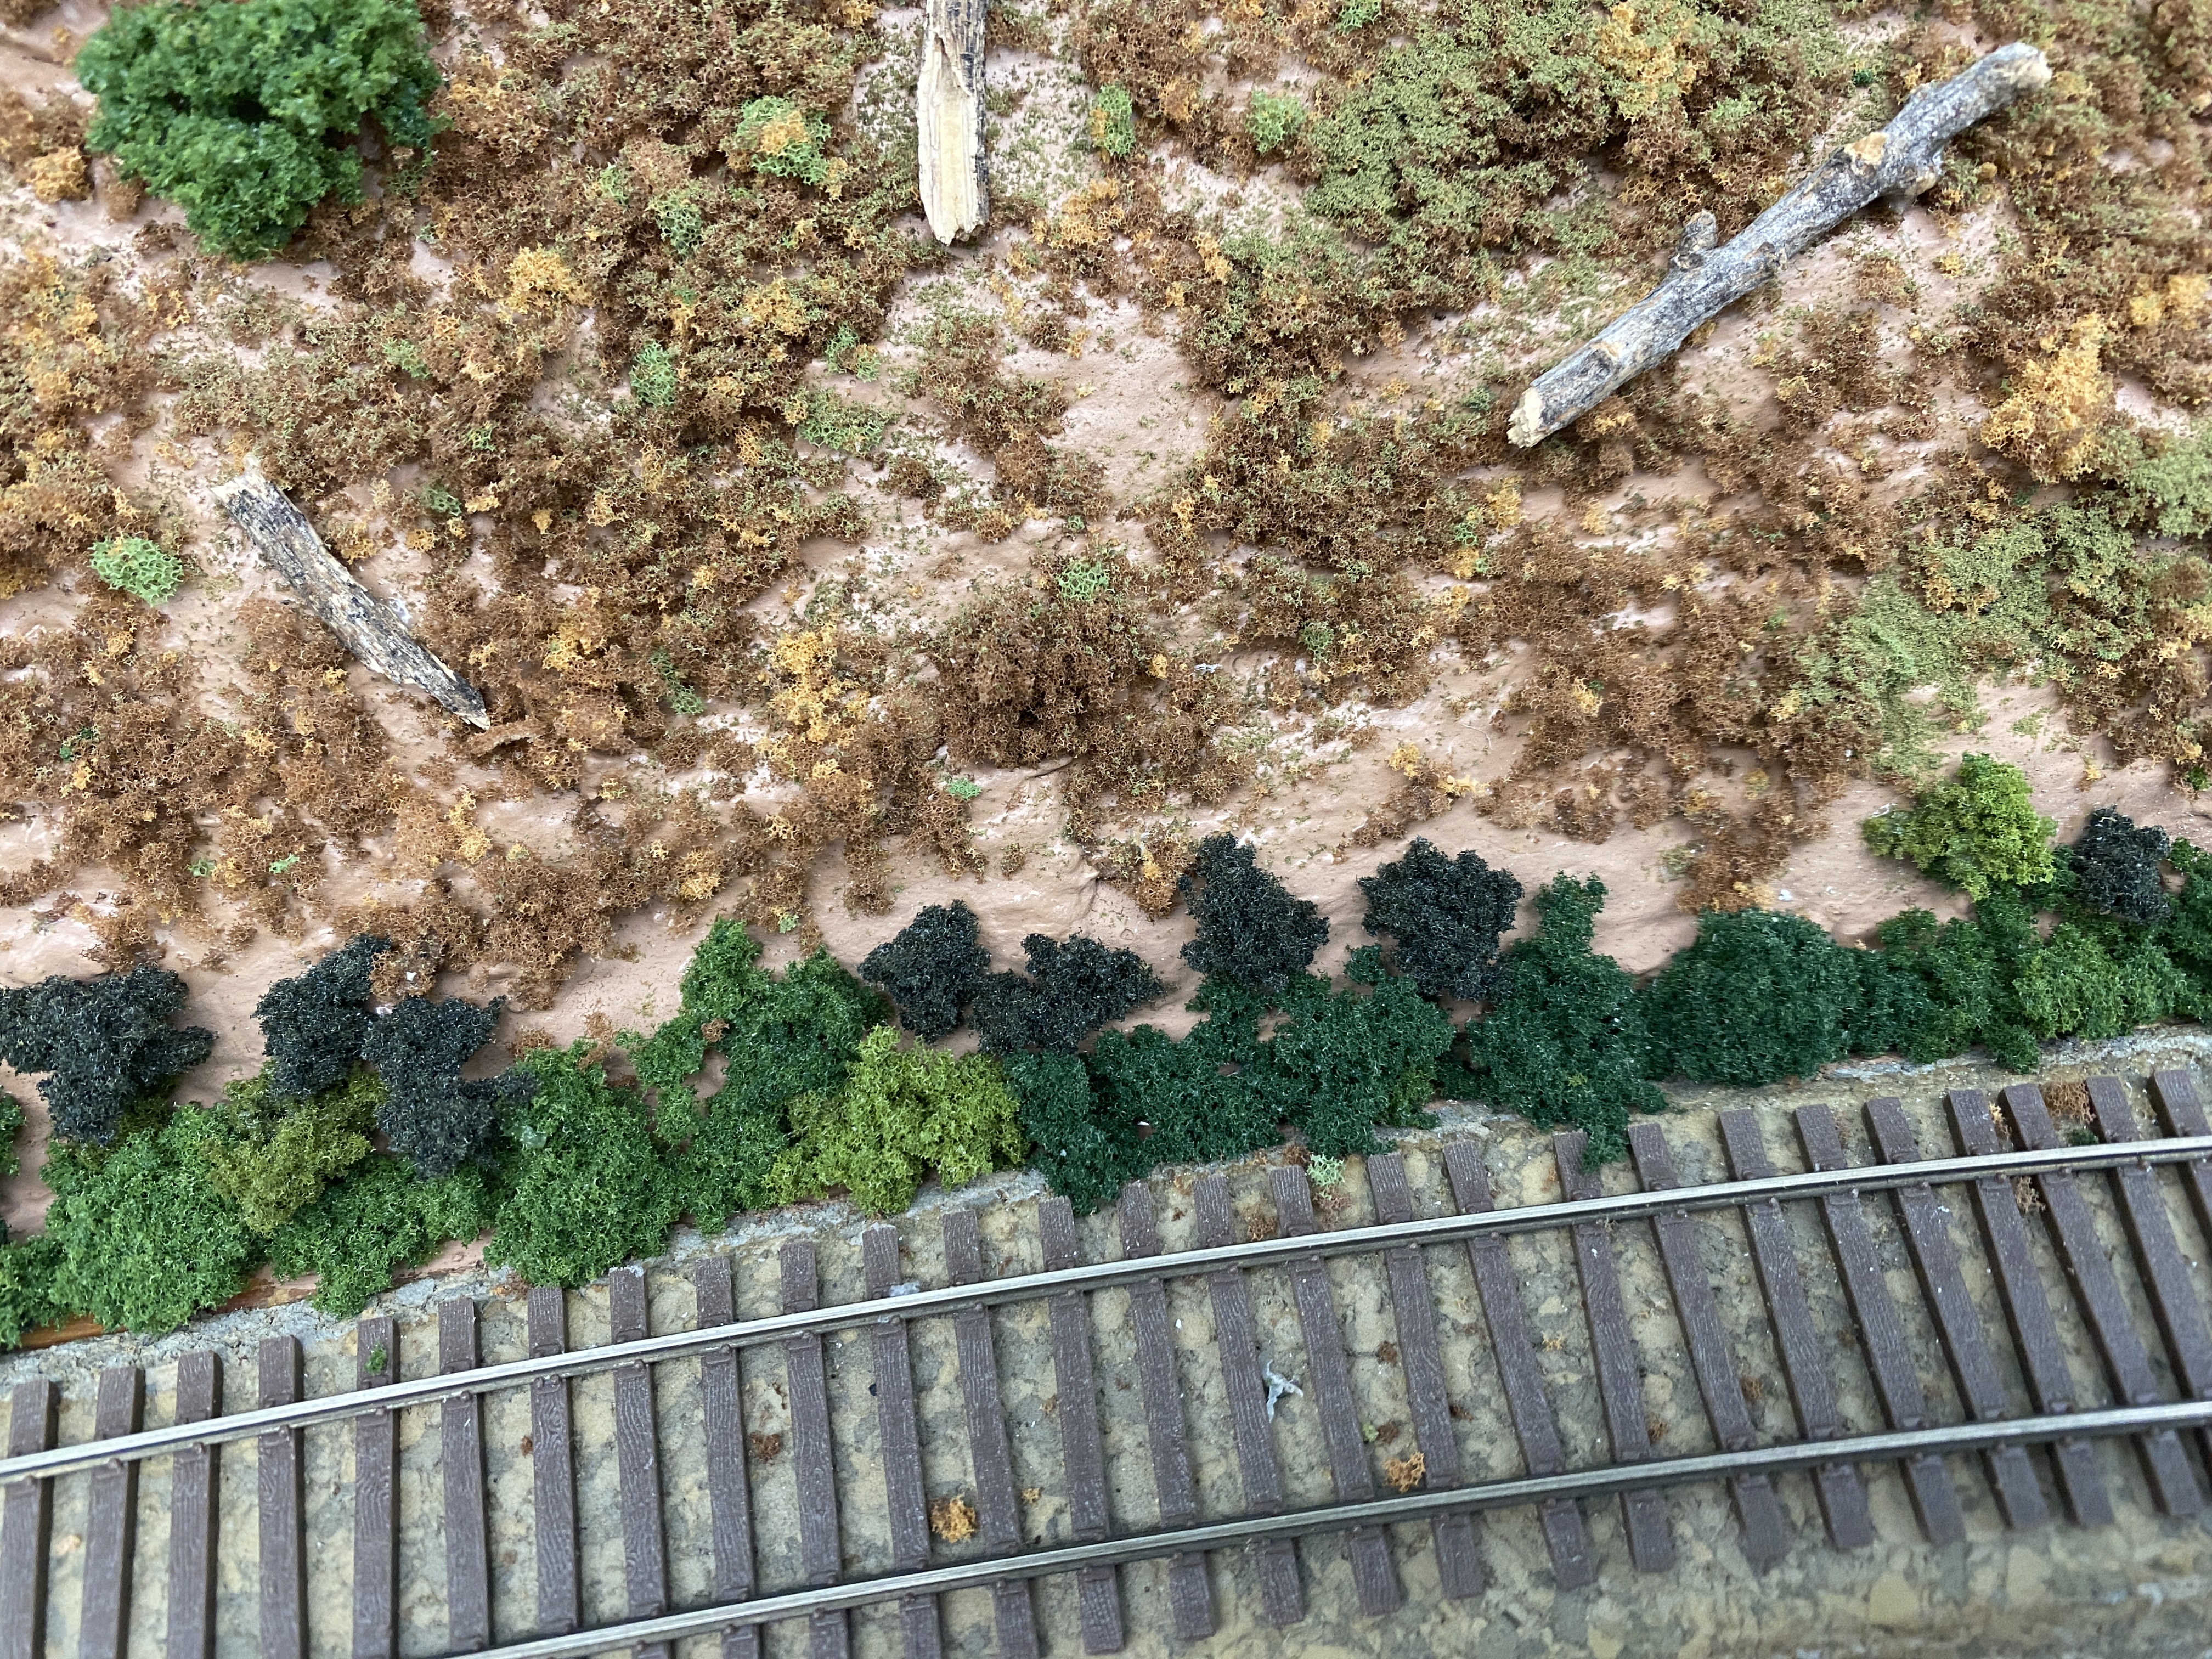
Same as previous, area 2 |
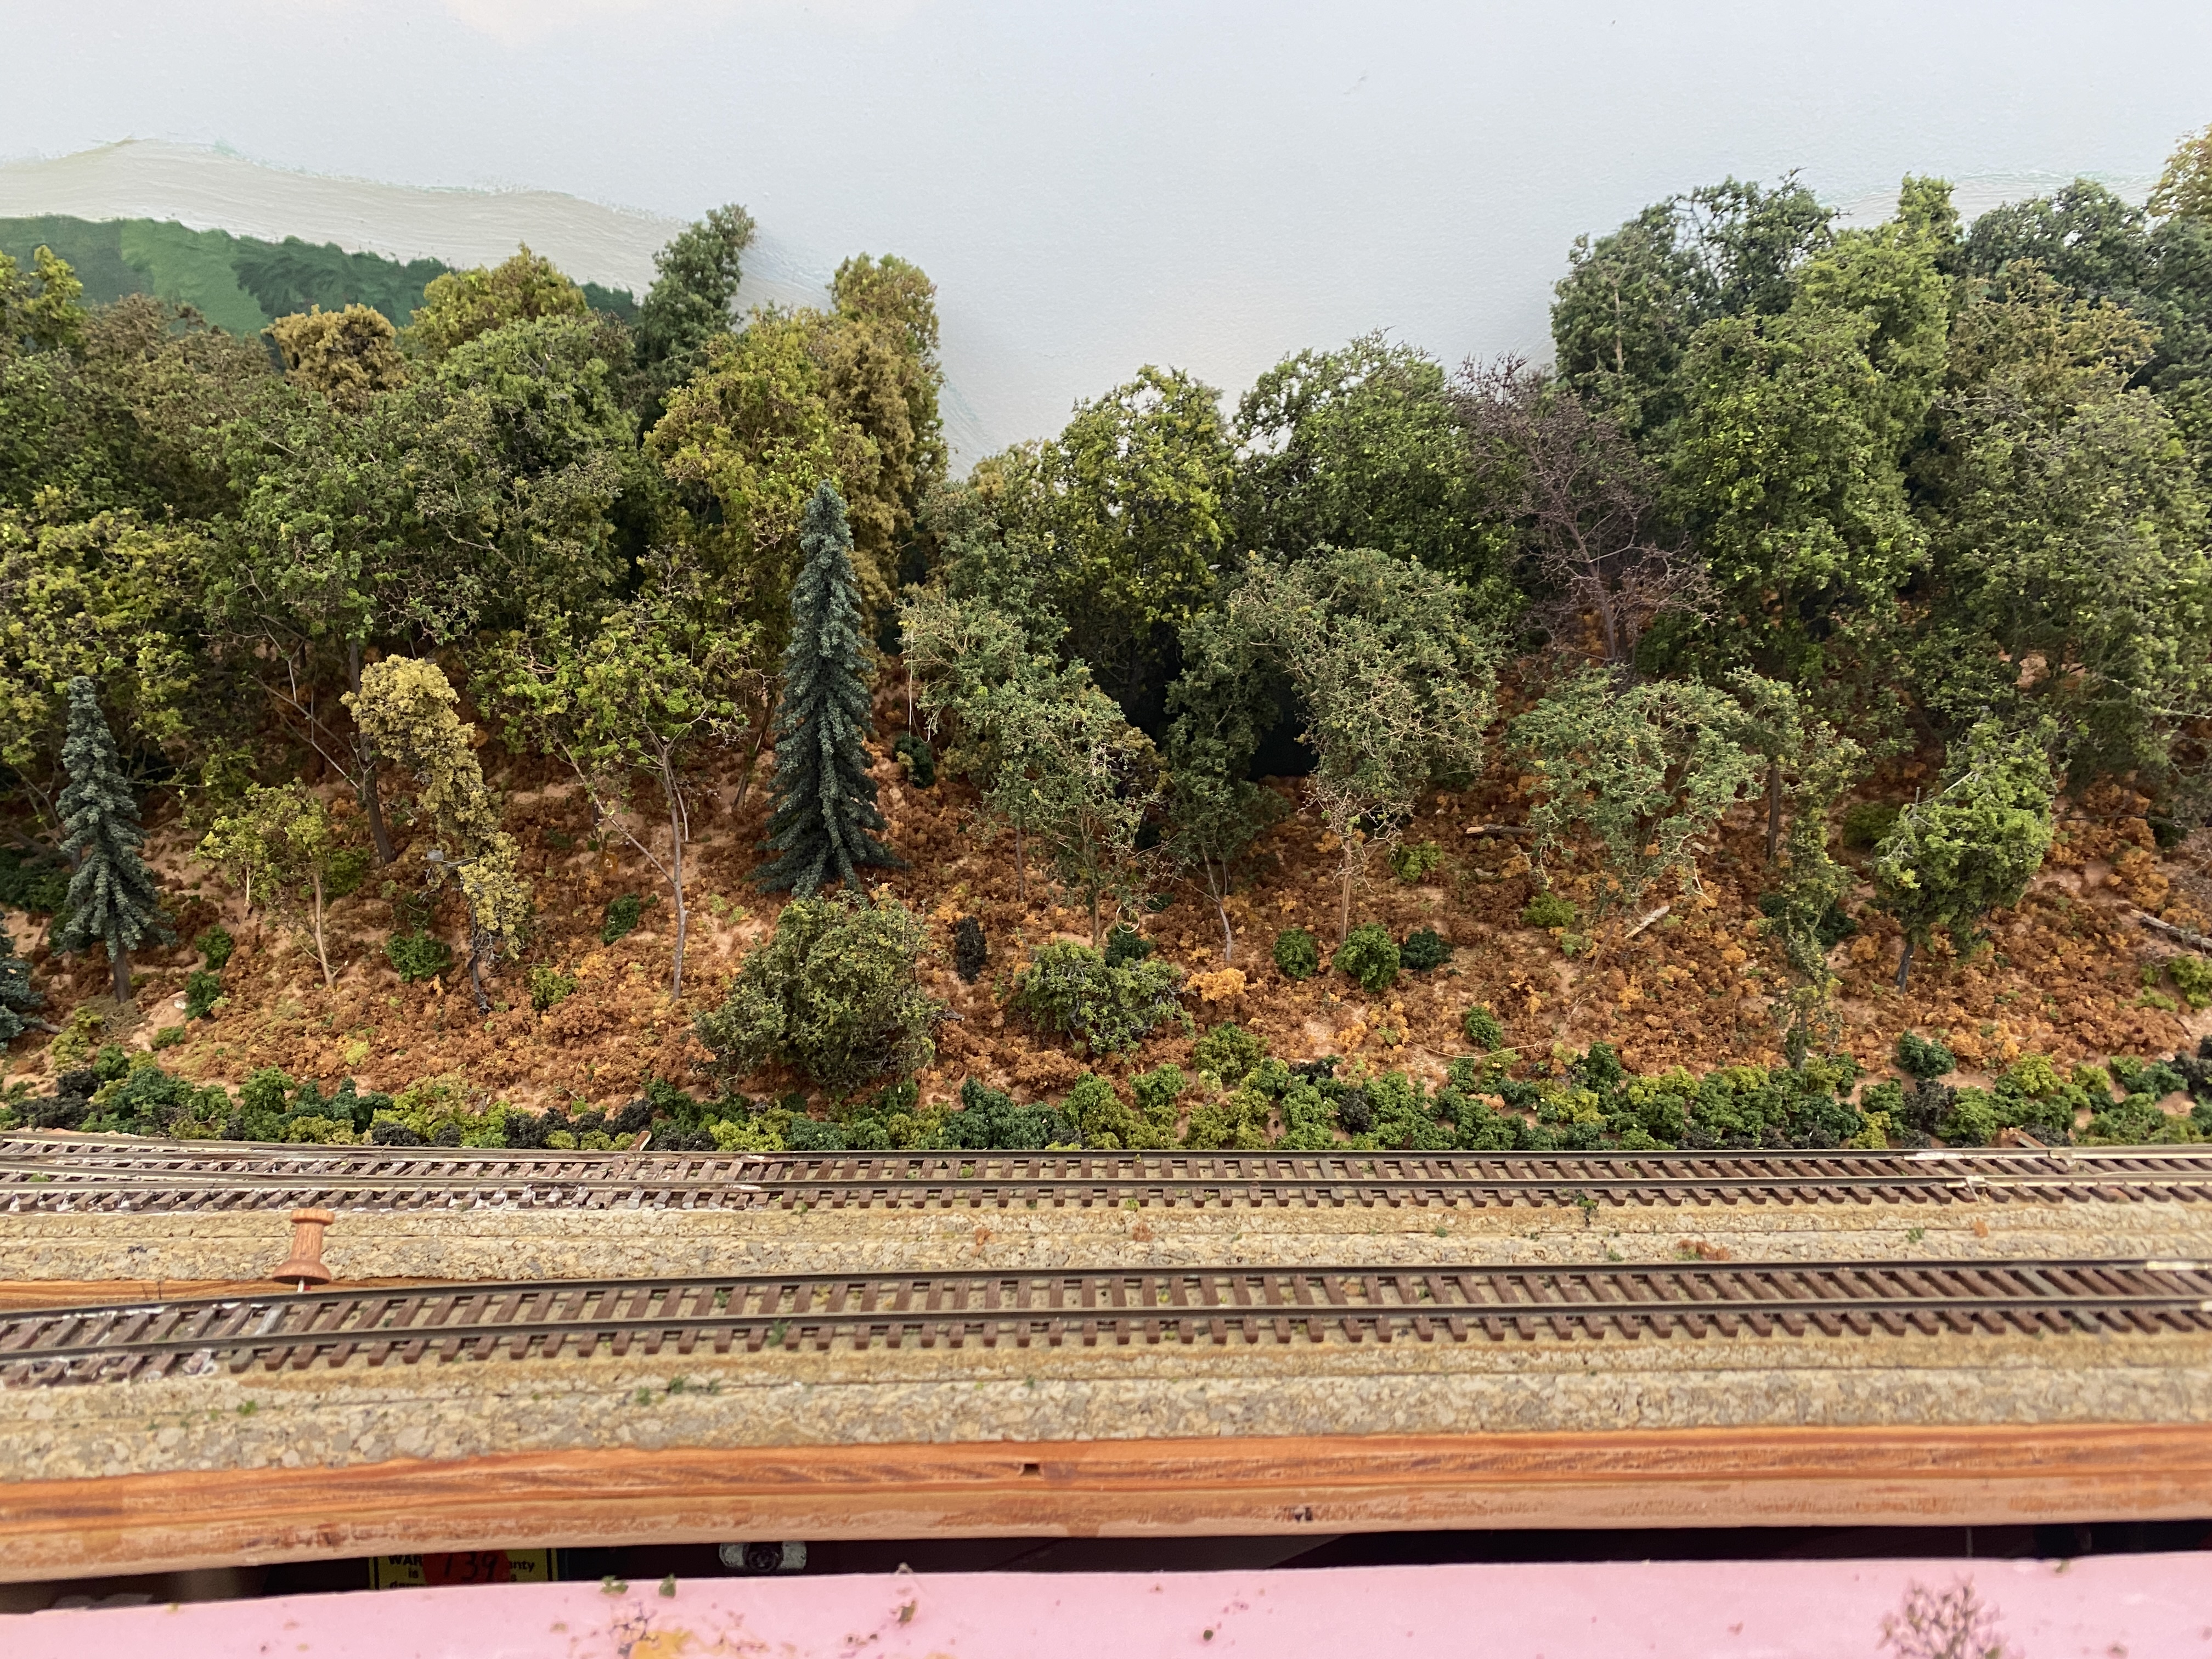
Trees, area 1 |
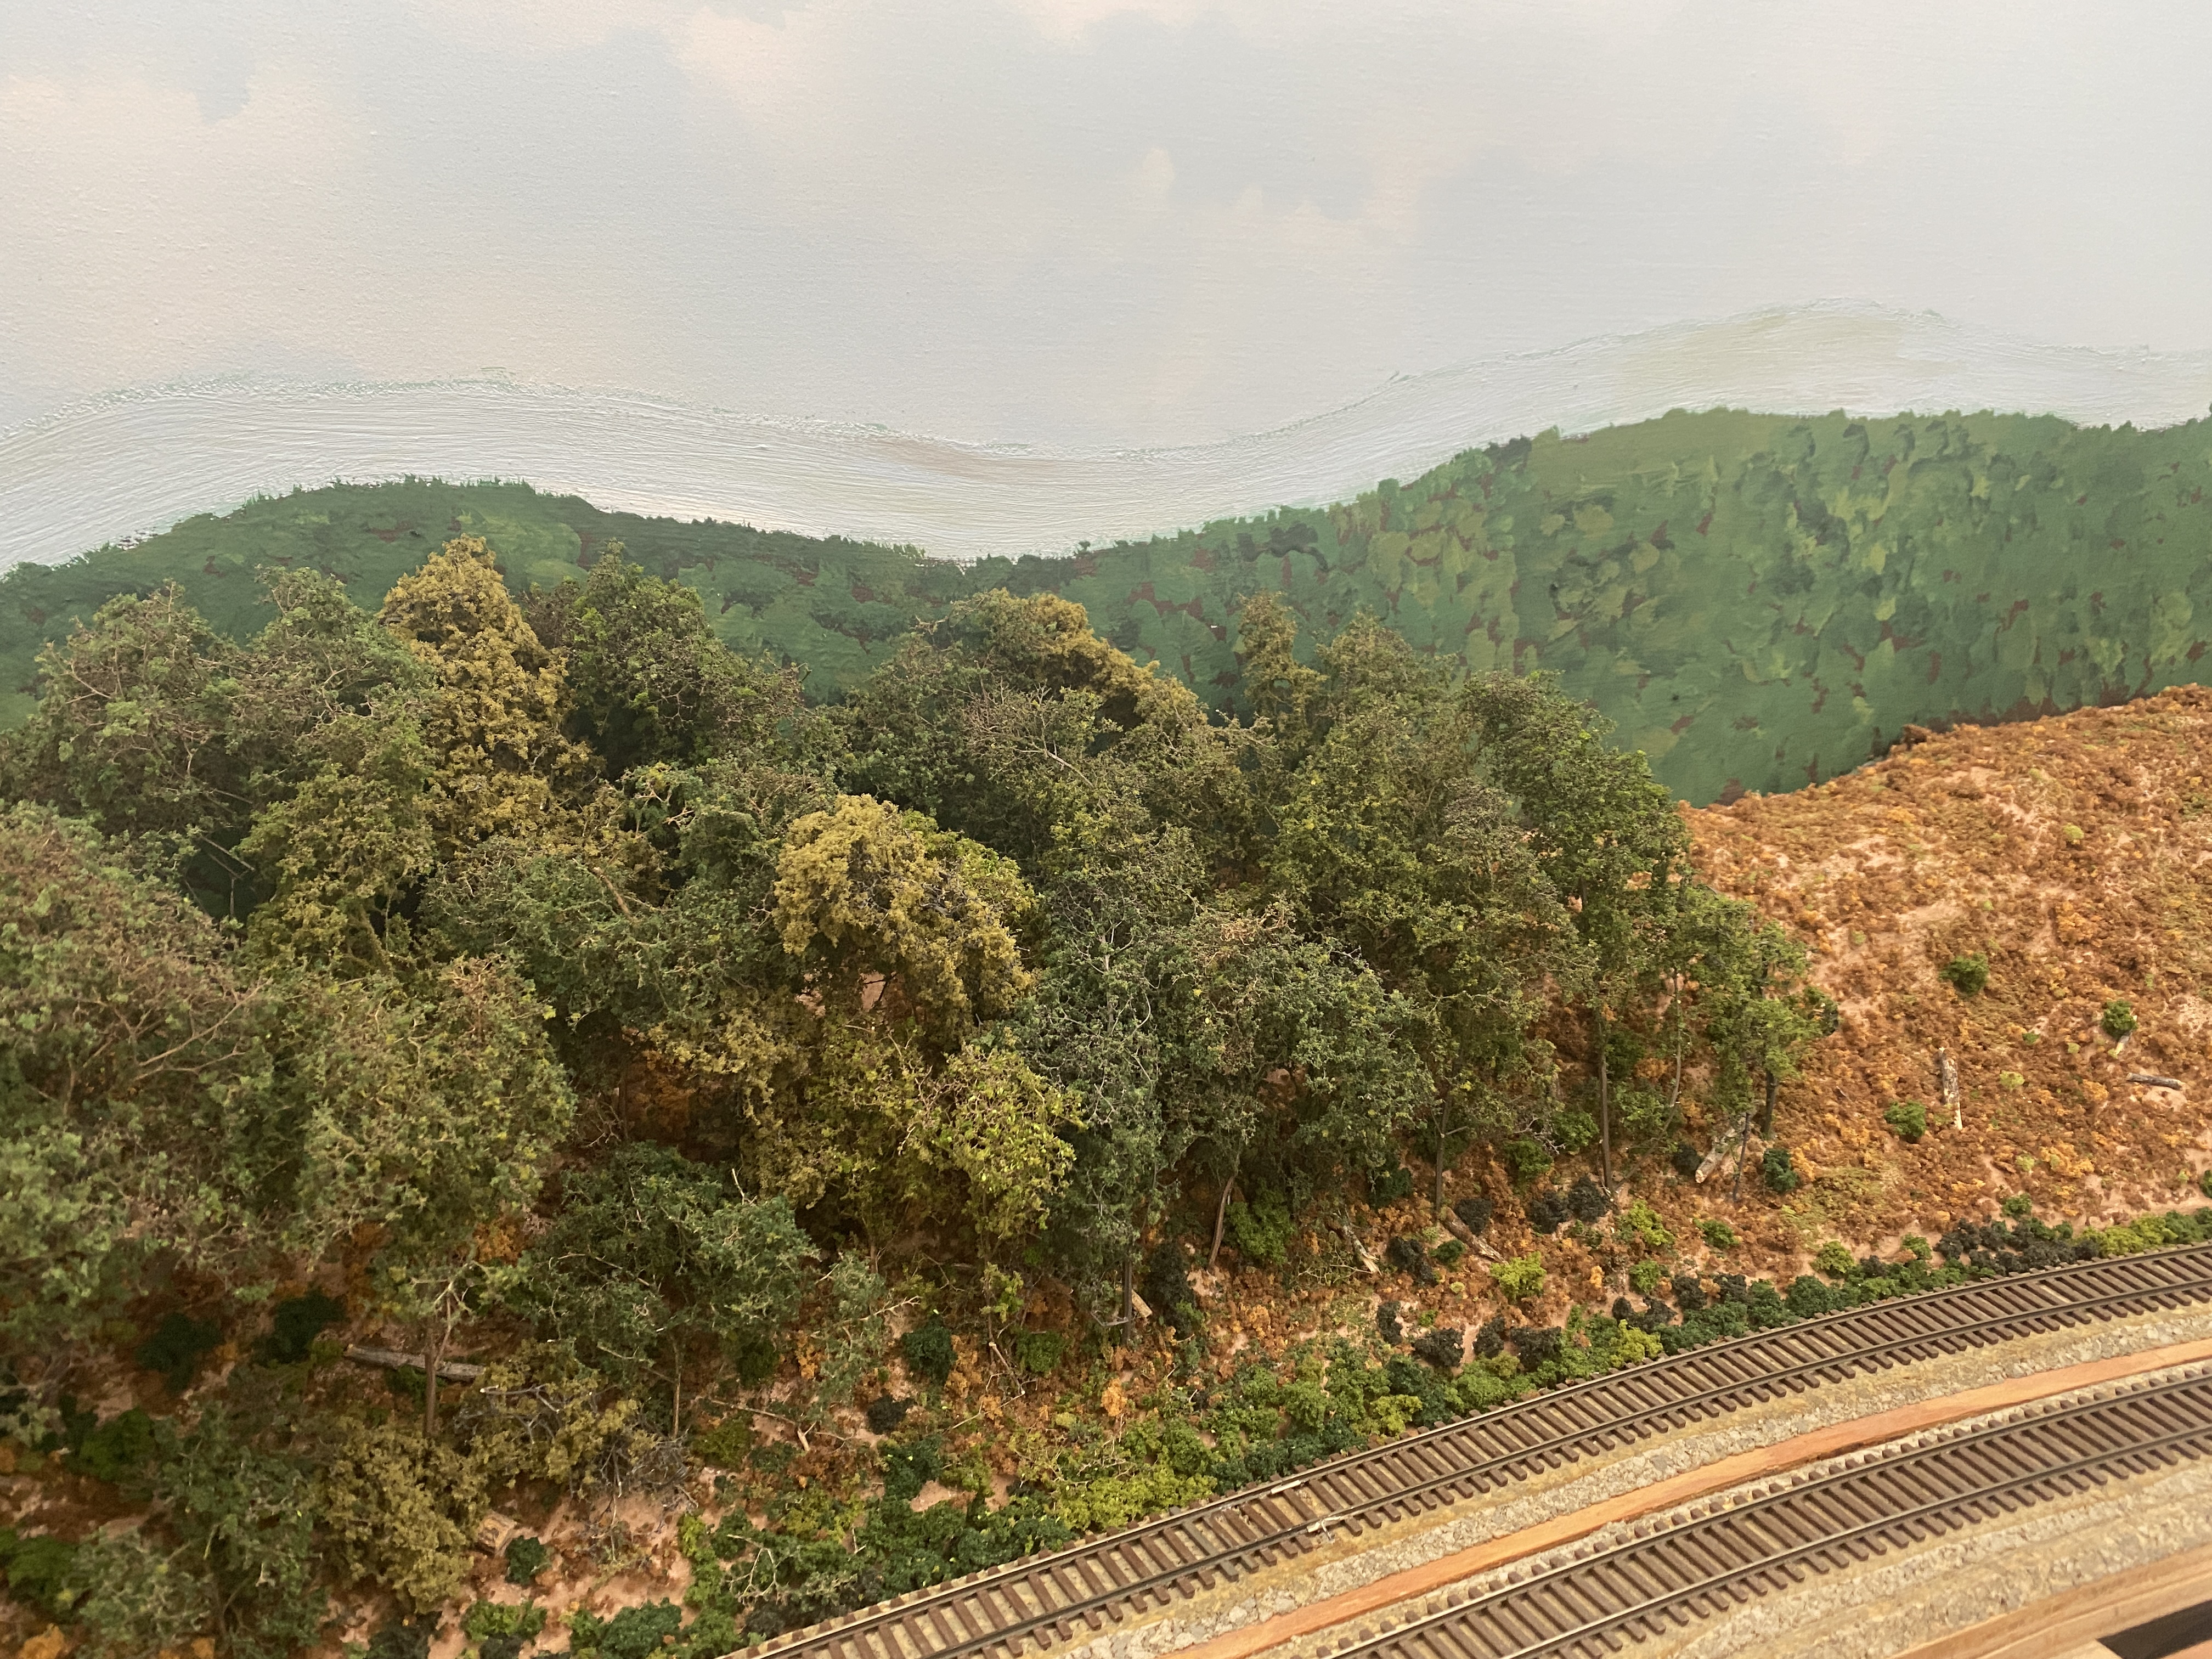
Same as previous, area 2 |
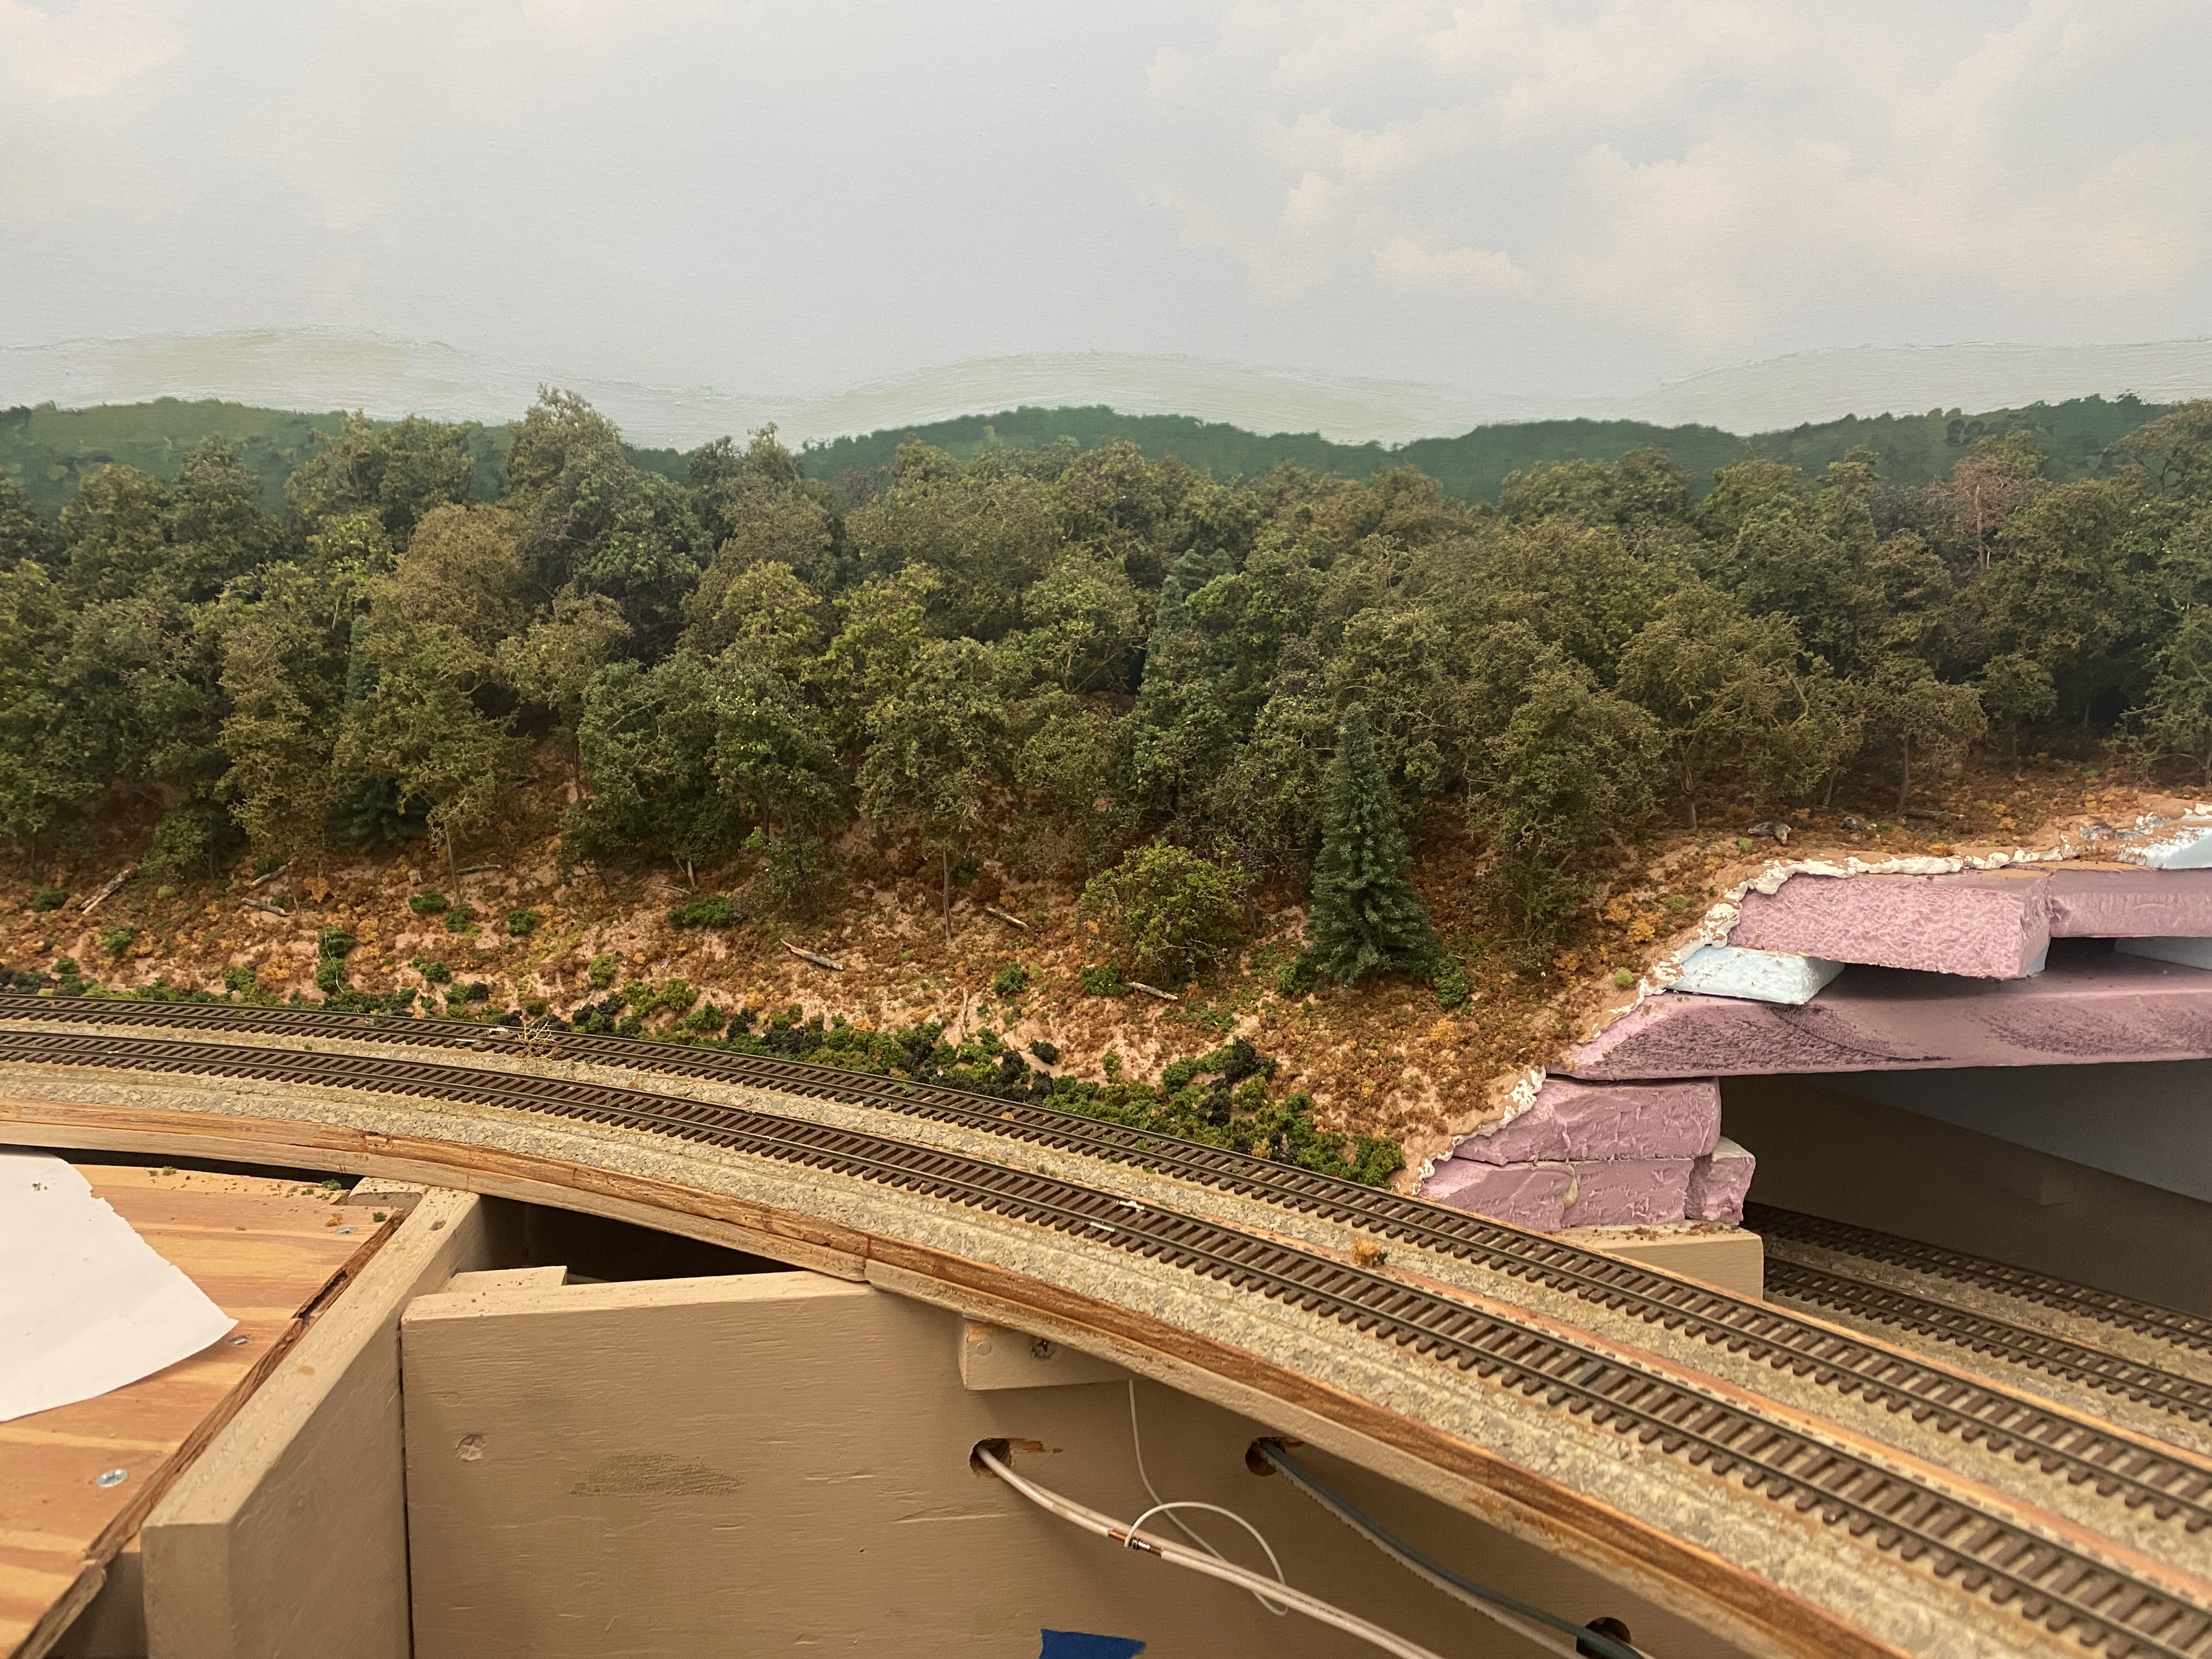
Same as previous area 4 |